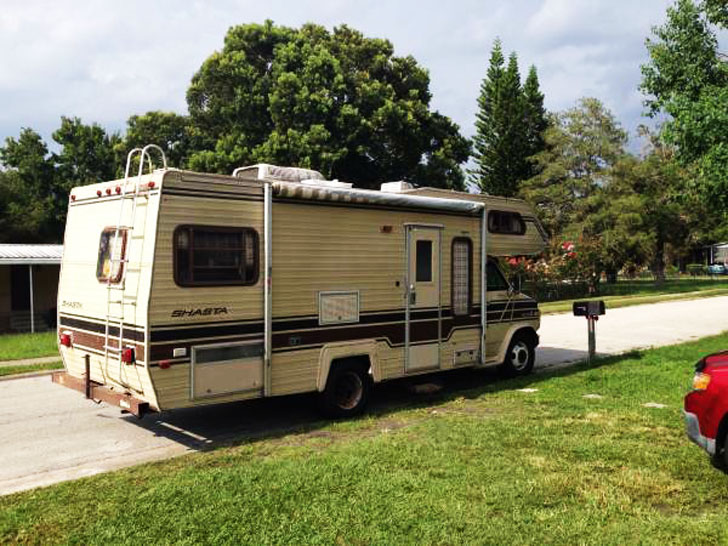
When imgur user, The Real Duckie, decided to get into the RV lifestyle by rehabbing an aging Class C motorhome, using tiny house design elements in the remodel was top priority. The basis for this project was a 1984 GMC Shasta that hadn’t been updated since it rolled off the line decades ago.
Duckie’s Shasta ready for a facelift.
Most of the furnishings that were added came from IKEA. The two main benefits to using IKEA furniture for RV remodels?
- low cost
- light weight
Both qualities which help tremendously in DIY RV redos!
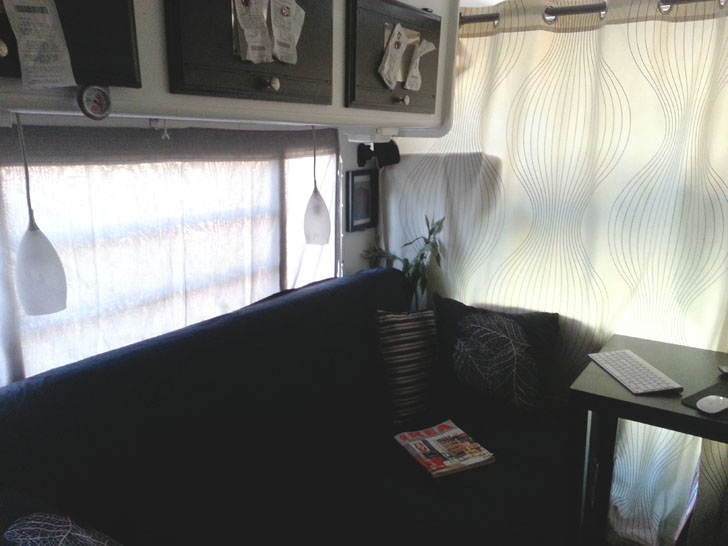
Thinking of the space as a tiny house meant closing off the cabin from the cockpit with a curtain to eliminate the “vehicle” feel. A sofa in the living area continued the transformation.
A properly scaled sofa and curtains create a traditional living space.
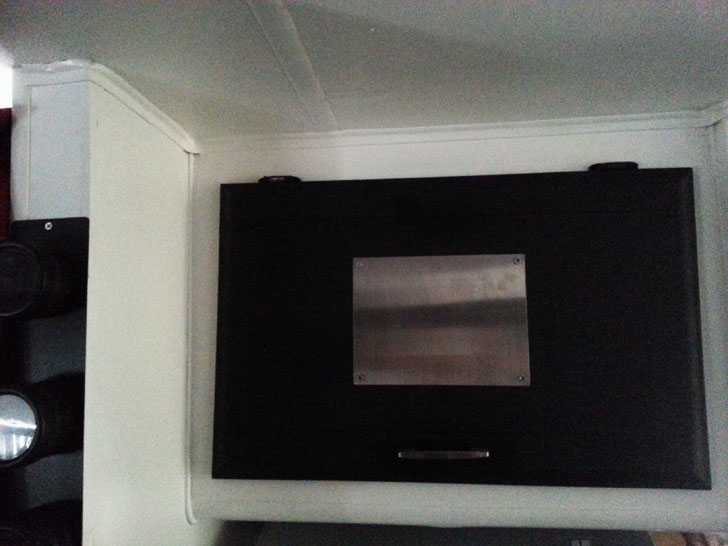
One brilliant idea that Duckie used was to attach steel plates to the fronts of the cabinet doors, so that magnets could be used to attach things to this otherwise wasted space.
Steel plates and blackboard paint for magnets and messages.
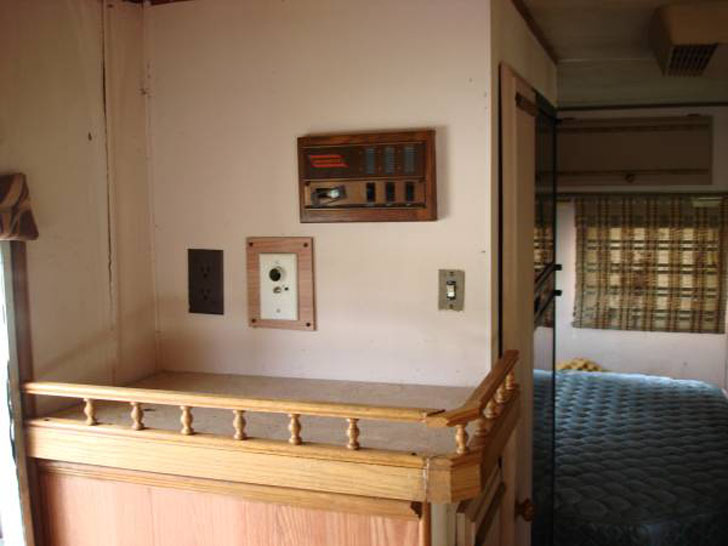
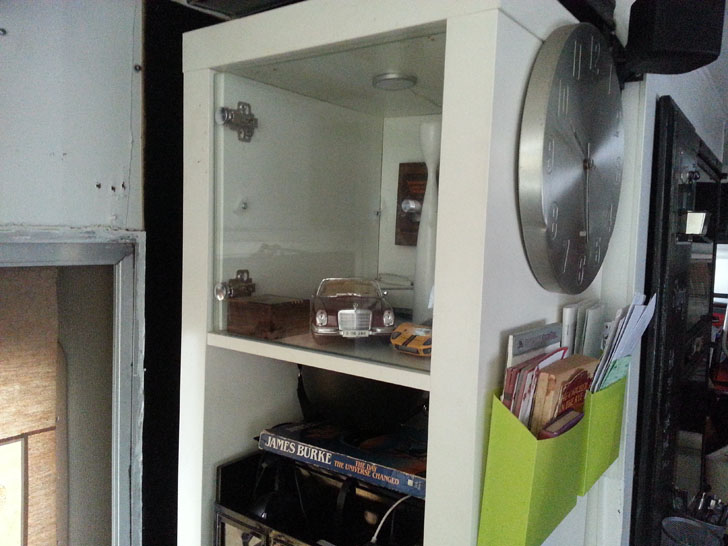
Just inside the cabin door a worn cabinet provides storage from the waist down. Rather than replace it with something similar, the space above the cabinet was reclaimed with the installation of a full height shelf unit that nearly doubled storage capacity.
Before and after entrance cabinets.
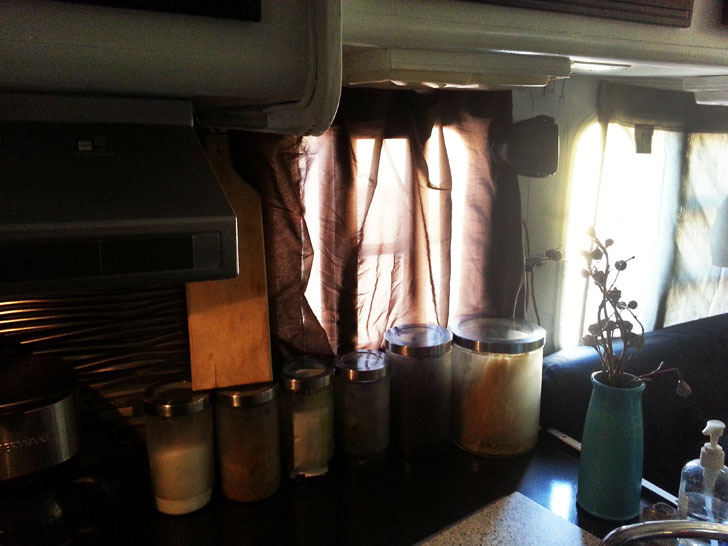
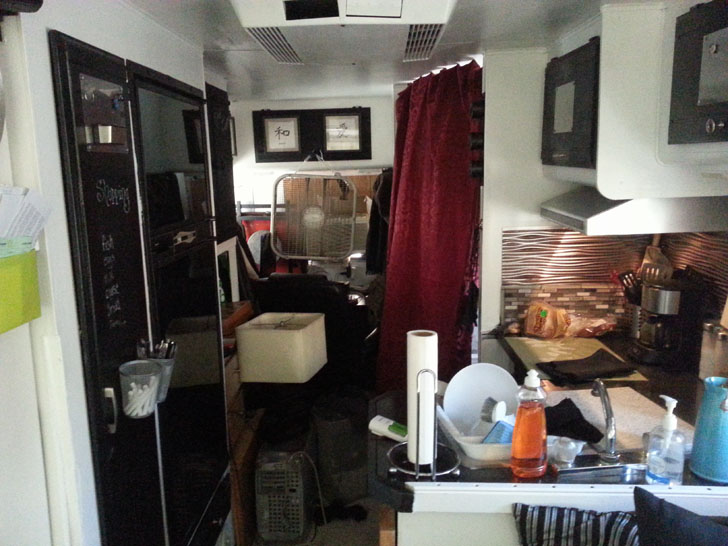
In the kitchen, every surface got recovered. Dated trim railing was removed and the cabinet doors received a coat of chalkboard paint so that lists and notes can be written on them; a clever touch.
Other than the metal backsplash, the kitchen transformation was accomplished almost entirely with paint! A specialized, speckling spray paint was used on the countertops (3 coats) then sealed with polyurethane.
Before and after kitchen remodel.
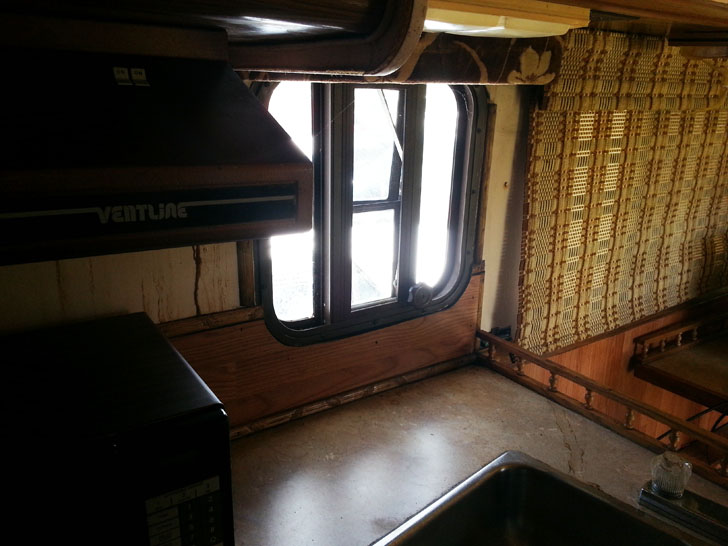
The range hood also got a coat of silver spray paint. Small stainless steel tiles affixed to the front edge completed the facelift for a contemporary feel.
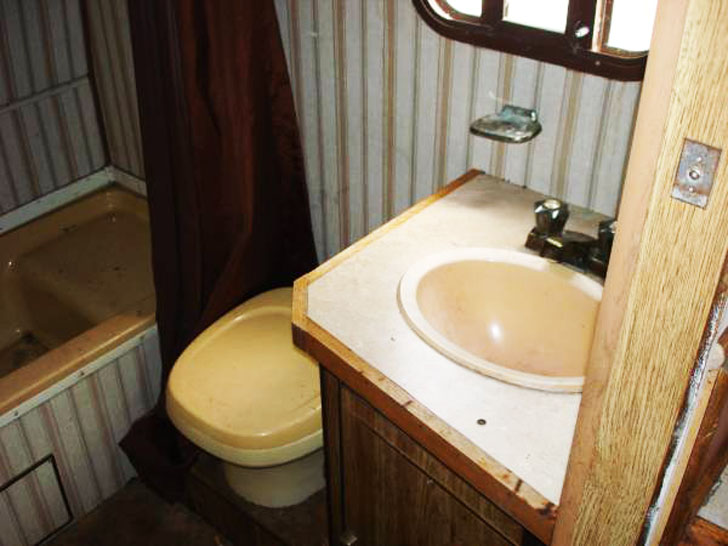
The bathroom needed a lot of help, but sticking to the simple formula Duckie accomplished it with a few cans of spray paint, a bucket of white wall paint and a lot of hard work.
Bathroom before and after.
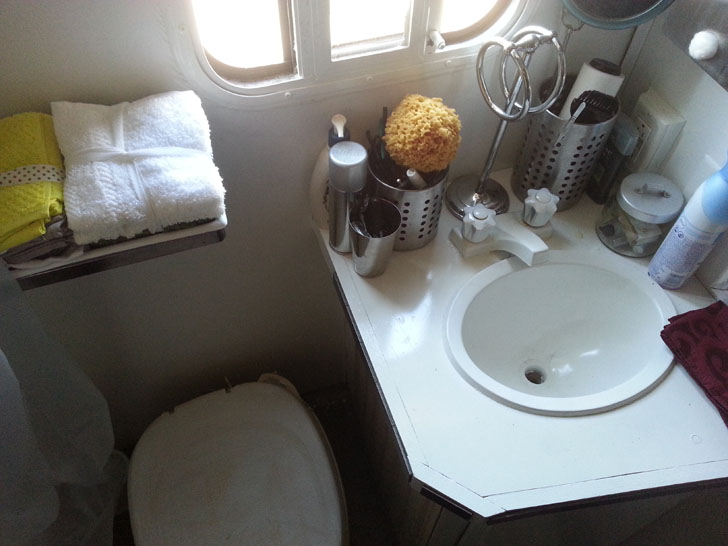
Even the shower was redone with gloss spray paint after a careful cleaning. To give you an idea of the neglect, the shower curtain turned to dust when it was removed.
One clever tip in this bath is the IKEA containers. These are just ordinary containers. The secret is, they have been bolted to the wall, to prevent them from spilling their contents when the RV is in travel mode.
White paint and a new shower curtain make the space feel larger.
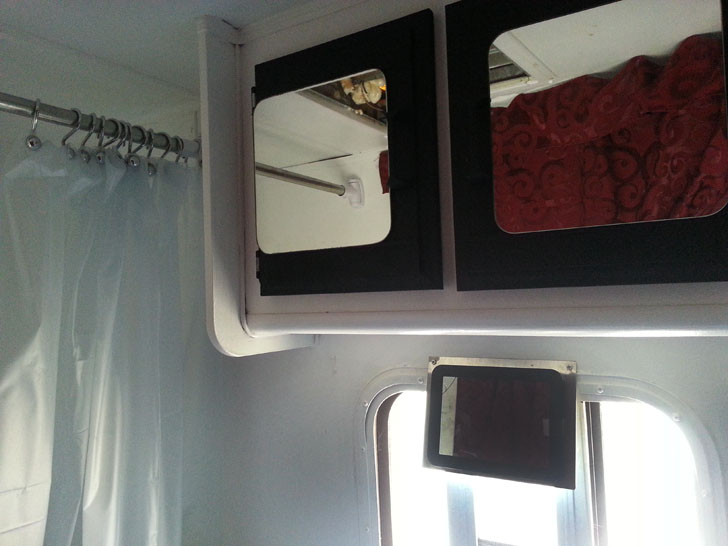
White paint, mirrored faces on the cabinets, and a frosted shower curtain make this space feel about three times larger than it did originally. The plumbing was deemed functional, so it stayed – after a good cleaning and a coat of paint.
The main bedroom was converted to a cozy office space.
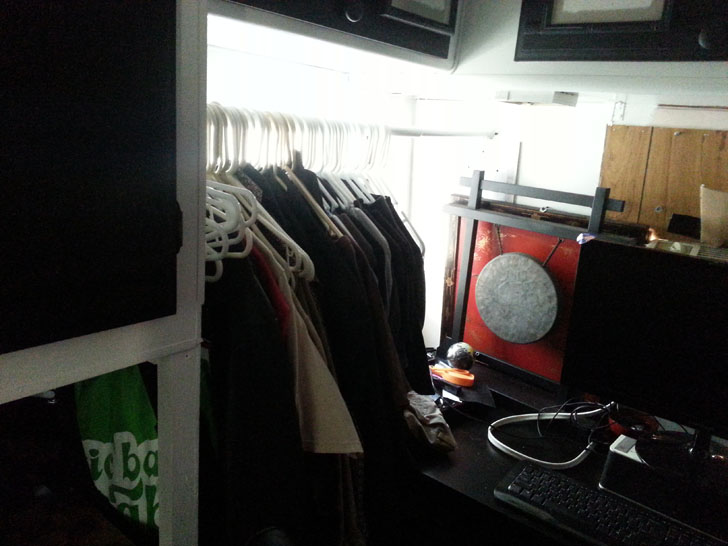
Since the overhead sleeping space was all that was needed, the rear bedroom was done away with entirely, and the space transformed into a cozy office. The office required moving wiring and adding breakers. A hanging bar and space for office equipment complete the work area.
A fresh coat of paint and some contemporary accessories make for a simple (and maybe easy) facelift.
The rest of the RV got new paint, floor tile and carpets in high traffic areas. The entire effect is one of a total remodel, with very little expense, and almost no technical work involved at all. A great inspiration for DIY RVers who may be intimidated by the idea of tackling such a project!