Even experienced RVers can overlook essential steps when setting up their RV campsite. A frequent oversight involves not disconnecting the trailer cord before driving away, leading to the need to replace a 7-way trailer plug and/or socket. If you find yourself with a damaged 7-way trailer socket, follow these 10 easy steps to replace it.
Understanding the Need for Replacement
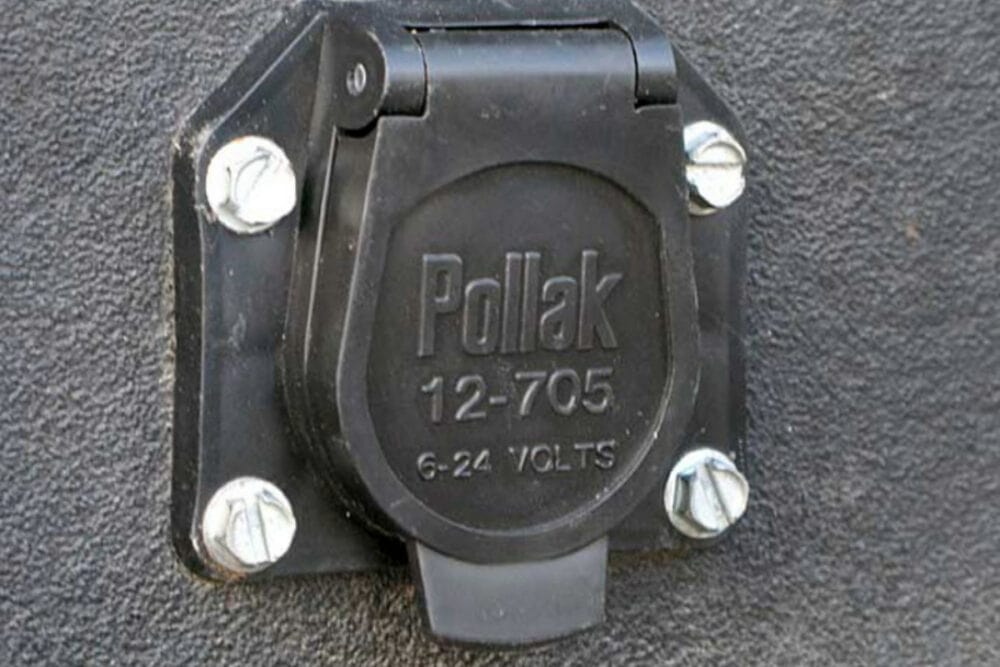
The 7-way trailer socket mounted on your towing vehicle is the connection point that links your trailer’s lighting and electrical systems to your towing vehicle. Damage or wear to this component can lead to malfunctioning brake lights, reverse lights, turn signals, and other critical functions. Regular inspection and timely replacement of the 7-way trailer socket can prevent hazards on the road, ensuring a safe journey.
Gathering Your Tools
Before starting the replacement, assemble all the necessary tools and components:
- Screwdrivers and a wire stripper are essential for handling wires and removing the old socket.
- A new 7-way trailer socket can be sourced from reputable suppliers like NAPA or Amazon, ensuring a quality component.
- Needle nose pliers and a decent multitool can also come in handy during the process.
Step-by-Step Guide to Replace a 7-Way Trailer
Step 1: Prep Your Vehicle
Park your vehicle on a level surface and ensure it’s turned off. This safety step is essential to prevent any electrical issues or accidental vehicle movement.
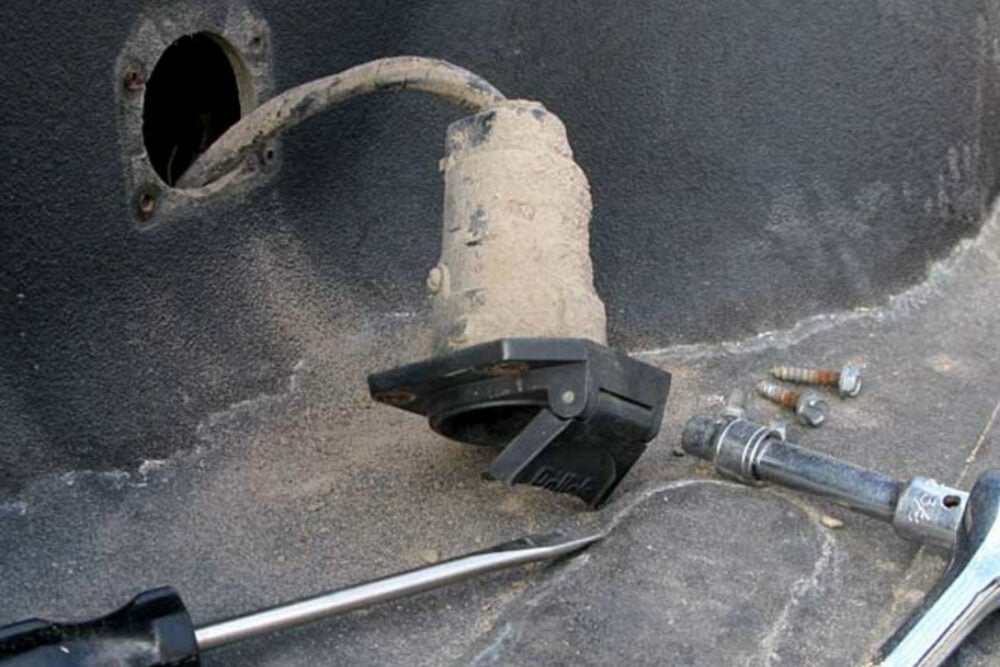
Step 2: Locate the Socket
Find the 7-way trailer socket on your vehicle, usually located near the hitch.
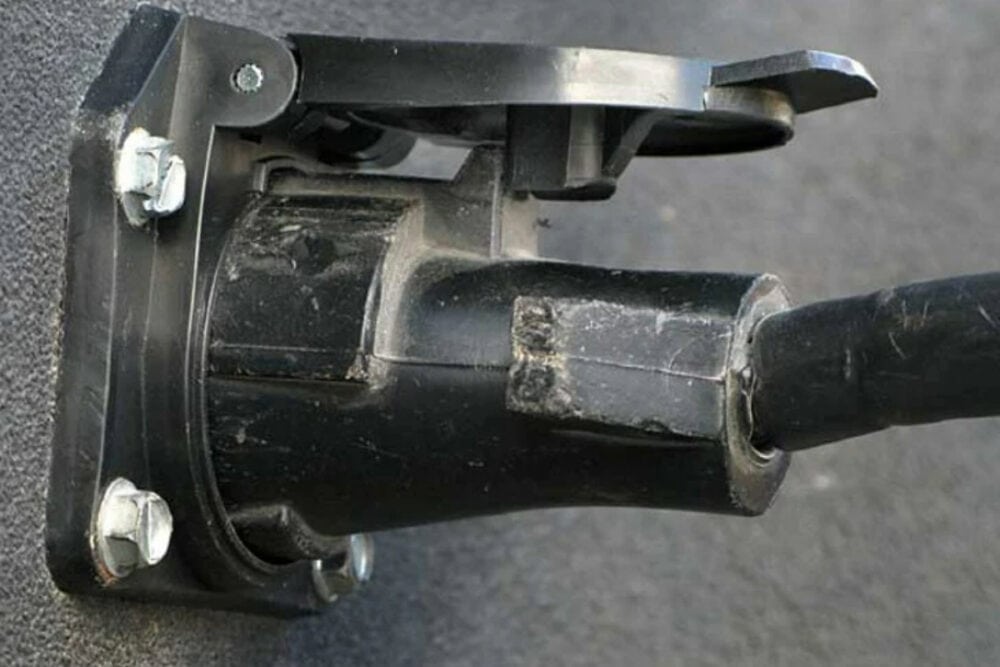
For fifth-wheel owners: Remove the four screws that secure the trailer cord socket to your truck bed. Gently pull the socket and cord out just far enough to comfortably do your repair. And if your truck doesn’t have a trailer cord socket in the bed, now is the time to add one so the cord doesn’t drape over the tailgate.
For travel trailer owners: Follow the same procedure for bumper-attached sockets.
Be gentle when removing the socket.
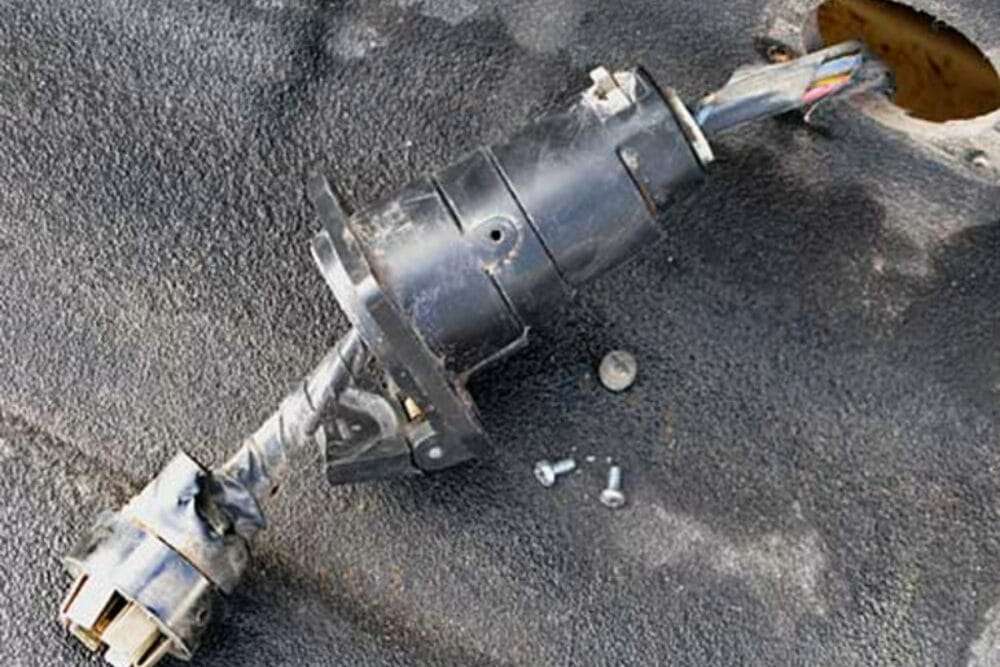
Step 3: Unscrew and Remove
Now it’s time to release the wiring harness. Notice the two small screws outside of the broken 7-pin trailer cord socket: remove them along with the screw plug that secures the wires at the bottom.
Don’t lose those little screws!
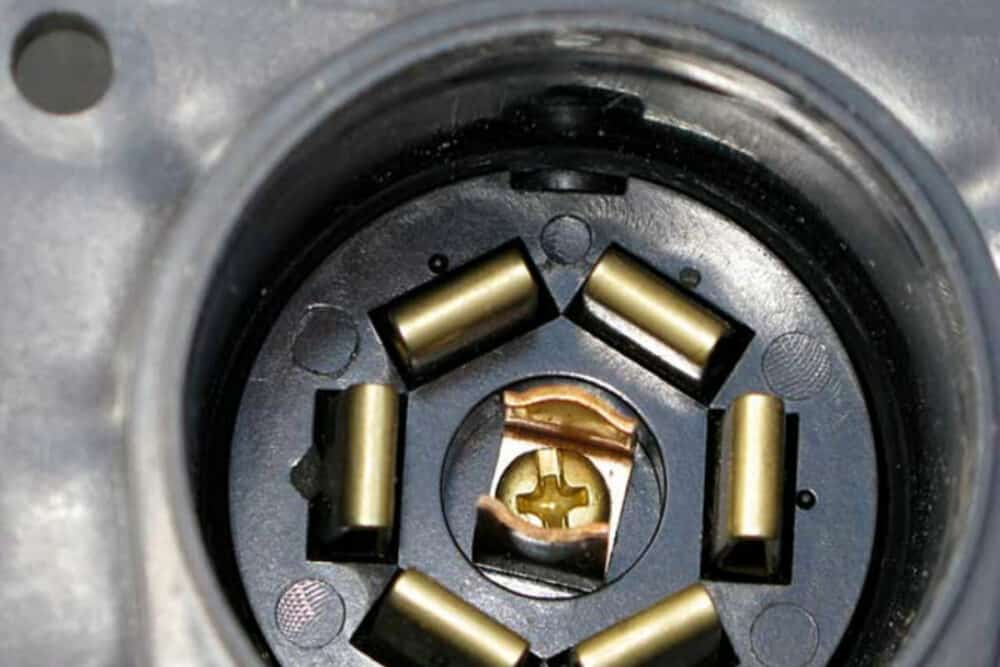
Step 4: Match Wires to Posts
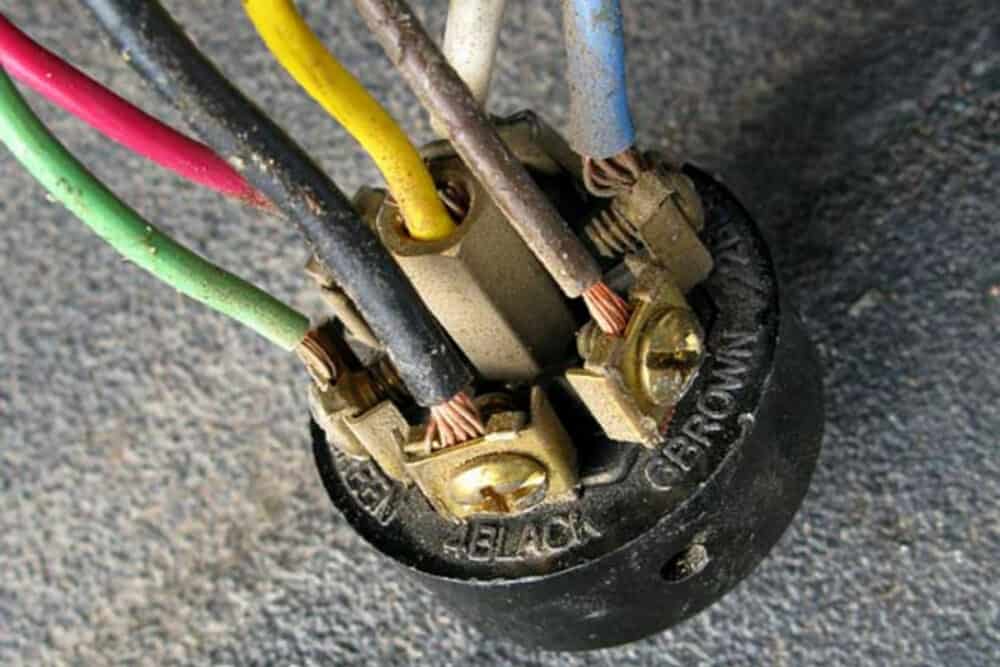
The plug assembly should be clearly marked to indicate what color wire attaches to which post.
(Note: If the plug poles are not clearly marked or different-colored wires are used, be sure to mark them carefully or take a photo for reference.)
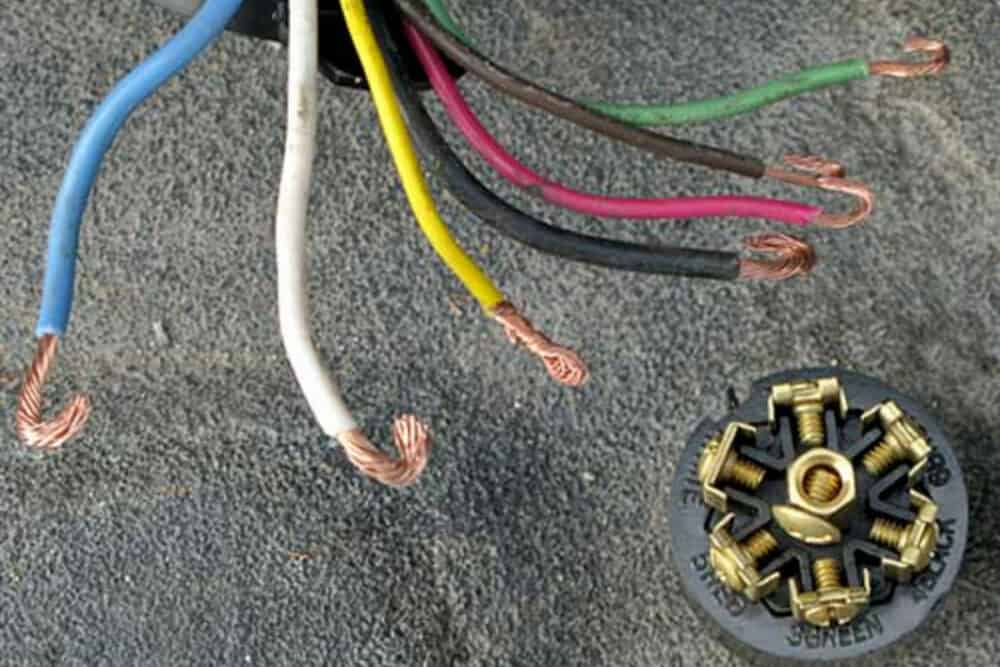
Step 5: Prepare Wires for New Socket
Carefully remove all wires from the old socket. Slide each new wire through the new socket housing from the bottom, then twist each end in order to create firm connections to the new plug assembly.
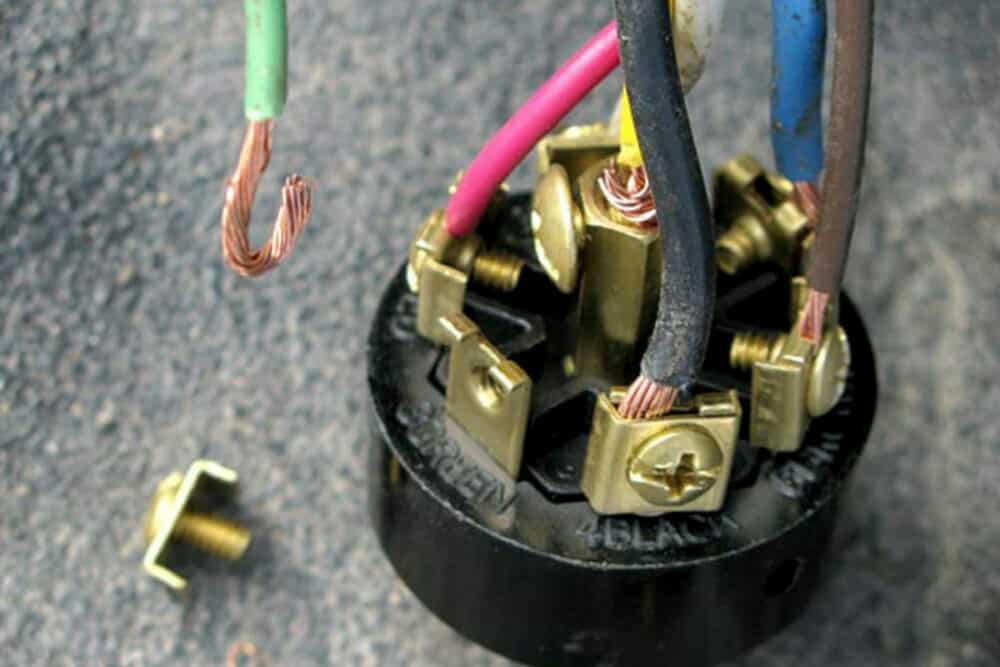
Step 6: Connect Wires
Grab the center wire first, and attach it to the center screw in the new socket. Then do the same with all other colors and place them in their corresponding positions. Consider making small loops with each wire to guarantee a secure fit and maximize the surface area that comes in contact with the blades of the terminal.
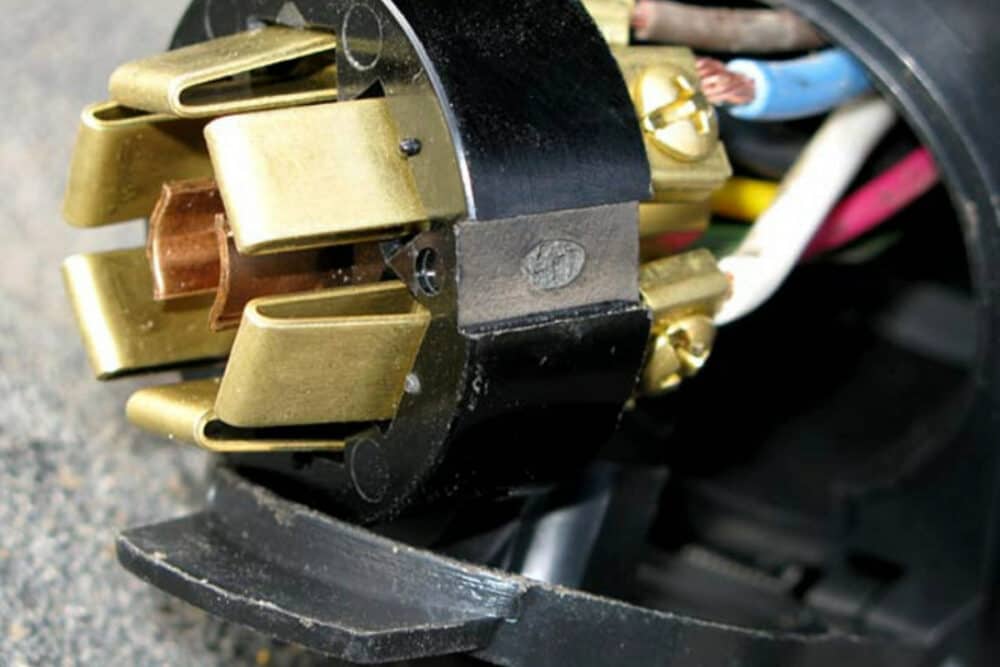
Step 7: Assemble the New 7-Way Trailer Socket
When all wires are attached, insert the plug assembly into the socket housing. Observe the position of the notch on the side. Align the notch in the plug assembly with the tab in the socket housing and firmly join the two together. There’s only one way they can fit together.
Step 8: Secure the Trailer Socket
Attach the plug assembly to the socket housing with two small screws, one on each side. Secure wires at the bottom with the threaded plug.
Step 9: Reinstall and Tighten
Reinsert the reassembled socket into your truck bed or bumper bracket. Secure it with provided screws.
Step 10: Test the 7-Way Trailer Socket
Use the spring-loaded outlet cover to securely fasten your trailer cord in its socket. Turn on the vehicle’s ignition, and test all the functions controlled by the 7-way socket (turn signals, brake lights, reverse lights, etc.) to ensure they are working correctly. It’s helpful to have an assistant who can tell you if all the lights are functioning as you test them.
Wrapping Up How To Replace a 7-Way Trailer Socket
Replacing the 7-way trailer socket on your vehicle is a manageable task that can greatly enhance your towing safety and reliability. By following these steps and ensuring a proper connection, you’ll be ready to safely tow your trailer on your next adventure. For more tips and tricks, consider joining RV forums like iRV2. This forum community offers a wealth of information and support for DIY repairs and maintenance.
Remember, a well-maintained trailer connection not only ensures your safety but also the safety of others on the road. Safe travels!