During the cold depths of winter, the last thing on your mind is suffering through the sweltering heat of summer. You want to be warm and comfortable!
Then when summer comes, you’re complaining again about how hot it is outside. Such is the human condition.
One item that can help keep you comfortable while camping in either hot or cold temperatures is a powerful vent fan.
In the summer, a vent fan will draw air through your rig, enhancing the effectiveness of your air conditioner. And if you like cold weather camping, a vent fan will reduce condensation that occurs due to single pane windows and poor air circulation.
How to Install a Vent Fan In Your RV
JohnB over at the SunlineClub Forums demonstrated how he installed a Maxxair fan in his trailer.
[asa]B002OWAIB8[/asa]
In JohnB’s case, he chose to install the fan in the middle of his 2004 SunLine T310SR. This location would allow the fan to draw in air from the bedroom and galley to keep the RV cool.
Note: Installing a vent fan will require you to spend some time on a ladder inside and on top of your RV. Make sure you’re up to the task, and be careful!
According to JohnB, you should prepare to spend 3-4 hours on the roof and 1-2 hours inside your rig.
Installation overview of the Maxxair vent fan
Although the best instructions to follow are those in the manual that come with the fan, it’s helpful to see pictures taken during the process.
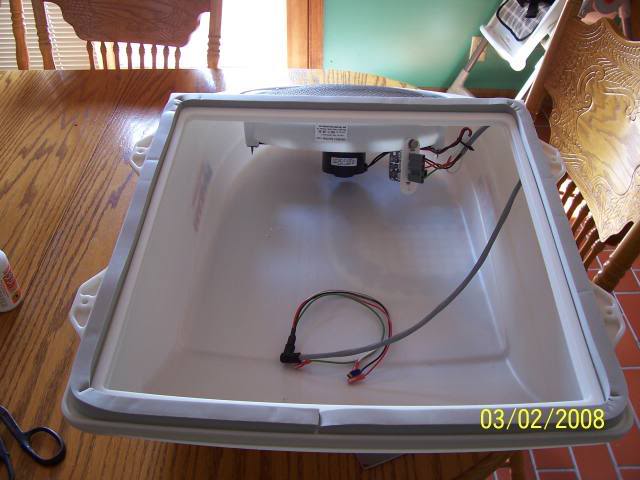
This is what the inside of the fan housing looks like.
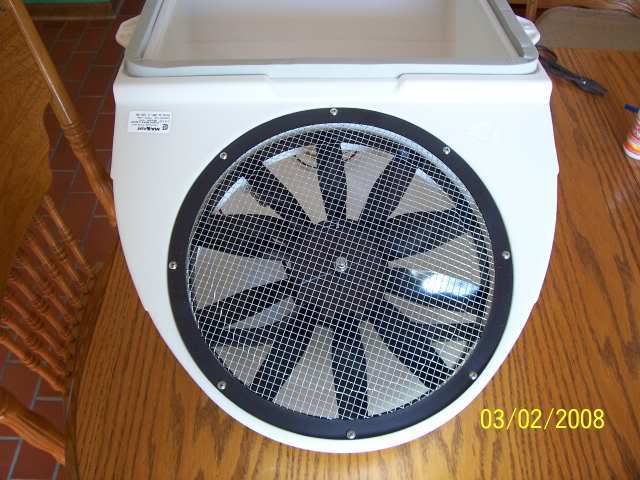
And the exterior.
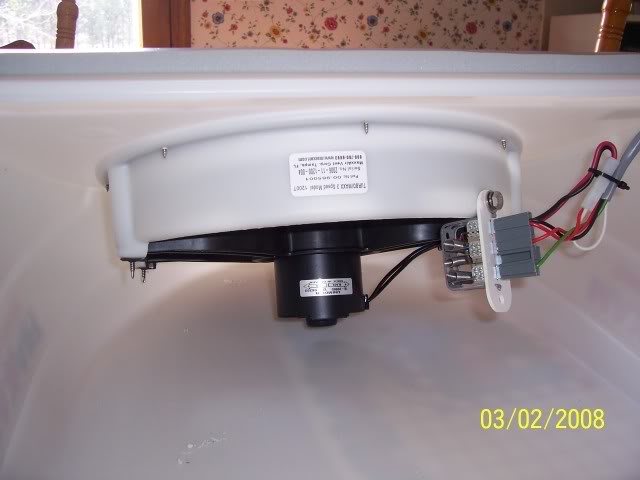
Close-up of the fan motor.
JohnB replaced the vent on his rig before he installed the fan.
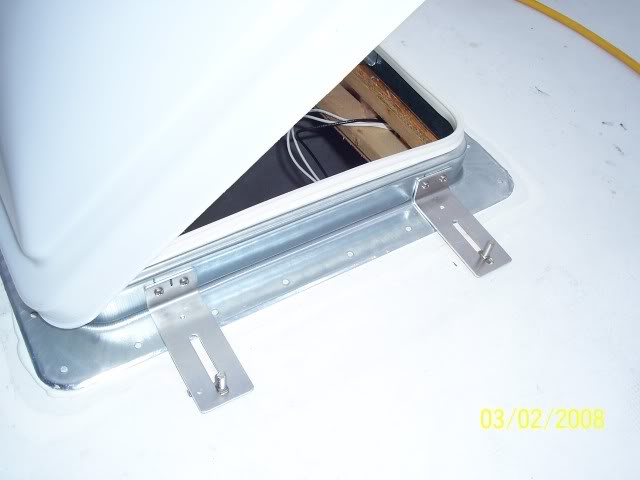
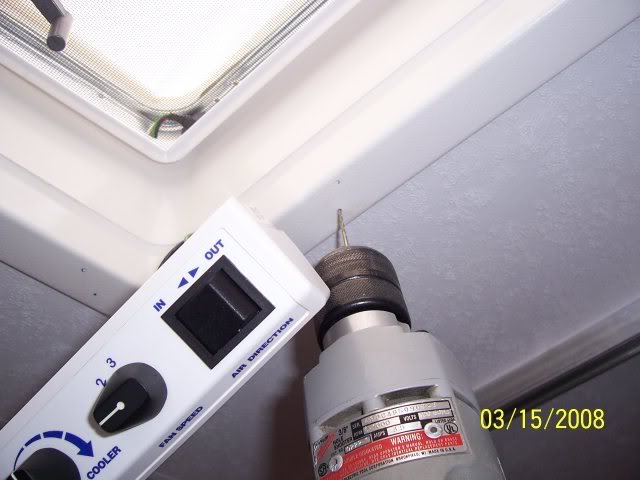
If you don’t want to install a new vent, the fan unit will bolt onto the existing vent. You’ll have to drill a small hole (about 3/8″) to get the wires from the fan unit to the controller inside your rig.
Make sure you mark the hole with the vent lid closed. Or else the connector will hit. And do not put it too low to prevent the possible of water getting in. Right on the edge of the closed vent is best.
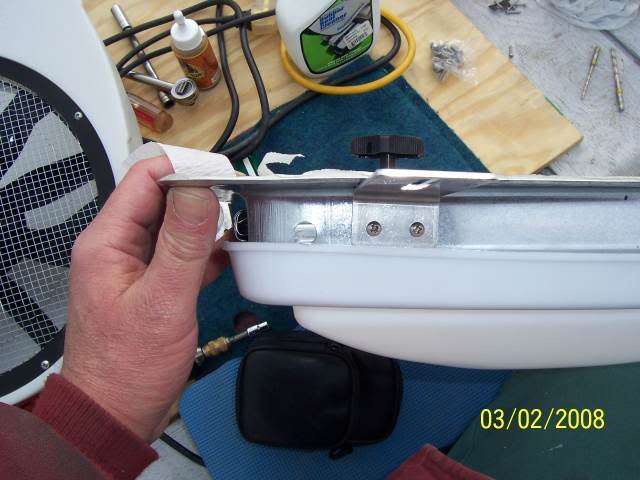
Brackets hold the fan in place.
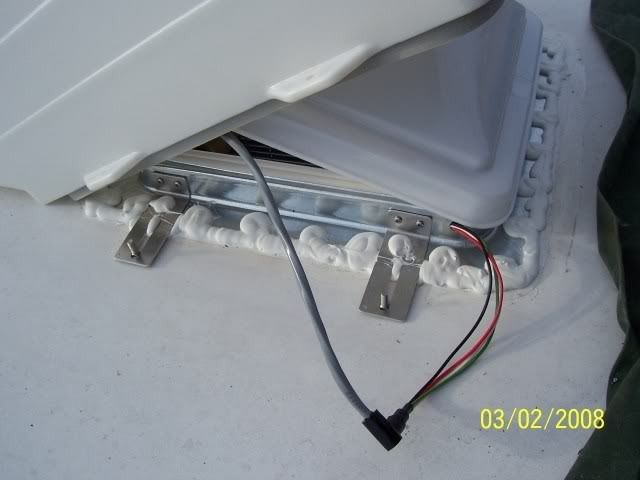
These are the wires that control the fan motor. They fit through the small hole in the side of the vent.
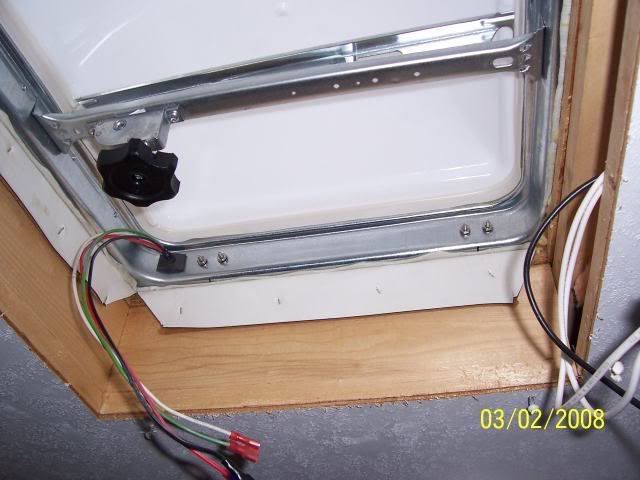
Looking up at the fan housing from inside the rig after install. All the hardware is stainless steel so it won’t rust.
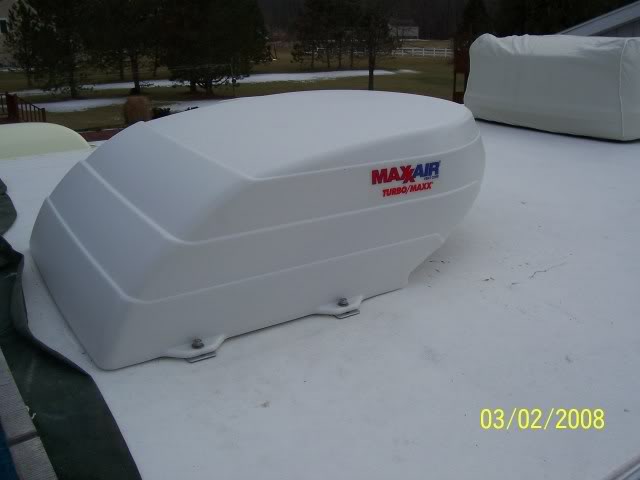
Here’s how it looks up on the roof.
JohnB made a small hole in the inner shroud to feed the control wires through.
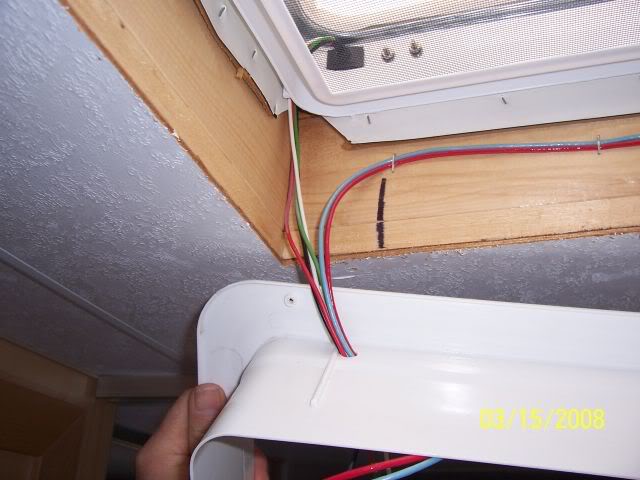
Figure out where you want the control panel…
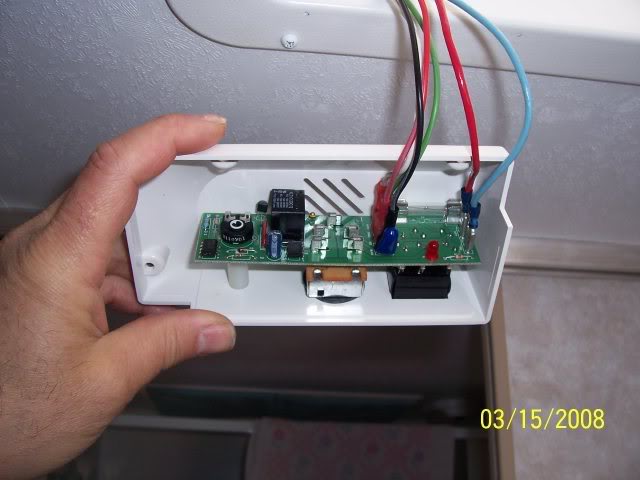
And mount the module.
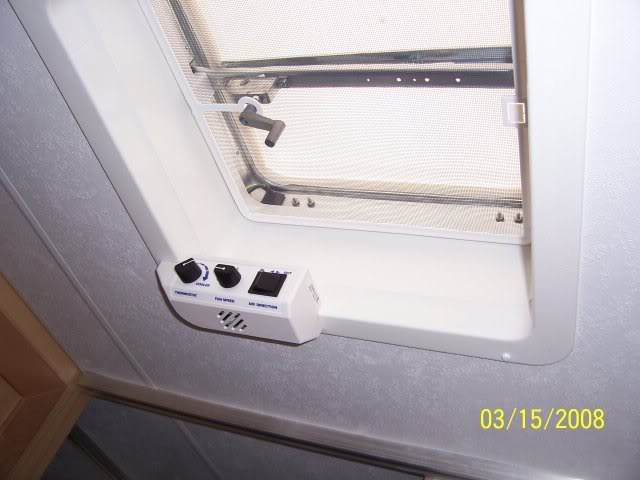
The completed assembly.
Note: If you decide to install the Maxxair fan in your bathroom, make sure it’s in the off position when you flush your toilet. You don’t want the fan drawing sewer gases back into your rig!
It seems a shame most RV manufacturers skimp on the number and quality of exhaust vents in new RVs. Installing vents like these will surely add value to your rig, reduce condensation build-up in the wintertime, and let your A/C unit work a little bit easier.
You can see more photos with accompanying instructions on the SunLine Club RV Forum.
[asa]B002OWAIB8[/asa]