 We are always on the lookout for new ideas and neat ways to improve RV living. Taking the ordinary and making it extraordinary is what we love and we know that most of you do as well. We have always enjoyed turning unused walls, cabinet, and other spaces into writing surfaces. This is handy for keeping children occupied, creating notes for loved ones, or just to toy with your artistic side. Thats where the DIY dry erase board shows its usefulness.
Most of the time this type of modification requires special vinyl that adheres to surfaces and covers the wall. The exposed side of course replicates a whiteboard or chalkboard. This is a great fit for some but for others it may not offer the versatility and durability needed for many applications.
We were recently introduced to ReMARKable Dry-Erase Coatings that offers a paint-like coating that turns nearly any drywall, plaster, metal, tile, or other smooth paintable interior surface into a DIY dry erase board. It is targeted toward professional applications through offices and schools. They primarily sell through design firms rather than the traditional Lowes and Home Depot. Which gives us some reassurance that it is a higher end coating.
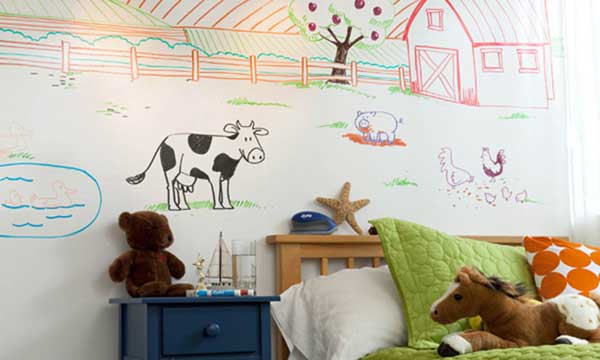
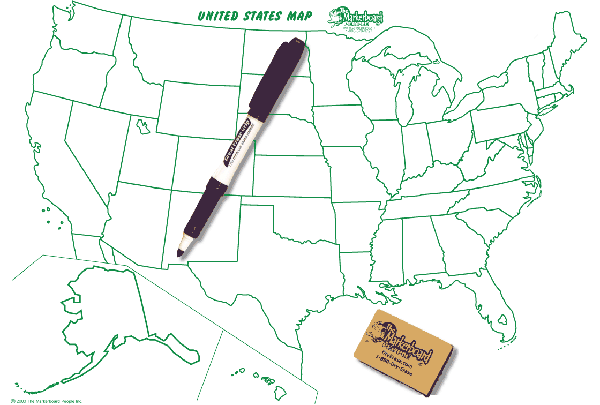 Though it comes in the traditional white color, the gem of this product comes in a clear coating. This opens up so many design options that it is hard to quantify. You could paint a wall green, cover it with ReMARKable coating, then use that wall as the most fashionable dry erase board ever made. Or glue a map of the US to a wall in the RV, cover it with ReMARKABLE and have one impressive “where we have been” DIY dry erase board.
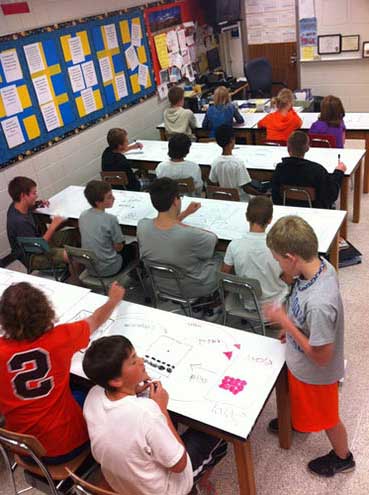
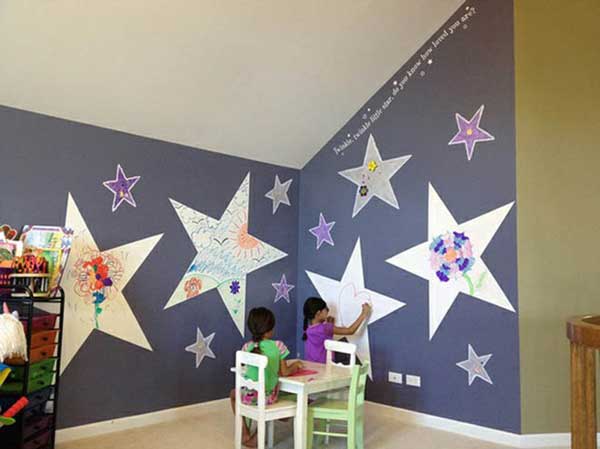
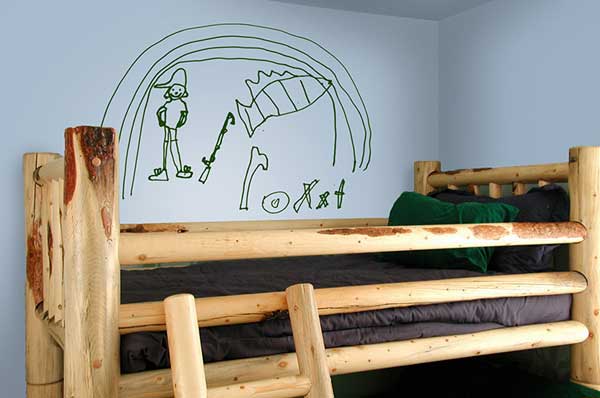
This could be great for the outside of cabinets, walls in the living area, walls in the bathroom, table tops or any where else that you may want to work, doodle or let children play.
httpv://youtu.be/6Q8MeFVJp-o
ReMARKable Ideas
See ReMARKable Coatings Kit Options
If you have basic painting skills then the product from ReMARKable should be no sweat. All that is required is the mixed of two components then to use a roller to apply it to the surface of choice. 48 hours later you have a ready to use dry erase board surface.
ReMARKable Coatings DIY Dry Erase Board Installation Steps:
- Prepare Surface
- Clean the surface as you would before applying any paint.
- Mix It – ReMARKable comes in two parts. Thoroughly mix it right before you are ready to apply.
- Paint It – Use a smooth nap roller, roll onto the surface just like paint. You have about 45 minutes to apply ReMARKable to the surface before it starts to cure, so plan well!
- Let It Cure – Once applied, it dries to the touch quickly. Let it cure for 48 hours and your surface is ready to go.
- Write on It – Use a micro-fiber cloth to clean it off.
See ReMARKable Coatings Kit Options
A DIY dry erase board should to prove to be a great tool for some of the folks here at DoItYourselfRV going forward. What kind of ideas spring to mind for you? How would could you use a DIY dry erase board for work, play or to entertain the little ones in your RV?
Image Credit (ReMARKable, DryErase.com)