
Nothing lasts forever, that seems particularly true with RV’s. If everything is working perfectly all the time then your probably just overlooking something. The roof of RV’s is a battleground between sealant and the elements. A prime area for problems to put it lightly. Every nook, opening, and vent on the roof needs to be properly positioned and sealed. It is when, not if with items on the roof.
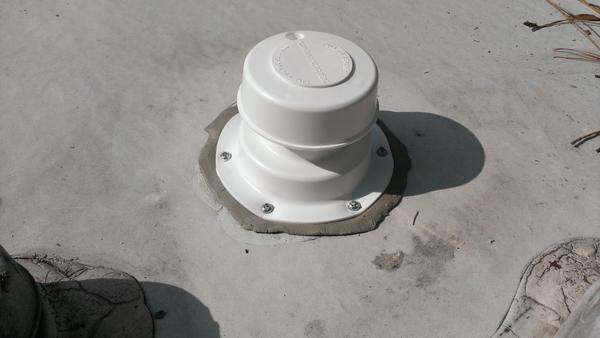
The RV sewer vent cap is one such item that nearly every RV has protruding through the roof. Years of tussle with rain, heat, cold, and wind take its toll. The seal begins to crack and peel away from both the vent cap and the roof exposing the interior of your RV and your holding tanks to many undesirables.
Alan Cook and Laurie Clark have a great example of what it looks like before, during, and after when you need to replace your RV sewer vent cap at their blog RoadWorkPlay.
Replacing a Weathered RV Sewer Vent Cap

All you need is a replacement RV sewer vent cap, a putty knife, a screwdriver, rubbing alcohol, and Dicor Self Leveling Sealant.
[asa]B000EDQQCY[/asa]
As Alan and Laurie show, the steps for removing and replacing your RV sewer vent cap are logical:
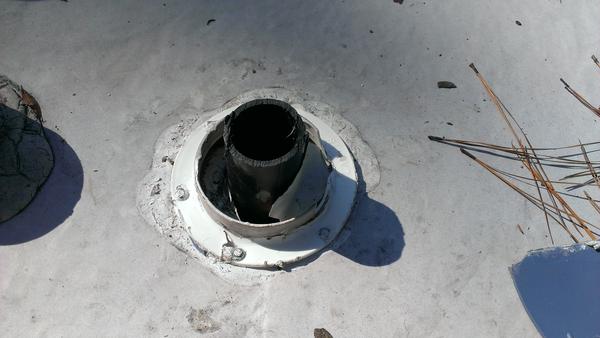
- Remove the old sealant
- Remove screws that fasten the vent to the roof
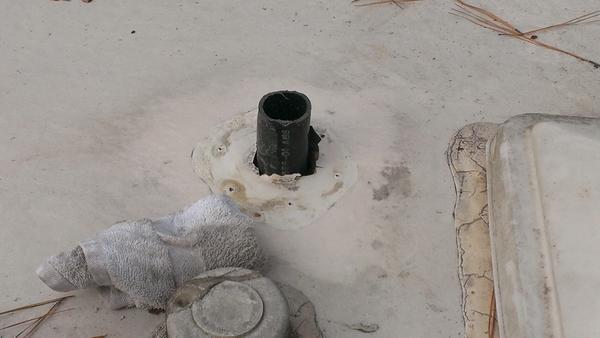
- Remove vent and clean the area with a wire brush and rubbing alcohol
- Install the replacement RV sewer vent cap per the included direction (takes only minutes)
- Apply sealant to ensure a weatherproof installation
httpv://youtu.be/7-uFrBNB4yI
In a matter of minutes you can turn a eyesore and a potential catalyst for problems into as good as new. We encourage you to have a look at the RoadWorkPlay blog for more photos and additional information about this RV mod.
Feel free to share your tips for weatherproofing your RV vents in the comments section below!


