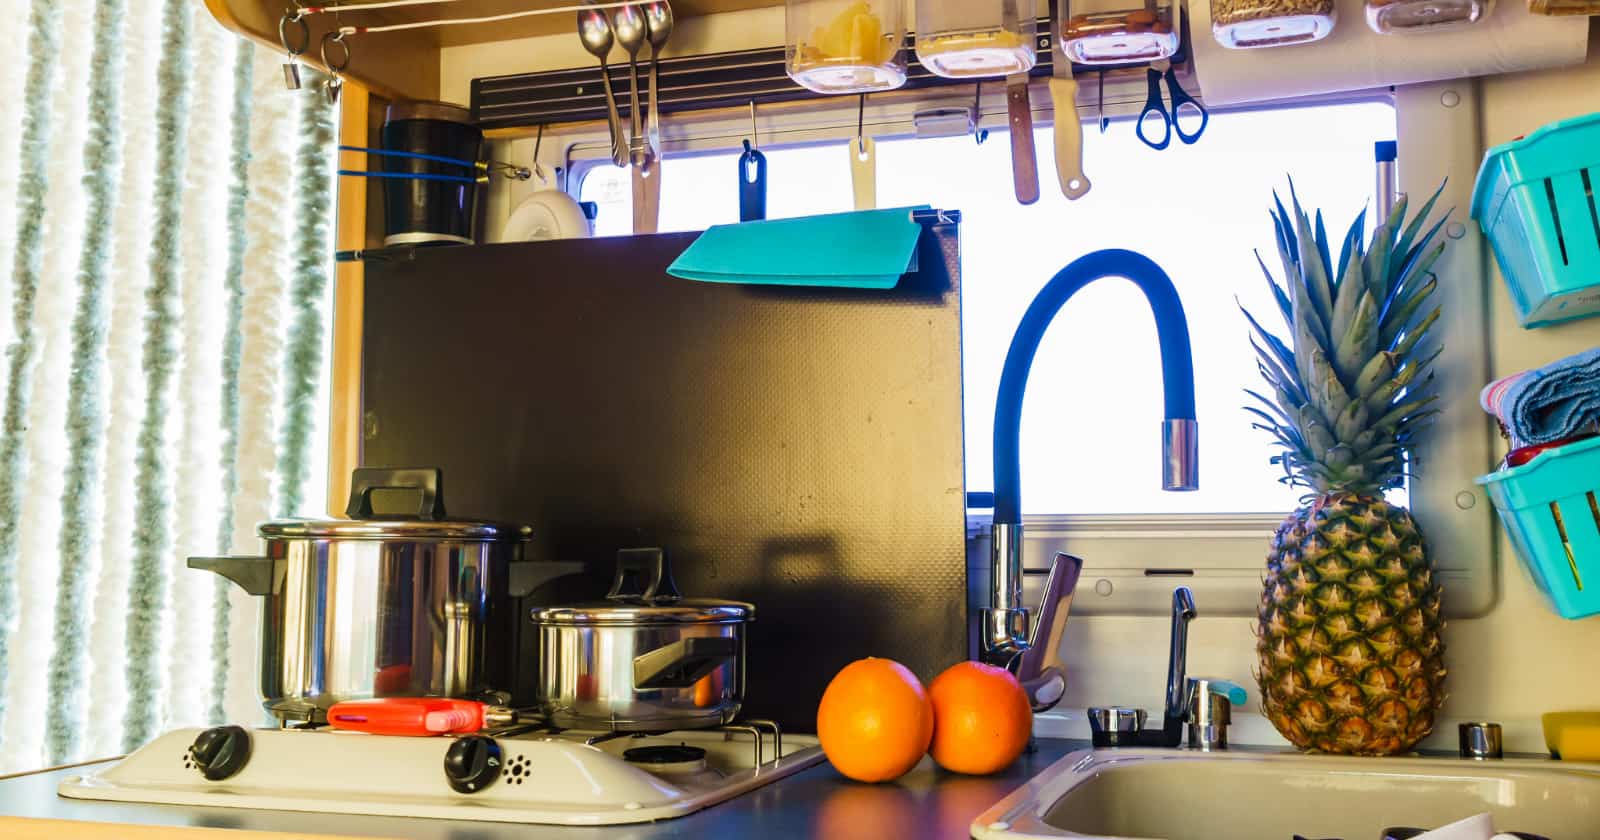
Homegrown sprouts…in an RV? Yup, not only is it possible, but it’s also cheap, easy, and takes up very little space.
One of the most difficult things for me to leave behind when I ditched my house in favor of an RV was my vegetable garden. No matter how many farmers markets I visit around the country, nothing beats picking fresh veggies right outside my kitchen door. For a while I satisfied my green thumb with a small pot of herbs, but after my basil got crushed for the fourth time while driving down the road, I gave up.
Much to my delight, I recently discovered seed sprouting. With nothing but a mason jar and a small handful of seeds I have been able to grow fresh, tasty sprouts inside my RV. If you’re like me and long to do some RV friendly gardening, why not give seed sprouting a try?
Seed Sprouting Equipment
Supplies:
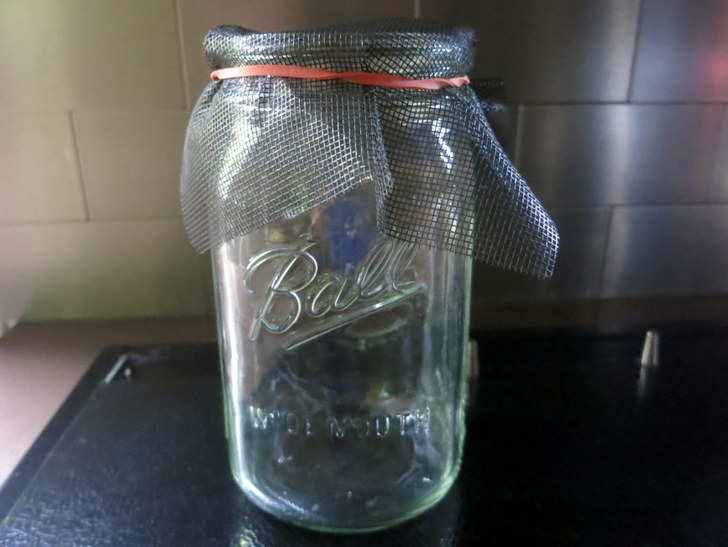
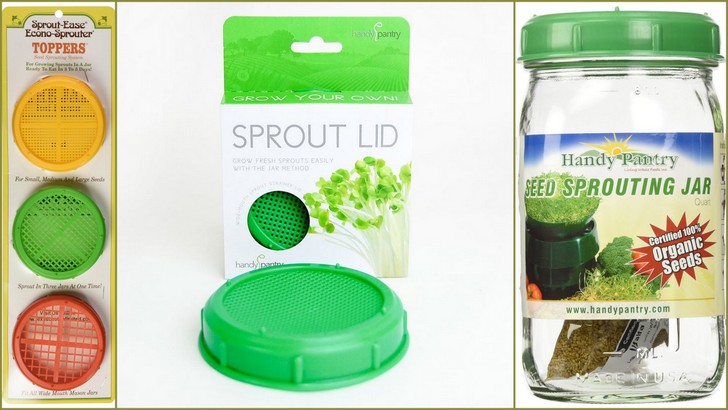
- Wide Mouth Canning Jar + a piece of fine mesh screen + a rubber band
- Or a Sprouting Jar with Lid
- Assorted Seeds
Making your own seed spouting jar is incredibly simple. All you need is a wide mouth canning jar, a piece of mesh screen, and a rubber band to secure it. Pretty simple right?
Or, you could go the store-bought route and purchase any number of pre-made products for seed sprouting. There’s the Plastic Strainer Lid that fits on any wide mouth jar, the One Quart Jar with Strainer Lid, the Set of Three Plastic Strainer Lids in different sizes, or the 4-Tray Seed Sprouter for sprouting different seeds at one time.
As far as the seeds go, there are many seeds that will sprout, including:
- Alfalfa
- Chick Peas
- Mung Beans
- Adzuki Beans
- Clover
- Lentils
- Radish
- Cress
- Broccoli
- Sunflowers
You can buy your seeds from the bulk section of the grocery store, or you can purchase them from sprouting companies such as the Sprout House or Sprout People. Both companies provide a wide variety of high quality, organic, GMO-free seeds for sprouting.
One of the advantages to buying from a sprouting company is that you can find some great pre-mixed sprouts blends such as Mike’s Salad Mix which contains adzuki beans, green peas, lentils, red clover, radish, and alfalfa.
For my first foray into the sprouting world I bought a sample set of 12 different 2 oz. seed packets from the Sprout House through amazon.
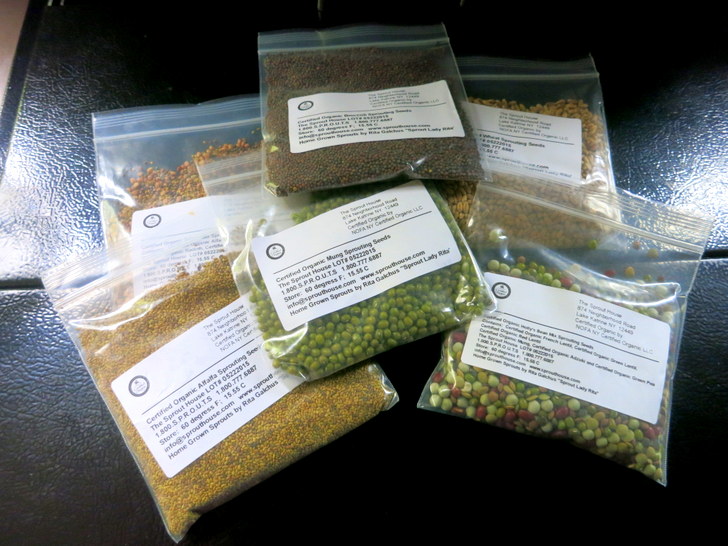
Since I wasn’t sure what kind of sprouts I would like best, the sample pack has been a great way to experiment and try different sprouts. So far my hands down favorite are the crunchy broccoli sprouts.
Now that you have your supplies, lets get ready to sprout!
Seed Sprouting Instructions
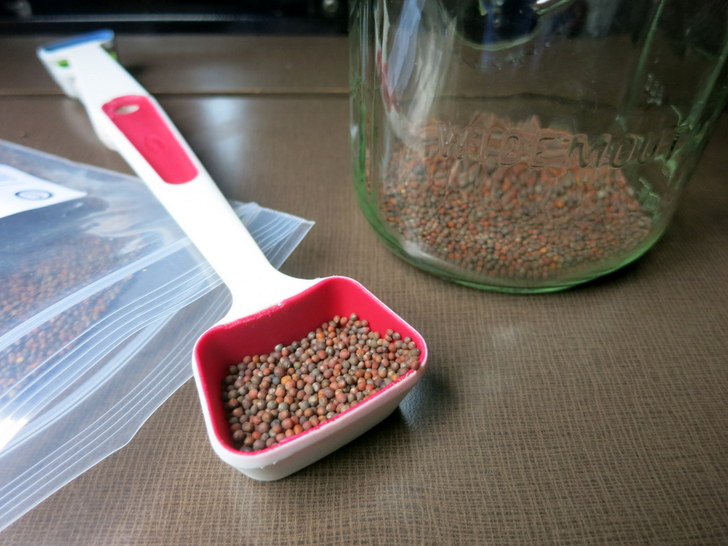
1. Place 2-4 tablespoons of seed in the bottom of your jar. The yield of sprouts varies depending on the type of seed, but in general a little goes a long way. For example, I sprouted 2 tablespoons of alfalfa seeds and yielded enough to fill an entire pint size container. My advice would be to start small and work your way up.
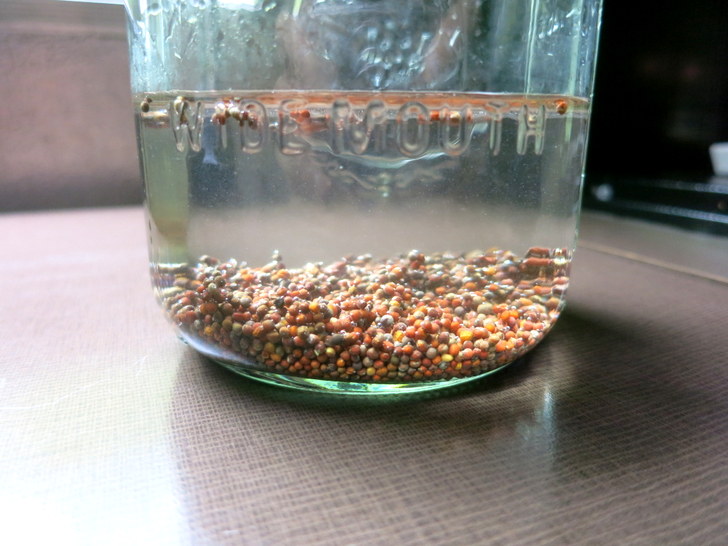
2. Fill the jar with enough room temperature water to cover the seeds plus an extra inch. Secure the screen over the top of the jar with the rubber band, or screw on the pre-made strainer lid. Place the jar in a cool spot (out of direct sunlight) overnight or for 8-10 hours.
3. Drain the water through the mesh top. The seeds should be wet, but not sitting in water. Place the jar on its side in a cool spot.
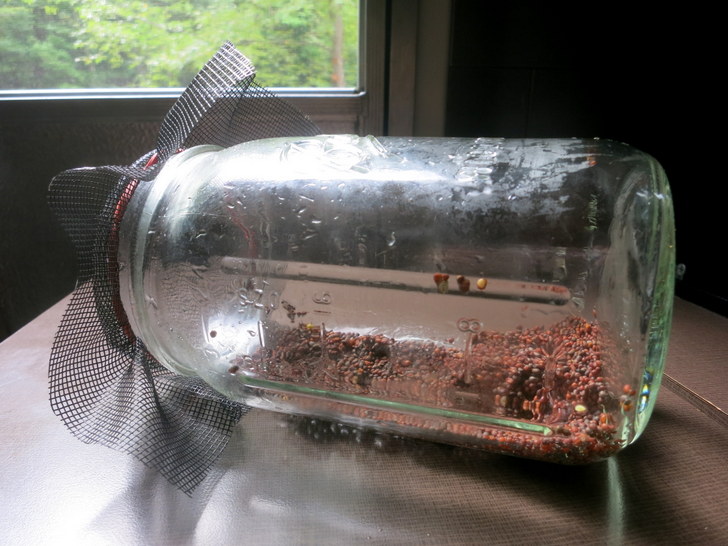
4. Twice a day rinse the seeds by filling the jar with water, swishing it around and draining the water through the mesh top.
5. Repeat this process until the seeds have sprouted and grown to the desired size. In general it will take 3-5 days depending on the type of seed.
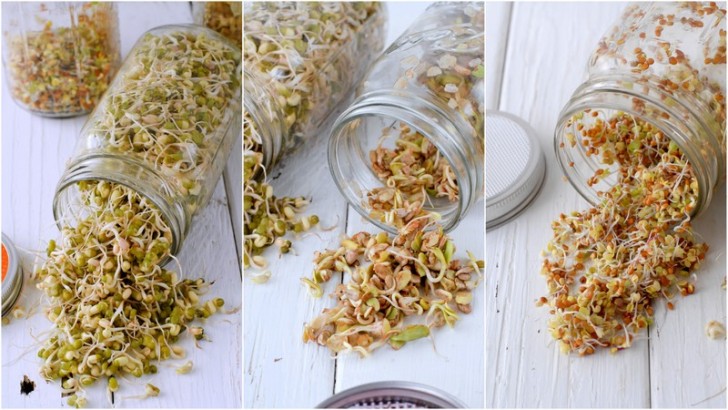
6. Give the seeds one final rinse and place them in a plastic bag or sealed container. They will last in the refrigerator for 4-5 days.
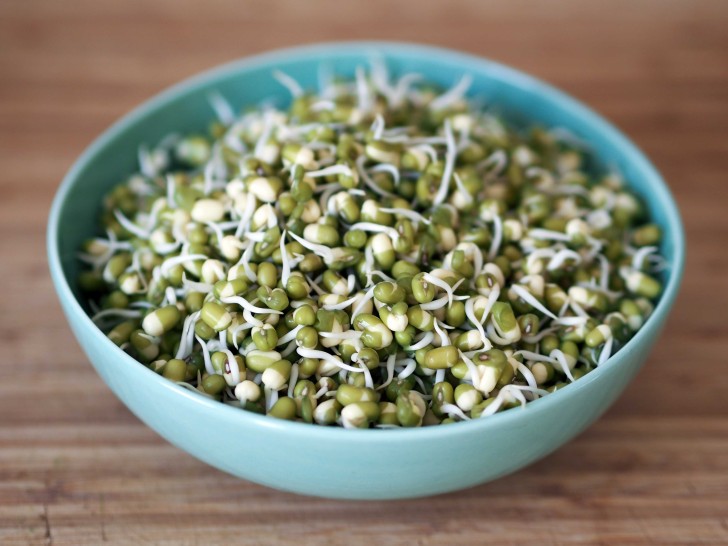
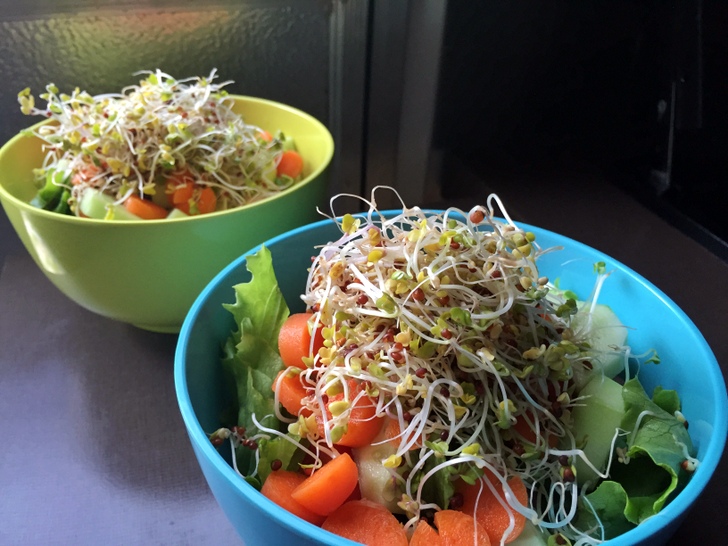
7. Enjoy the sprouts on top of salads, in sandwiches, rolled up in wraps with your favorite veggies, or simply munch on them straight out of the container.
Disclaimer: I feel obligated to add a small food safety note. Much like fermented or cultured foods, sprouted foods are susceptible to contamination from bacterial growth. Always take care to keep your equipment and hands clean. Also, keep your finished sprouts in the fridge, in a covered container and consume them within a few days.
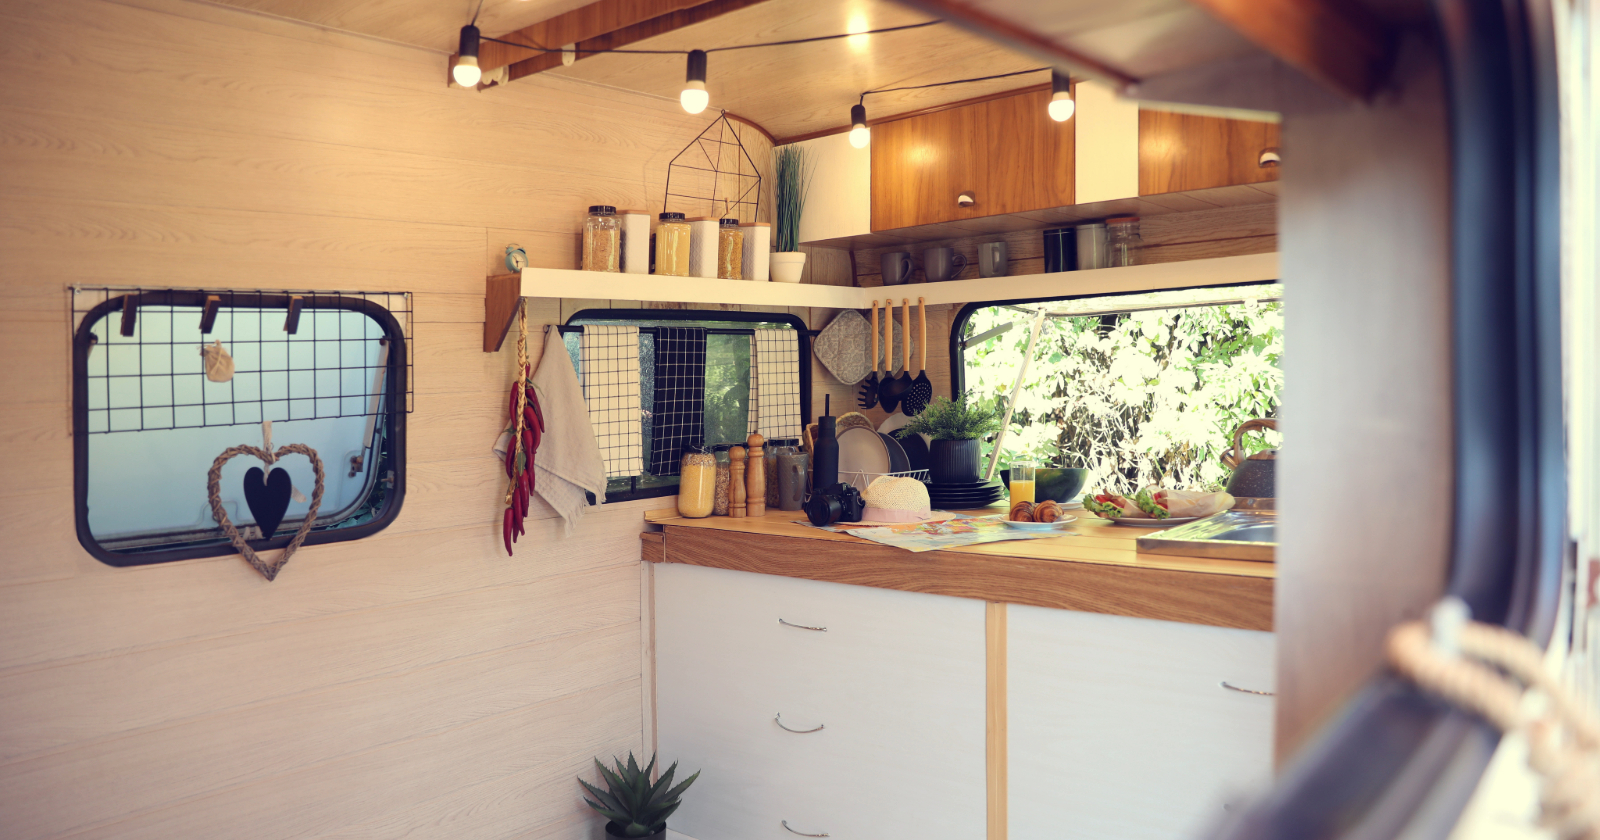
RV Friendly Gardening
Gardening in the confines of an RV is not only possible, it’s also cheap and easy with this simple tutorial. So gather your jar, select your seeds, and get ready for some fresh homegrown sprouts!