When it comes to RV’s there are stages that each will go through. The “New” stage where everything looks modern and nice. Then comes the “its still nice but somewhat dated” phase. Followed by “this thing needs some love” phase. Then it reaches the “who lived here” phase. Then, last but not least, it reaches the “not usable without some tender loving care” phase. There are RV renovations completed in each one of these stages but some of the most amazing are taking an old, dated, possibly mistreated RV’s and remodeling them back to their former glory.
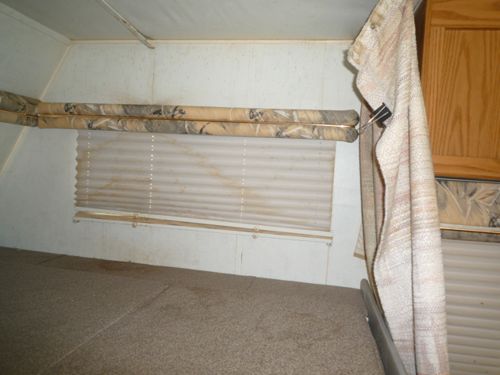
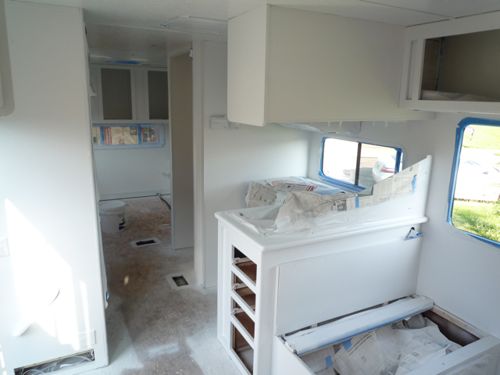
RV Renovation 1999 Jayco Designer BEFORE:
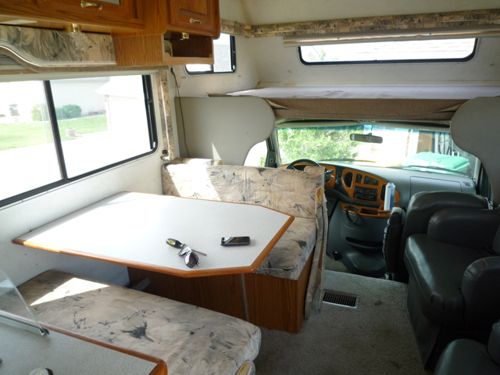
This 1999 Jayco Designer Class C had not been as cared for as perhaps it should have been when the new owners Maria and Brian purchased it in 2010 and named it “Stanley”. As you can see from the photos below, some the stains on the walls and blinds are signs of water damage.
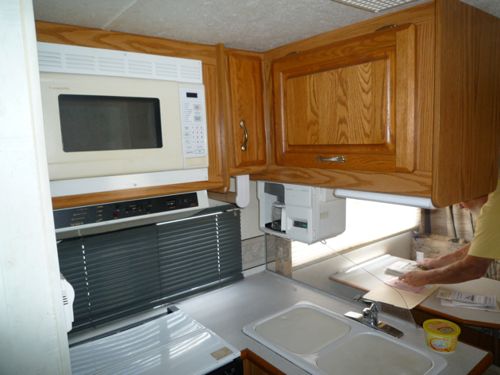
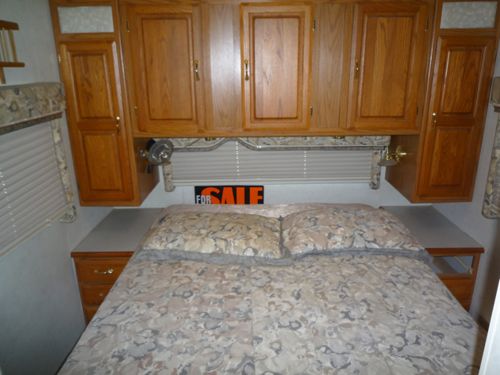
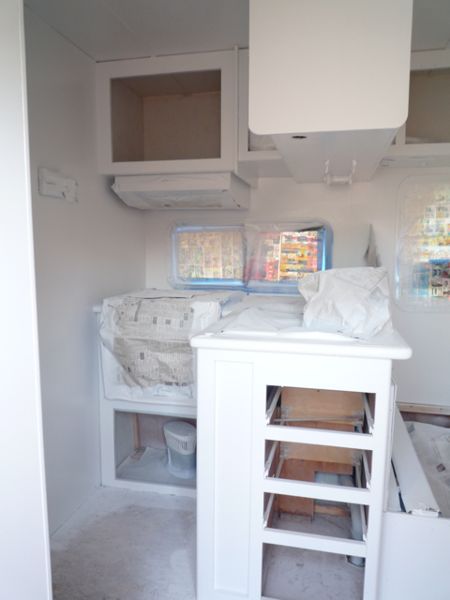
Maria and Brian knew this was a fixer upper and would require a RV renovation that neither of them had ever done before. Its incredible to think about the results when neither of them had ever painted before! They started by removing nearly everything that wasn’t glued down.
[asa]B003PGQI48[/asa]
The list of RV renovations are as follows:
- Renovated and reupholstered all of the interior fabric (valence, furniture, etc.)
- Removed and refurbished blinds by soaking them in OxiClean (Use PVC pipes with end caps to do this).
- Removed, sanded, and repainted cabinet doors
- Removed everything that was yellow or dirty so it could be painted.
- Removed all the carpet and replaced with cushioned vinyl flooring.
- Removed the Queen Bed.
- Primed the Interior of the RV (Included Scrubbing, De-griming, Degreasing, etc.) with Kilz.
- Painted entire interior. (Hired a professional painter for this)
- Began re-installing all removed cabinets, bedding, furniture, etc.
- Completed accent painting in the kitchen(green) and the overhead cab (grey).
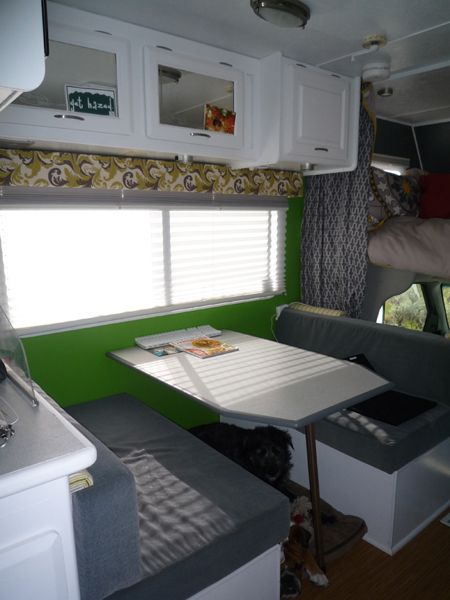
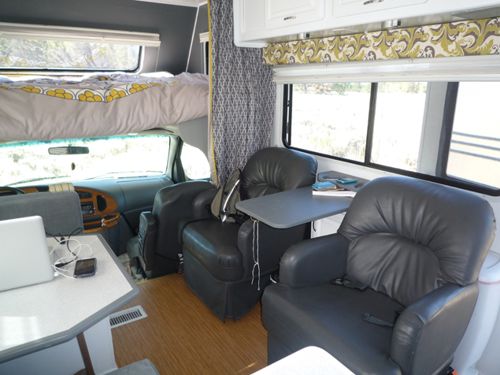
RV Renovation 1999 Jayco Designer AFTER:
[asa]B0006BAEI6[/asa]

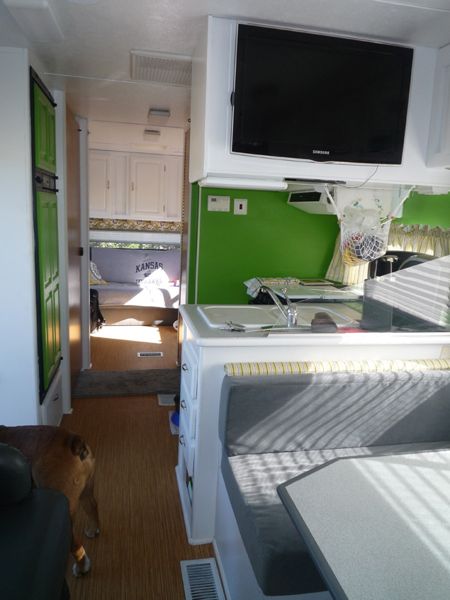
As the photos show the results are quite impressive. It doesn’t even look like the same decade of RV. The updates to the upholstery, blinds, and paint job did wonders to update this hard-rode RV. We really like the idea of using OxiClean to brighten up the blinds by using a PVC tube. I am sure there are many among us that would find that useful. As for Maria and Brian, they now get to travel at their leisure, visiting friends around the country, and working part time for a company that allows them to tele-work. Living the dream in more ways than one.
Video of Stanley (Getting Stuck in the Sand)
httpv://youtu.be/KOlZuH8GNBo