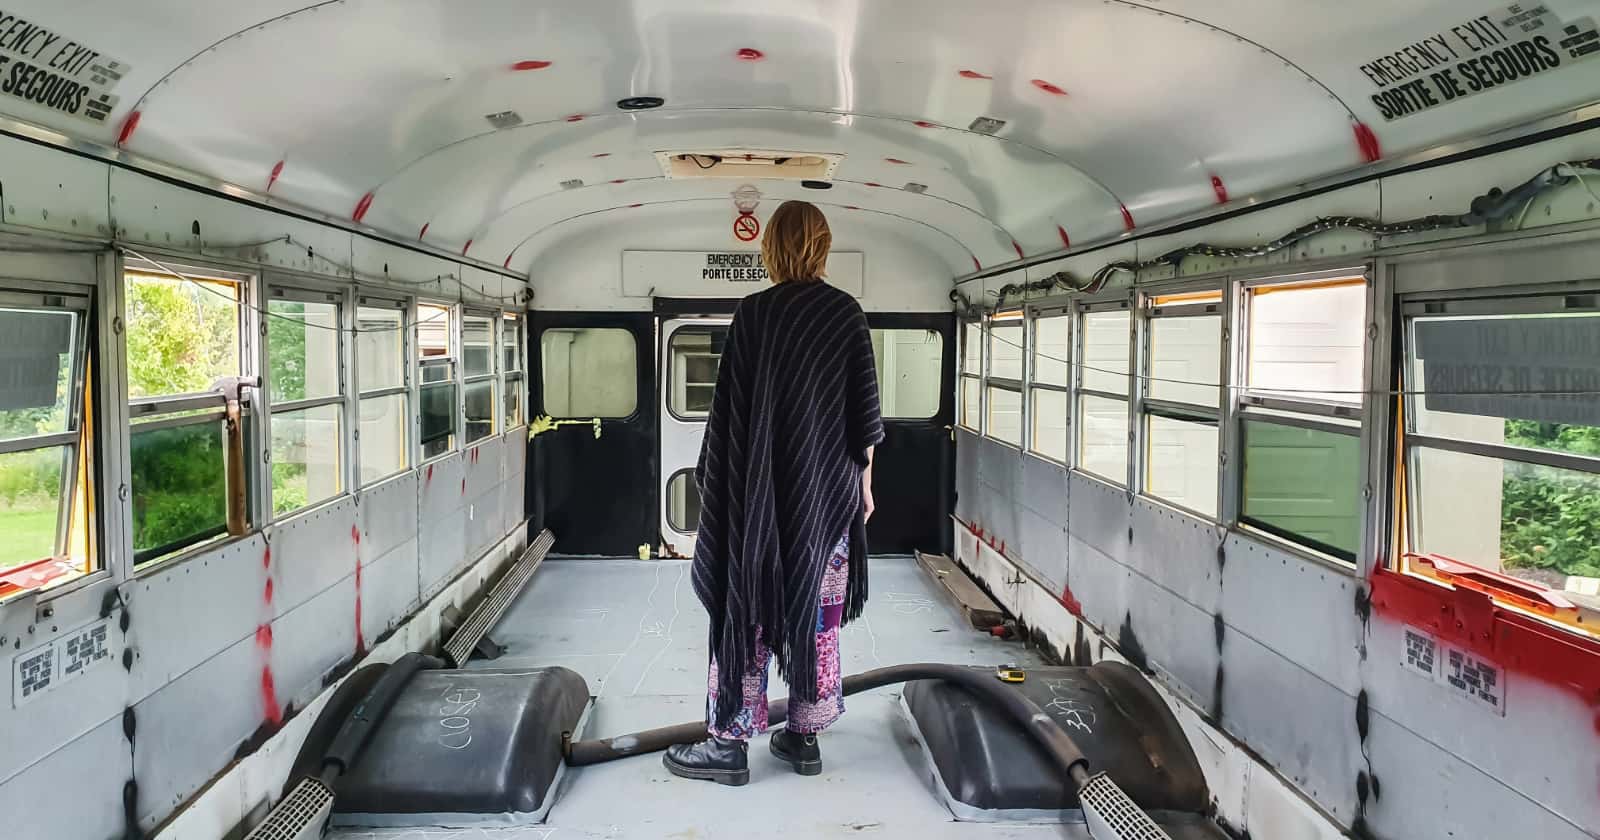
The rounded roof of most school bus conversions makes installing standard kitchen cabinets a challenge. Instructables builder rovingcraftshop figured out a way to fit the normally square cabinets against his 1988 40′ Bluebird school bus’s curved roof.
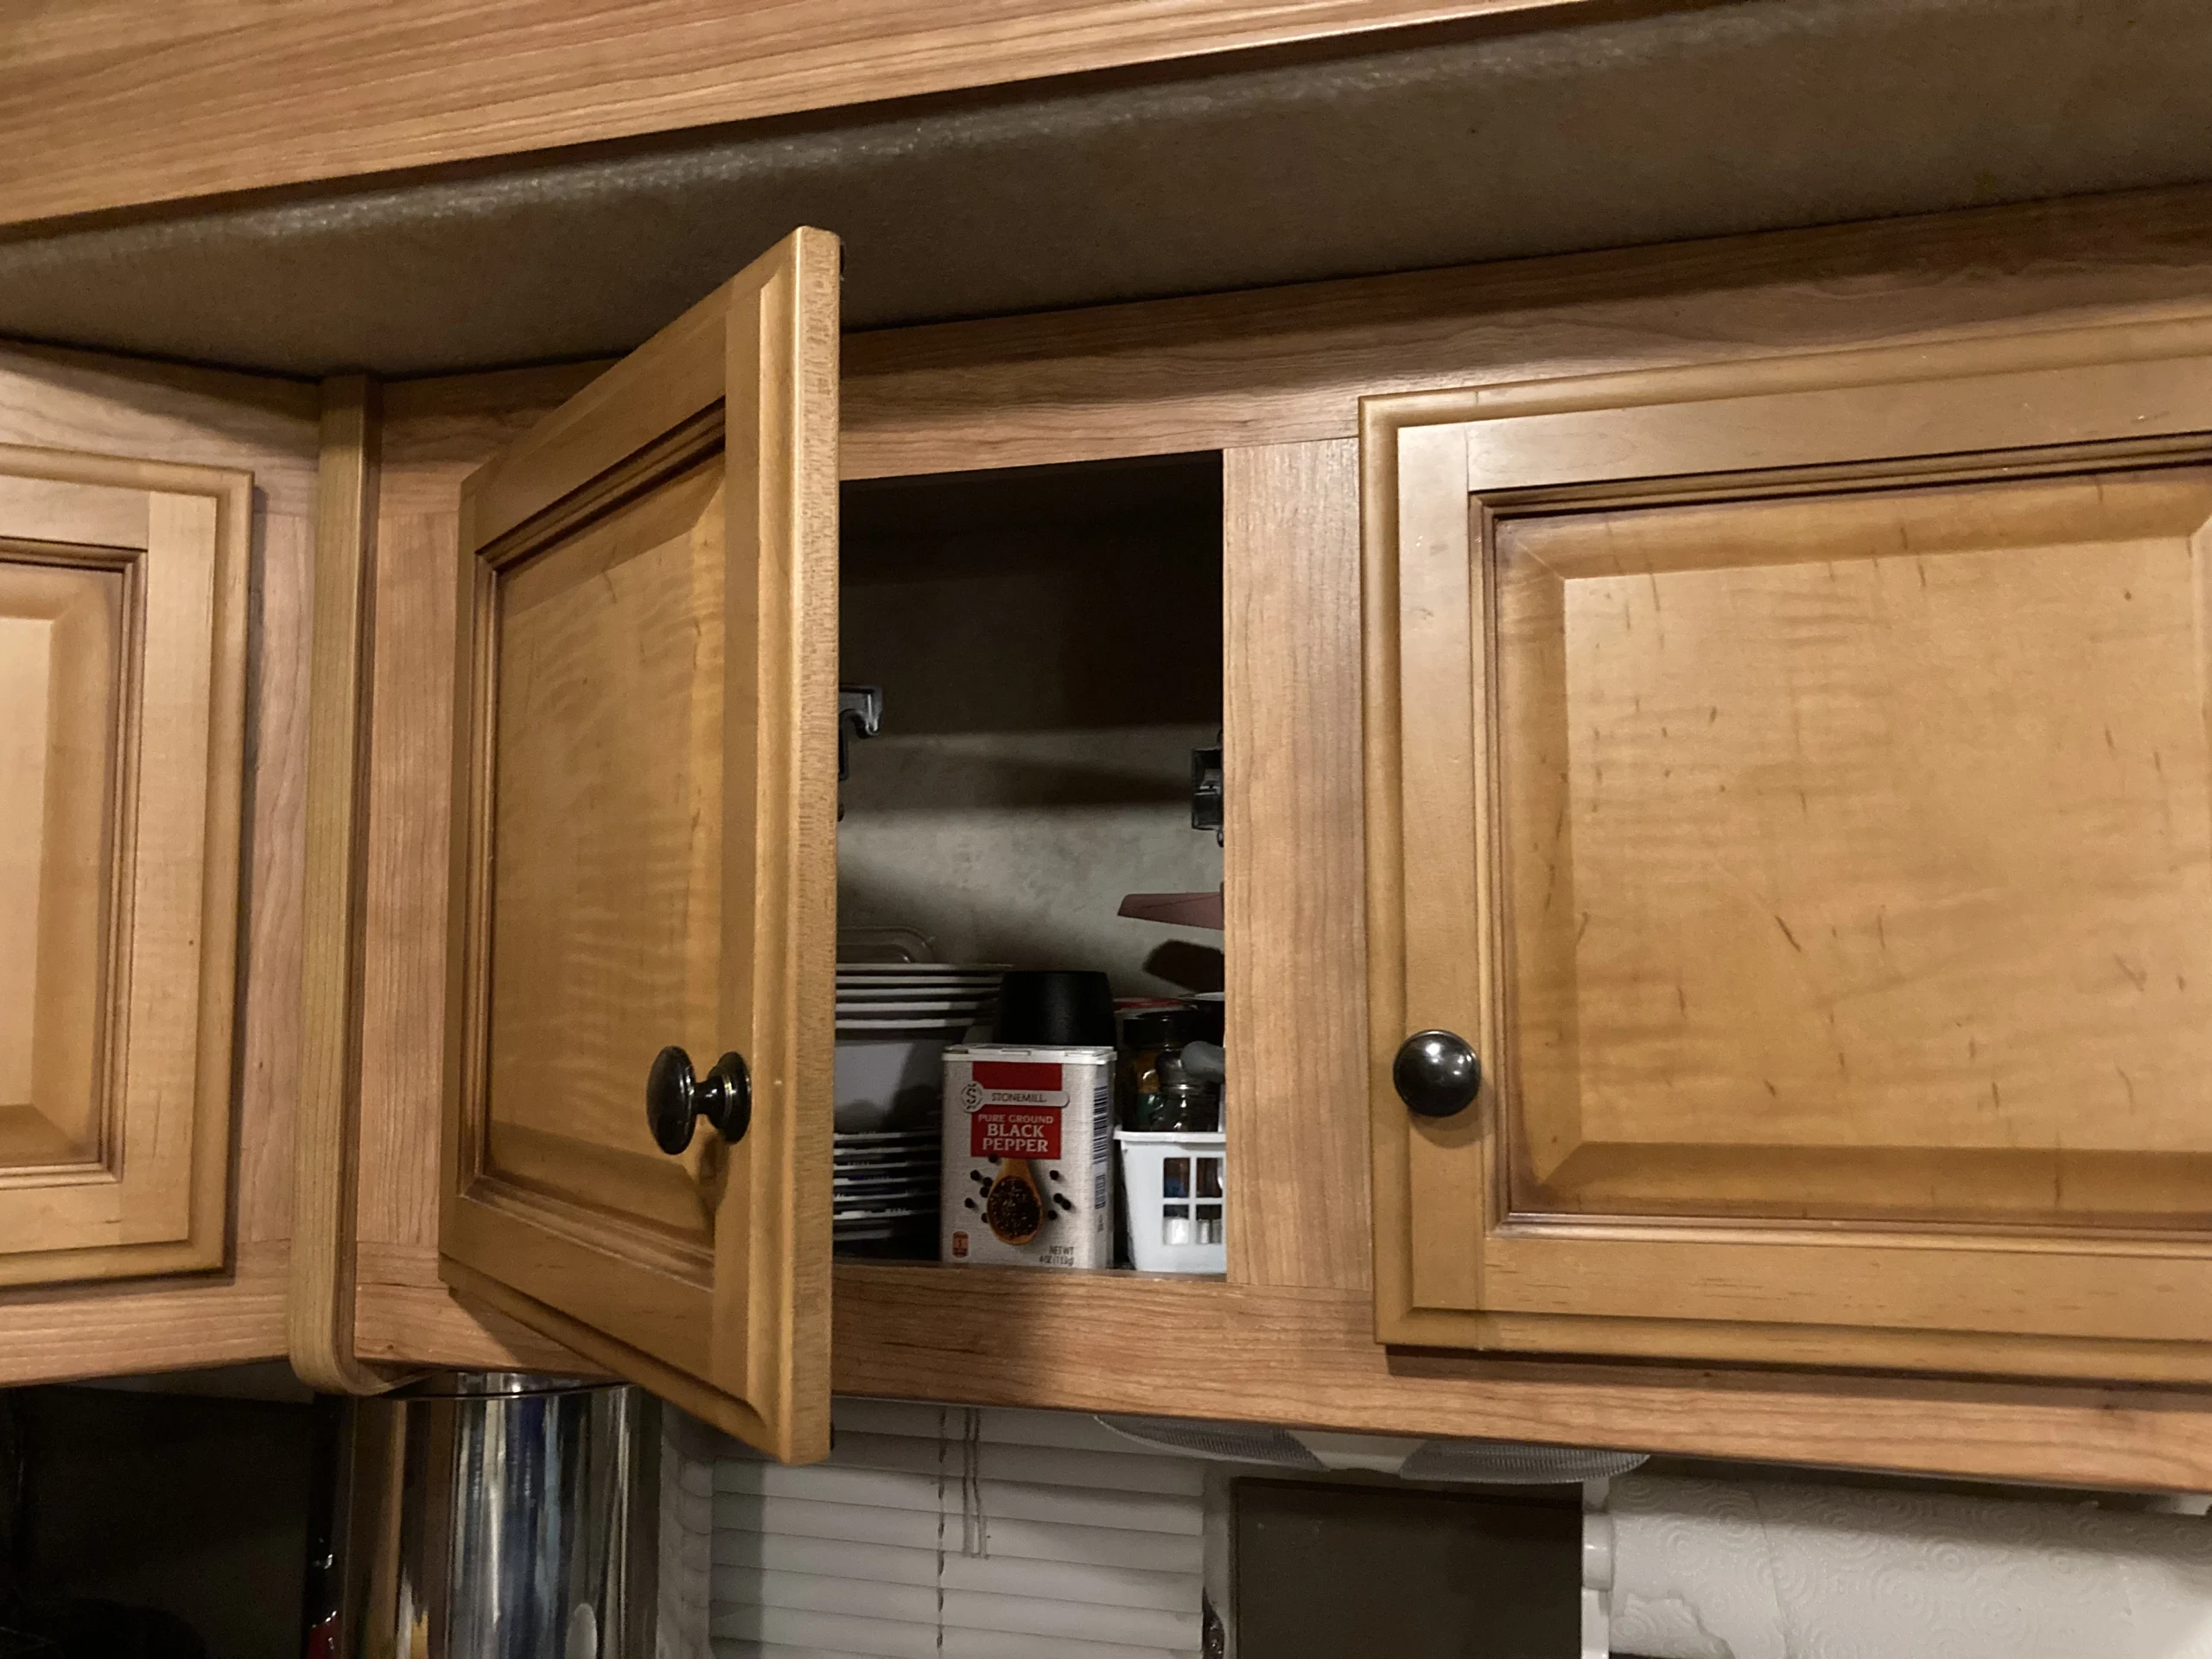
What couldn’t you store in all of these cabinets!?
The first decision was whether to use stock cabinets or build custom. With average carpentry skills, building decent kitchen cabinets is a fairly simple project and doesn’t cost all that much. Rovingcraftshop was leaning towards creating custom units to accommodate the roof’s curved surface. Then he got another idea…
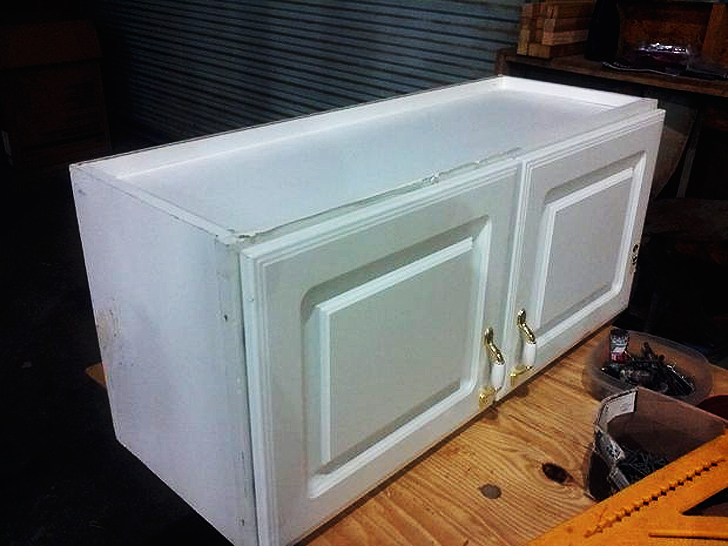
Here’s how the upper kitchen cabinets originally looked. A bit boxy right?
A shopping trip to a local Habitat for Humanity resale shop made the choice clear. Rollingcraftshop happened upon several upper and lower sections of kitchen cabinets in good condition. He found enough cabinet sections to finish out the entire kitchen in his bus conversion – for the price of a single new cabinet section from a big box store.
If you have never shopped at any home improvement resale stores, you should. Habitat has stores across the country that sell almost any product that can be salvaged from a house, including doors, windows, plumbing fixtures, flooring, tiles and cabinets. All things that can be useful to an RV DIY project. They can be had at a substantial discount – and sometimes the items are brand new!
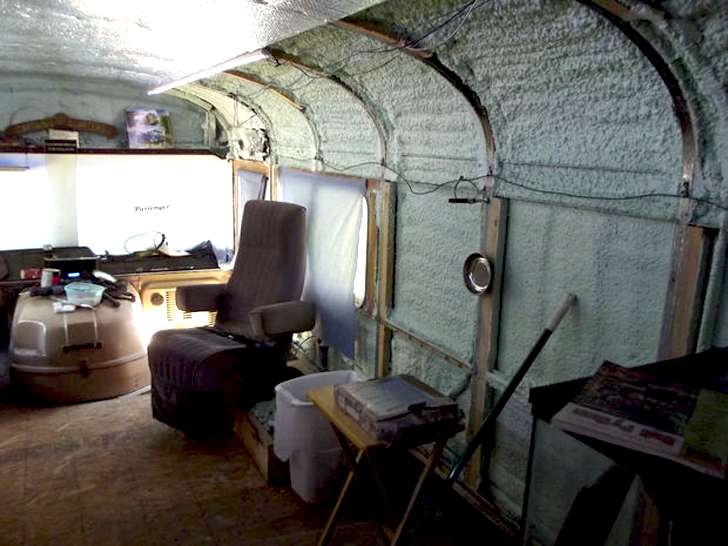
Styrofoam template cut to fit the curvature of the roof.
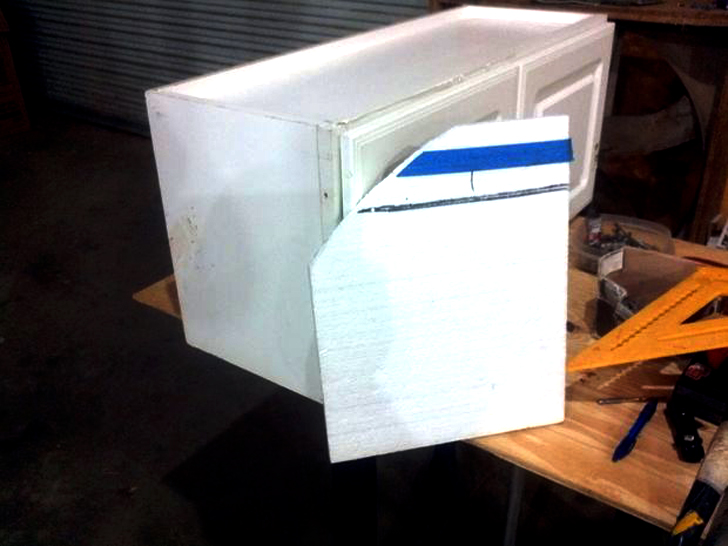
While the cabinets came cheap, he would need to cut away a portion of the back of each unit so that the cabinet box would fit flush against the bus’s wall and roof. Rollingcraftshop came up with a simple solution. Just cut the boxes to fit the curve of the roof! Using a piece of Styrofoam, he cut a template that the rear part of the cabinets would need to match. With Styrofoam it’s easy to just keep cutting until you get the fit you want.
Next this template was transferred onto the end bulkheads of the cabinets and traced out with a permanent marker. Lines along the top and back of the box completed the cut lines.
An upper cabinet marked for the end, top and back cuts.
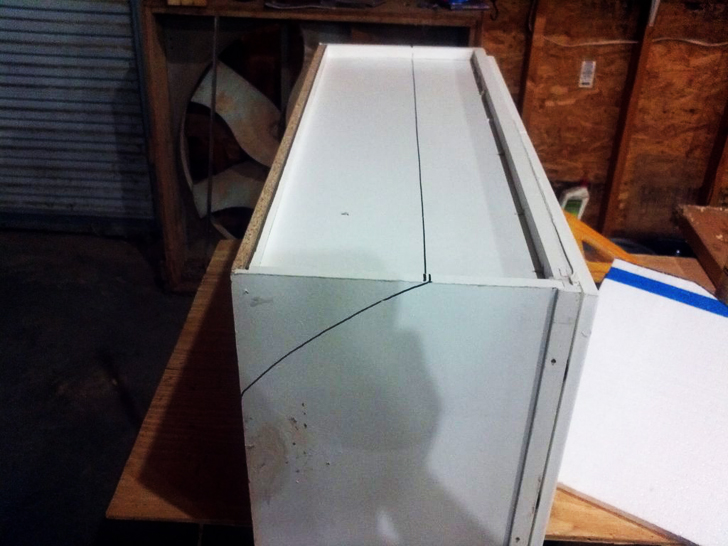
View of cabinet end cut to fit roof.
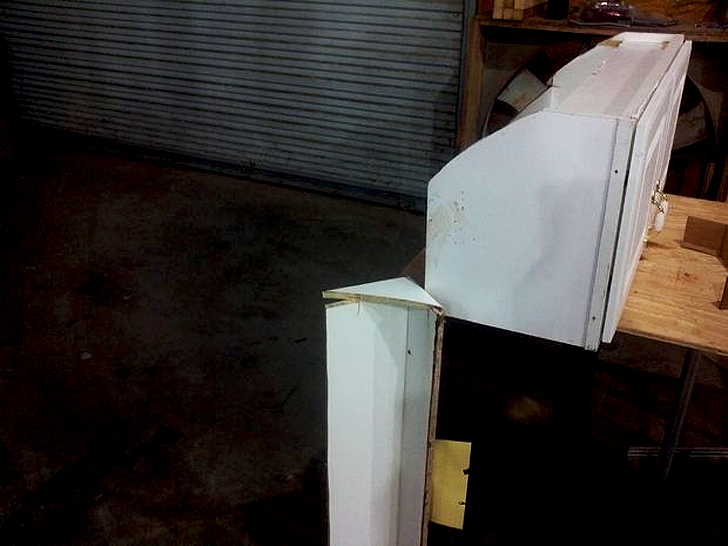
Using a jig saw for the curved ends and a circular saw for the long, straight cuts worked well. A small back saw, or reciprocating saw can be use to finish the cuts where they don’t quite meet up. If you have a table saw, the top and back cuts could easily be made on that as well.
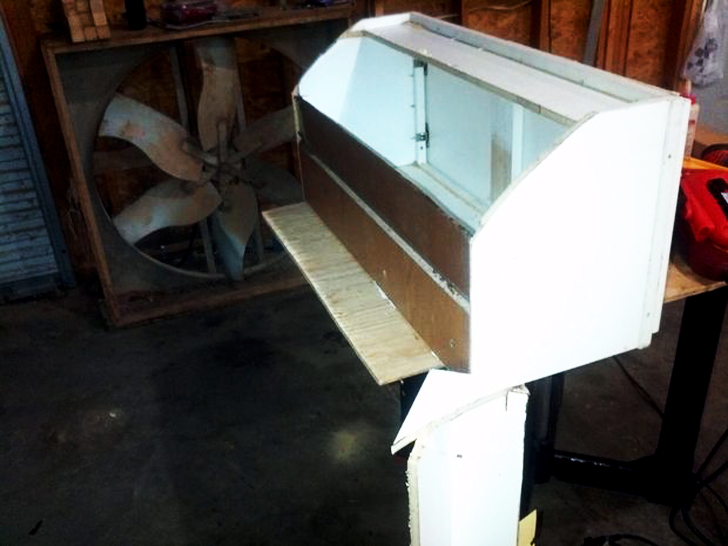
Once the boxes were cut, the back and top were left half open. Rollingcraftshop added a wooden cleat, or strip, against the buses metal roof ribs to screw the cabinets to. Screwing from the inside of the cabinet out into the wooden strips gave support at the top and the back of each cabinet unit.
While the opening in the back and top will weaken your cabinets some, a piece of 1″ x 4″ nailed inside and across the opening can help to stabilize the frame. For further reinforcement and before mounting the cabinets, cut a piece of 1″ x 8″ hardboard (commonly called Masonite, which is actually just a brand name) to fit the opening. Staple it in place to cover the gap and seal up the storage units.
In this view you can see the wood strips used for mounting the cabinet sections.
Rollingcraftshop decided to leave the boxes open to more easily run wiring behind them. He plans to later fit ¼ inch luan plywood inside the boxes to cover the openings. Luan is stiff, and would add strength to the cabinet sections.
Another tip for installing the cabinets: attach the boxes one at a time, then screw the boxes to one another. By linking the boxes together, they’ll be less likely to tear off the wall if the bus hits a bump.
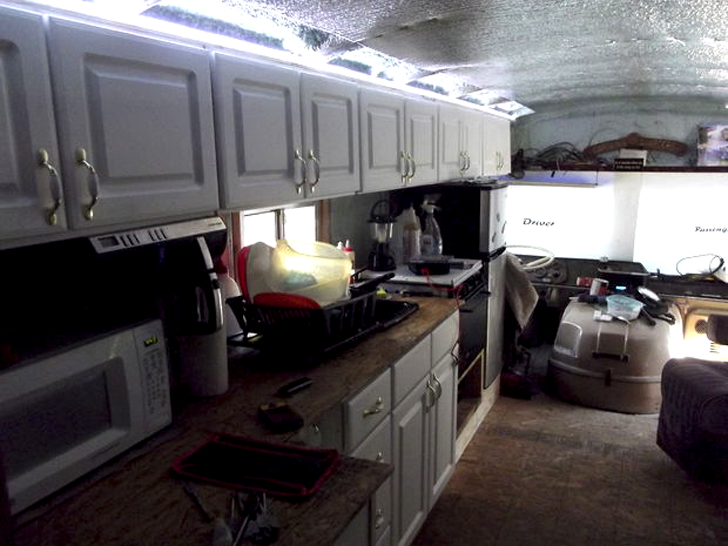
Completed installation from front of bus.
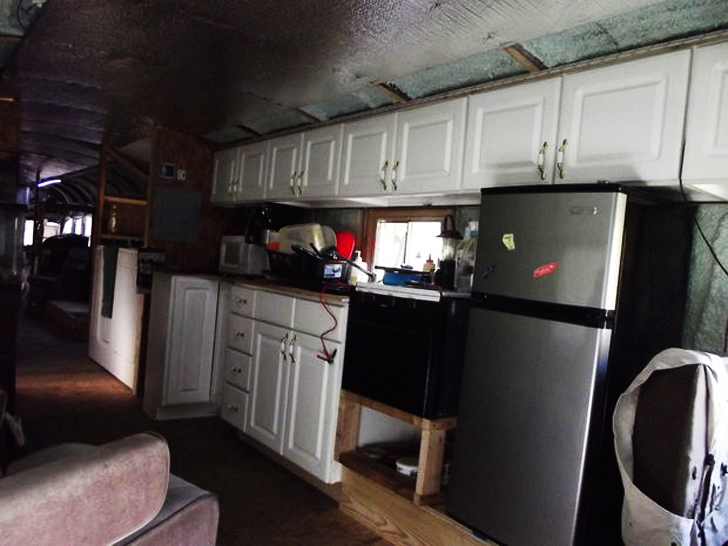
Don’t let the rounded upper part of a bus conversion’s roof end up as wasted space. By repurposing old kitchen cabinets, you can add valuable storage space at minimal cost. To see the entire build log, visit the instructables tutorial here.