How To Install A 12 Volt Fan For RV Campers
Keeping your RV cool and keeping air moving throughout it are both important factors in maintaining a comfortable environment.
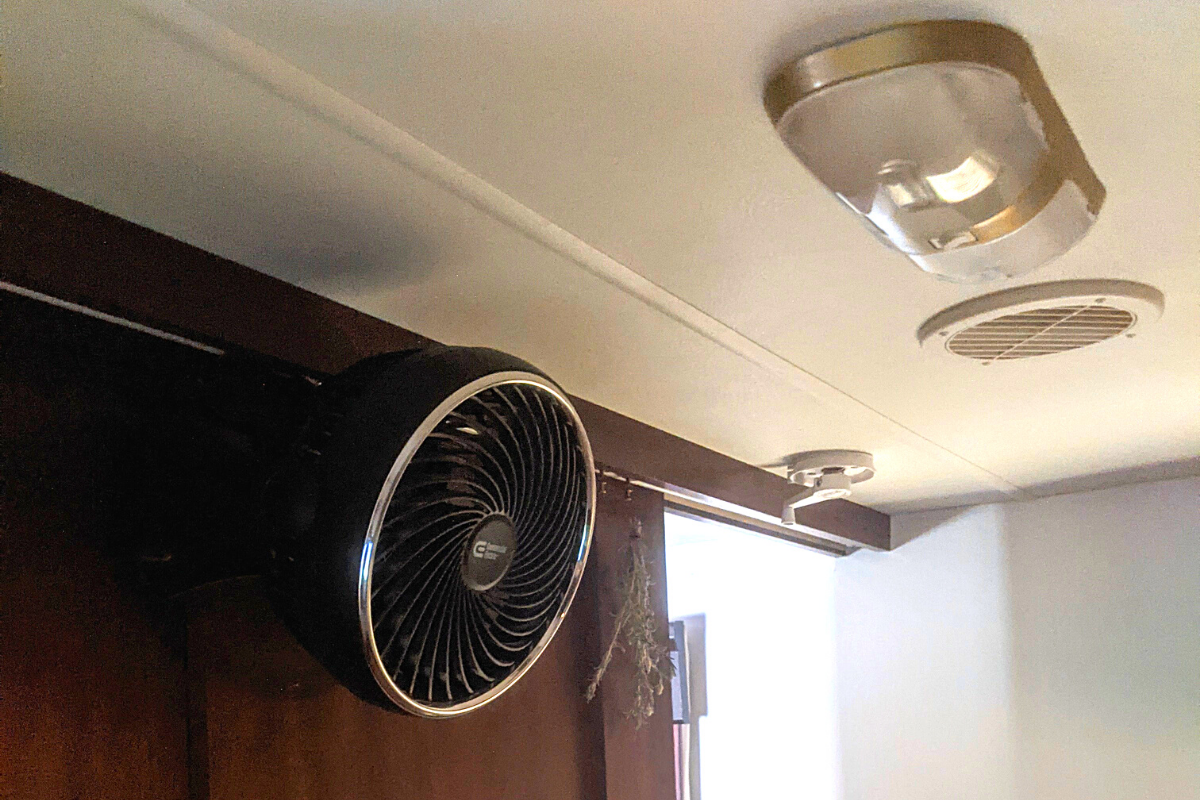
Most RVs come with a fan option on the A/C unit if equipped, and often a roof vent with a fan.
Being able to direct air to a specific location, like say your favorite chair or the head of your bed, can be very refreshing.
12 volt fans are relativity cheap and easy to install with some basic know-how, making them a great modification.
Here’s the breakdown of installing a 12 volt fan for RV campers.
What you’ll need
This can be a pretty basic install that only requires basic tools or more complex depending on the fan you buy, and how and where you decide to mount it. Here are the things you will most likely need in addition to the fan itself:
- Appropriate gauge wire
- Wire connectors
- Heat shrink tubing or electrical tape
- Wire strippers/crimpers
- Multimeter/test light
- Screwdrivers/drills depending on mounting location
- Soldering gun
Soldering connections produces a solid, permanent connection. If you have the tools and you know how to solder, this is a great way to make your connections.
Safety precautions
Any time you are working with electricity, you should be comfortable and confident in doing so.
Although 12 volt systems are safer to work with than 120 volt systems, care should still be taken. A 12 volt system, in most cases, will only deliver a small shock that is more surprising than harmful.
RVs have both 12 volt and 120 volt systems so if you’re not sure, ask for help.
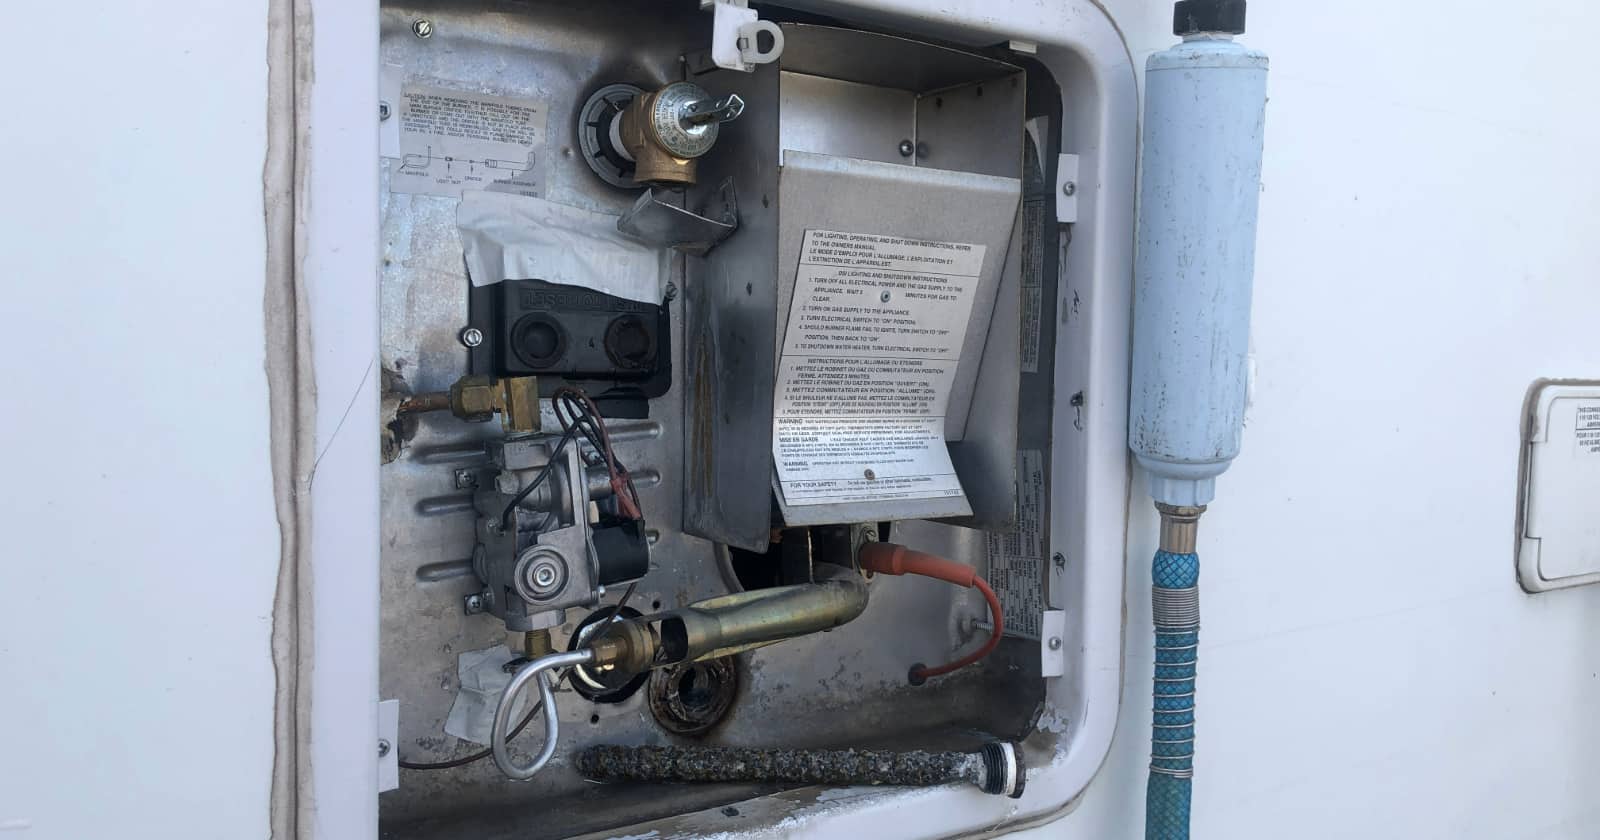
Choosing a circuit
First, you need to have a circuit with 12 volt power to wire your fan or plug to. There are a few options for circuits. You can use an open circuit from your fuse panel, run directly from a battery, or splice into an existing circuit such as wiring for lights. It’s best if you can run an independent circuit to eliminate the possibility of overloading a circuit.
Although this is the best way to wire your fan, it is unlikely, in most cases, that you will have an open circuit in your fuse panel and be able to route wires through walls and ceilings to where to want to have your fan.
The most likely option will be adding the fan to an existing circuit. Knowing the power requirements of your fan will help to know if it will be safe on the existing circuit. Most circuits with lights that you would be connecting to will be 15-amp. Having a fan that draws for example 5-amps and 3 lights that each draw 1.5-amps you would max at 9.5-amps.
Finding a circuit with just lights on it is your best bet. Lights have a low draw between 0.5-1.5-amps per bulb and are 12 volts, so this is a good circuit to use.
Avoid using the same circuit as larger appliances such as water heaters, chargers, or anything that needs more power.
If you’re able to run an independent circuit for your fan and can find routing for the wires to your fan location, this video breaks down the fuse panel connection process.
Installation
The easiest option is to get yourself a 12 volt plug-in fan. These usually have a 12 volt automotive-style plug similar to what you find in many cars.
The majority of these also come with a clip attached to easily mount them to things and make them movable.
These eliminate the need to wire anything only if there is a 12 volt plug available. If not, you will need to wire a plug.
Whether you are wiring a plug or hard wiring a fan, the process is the same.
Your fan or the plug, whichever you choose to wire, will have two wires attached. A power or “hot wire” and a ground wire. Depending on the manufacturer of the item, the colors will vary. Most commonly there will be a red or white wire and a black wire.
The wire colors on the fan may be different than the wires you are connecting to and that’s okay. One thing to confirm is you are using the same size wire as the existing wire in your RV and the wire leads on the fan. Using smaller wires can potentially cause overheating and lead to short-circuiting or fire.
Connecting to an existing circuit
First, make sure the 12 volt power is still connected, and using a multimeter or test light, test the wires you will be splicing to for power and ground. Label them and then disconnect the power to the circuit.
With the power disconnected, you can begin the process of wiring your fan or plug.
Disconnect the wires from the light and cut the connectors off. Remove some insulation from the wires you will run from the light to your fan location along with some insulation from the original wires for the light.
Using the proper size connector, insert the existing and new power wires into a connector and crimp. Do the same for the two ground wires. Heat shrink tubing or electrical tape can be used at the connections to ensure a solid connection and reduce the risk of any bare wires being exposed.
If using heat shrink tubing, make sure to slide them onto the wires before making any connections.
If you have to splice the wires together at a point where there are no connectors, there will be some additional steps. If this is the case, you will need to cut the existing wires and then remove approximately 1/2″ of insulation from the ends of the wires to be spliced. Join with crimp connectors and ensure a solid connection has been made.
Routing wires
The most difficult part of adding a 12 volt fan for RV campers can be routing the wires.
Once the connections are made, you will need to route the wires to where your plug or fan will be located. If possible, they can be “fished” through the ceiling or wall to an access hole you drill, or routed on the outside of walls and ceilings and covered with wire tracks commonly used for electronics such as TVs and computers.
Once the wires are routed to your fan or plug, you can connect to the leads from the fan or plug in the same ways as described above.
Double-check that all connections are secure and no bare wire is showing anywhere.
Connecting directly to a battery
If you choose to run wires directly from your RV house battery, the connections will be the same. However, since the wires will be bypassing your fuse panel, you will have to install an inline fuse.
This is easier than it sounds. You will purchase the inline fuse with attached wire leads similar to your fan and simply wire it into the line the same as the other connections.
You will have two wires, your power and ground, running from the positive and negative battery terminals respectively. The inline fuse will be located on the power line.
Battery connections are available for running wires off of batteries and make the connection simple.
Wire selection should be no smaller than the leads on the fan and the size recommended by the manufacturer.
The purpose of the inline fuse is to prevent a surge in voltage from passing to your fan damaging the wires or fan itself. The inline fuse acts as a protective barricade and will blow should there be a problem.
That being said, it is best to locate it closer to the battery to stop any issues as soon as possible. Depending on your fan, you will have to match the fuse to amps needed for your fan and wire size.
For example, if your item requires 10 amps, a 5 amp fuse will blow continuously. However, a 25 amp fuse may allow too much power to pass and not perform its intended purpose. Look for the max draw of your fan and use a fuse as close to that without going under.
Say goodbye to sweaty nights and dead air in your RV. Having additional airflow in an RV is always a good thing. Consider installing a 12 volt fan for RV life to increase both your comfort and the longevity of your RV.
RVers looking for valuable how-to information have learned to go to the experts. Forums such as iRV2.com and blog sites like RV LIFE, Do It Yourself RV, and Camper Report provide all the information you need to enjoy your RV. You’ll also find brand-specific information on additional forums like Air Forums, Forest River Forums, and Jayco Owners Forum.
Continue reading: