You have to admit, having your own dream home by the lake would be pretty cool…but lake houses can be ridiculously expensive, and it’s not always possible to work an expense that large into your budget. I came across this blog in which the owner, Laurie, found an affordable way to make a family-friendly vacation home by simply doing a makeover on their vintage camper, and I was amazed by its outcome! Check it out:
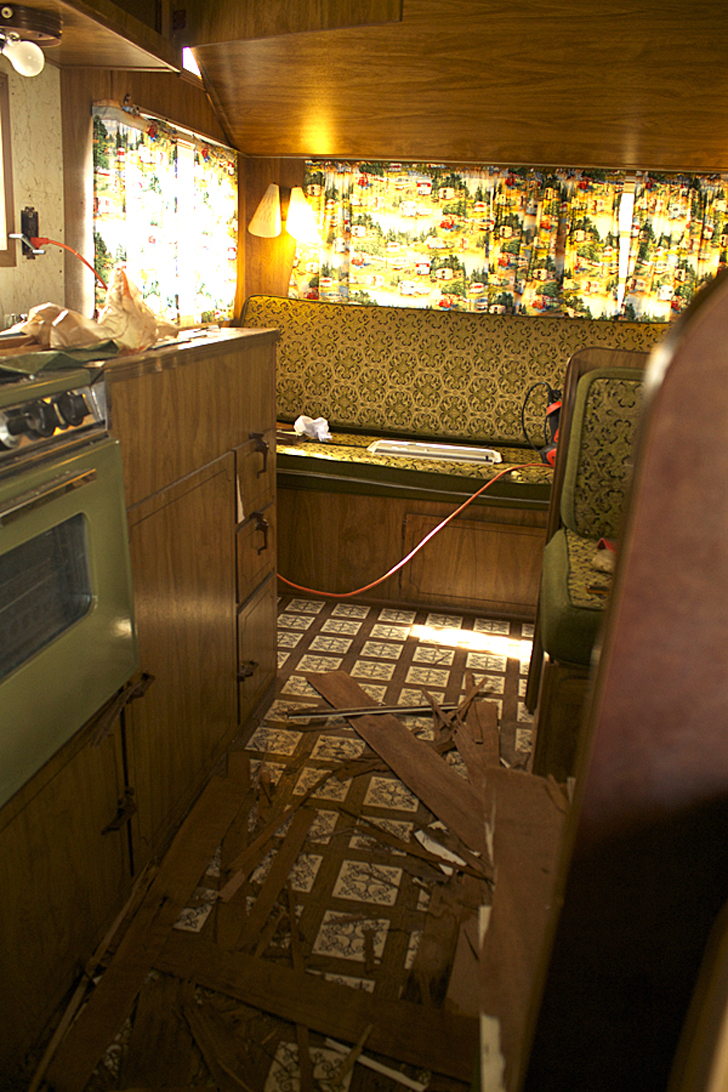
Here’s what it looked like before.

The would-be lake house started out as a 1972 Crossroads trailer that was in decent shape with a little bit of rough fabric, and could sleep about 4 people comfortably.
Are you ready for this?? Here’s what it looked like when it was all done…

Isn’t it amazing? Besides the electrical and plumbing work, everything was done on their own!
The project started with priming the inside of the camper and then painting it a pure white, using about 4 gallons total. The kitchen was painted a beautiful shade of blue after a little bit of prep work including a light washing and sanding. In addition, the old vinyl ceiling was torn out and re-wallpapered, then painted white.
There was a small, narrow sofa in the back that got replaced with a cozy twin mattress. Target and Bed Bath & Beyond are both ideal spots where you can score quality home and bed items for this project. The old lighting was replaced with regular store bought lights that were put on dimmer. There was also a red light towards the back that got spray painted red, and a beautiful chandelier was added over the dining room table for a welcoming touch.

All of the cushions were reupholstered and plumped with added foam from a small local company in Indiana. For the floor, they tiled it over using vinyl peel and stick parquet wood vinyl tile, which you can find at stores like Home Depot.
The old countertop had chipped, so that got taken out. It was replaced with a 1-inch particle board painted with chalkboard paint in black finish. After applying a few coats of paint, it was gone over again with a Minwax Paste Finishing Wax over the top to look like soapstone.
The old gas stove was removed and replaced with a stainless steel stove top/sink combination leaving extra counter space, which is always useful. They ditched a non-working refrigerator in favor of a stainless steel one rather than an actual camper fridge to help save money.


The old dining table wasn’t actually the original one for the camper, and couldn’t fit to make the bed at night anyway. The upgraded dining room table was made of particle board and painted with a red oil gloss paint, and can easily be taken down for another twin bed.
Spray paint was used on most light fixtures, the stove hood, window trim, and the cabinet door knobs. The small bathroom was fixed up with some of the paint left over from the other rooms, and they placed a matching indoor/outdoor carpet on the floor.


The total cost including all of the supplies was just under $5,000 and it took about two years to complete. Even though that sounds like a lot, it’s actually quite cheap for a vacation home. It’s a great long-term project because you can shop all year and find all kinds of new places and garage sales where you can pick up new and unique items!