Ralph Macdonald creates fine art, and finds inspiration while living and working out of his renovated Winnebago Minnie Winnie motorhome.
We asked him a few questions about his renovation and details about how he went about the build.
Here’s what he had to say:
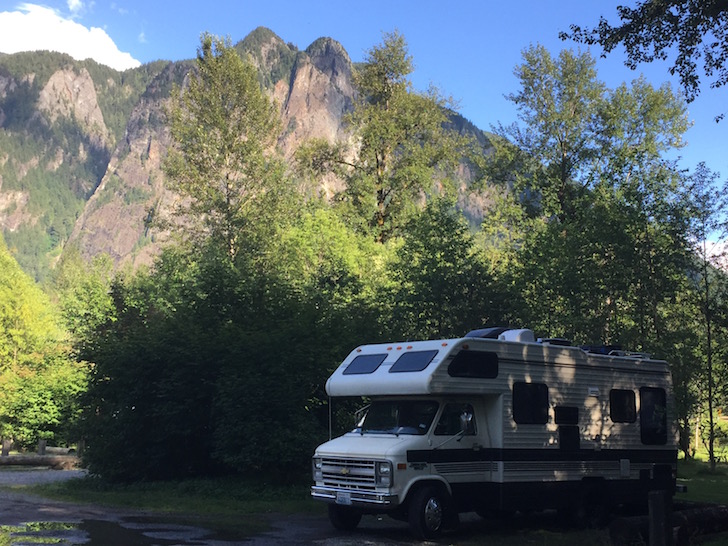
BASICS: it’s a 20 ft 1988 Winnebago Minnie Winnie. I bought it for $ 7,000. And spent less than $ 5,000. on the renovation, (that I did completely myself.) When I finished I drove it from Houston to Seattle, where I’m currently living in it full time. I live by myself with only my cat and travel around the Mt. Baker/Snoqualmie National Forest boondocking mostly. Sometimes I stay in National Forest Campgrounds that have water and electric hook ups for $ 12.00 a night with my senior discount. Which is about all I can afford on a limited income. I’m retired from the restaurant industry and live off of Social Security and selling my artwork and paintings online.
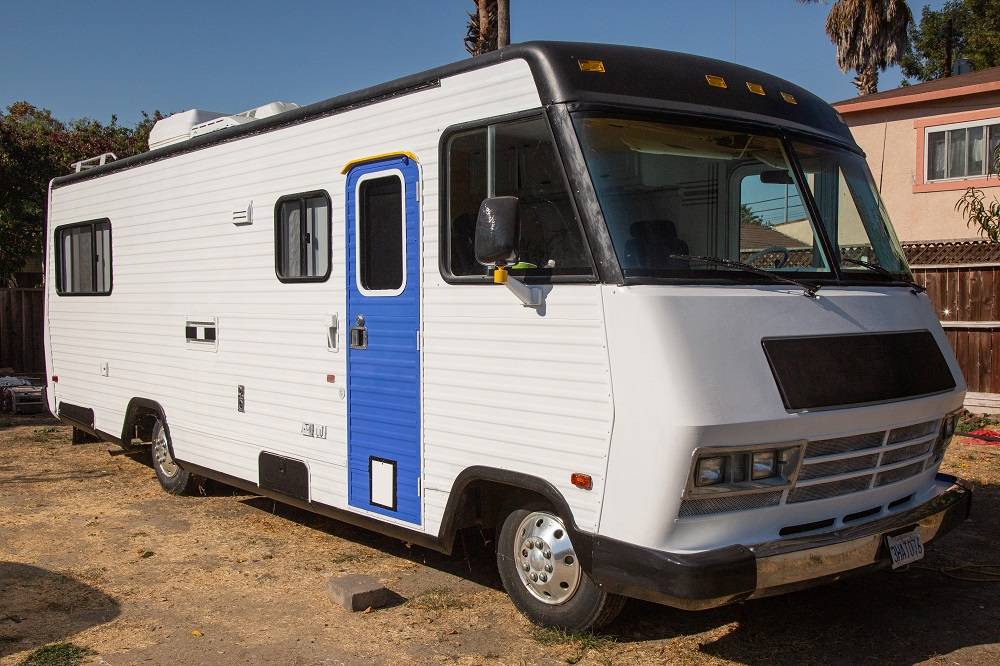
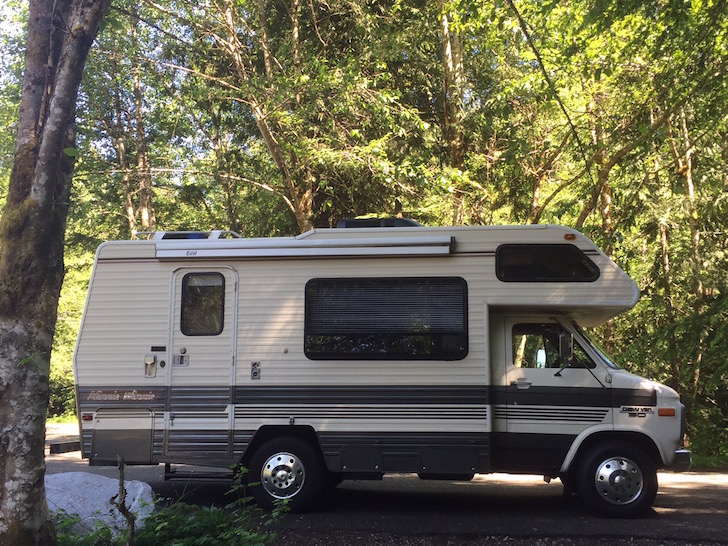
The outside of Ralph’s Minnie Winnie motorhome, just like any other right?
Where did you source materials? Is that a new wooden floor?
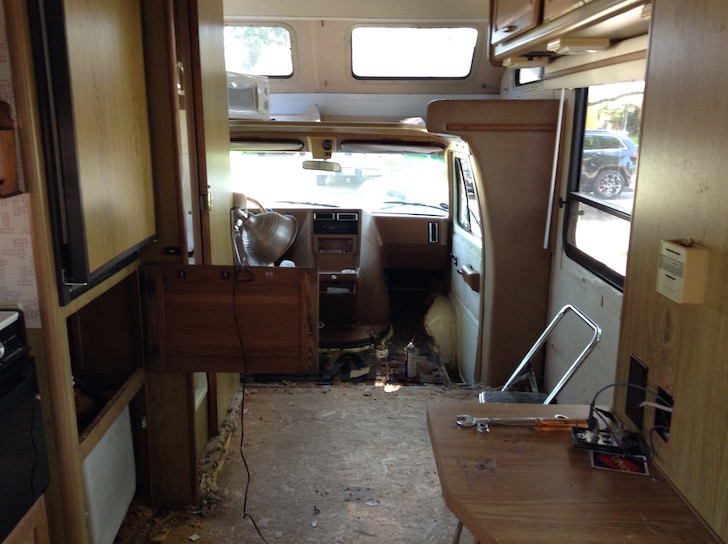
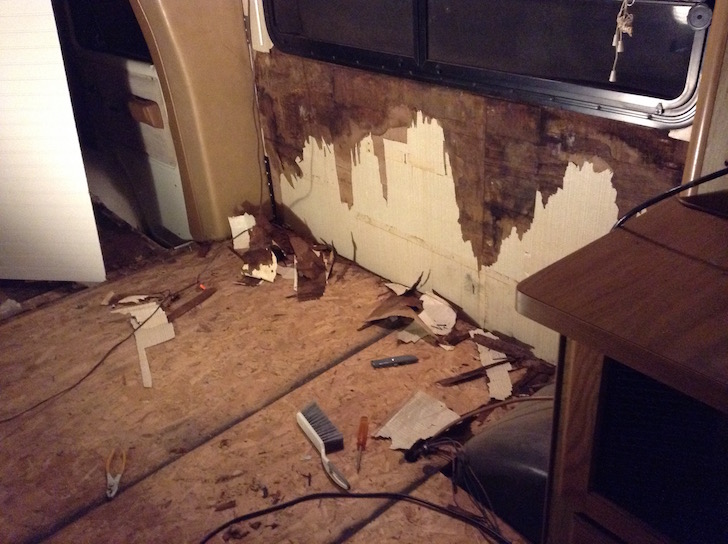
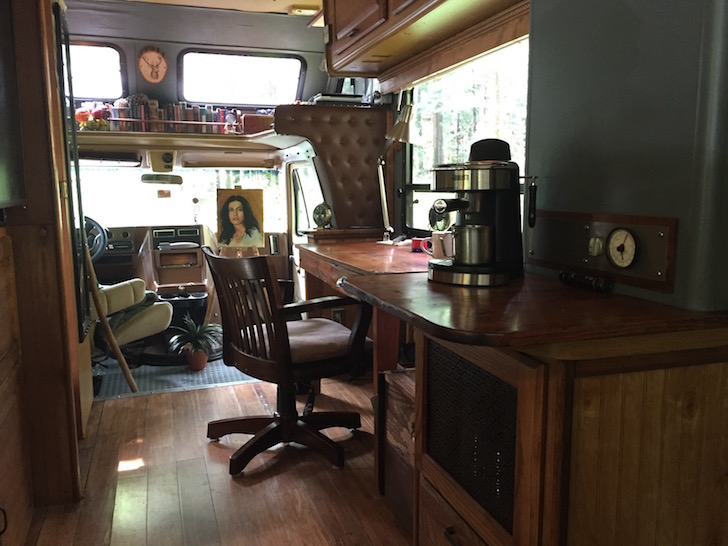
My idea was to design the interior to have a kind of rustic farmhouse steampunk feel. I knew from living in an RV before that living in a small space full time puts a lot of wear and tear and I also wanted it comfortable and homey (and functional ). Besides being a painter I am also a amateur woodworker with only basic tools. ( I have some photos of how it was before and work in progress) I took out most of the interior and front passenger seat.
And starting from this, you’d think it was a hopeless cause.
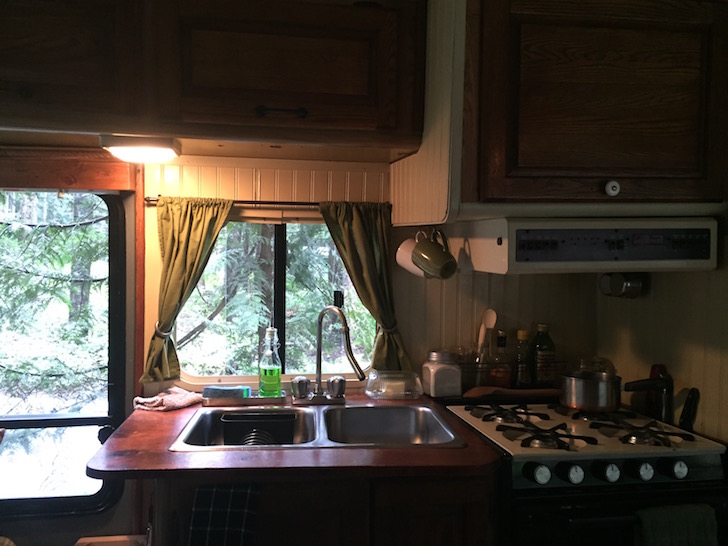
The interior photos look like they’re taken inside a cabin! Did you have to re-finish cabinets and wall coverings to make everything match the rustic decor?
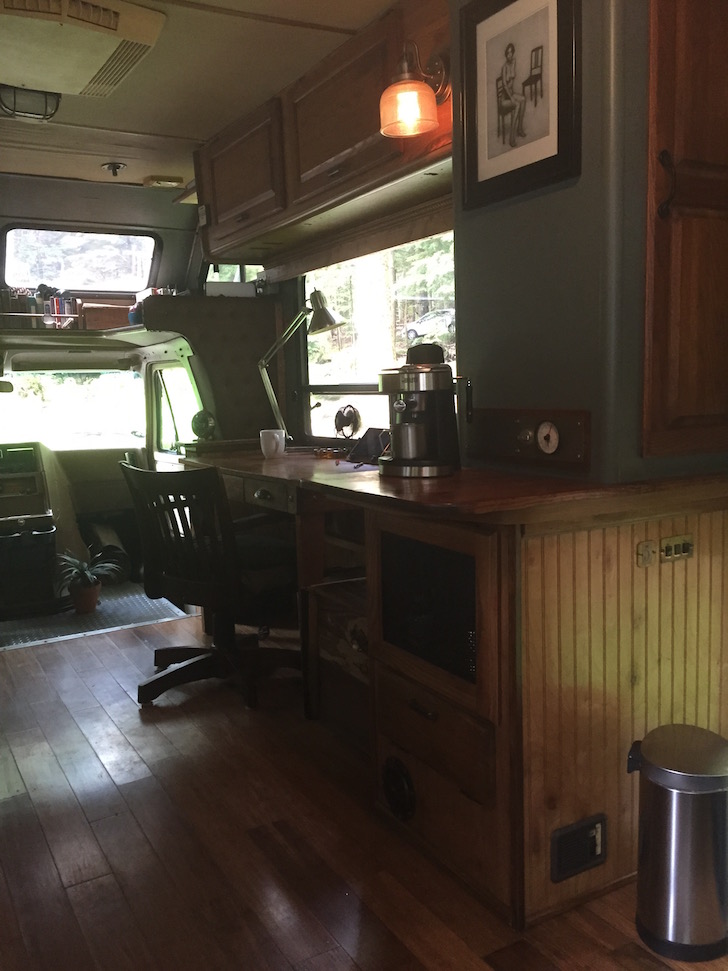
I kept the original cabinets and refinished them because they were yellowed and peeling. I tried to stain and match everything else with the cabinet color ( I think it’s oak). The walls are beadboard wainscoting paneling. Almost everything is from Home Depot. The flooring is bamboo mixed with old recycled wood from a 100 yr old torn down garage ( that I stained and matched) to give it a worn farmhouse feel. The desk I built myself using wood from my dead fathers old work bench that he built in the 50’s.
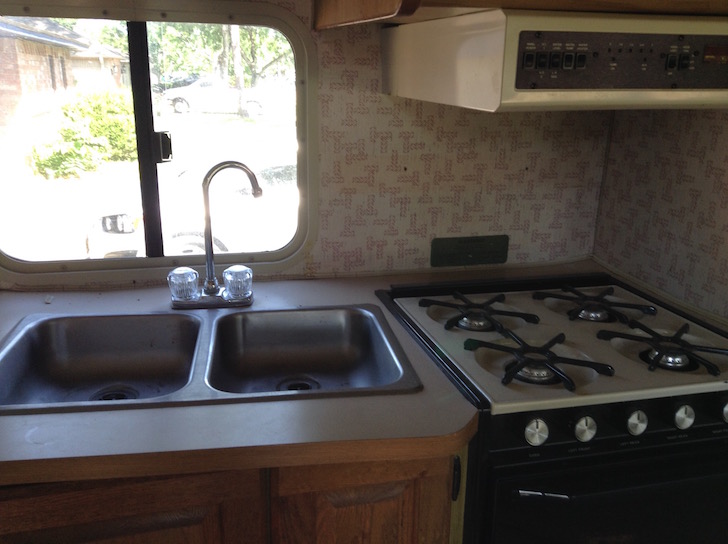
Before and after of the kitchen.
How long did the renovation take?
The renovation took about 4 months working on it part time and weekends. It’s still a work in progress. I have already bought and plan on putting in a tin ceiling after I can find and repair the roof leak.
Renovated front loft area now serves as a storage platform.
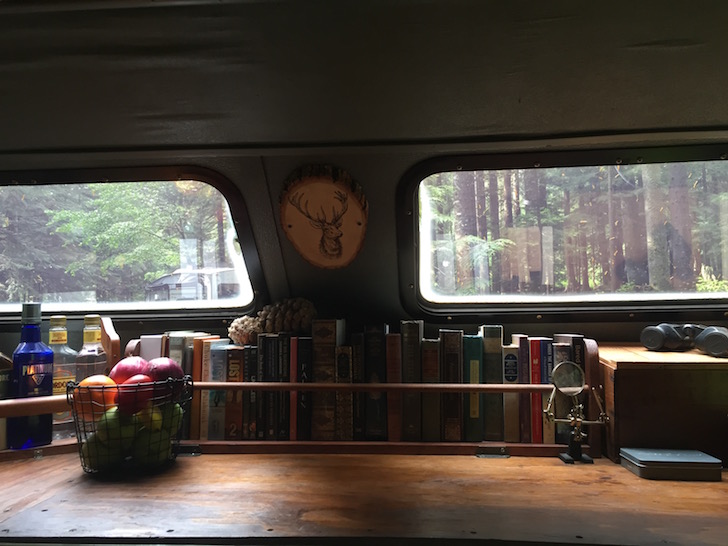
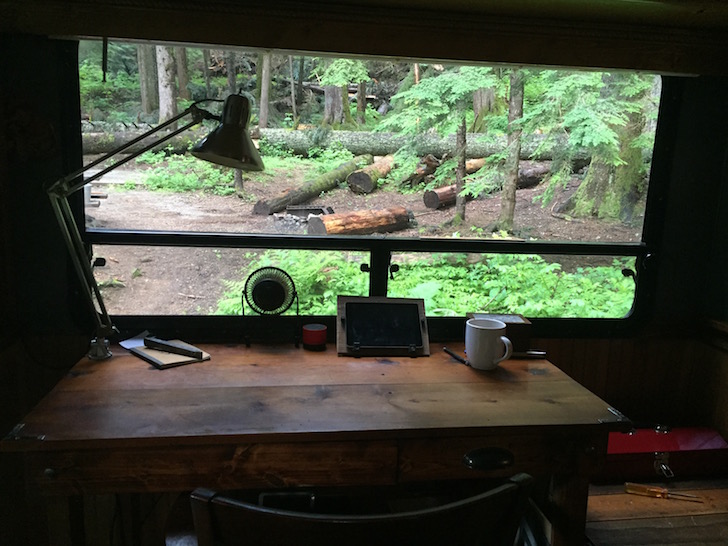
Great view to work from.
Could you describe the most challenging part of the renovation?
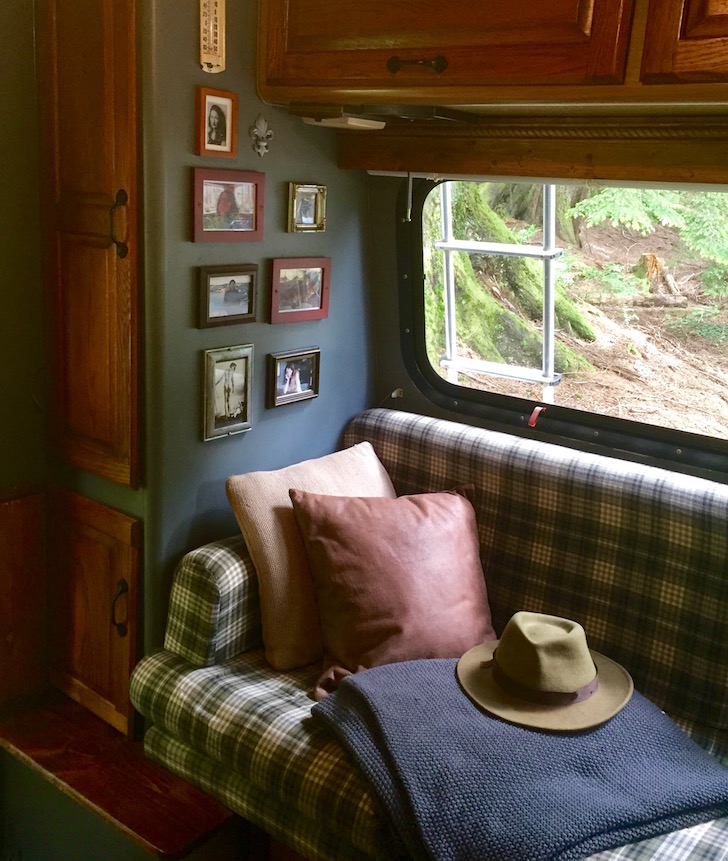
The hardest part was taking out the carpet and reupholstering the couch/bed ( I had to learn how to use a sewing machine). The exterior stripes I re-painted with auto paint from the auto parts store and it was a little challenging and time consuming because of all the masking. Sanding down the cabinets wasn’t that hard as it was dirty and labor intensive.
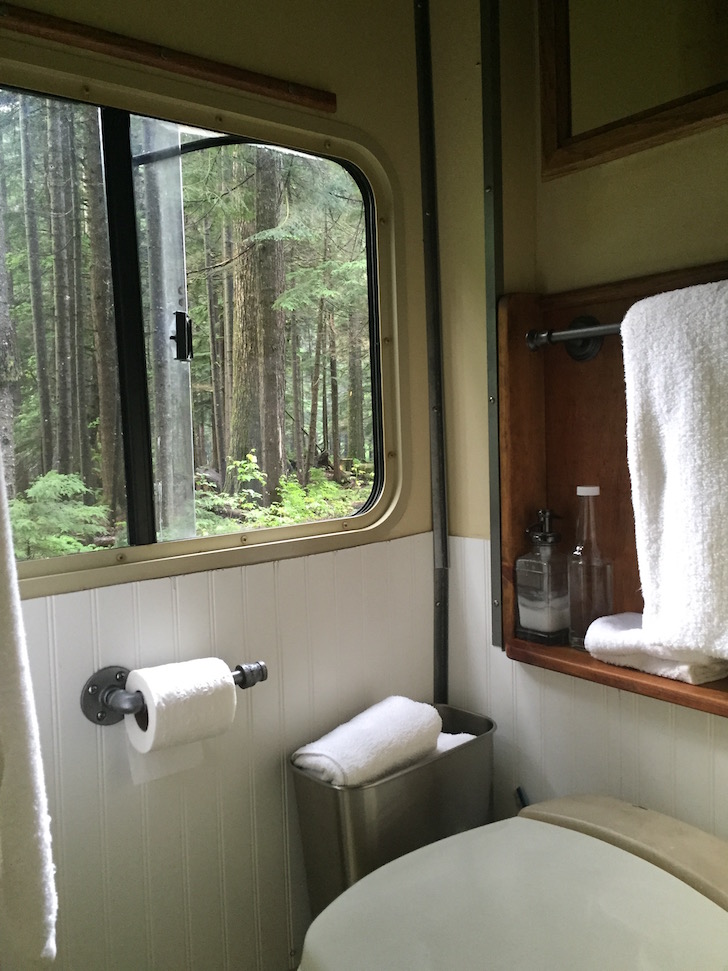
Bathroom with beadboard walls.
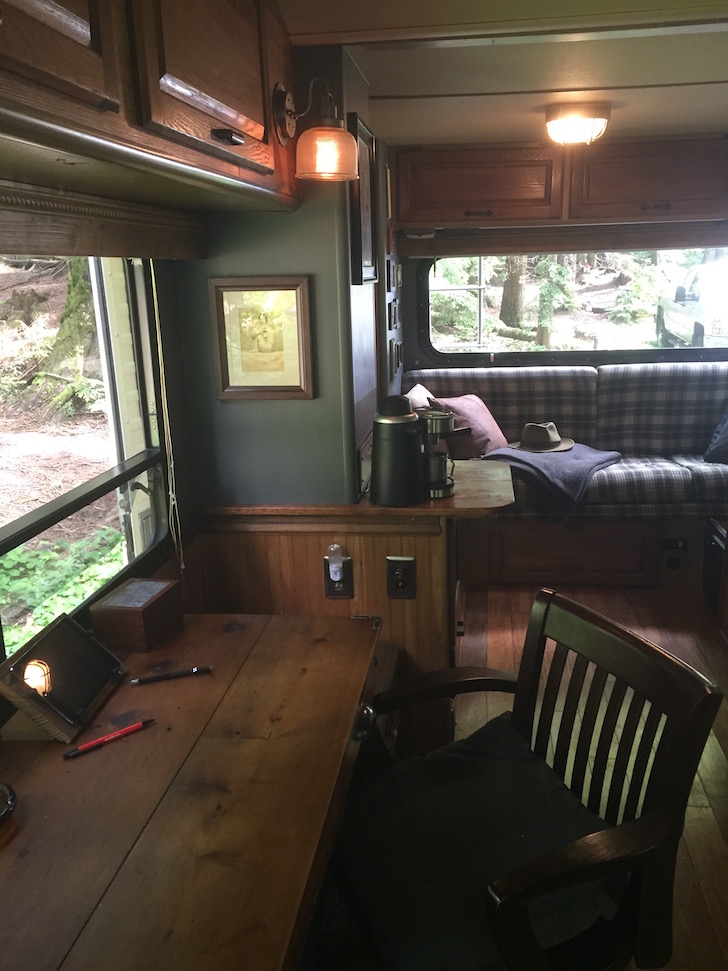
Looking toward the front.
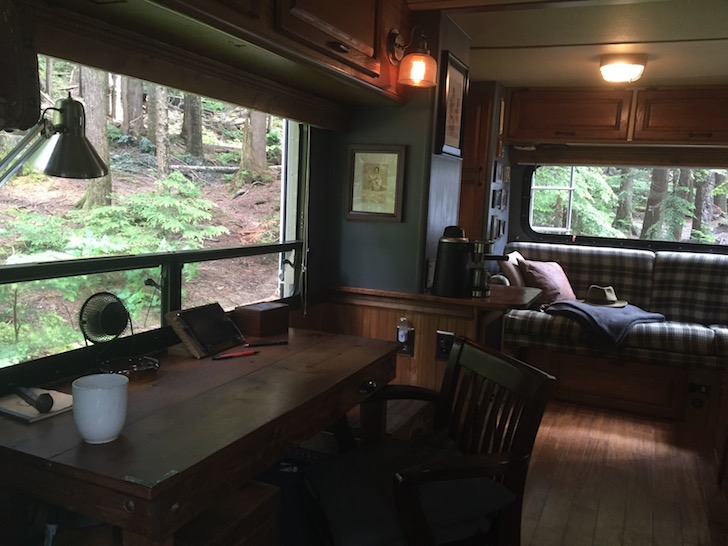
Sitting area.
Next time you see a late 80s motorhome, you might want to keep an open mind about the interior!
You can view Ralph’s artwork at this link.