It seems to me RVers that live full time in their campers, trailers, vans and buses, ironically tend to have less ‘finished’ vehicles. In general they are focused more on utilitarian design than aesthetics.
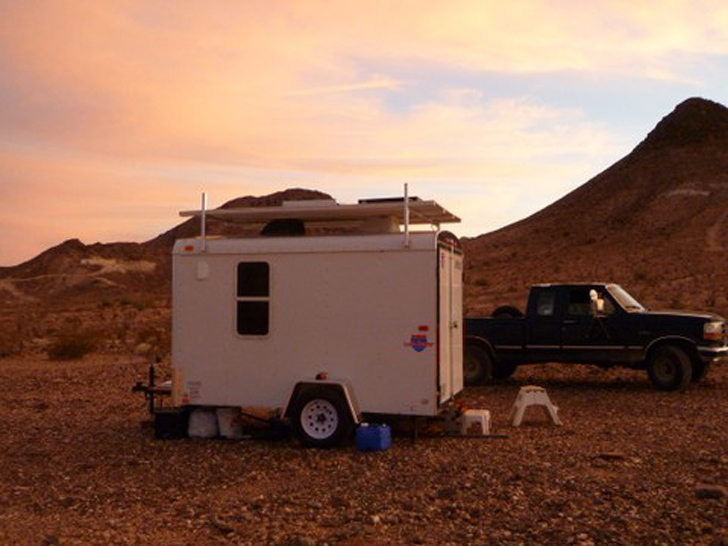
This 6×10 cargo trailer is a cozy residence for one.
While some full timers seem to have a good balance of both, more often than not they’ll sacrifice form for function. I think that happens for two main reasons, budget and schedule, both of which are driven by the need to have ready shelter as quickly as possible.
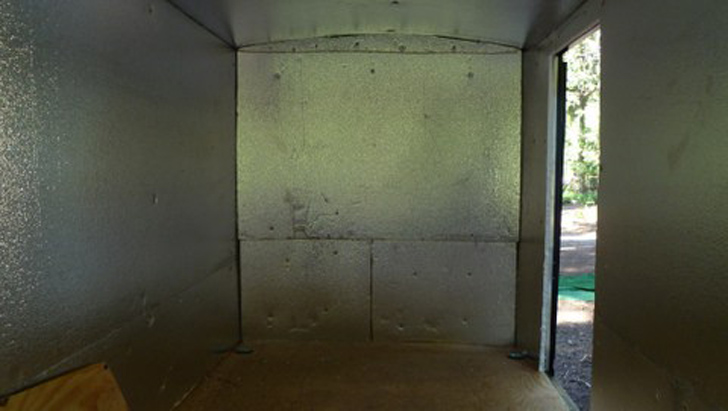
Insulation board lining walls and ceiling.
In the home-built RV category, many conversion builders stick with vehicles that are traditionally manufactured as RVs. Creative thinkers look for three main things:
- does it have enough space?
- is it easy to transport?
- and will it hold up to life on the road?
While we don’t see many RVs built out of them, cargo trailers fit all three categories and are one of the most economical options for a portable shelter. Here’s one that is built for pure function (rather than necessary form).
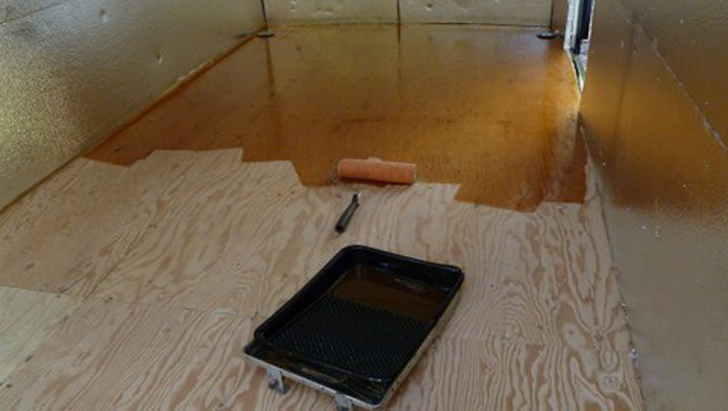
Deck stain going down on the floor.
The builder, Bob Wells, crafted his home starting with an empty box, a nearly perfect canvas for conversion. The first thing that needs to happen in a cargo trailer or truck conversion is the installation of insulation.
This one started with Styrofoam panels on the walls and ceiling. 1 inch thick sheets were used on the walls, while the ceiling was ¾ inch to fit the curve better.
There are two layers on the walls and three on the ceiling. The foam backing was left exposed to reflect light inside the trailer, although many builders cover the insulation with plywood for a more finished look.
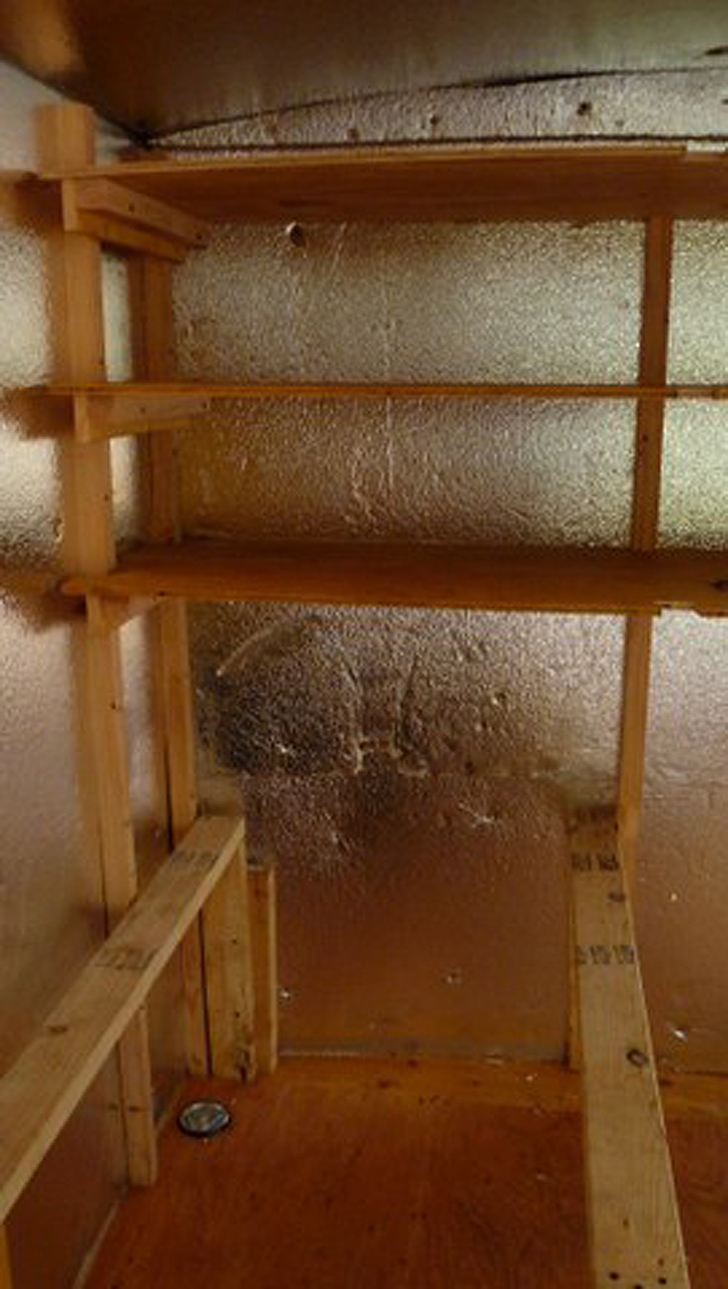
Bed and shelf frame exposed to show the construction.
The trailer was purchased new for $2,400, so the floor was unfinished. A coat of deck stain was applied with a roller to give the floor a water and stain resistant finish that will hold up to daily use.
On top of the stain, two layers of Spar Varnish was applied to seal the floor permanently. The builder suggests doing the floor finish before installing the insulation to prevent making a mess.
The bed side of the trailer, with a shelf unit at the foot of the bed.
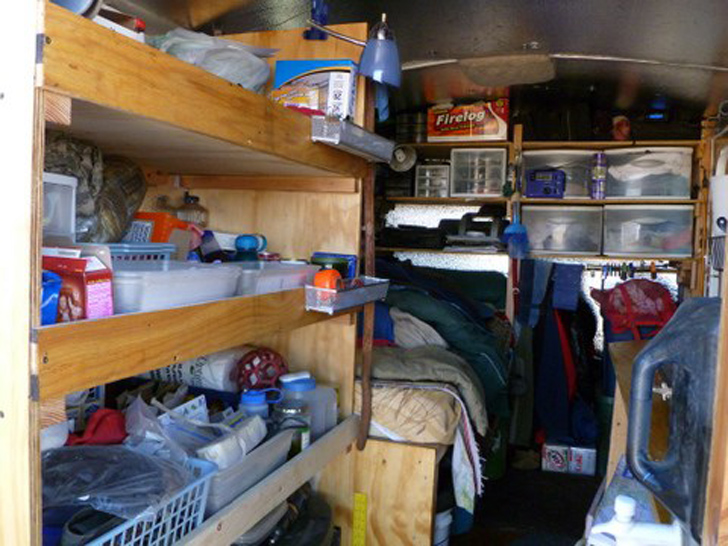
Interior construction follows the utilitarian guidelines I described. It is built from ¾ inch plywood with 2×4 and 2×2 framing. The layout is designed to a get a lot of storage into the 6×10 foot space of the trailer, while allowing just enough living space for the single user – who admits – likes it tight.
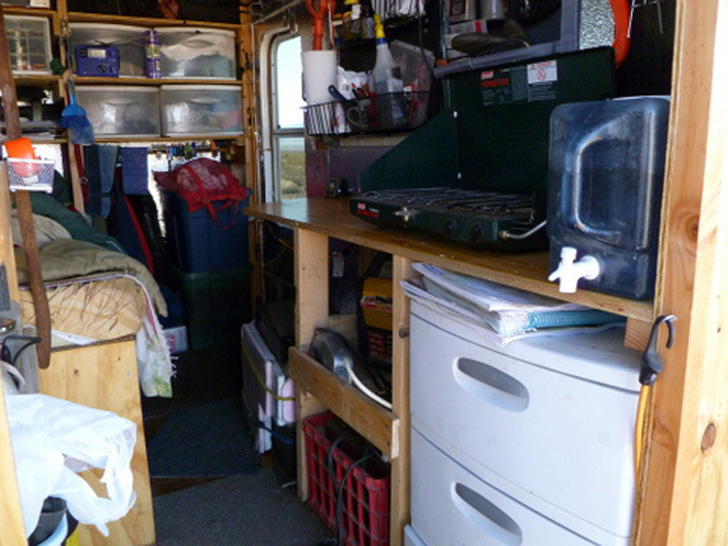
The right side of the trailer, including the kitchen counter.
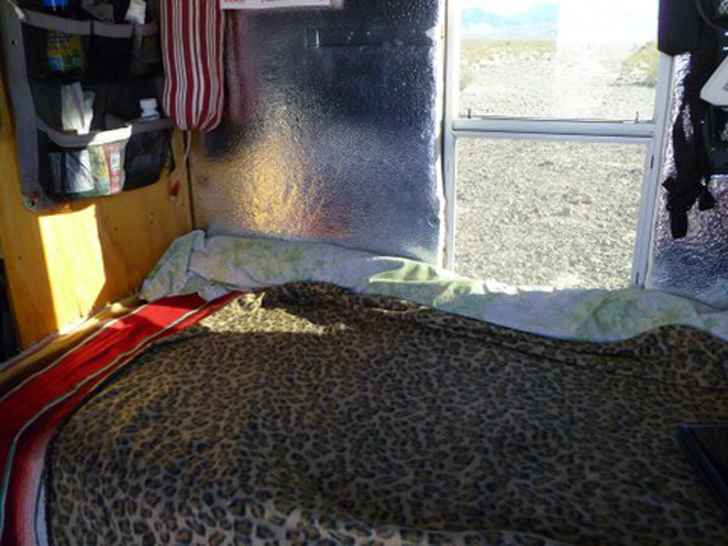
Shelves are built everywhere where access is not absolutely necessary, for instance at the head and foot of the bed and running down one side wall. Later in the construction process a window was added over the bed, which creates a nice finishing touch and provides the trailer’s only natural light.
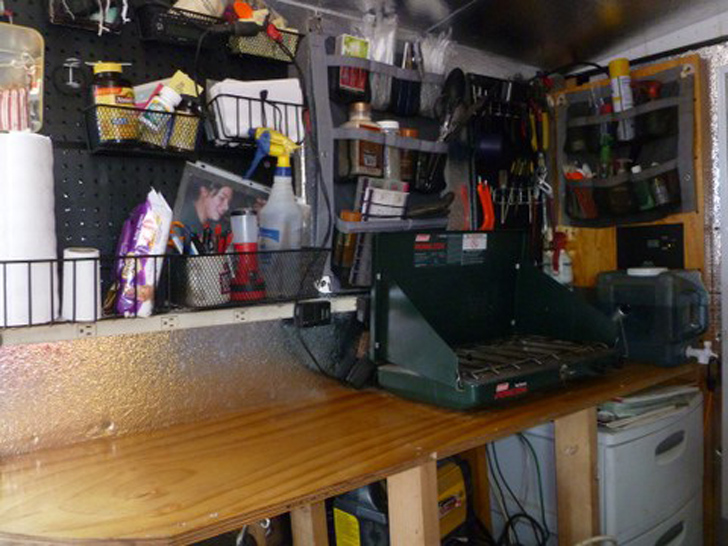
The space above the kitchen counter, which houses the Coleman stove, is lined with pegboard, creating easy-access storage for items that get used every day.
Kitchen counter closeup, including peg board for daily tools.
The bed and window, with toiletries stored in a pocket organizer.
All in all, the interior build is done with less than a thousand dollars in materials. Including a solar panel or two, the entire build would come in between three and four thousand dollars. Not bad for a full time home that probably saves the resident that much every six to eight months in rent.