Upgrade Your RV Batteries The DIY Way
A common upgrade many RV owners will make at some point during their RV ownership is the batteries. This upgrade became front and center for us after waking up one Saturday morning in Stone Mountain Park campground to the smell of sulfur or rotten eggs. The smell was so bad my wife thought someone was leaking sewer gas.
Yep, we officially cooked one of the factory Interstate Group 27 batteries. The water level in those batteries was checked religiously and never allowed to become low. I am going to blame the battery failure on the OEM factory single stage charger overcharging the batteries.
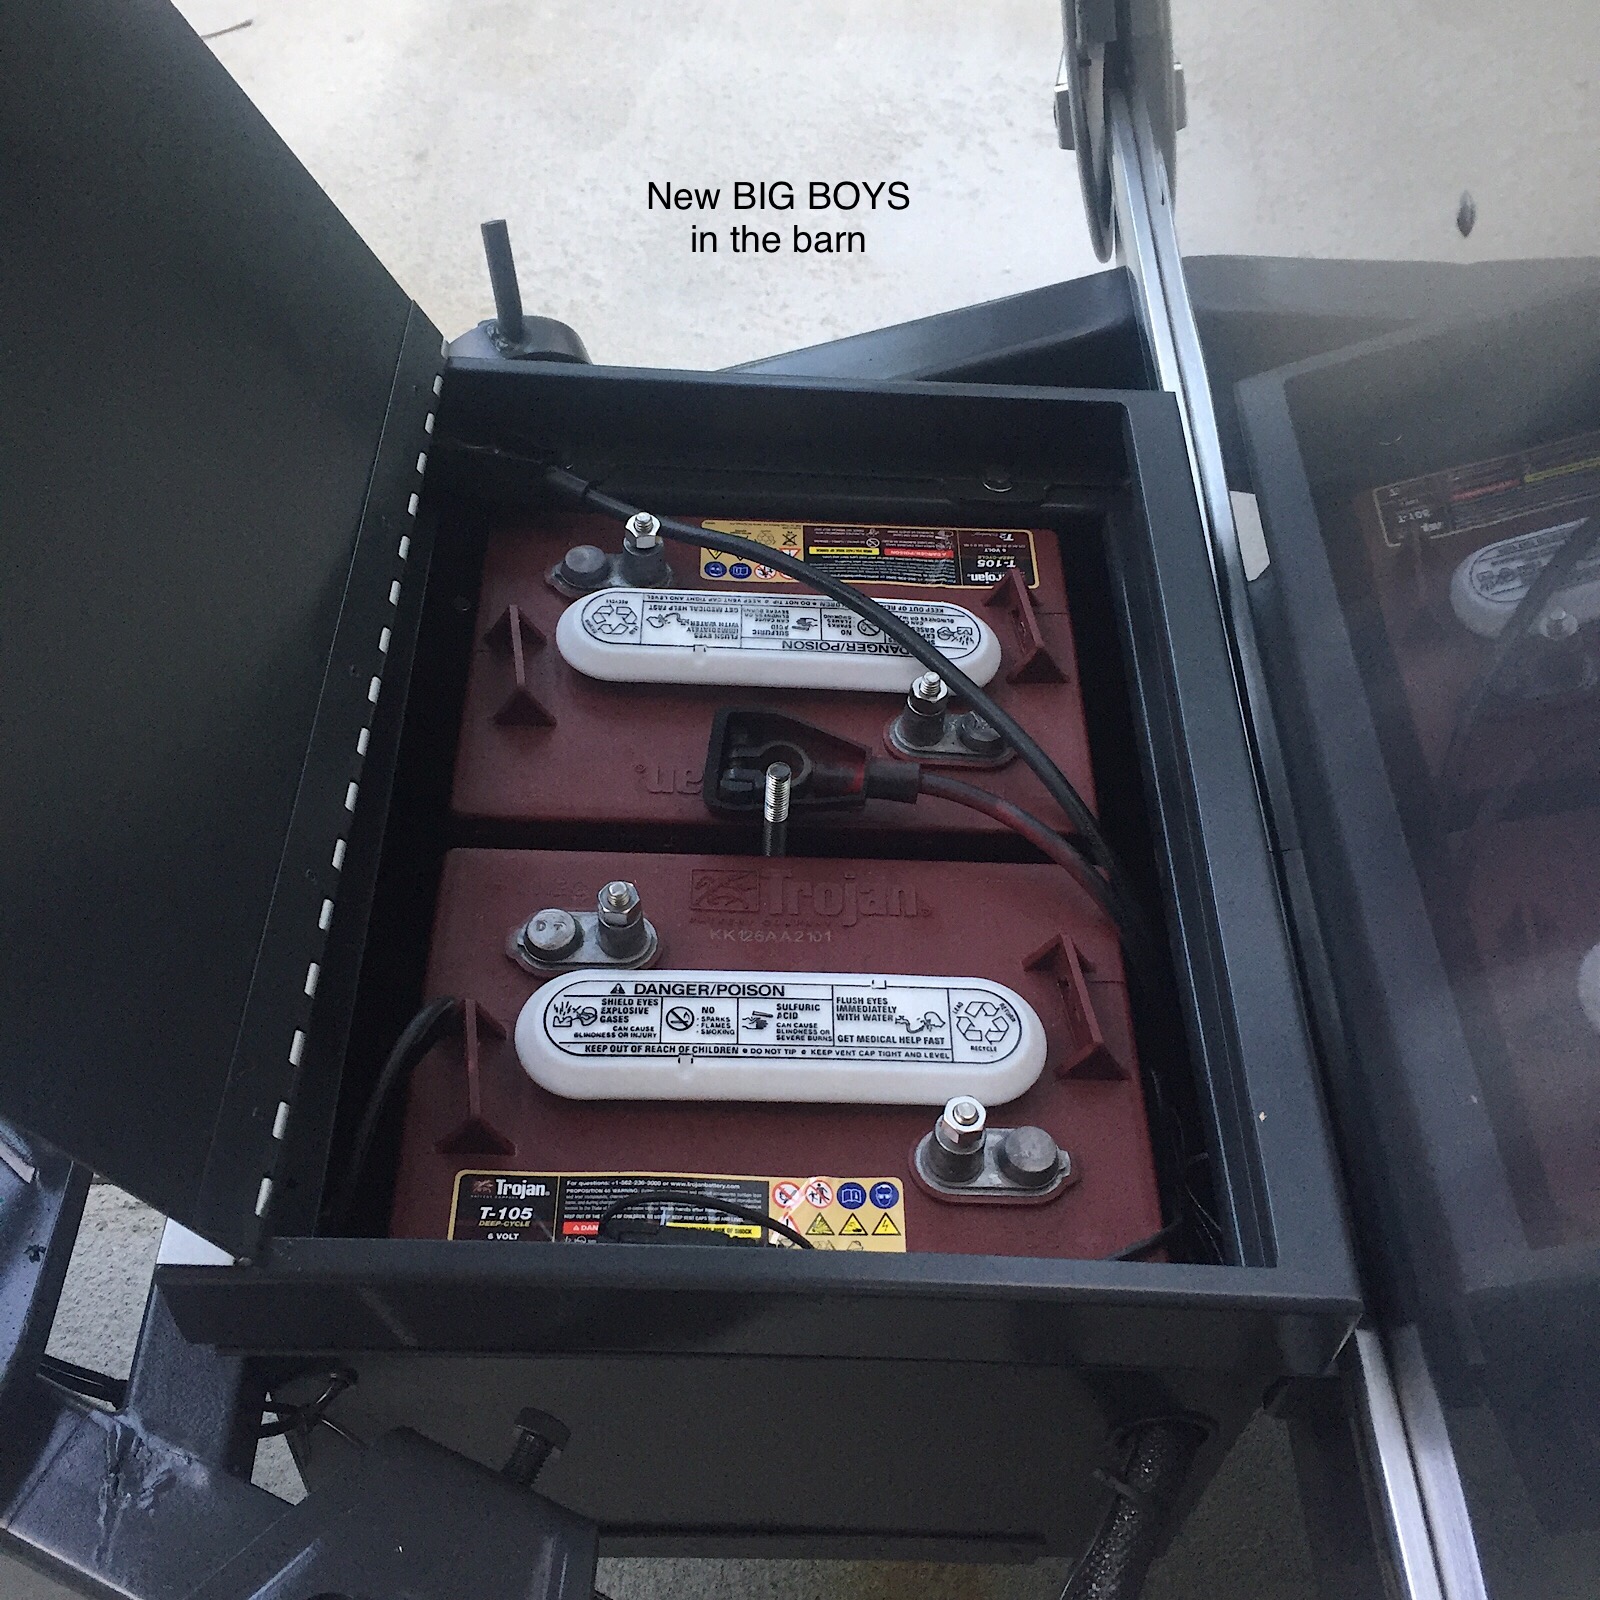
I decided to upgrade my new batteries from the two OEM factory Interstate Group 27 12 volts to two Trojan flooded T105 6 volts, which were wired in series to produce the required 12 volts needed to power our Airstream.
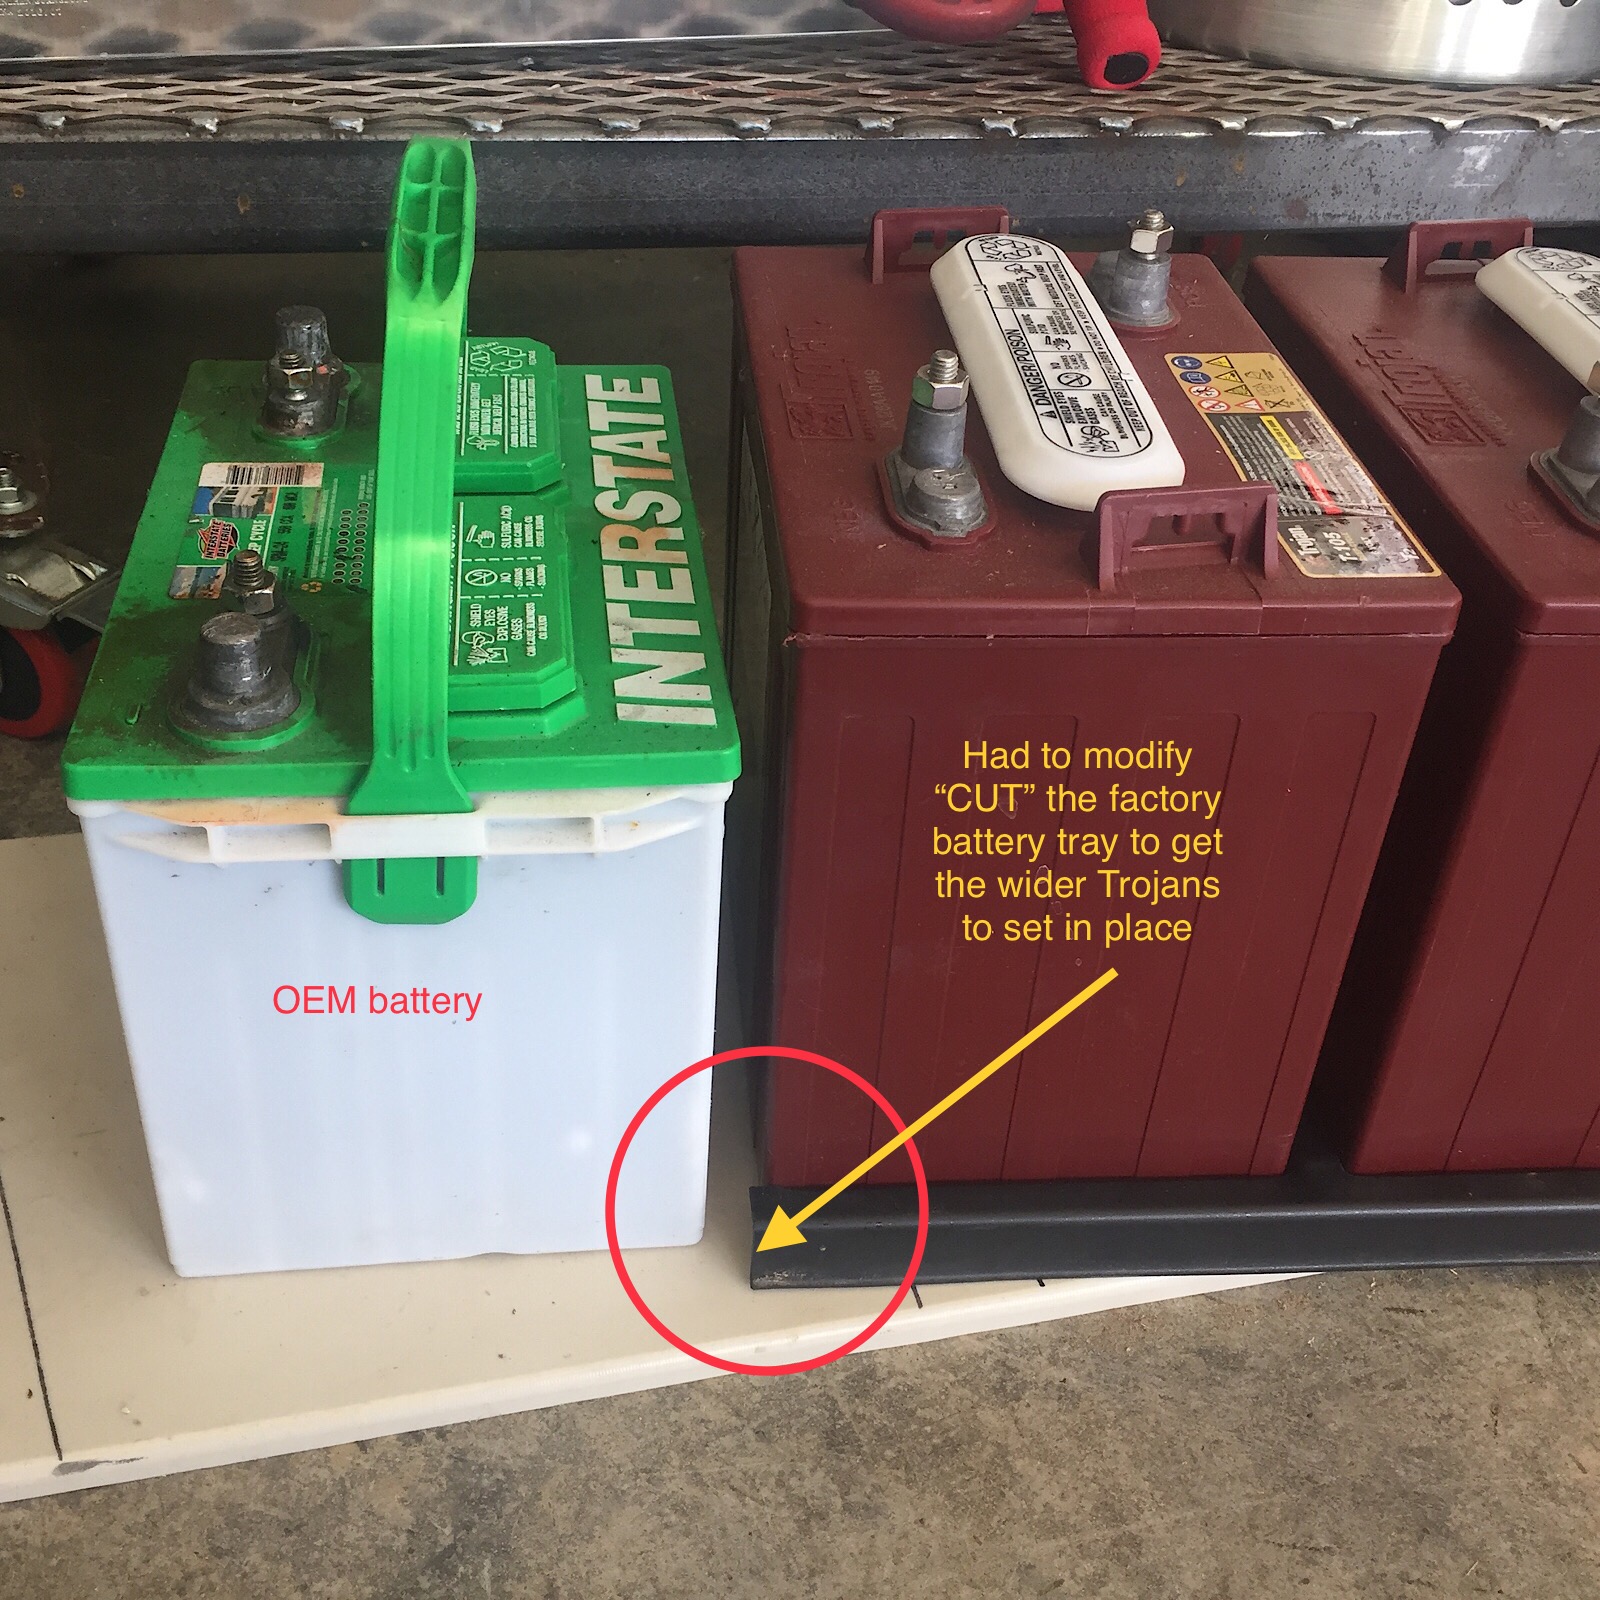
These batteries are commonly referred to as golf cart batteries. We can debate the battery choices of Flooded vs AGM vs Lithium till the cows come home, but I chose Flooded and that debate is for a different post. The two Trojan T105’s will provide more usable amp-hours and should serve my needs well.
Installing a charge converter
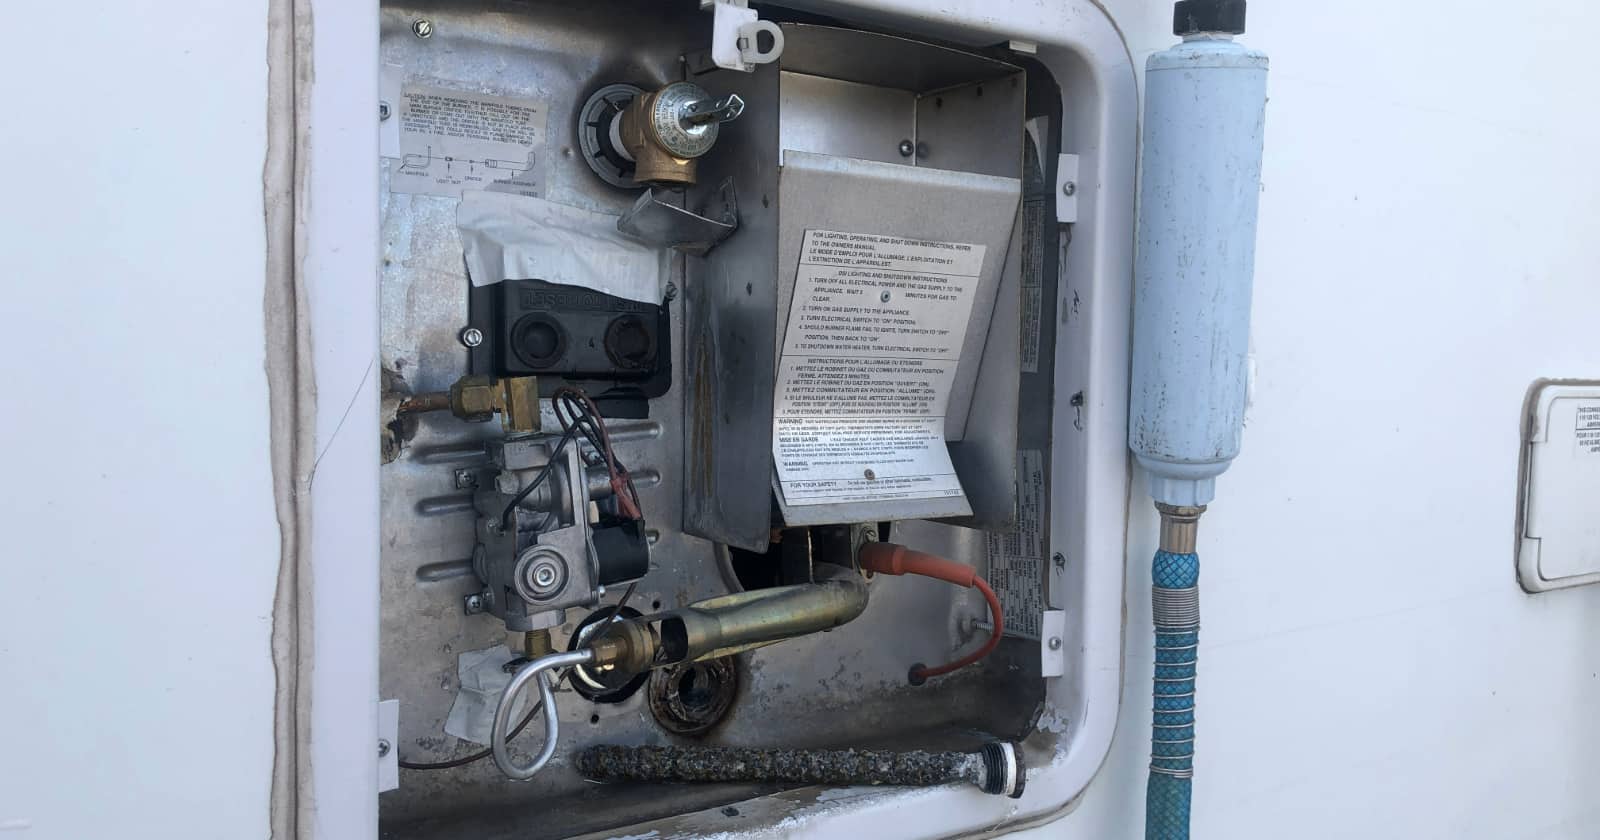
Before I installed the new Trojans, l also corrected what I deemed the root cause of the problem by installing a new Progressive Dynamic 4655v 4-stage charger converter. This new 4-stage charger will monitor the batteries’ need for charging and provide 4 different levels of charge based on the batteries’ need.
The old factory single stage charger would just blast away all the time at full voltage. The instructions included with the charger made this swap from the factory unit a piece of cake. Basically, a plug-and-play level install.
The new RV battery install
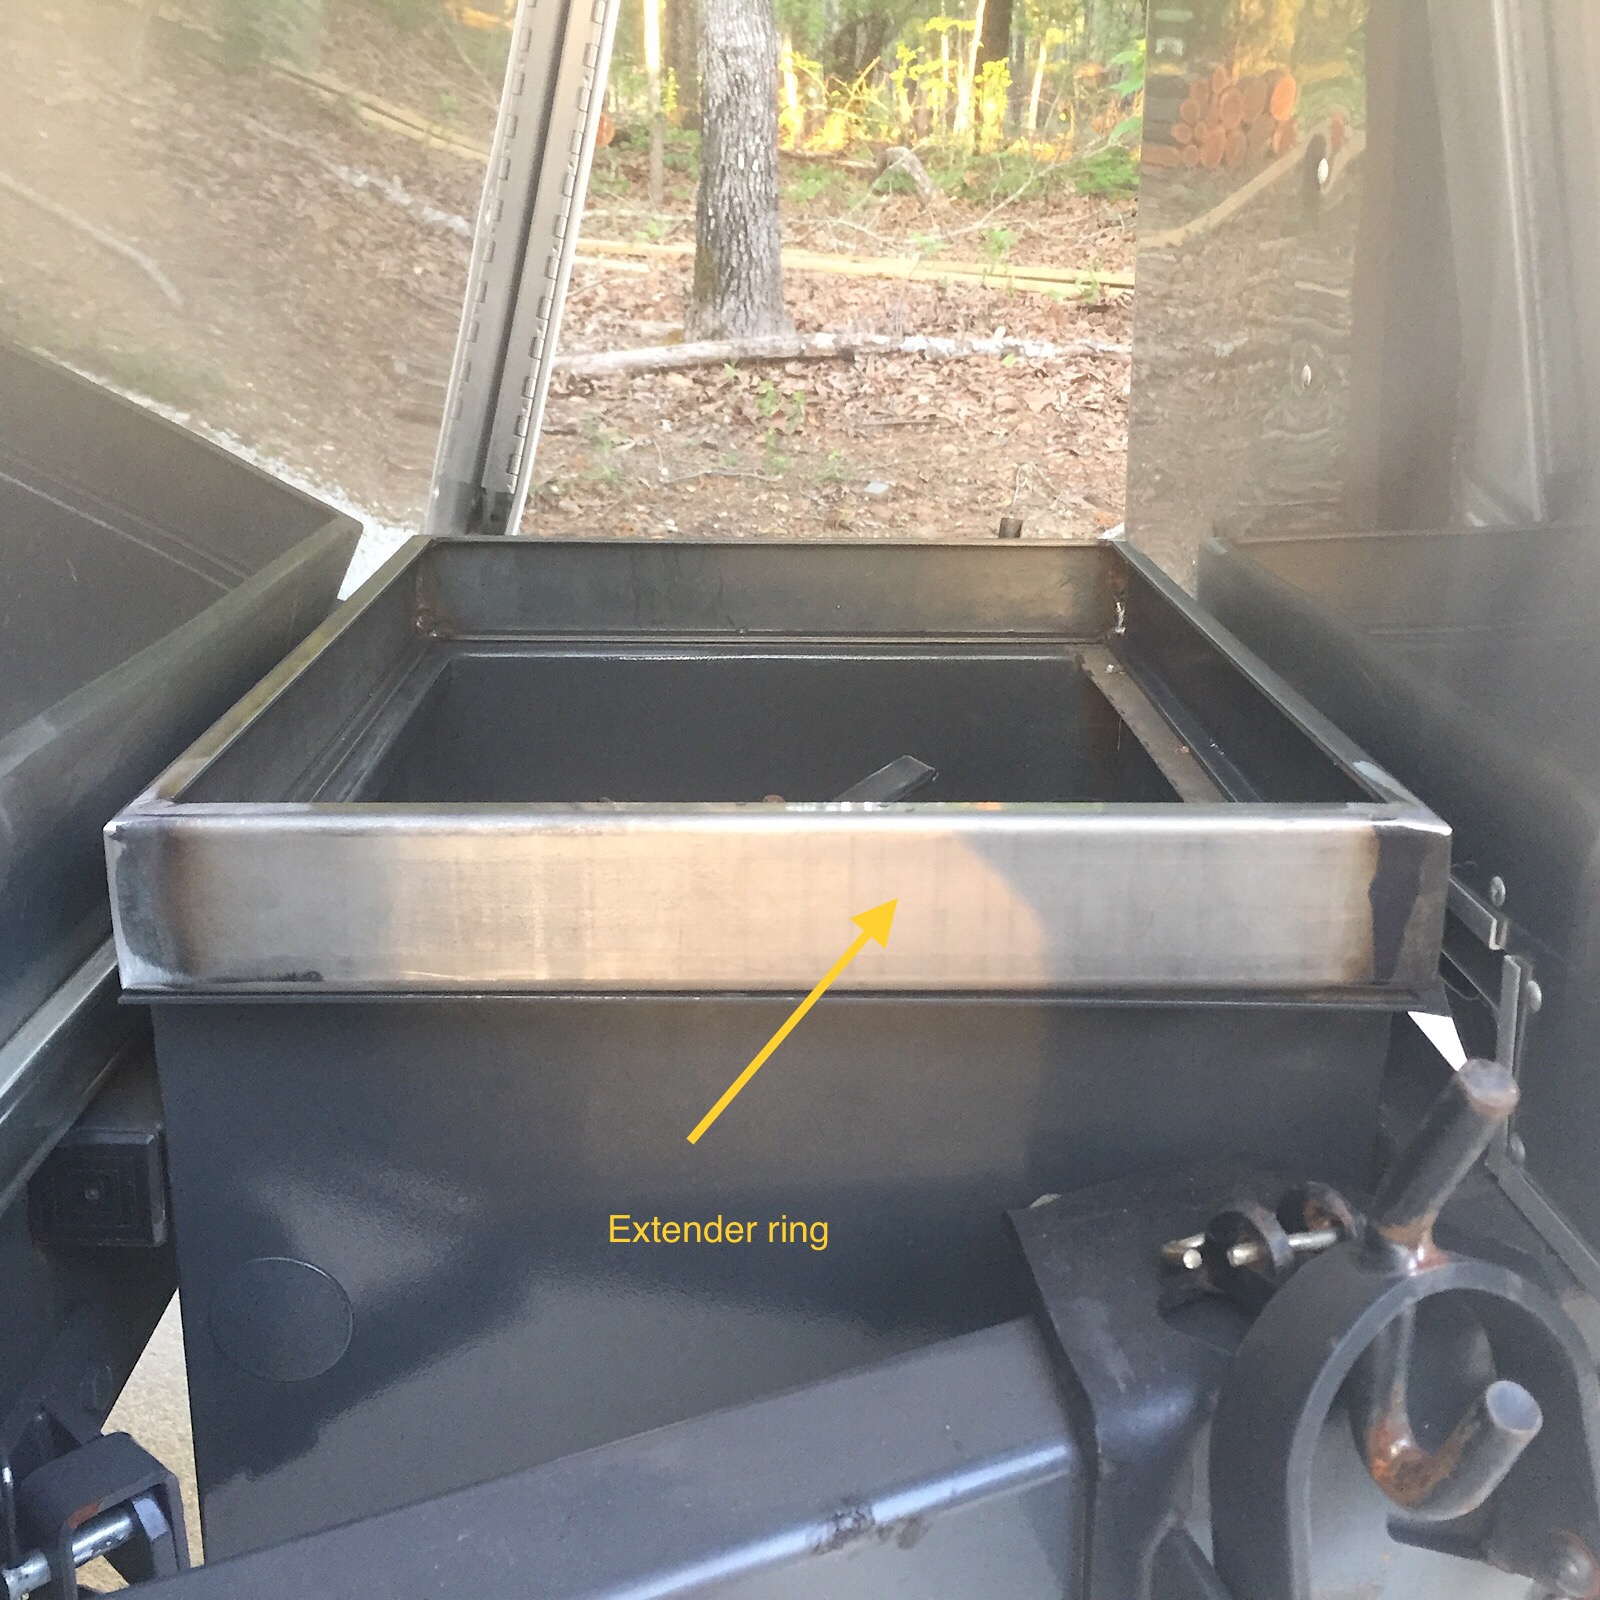
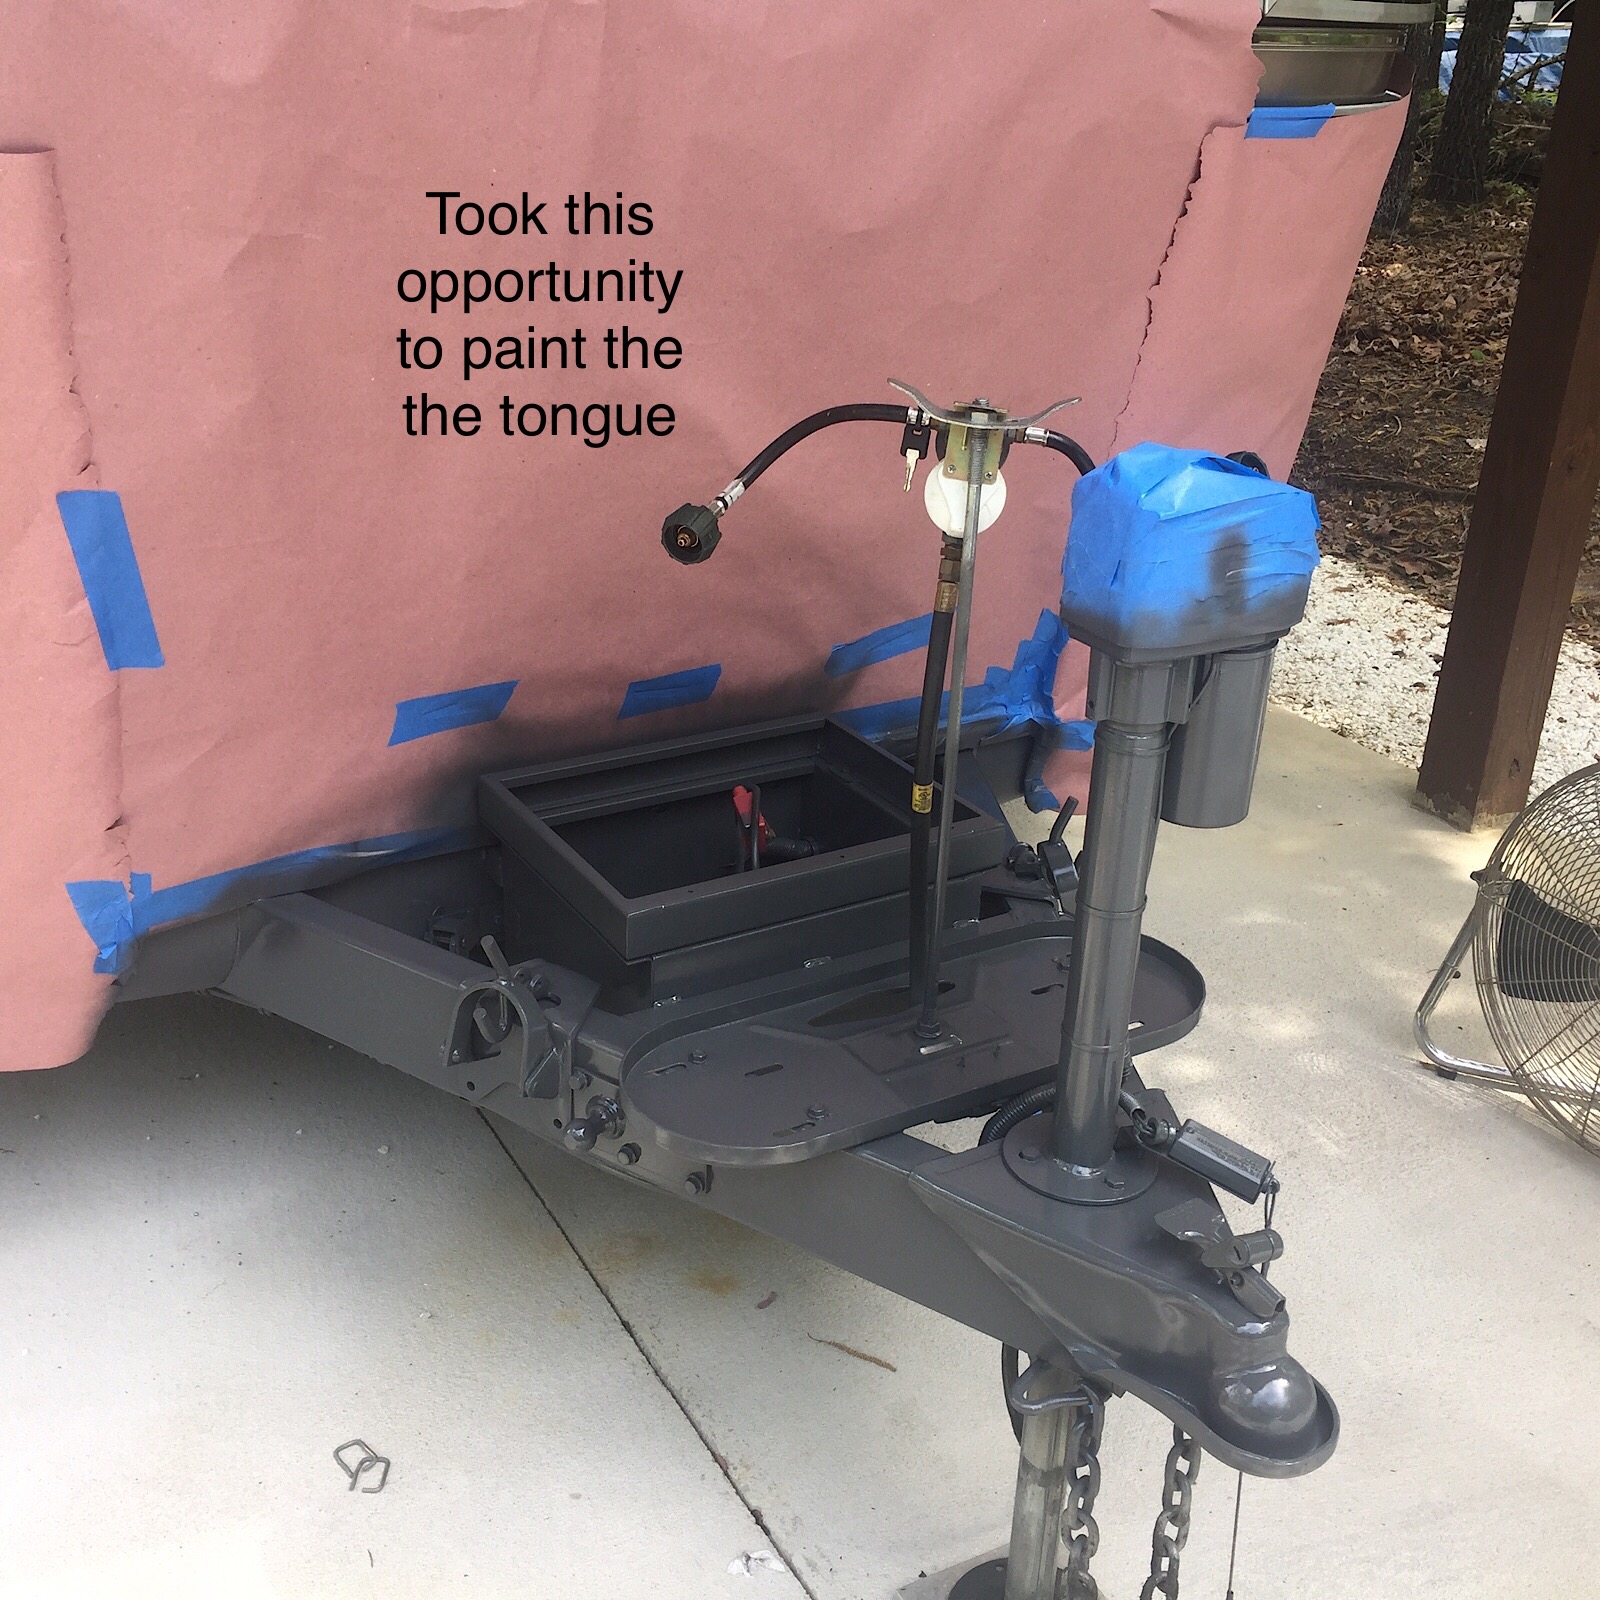
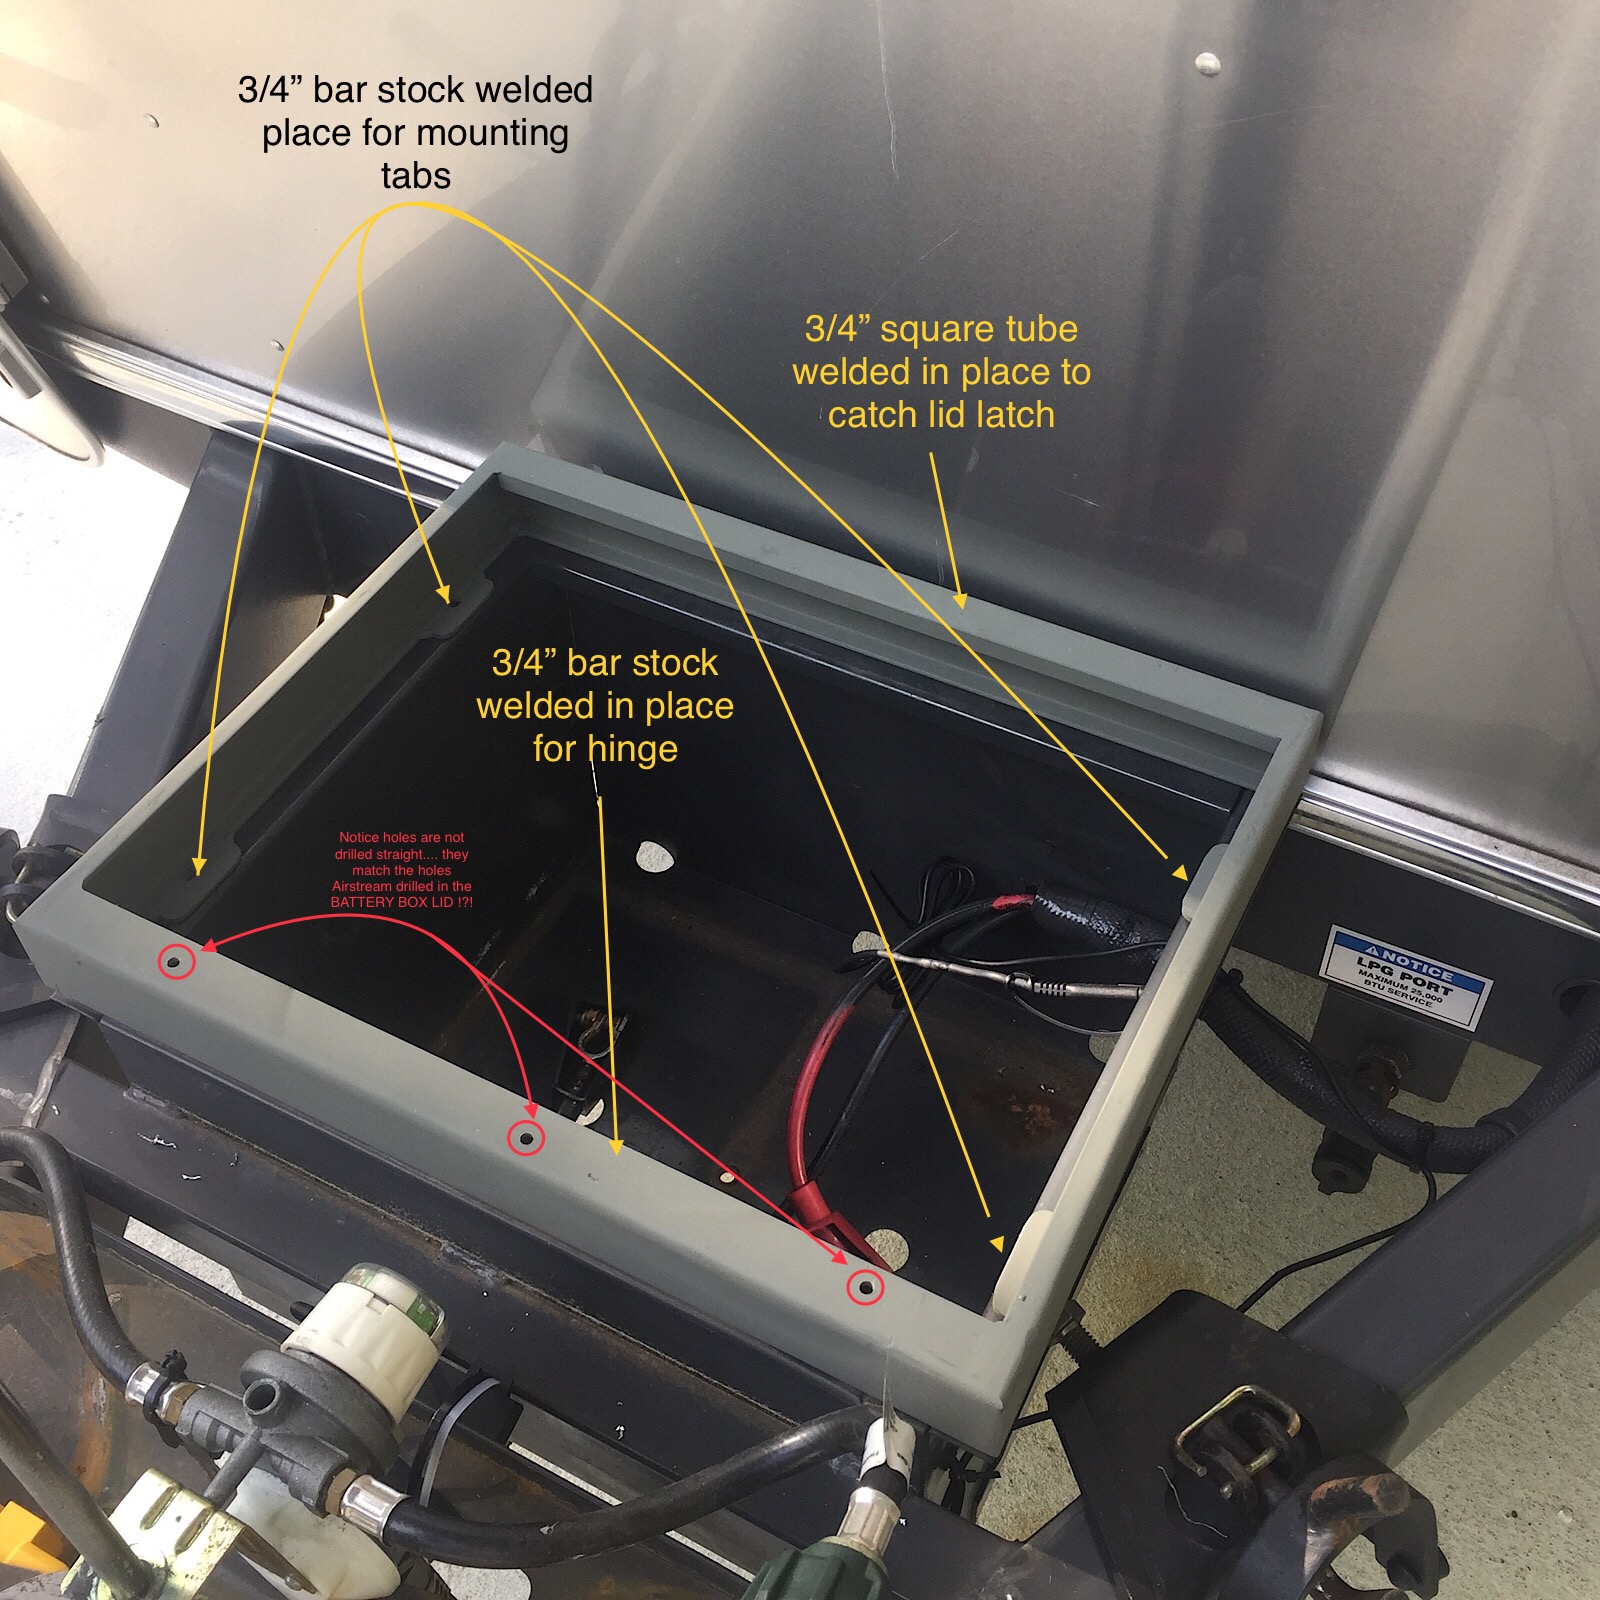
The battery install, however, was not as plug-and-play as the converter. This swap required that I fabricate an extension ring for the battery box and install a longer thread rod. This was added to accommodate the taller T105’s.
The factory battery box was about 2 inches too short for the new batteries to fit under the lid. These extender rings can be purchased from a few different online venders, but hey, in my normal fashion I decided to build mine myself and probably spent twice as much time and money!?! (But man…. she’s a beaut)
The extension ring was made from metal stock available at your local Big Box Store—orange, red, or blue, does not matter, they all have the parts. I’m not going to give an exact parts list because I do not want to snuff out anyone’s creative spirit.
If you decide to fabricate your own, you should be able to work from my photos and maybe make something better than I did. I welded all my parts together to build the box because I own my own welding machine, but I suppose bolts and angle brackets would also work if you did not have access to a welder.
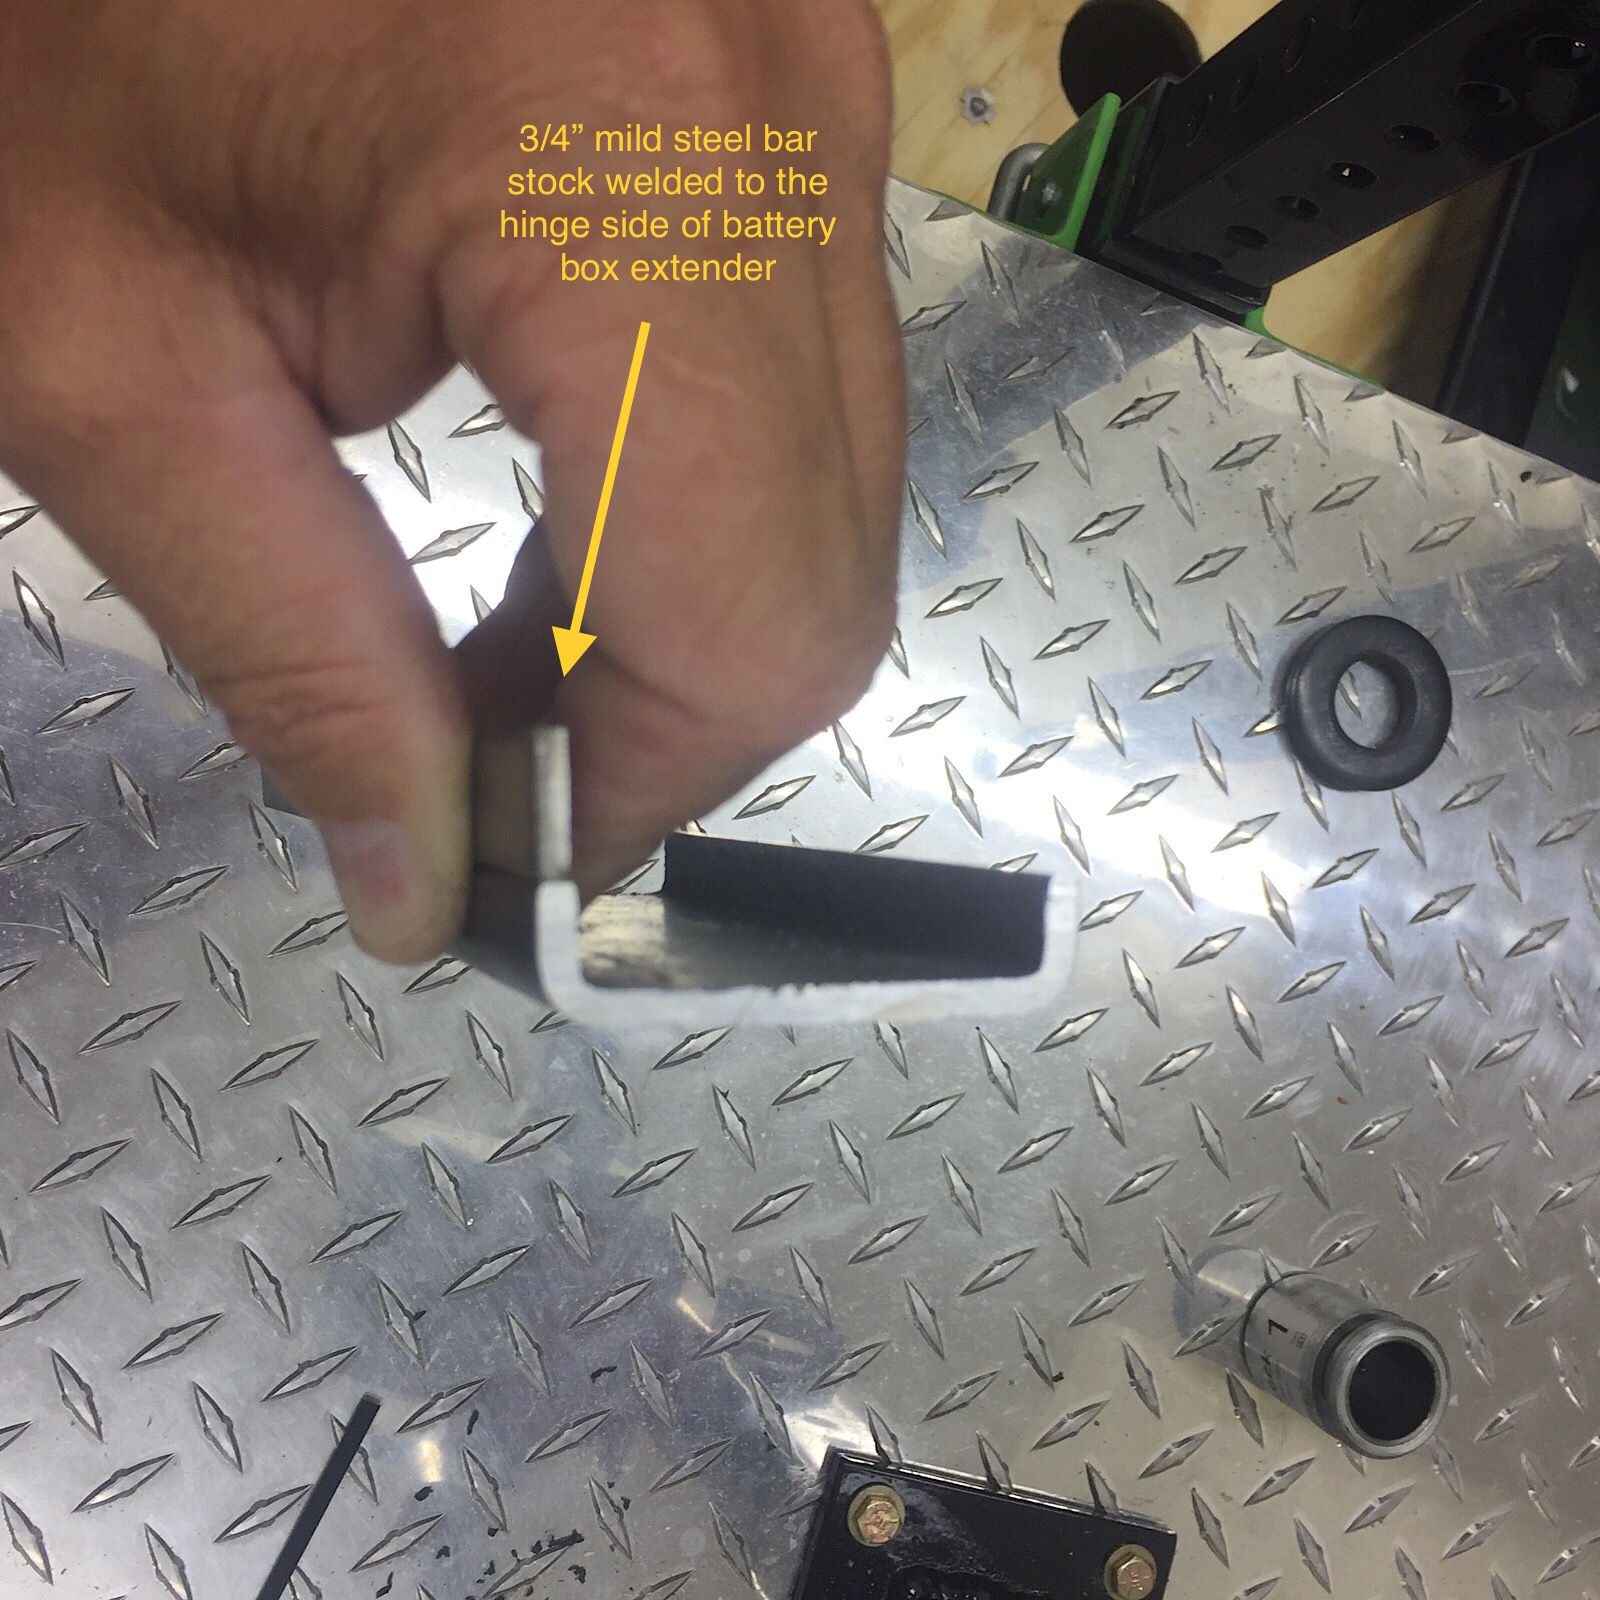
A 3/4” bar stock was welded to the hinge side of the battery box to allow for a wide enough base to mount the battery box lid, and a 3/4” square tube was welded to the latch side of the box to allow the battery box lid latch to close tightly down on the extender ring.
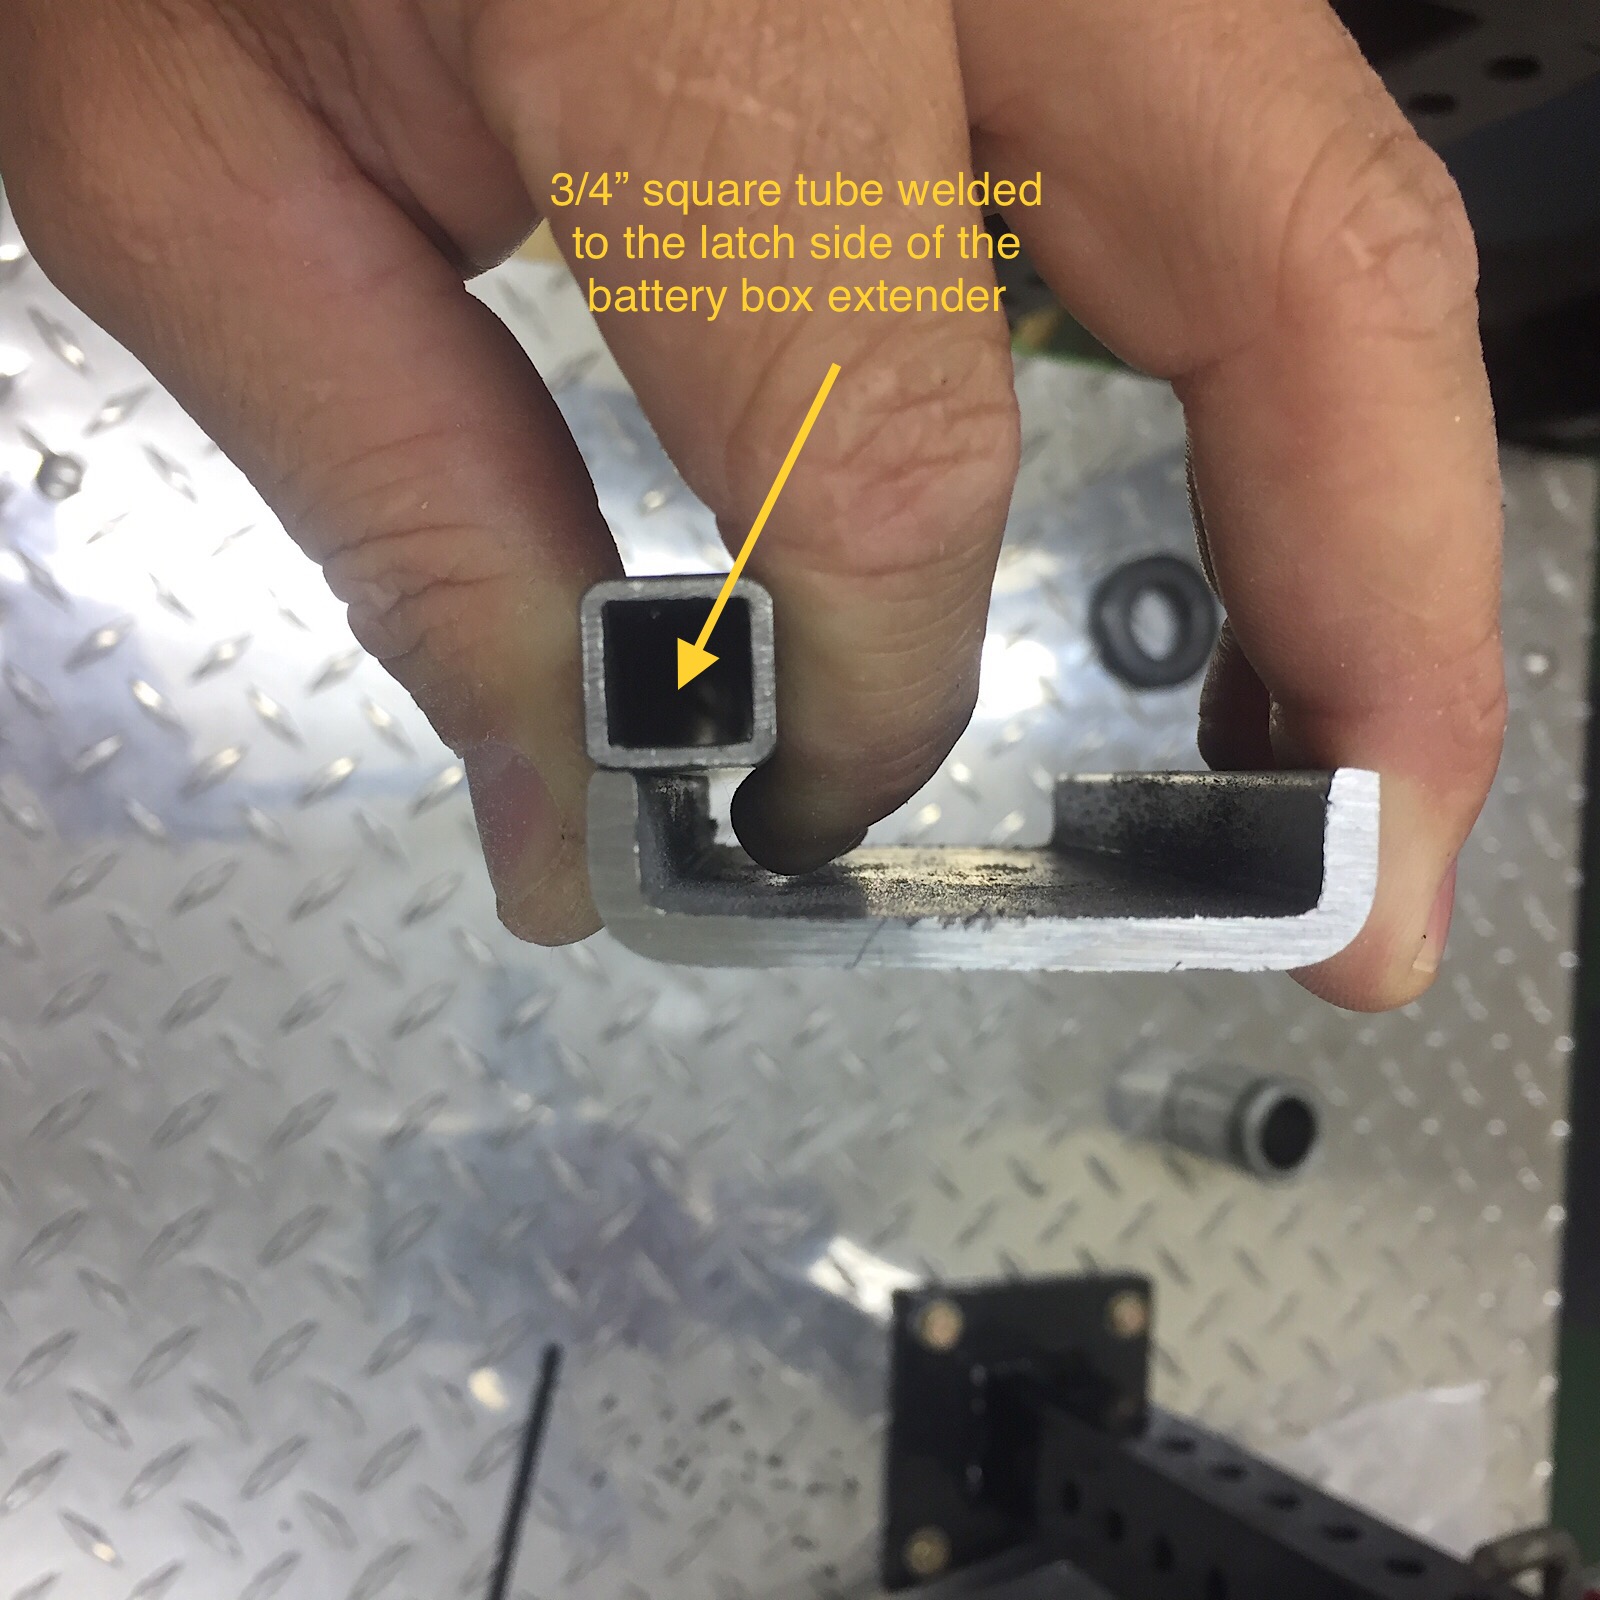
Side note—Fit your extender ring to your battery box BEFORE you drill any holes in anything. Our factory battery box was neither square nor welded in place straight. So there needs to be a little custom adjustment during the install to make sure everything fits up nice and tight.
Finally, with the extender ring finished and everything mounted in place, it’s time to drop the new batteries into their new home. Putting two large Trojans T105’s into the extended factory battery box is still a tight fit, but they will go in place with just a little coaching.
An easy RV upgrade
This upgrade is one that most DIY RVers should be able to tackle, although the fabrication of the extender ring does step things up a notch or two. We have been very happy with our Progressive Dynamic charger and Trojan batteries.
Wiring the two Trojan T105 6-volt batteries in series will provide 12 volts DC with 225 total amp-hours. This should yield around 120 amp-hours of usable power. They serve our needs well and should for many years to come.