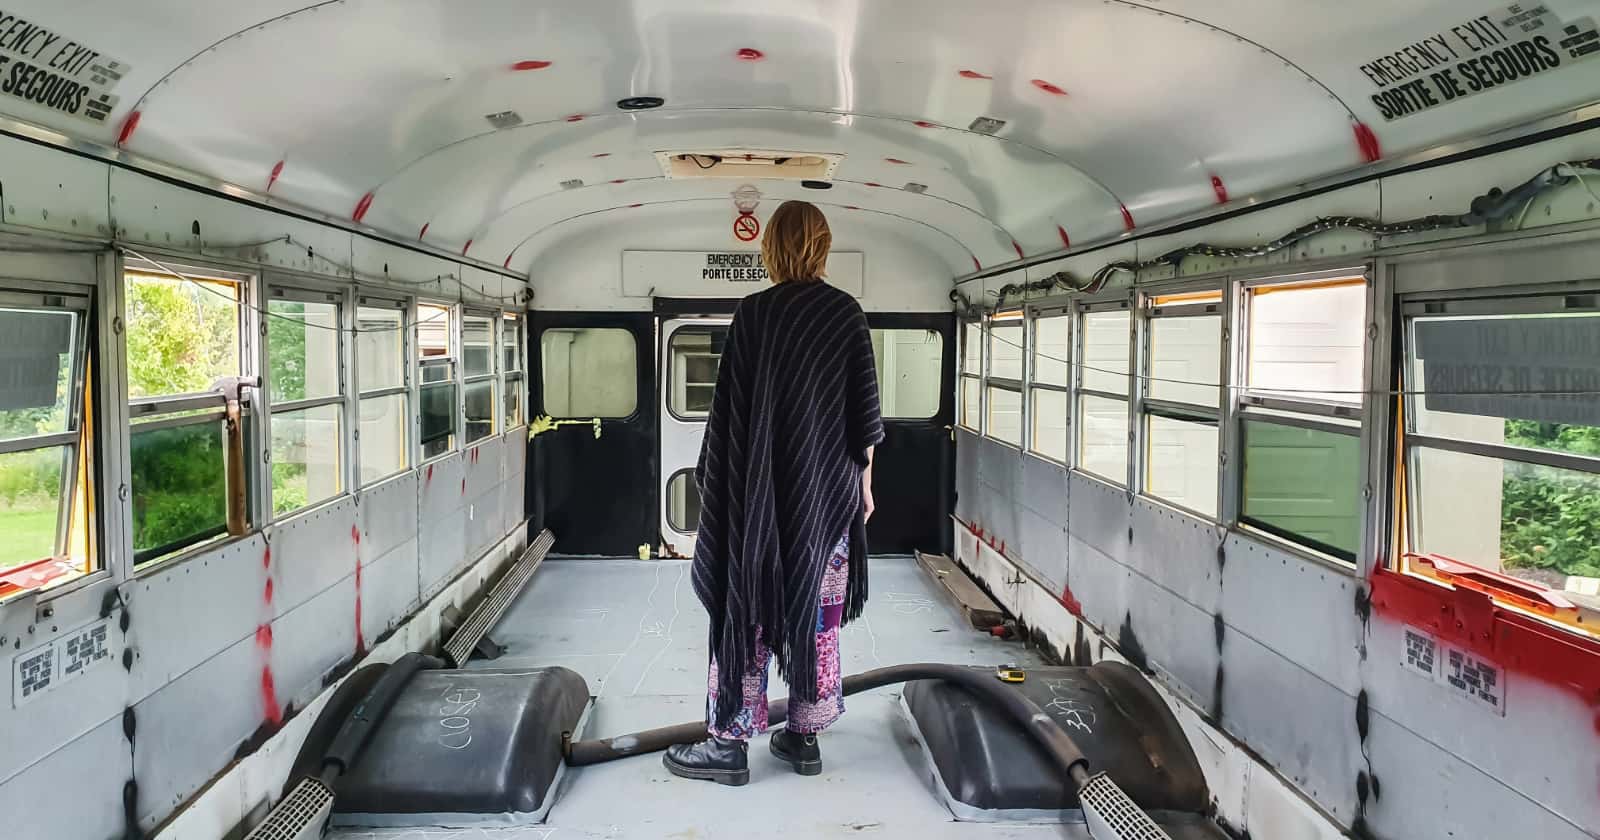
Wayne and Linda Smith of Glen Burnie, MD recently finished converting a Dodge ProMaster cargo van into their part-time retirement home on wheels.
The couple tent camped for years but wanted to extend their travels into more areas and the National Parks with a comfortable hard-sided van. They also wanted to do the conversion work themselves with some help from local businesses.
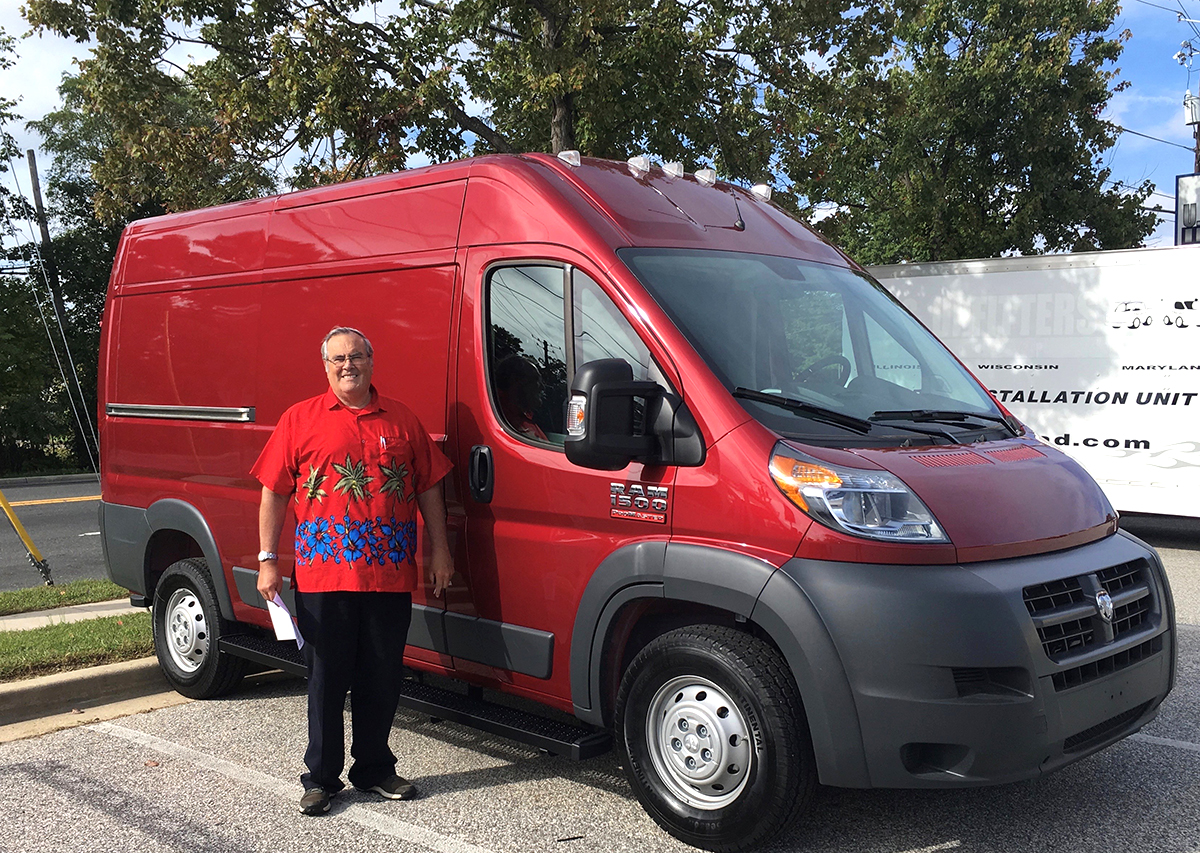
To have all the amenities they wanted and nothing extra, the couple decided to purchase a new ProMaster cargo van rather than a pre-owned vehicle.
ProMaster cargo vans are manufactured primarily for use as commercial vehicles, but many DIYers like the open cargo space and up to 462 cubic feet to create their own camper. The final cost of the ProMaster from the factory (ordered through Costco) was $36,000.
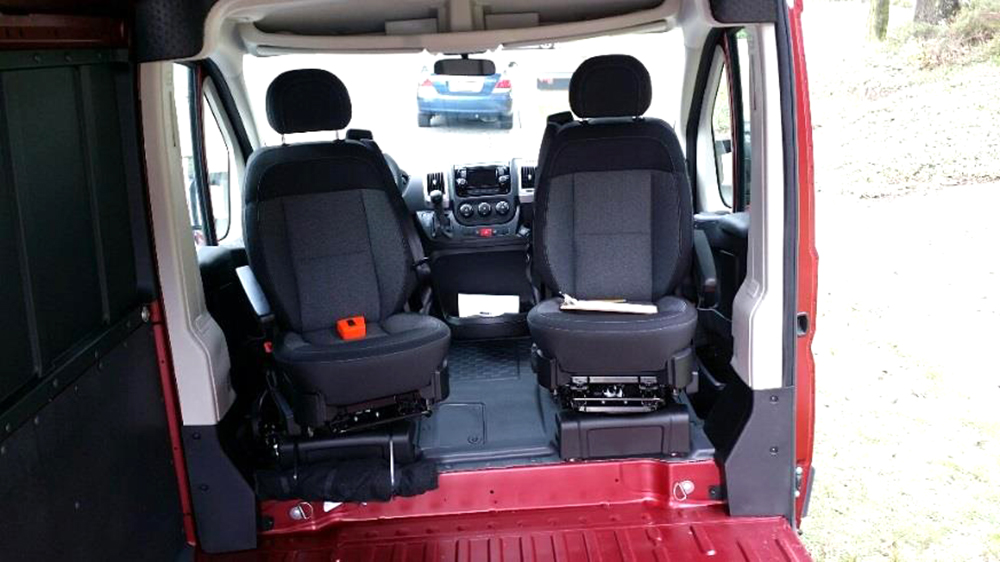
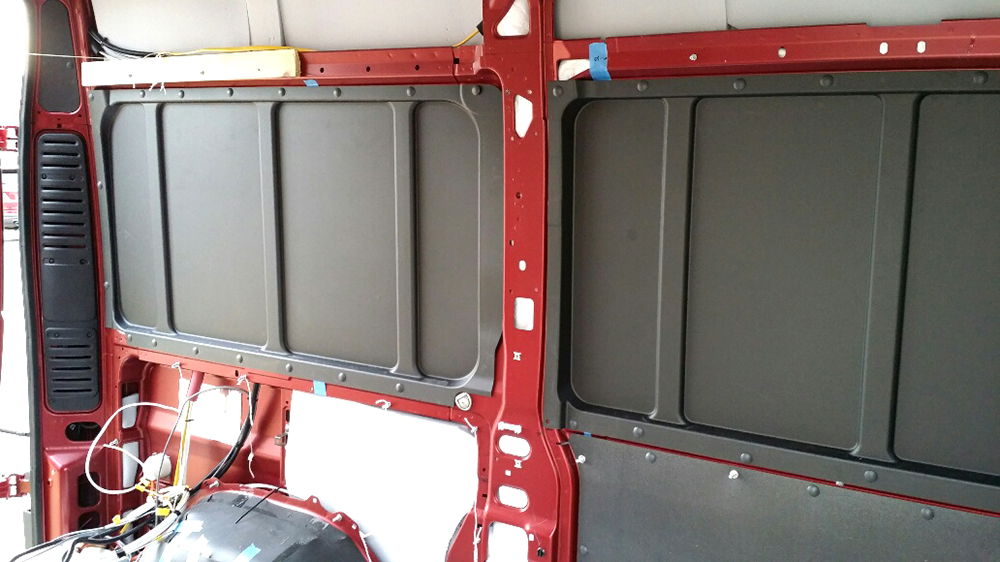
“With a new van I could order the extras needed for a successful conversion such as a heavy duty alternator, LED overhead lights, swivel chairs, glass in the rear doors, heated mirrors, interior paneling, and I could pick the color.
These would have been expensive to add to a vehicle and I don’t think the swivel seats are available unless you order them. For 10 years I have planned to acquire a Class B RV and now have the vehicle to do so. I dreamed of doing the work myself rather than pay $40,000 to someone else.”
Wayne’s objectives with the new van were specific, but minimal:
- The van had to be also used as a “regular car.”
- They wanted the ability to stand up inside (Wayne is 5’10” and Linda 5’4”).
- To keep it simple and to limit things going wrong, the van would not have running water, gray or black water tanks, pumps or propane lines.
- Ability to sleep inside on occasion without a lot of hassle.
- Ability to have enough room to change more than your mind.
- Have shore power to run a microwave, induction burner, and ceramic heater.
- Have a compressor type cooler that runs on 12v or 110v.
- Have a portable potty for emergencies.
- Room to carry clothing and supplies in a tidy manner.
- Ability to carry building material such as plywood when not camping.
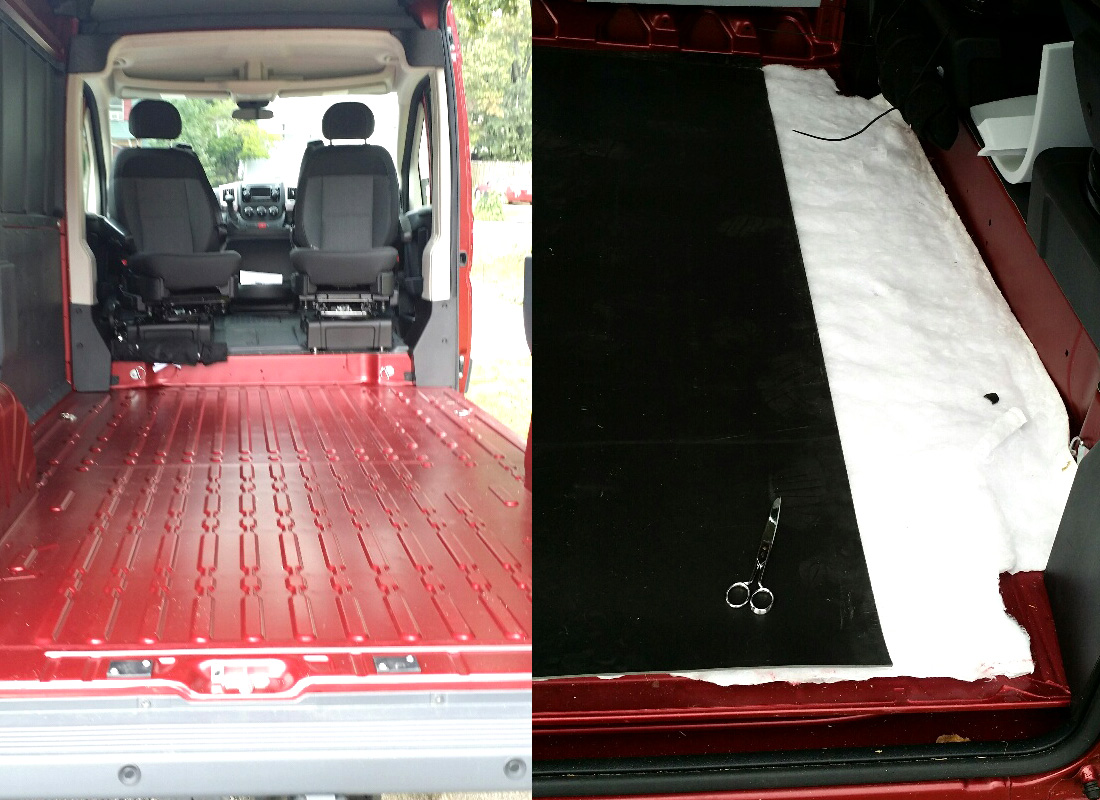
The floor was covered with Thinsulate and Mass Loaded Vinyl (MLV) for sound deadening.
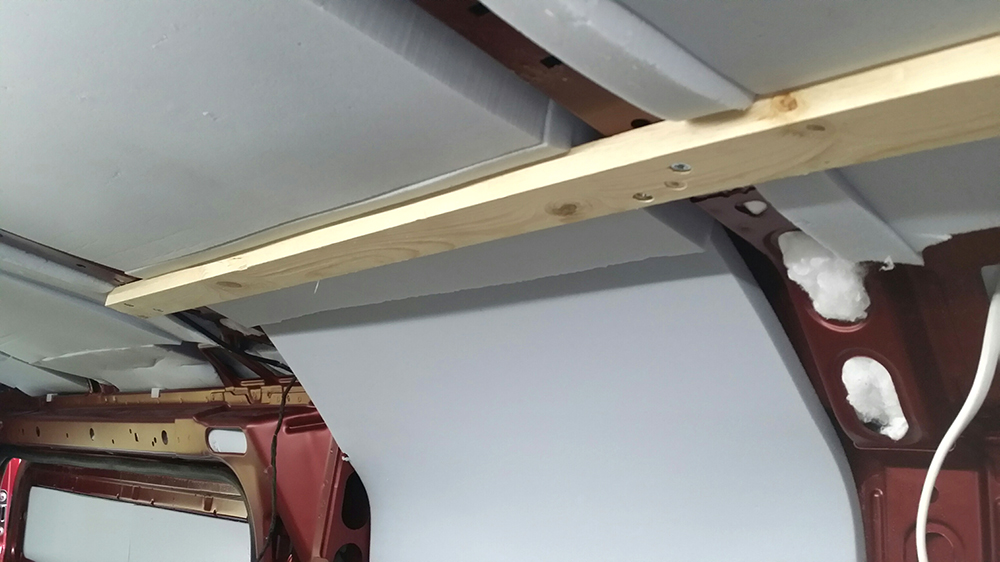
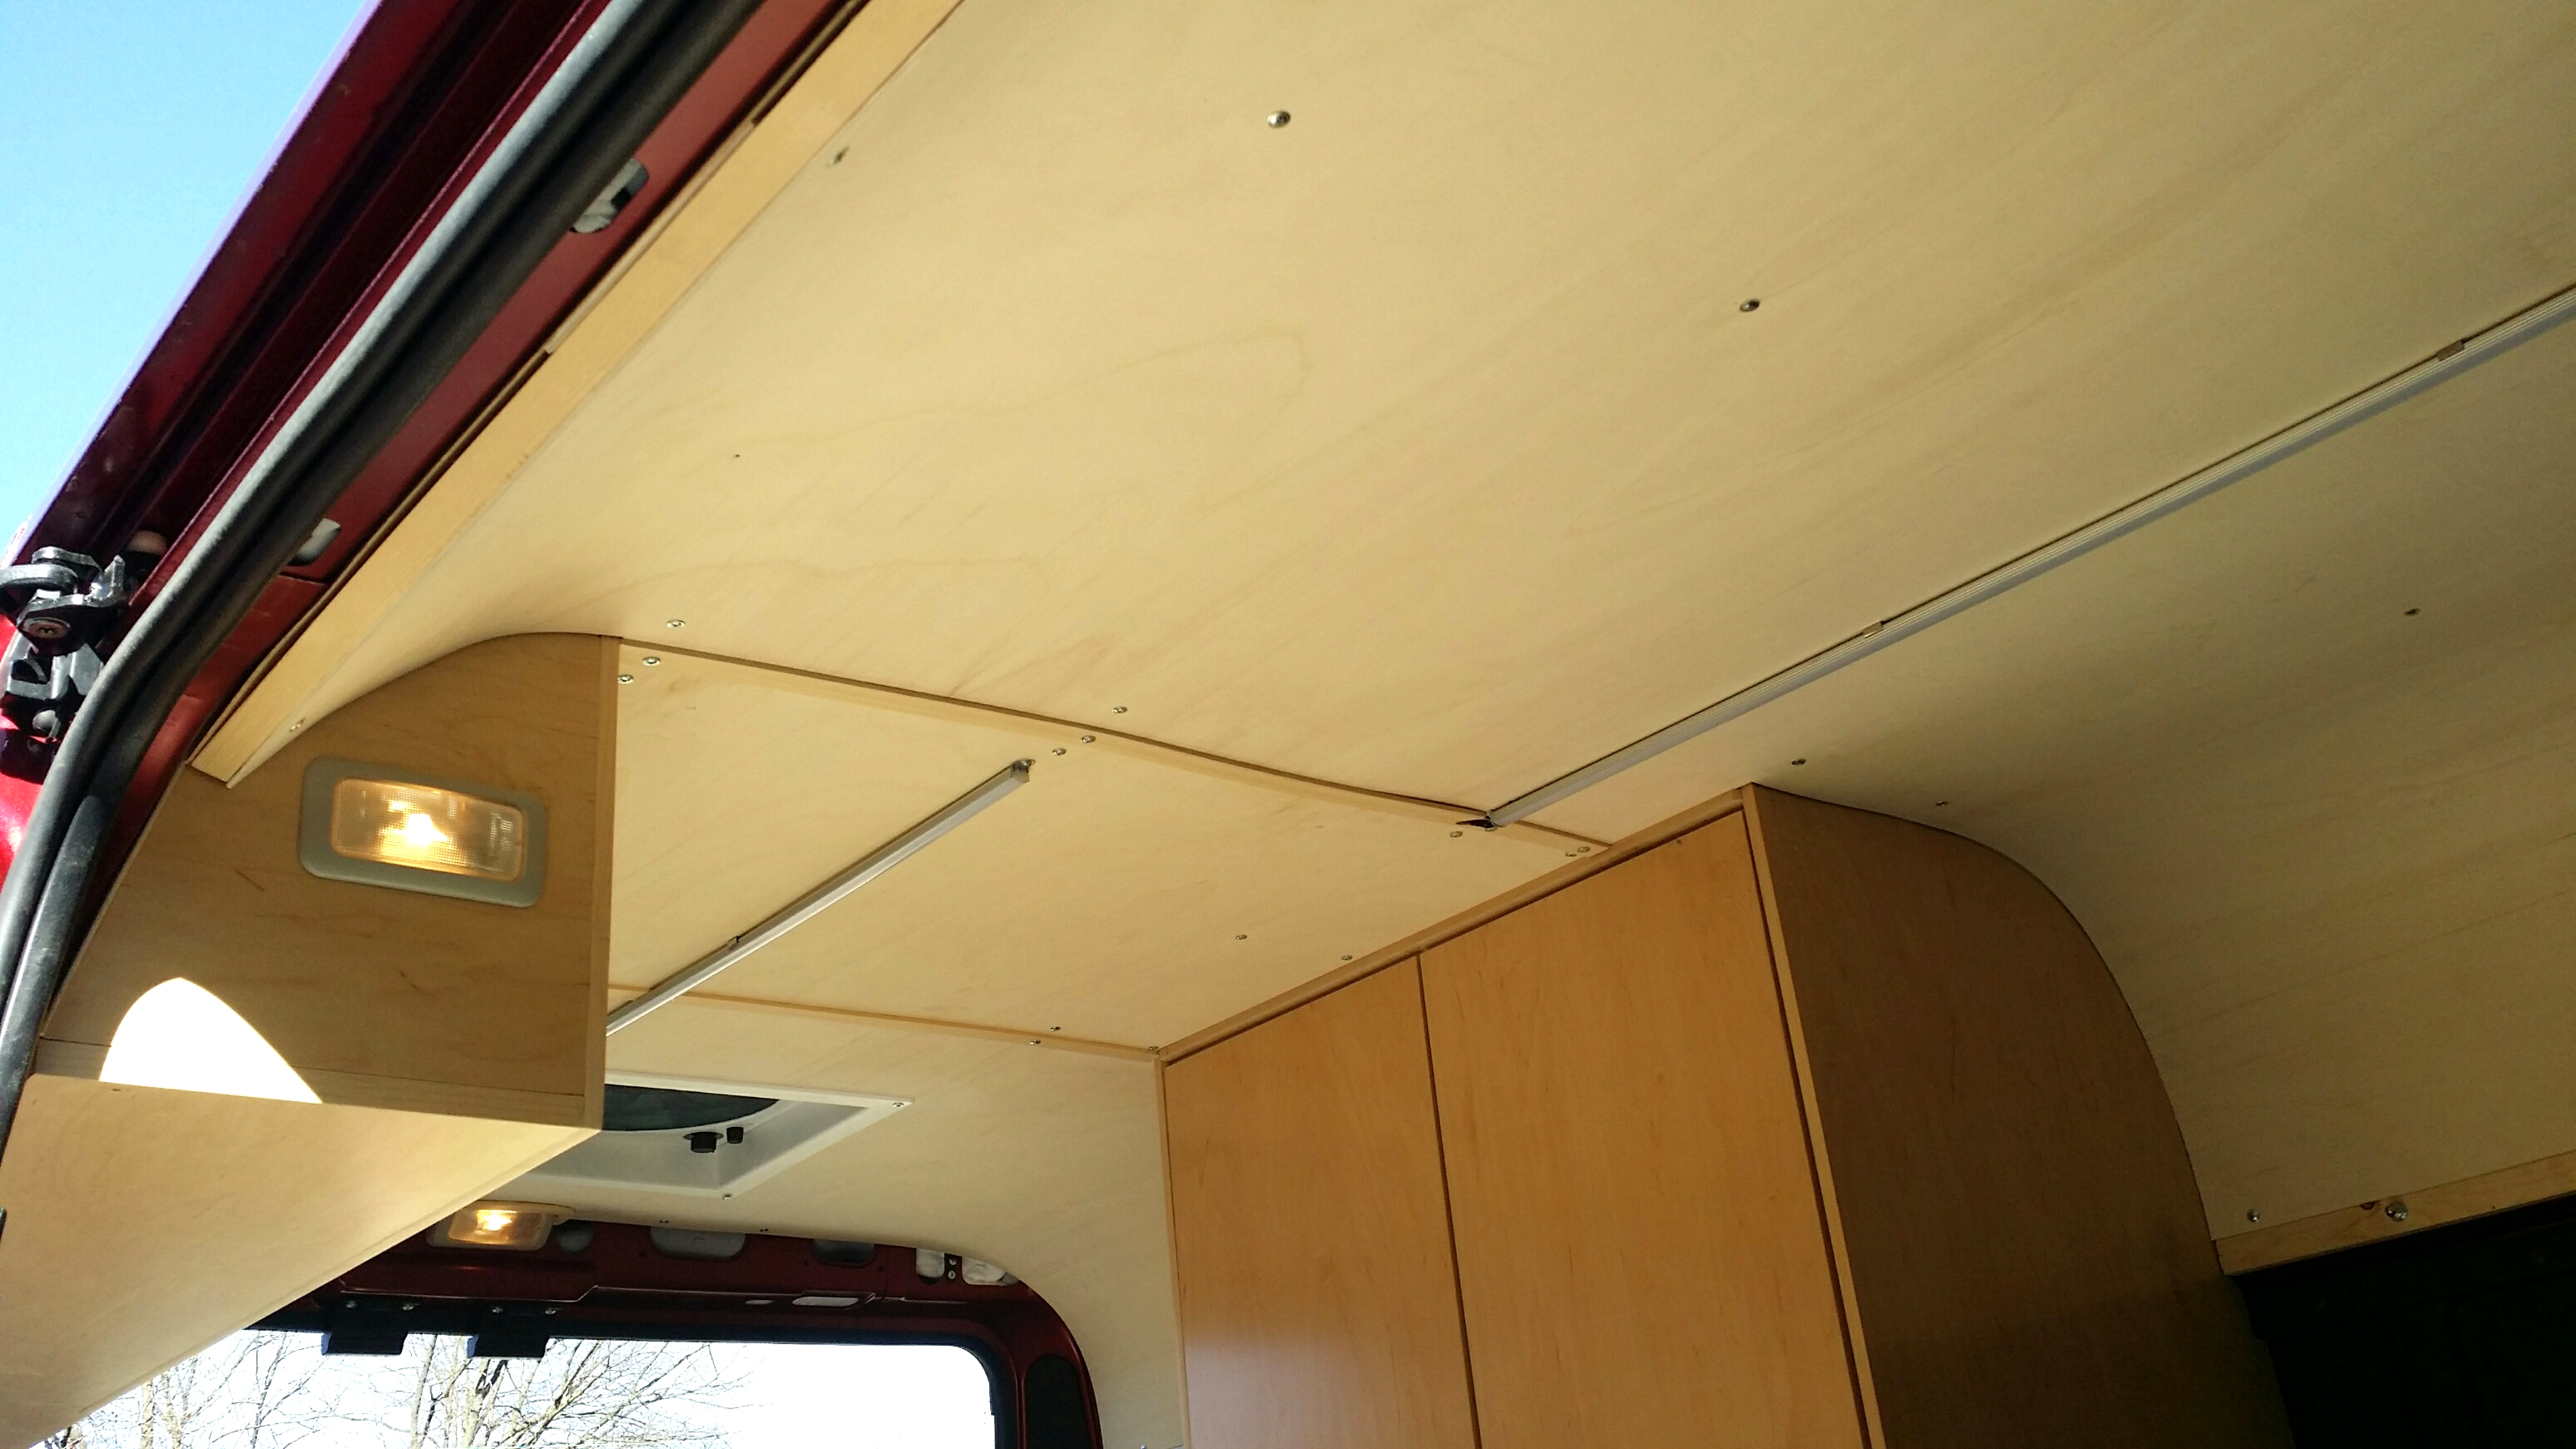
For additional sound deadening, CLD tiles were installed in the ceiling. Hydrophobic melamine foam was used as insulation in the wall panels and ceiling.
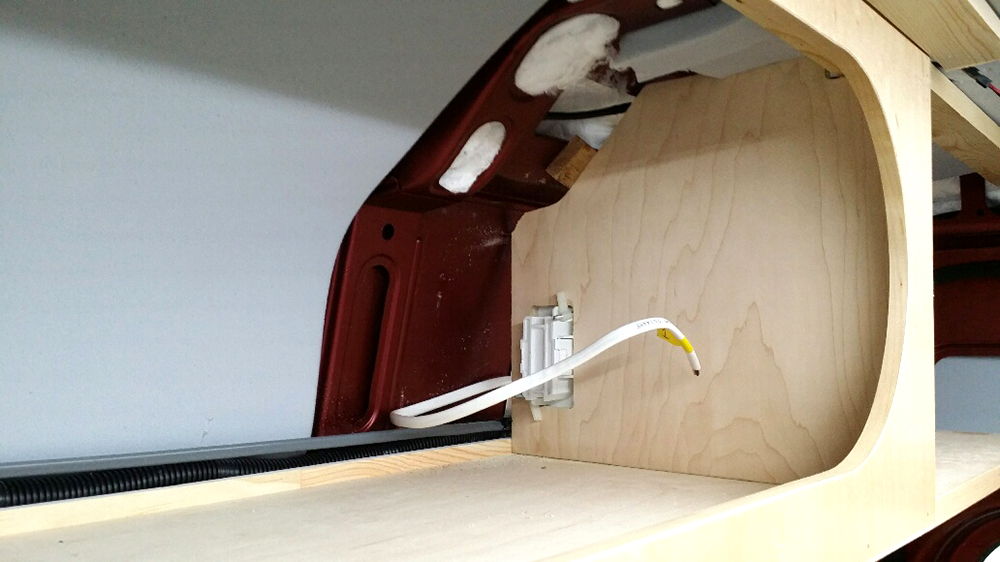
The couple used 1x4s cut in half lengthwise for wall and ceiling joists and installed them with 1/4 inch self-tapping screws. Rather than adjusting the joists around the van’s factory LED lights, they moved the lights and had to splice the wiring to reach across the ceiling.
Simple wiring was installed by an RV parts company.
The ceiling was covered with flexible 1/8″ poplar.
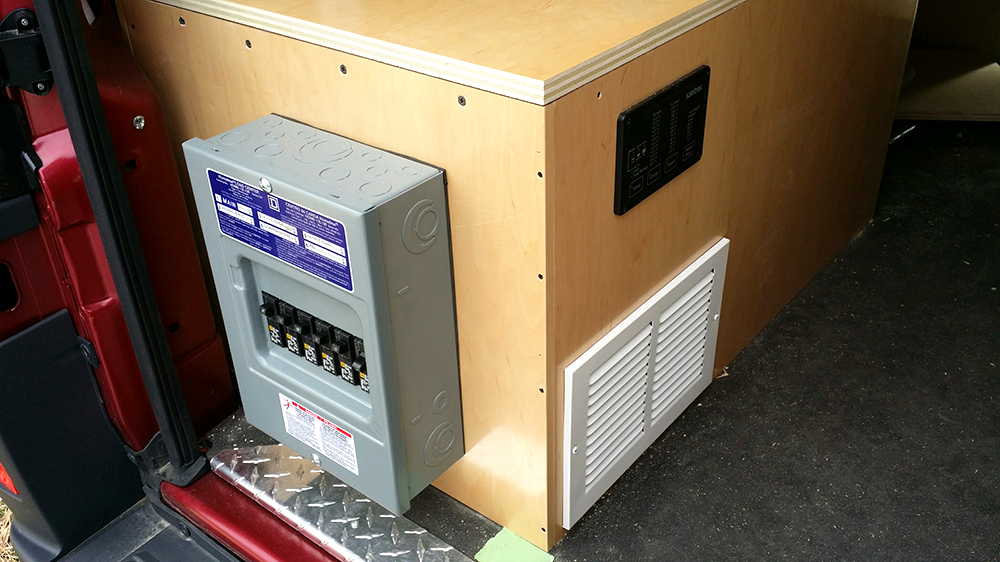
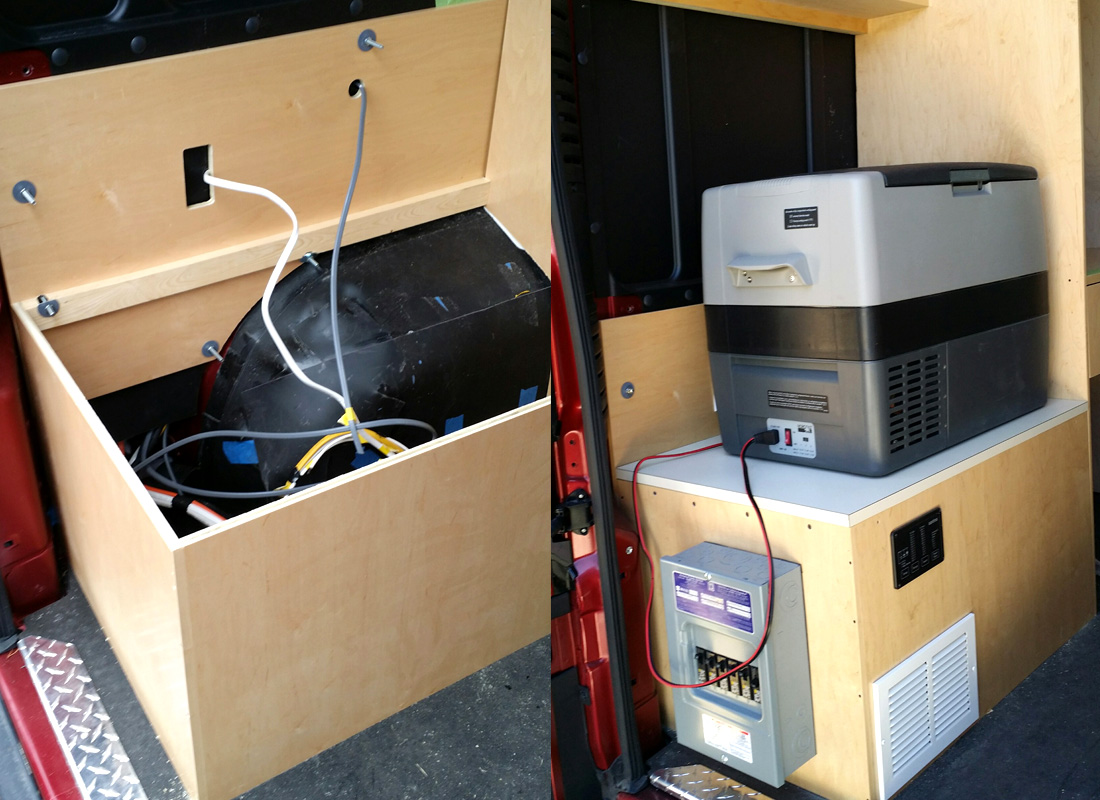
One rear cabinet contains the battery and inverter and is easily accessible.
The cabinet also holds the 12-volt Norcold cooler.
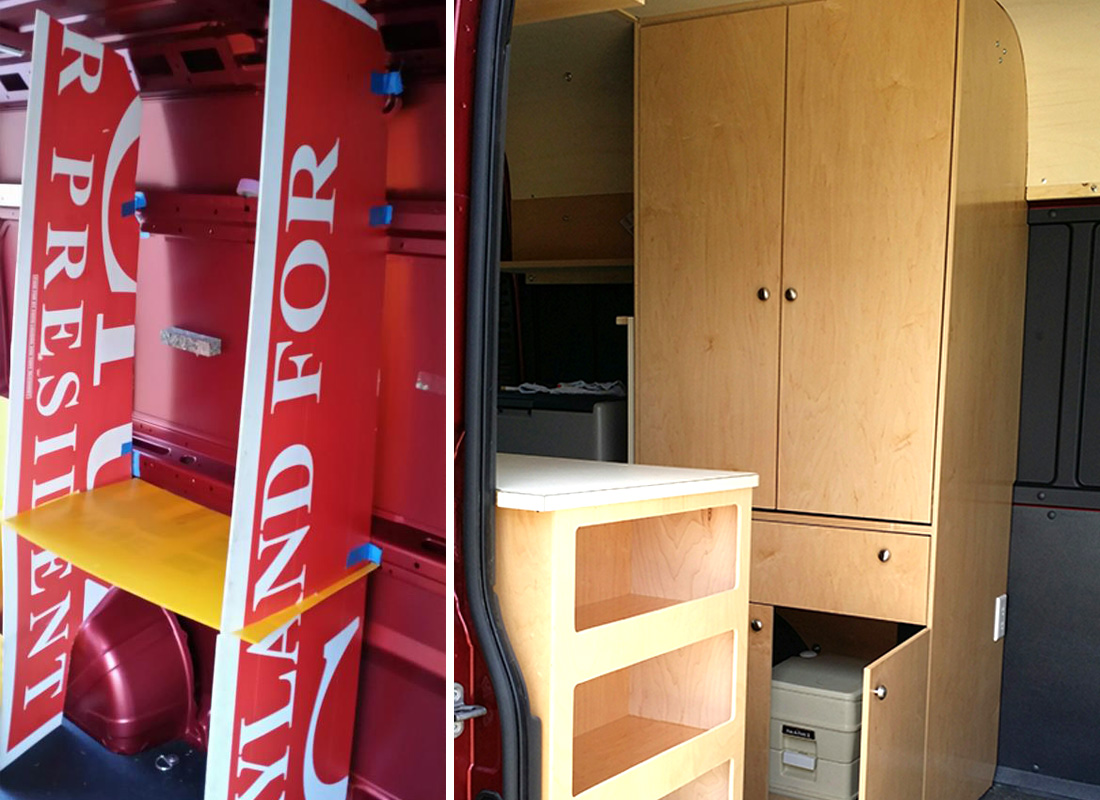
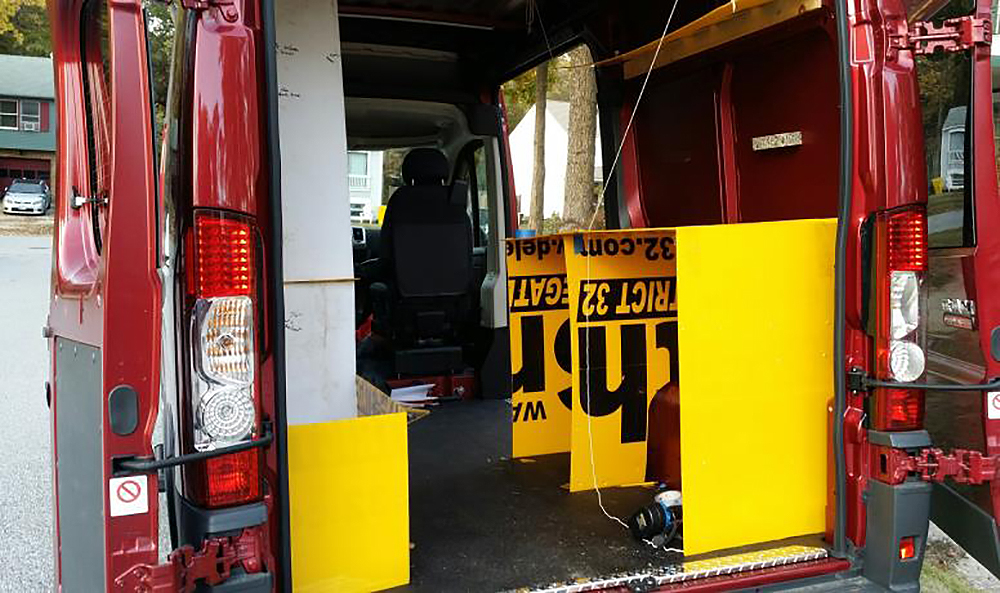
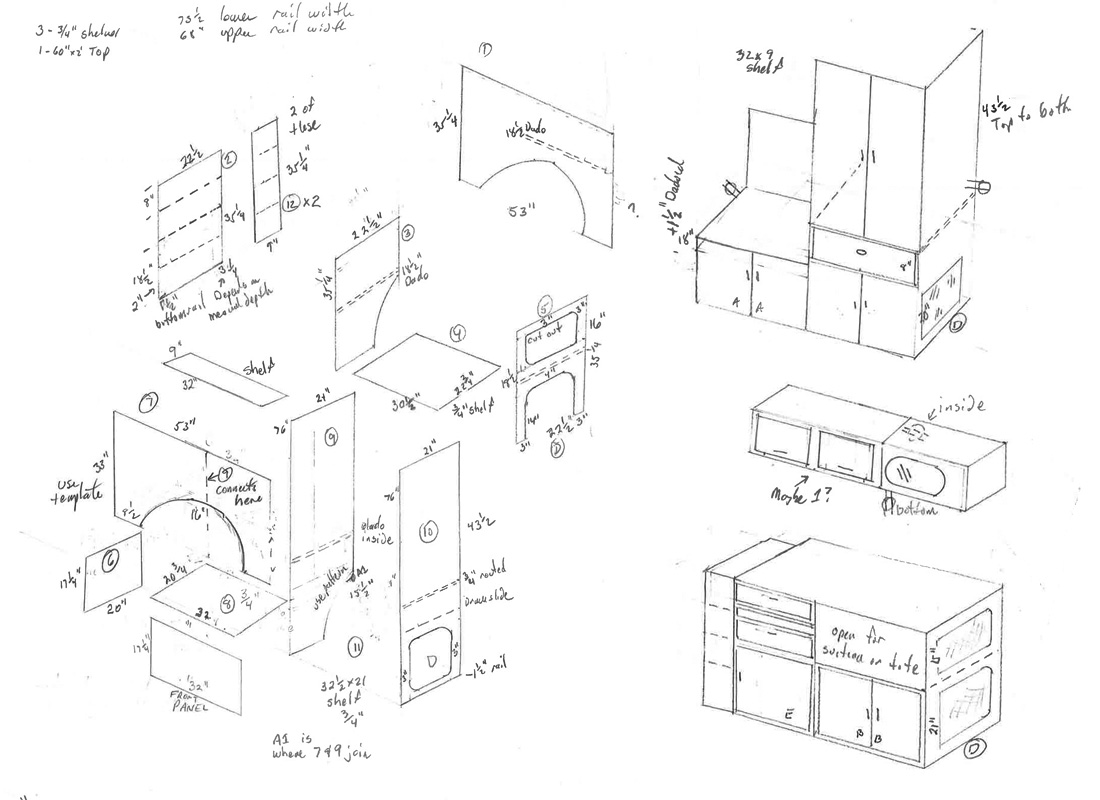
For the cabinets, Wayne and Linda drew out the plans on paper. They used political campaign signs (plentiful in October and November) as mockups for the curved cabinetry. The cabinets are constructed of 1/2 inch maple plywood and each of the cabinets have a defined purpose.
The passenger side base cabinets contain the pantry and storage for luggage or totes. The driver side full height cabinets contain a clothes closet and storage for a portable toilet. The rear cabinet holds the auxiliary battery, inverter, and wiring for the 12-volt Norcold cooler. Jim Donnies, an RV service center in Maryland completed the wiring.
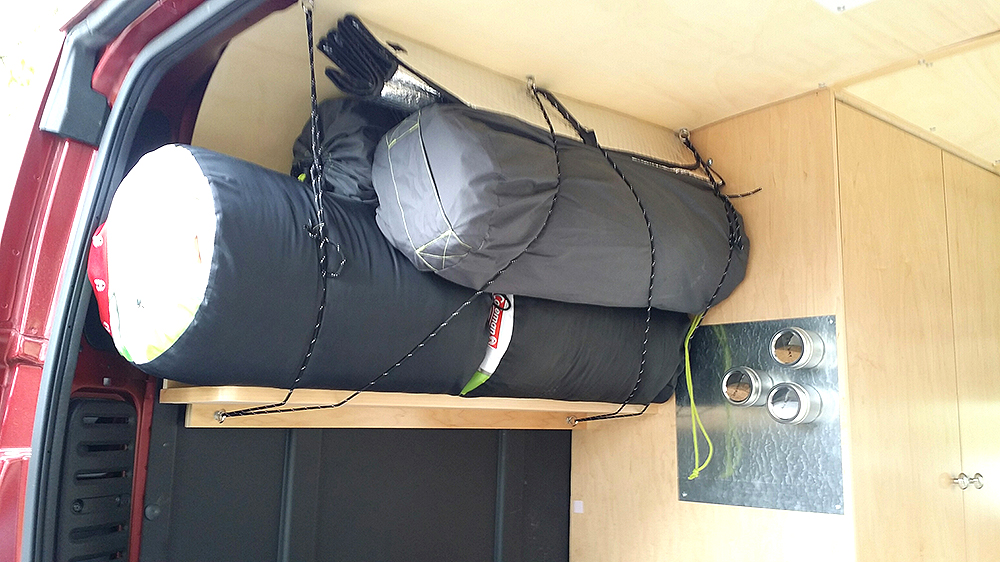
The van beds are not permanent and can be set up when needed. One bed is located across the floor behind the swiveling seats and another can be set up between the cabinets. Bedding and a spice rack are stored on the wall.
Since the van does not have a fixed kitchen, cooking is done on a portable stove or induction burner and a 700w microwave. A folding seat is also stored on the back door.
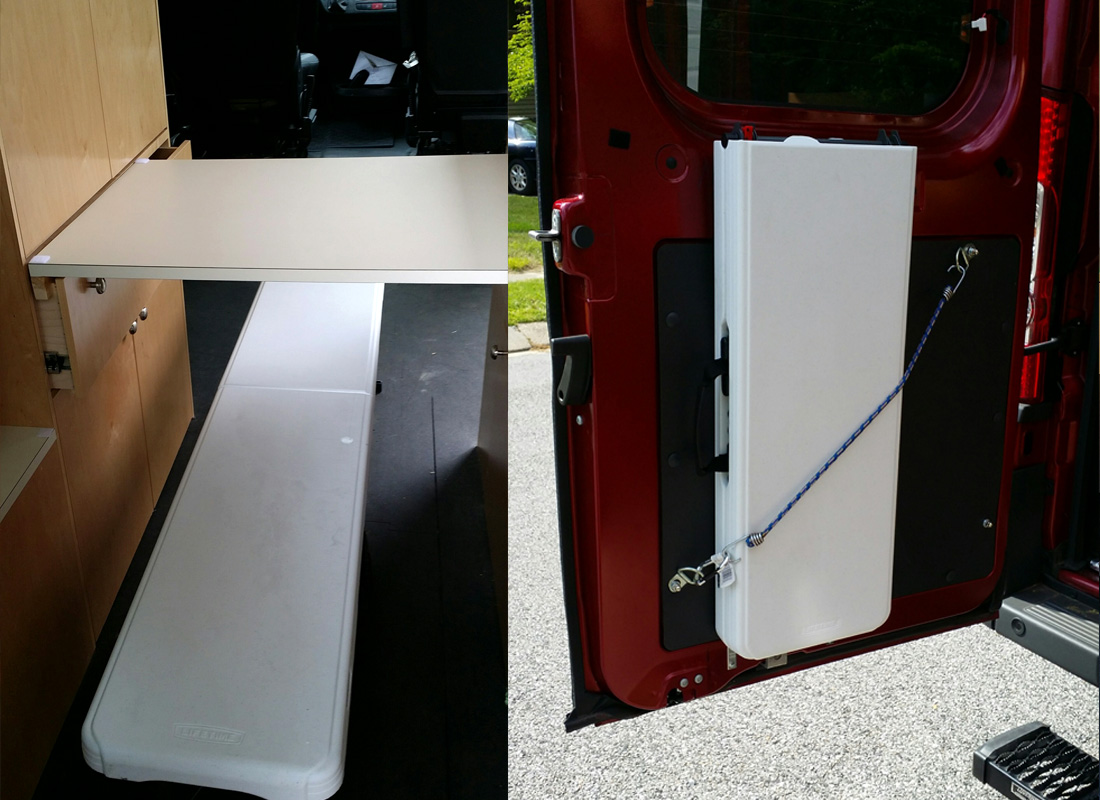
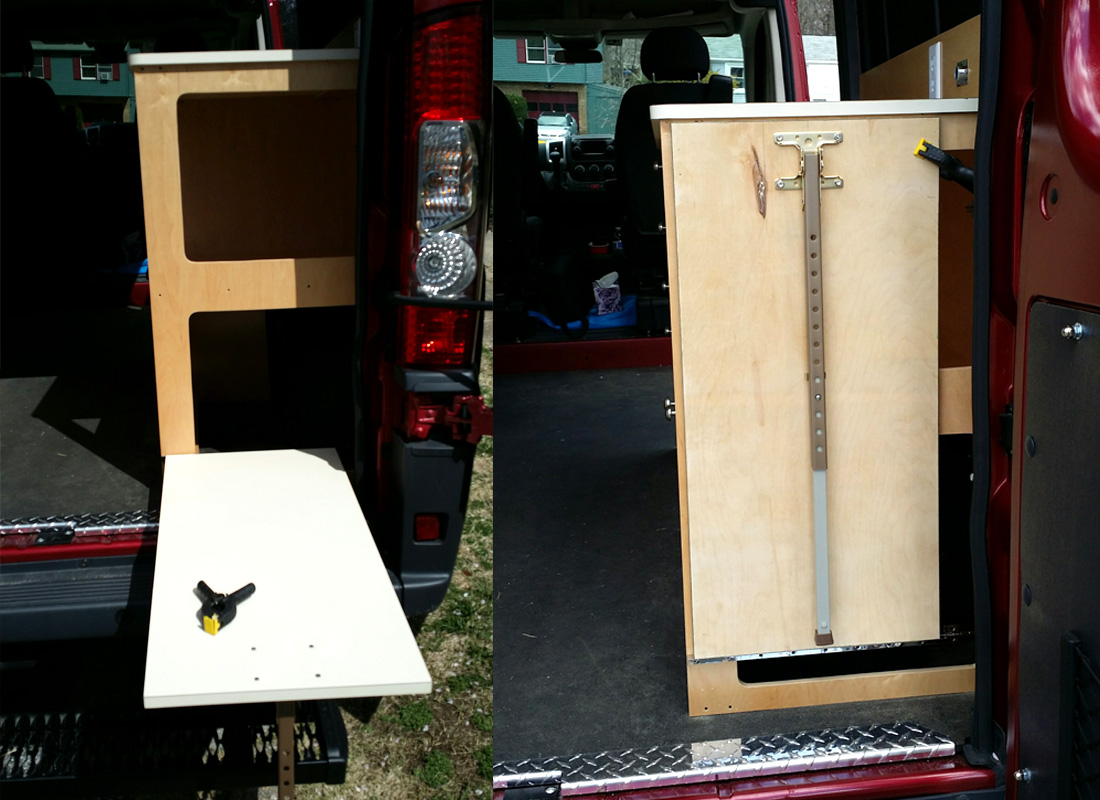
An outdoor table lies flush against another back cabinet when not in use.
“We like to cook outside, particularly breakfast. Lunch is probably best eaten out and is relatively cheap compared to dinner. Dinner can be cooked inside or out, particularly on the inductive burner or Crock-Pot plugged in on the counter. The small 700w microwave is multi-functional and a requirement in this century. It was sized to fit those single meals you can buy at the grocery store.”
Check out Wayne and Linda’s article here (PDF) on their ProMaster cargo van conversion. The article includes their diagrams, parts list, final costs, and what they would have done differently.

