
Compost toilets can get mixed reactions from people, but they need to be truly appreciated and embraced if we are going to conserve our greatest asset on Earth…WATER. We made the decision two years ago to switch to a compost toilet for three reasons.
The most important is water conservation. So much water is wasted on every flush of a toilet that we felt we needed to be part of the solution and not the problem when it came to conserving water.
The second was that we were able to lose the black tank of our RV to make space for a spare tire in its place. Also, we no longer have to haul the weight of black wastewater, meaning less wear and tear on the engine and transmission of our RV.
The third was that we spend a lot of time off-grid without hookups, and a compost toilet would allow us to do this without having to worry about where we were going to dump our black tank.
Our family is very happy with our earth-friendly toilet, and would not hesitate to recommend it to anyone. Below are the steps, materials, and techniques I use in cleaning and maintaining our compost toilet.

Step 1. Prepare the coco coir
There are many different materials that can be used in a compost toilet, but I’ve found over the last two years that coco coir is our favorite. Coco coir has many advantages, such as it is 100% sustainable and biodegradable and is readily available on Amazon. You can buy it in a big brick that you can cut into different sizes or you can buy individual bricks that we have found to be the best for storage and ease of use.
Coco coir is sold in compressed bricks that need to be broken up into loose material for the toilet. The day of the toilet cleaning I will typically get the coco coir prepared by breaking all the material up in a spare tote.
I add a little water and then break all the clumps up with my hands to have a completely loose and airy media. This step is the most time consuming and usually takes me about 30 minutes to completely break it all up.
Step 2. Dump the solids
Remove the toilet from the RV and bring it outside and dump all the solids into a compostable plastic bag. We like compostable bags for the fact that they will break down faster in a landfill, unlike traditional garbage bags that could take years or decades to break down.
This step is usually people’s biggest issue with a composting toilet. The thought of handling, seeing, and cleaning something that usually goes down the sewer line to be processed at a water treatment plant will gross most people out, but wait, just hear me out.
I can honestly say that as long as your solids and liquids stay separate, it smells like soil from your backyard garden and looks like dusty clumps covered in coco coir. If you follow a regular and thorough cleaning routine it really is a very clean system. Tie it up and place it into the trash.
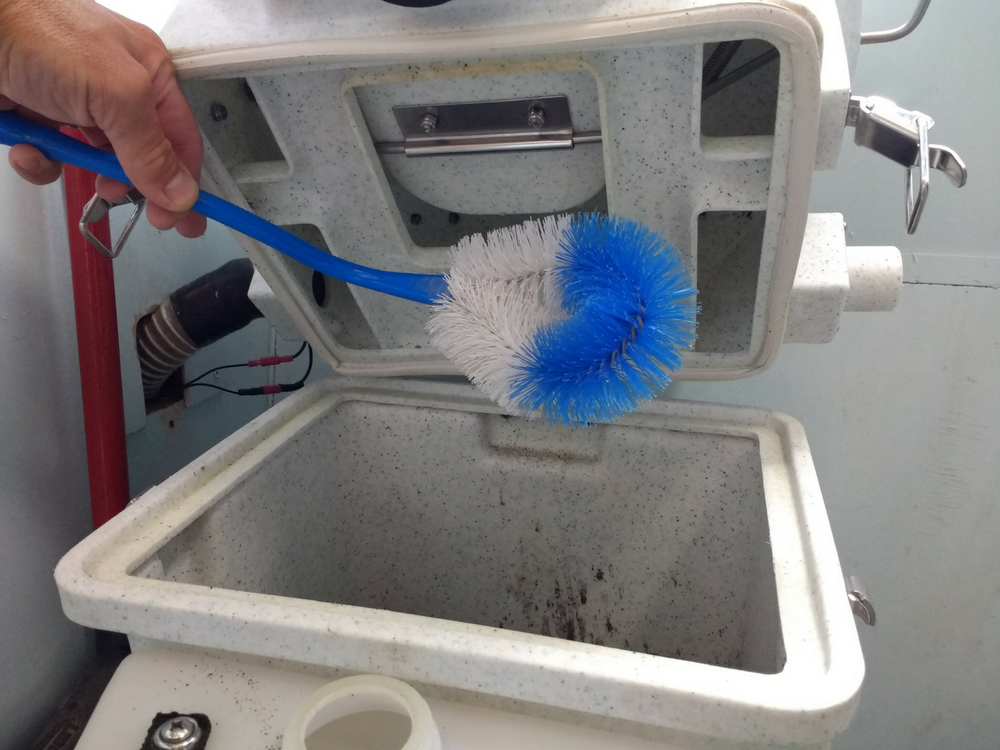
Step 3. Clean with soap and water
We have found that using cleaning chemicals does not work the best, as it can cause smells when the toilet is back in service in the RV. An environmentally-friendly dish soap used sparingly works best for cleaning all parts of the toilet.
I use a toilet brush that has a wire head that can be bent into different desired shapes to reach all the hard to reach areas. Either put a little soap onto the brush or have a bucket with soap and water and just scrub out the pee bottle, lower solid (poop) section, and upper bowl/seat area. Set aside to drain and dry.
Step 4. Add the coco coir
After all the cleaning, washing, and rinsing is done, take some paper towels and dry the entire toilet inside and out. Get the coco coir that you had prepared earlier and dump it into the bottom section of the toilet.
Bring the cleaned toilet base back into the RV and screw it back into the floor brackets.
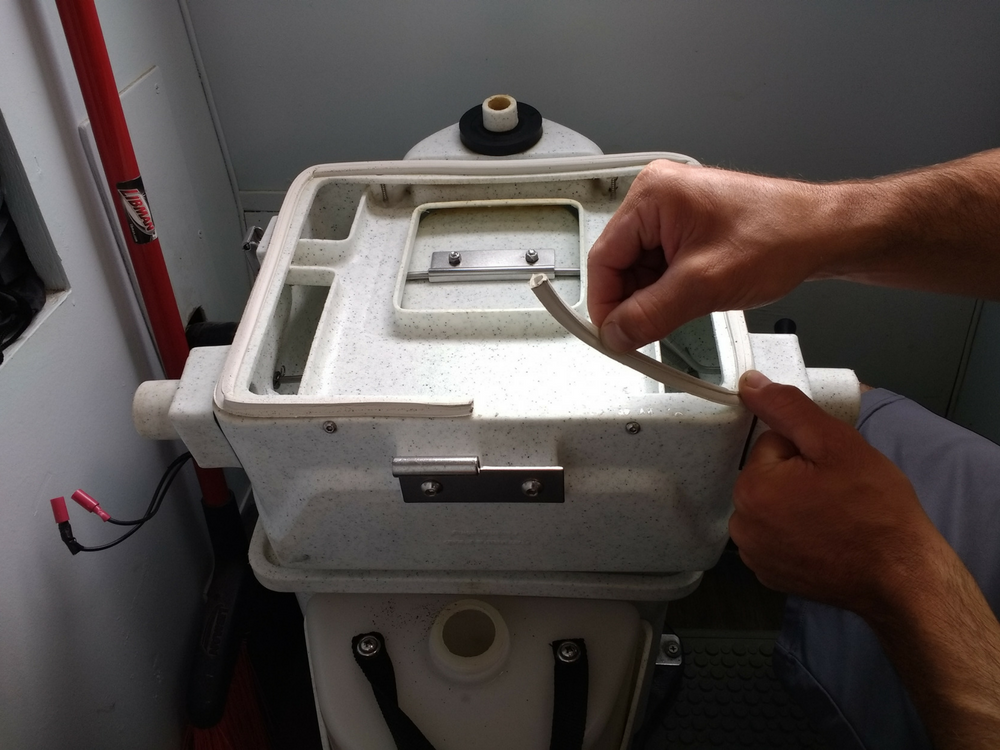
Step 5. Install new rubber seal
The last step in cleaning is removing the rubber seal that acts as the seal for the lower and upper section of the toilet to prevent any smells from entering the living space.
We use rubber weather stripping that is intended for doors and windows for a typical sticks-and-bricks home. It’s affordable and readily available at home improvement stores. Throw away the old and install the new when the bowl section of the toilet has been dried.
Another thing to inspect and clean before you’re finished is the toilet fan. If it’s dirty, brush off the fan blades and wash the little mesh screens that stop insects from entering the toilet base/bowl area.
This little 12-volt fan is CRITICAL, let me tell you from personal experiences. This toilet would not work at all if it weren’t for this fan, so take care of it and have a spare on hand if it were to break. These fans are cheap so get a spare one, trust me.
If you have ever considered switching to a compost toilet, it is a very easy system to use and maintain. It’s also very rewarding in knowing that you are doing your part in conserving our planet’s fresh water. The United States and Canada are lucky enough to border the five biggest bodies of fresh water on the planet, so we all need to do our part in protecting and preserving one of our greatest natural gifts.


