A group of six Australian friends – including a lawyer, engineer, and financial advisor – wanted more adventure out of their lives. When one of them mentioned the crazy idea of quitting their jobs and taking a road trip, the others thought it was just a joke.
Fast forward a short while later, and they all had quit their jobs, moved to Canada, and found themselves in the middle of gutting and rehabbing a school bus for a multi-month trip throughout North America.
What tipped them to follow through on their friend’s idea?
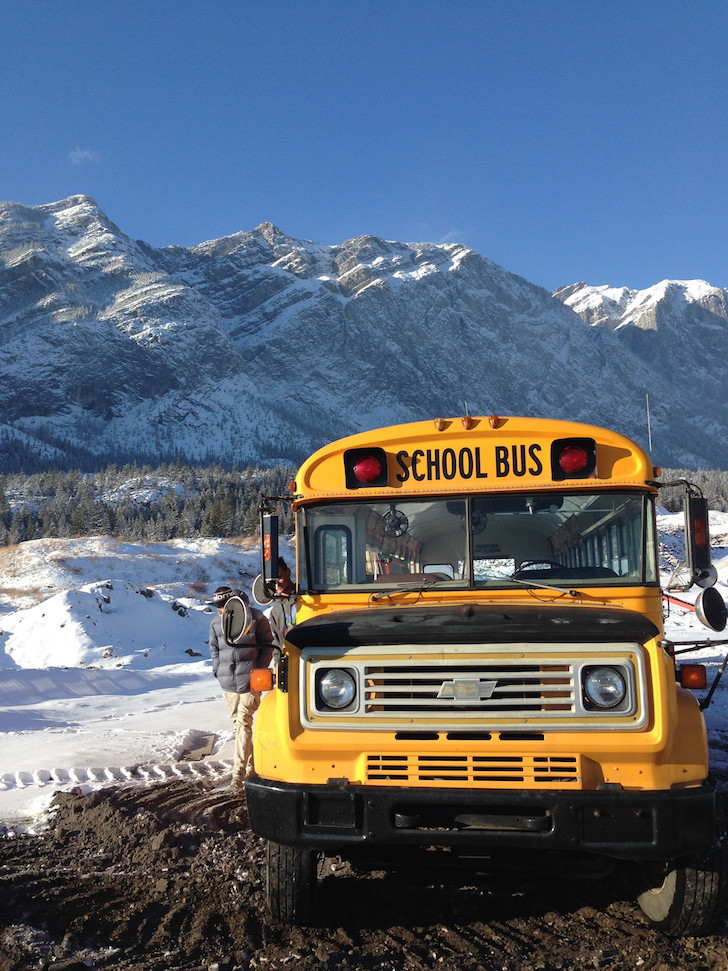
Seeing this picture of a school bus-turned-RV (called a skoolie) going around Facebook:
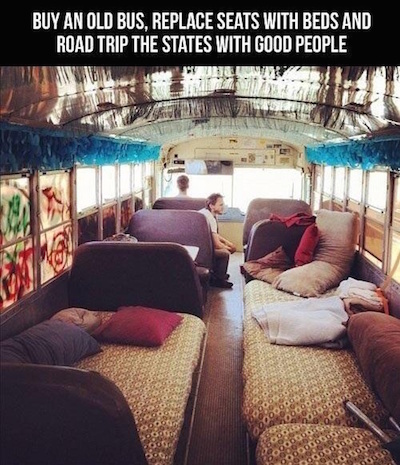
Not one of them had any experience with carpentry or vehicle conversions. With only guts and a desire for a new challenge, the group hopped a plane to Canada to start their odyssey.
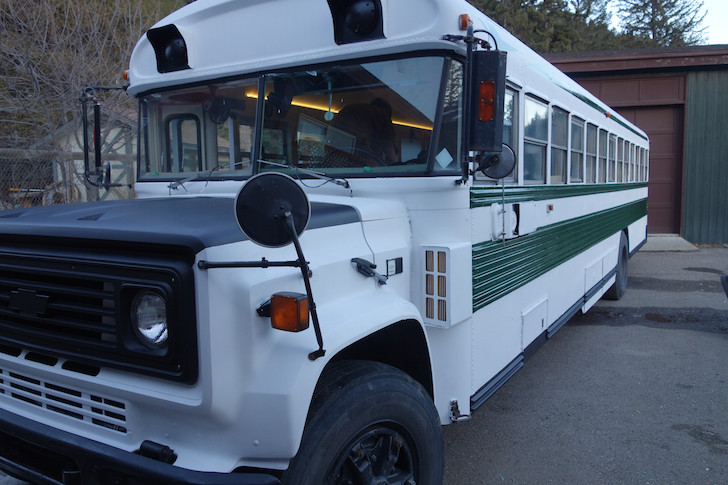
They paid about $3,500 CAD for this 1986 Chevy Bluebird school bus. It’s name? Spruce Moose, after Howard Hughes’ mammoth wooden airplane, the Spruce Goose.
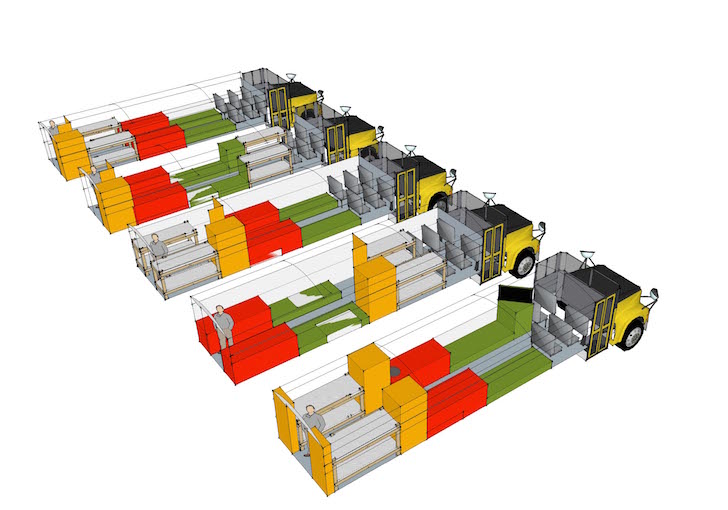
Of these five draft interior plans, they ended up going with the design on the far right.
Their next step was a run to The Home Depot for supplies.
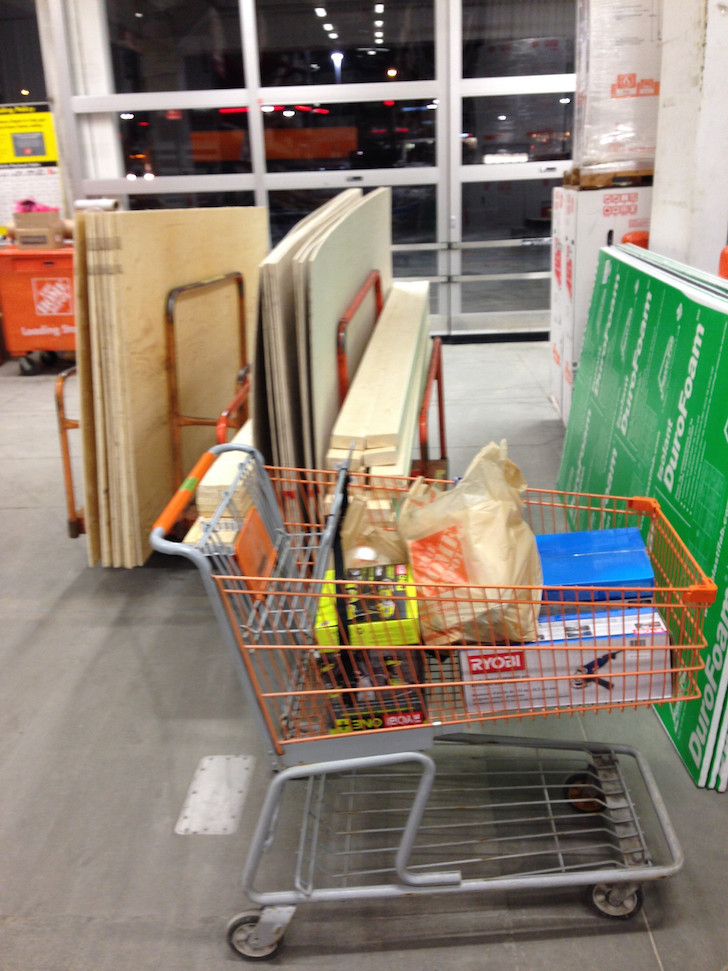
Which were crammed into the already stuffed bus.
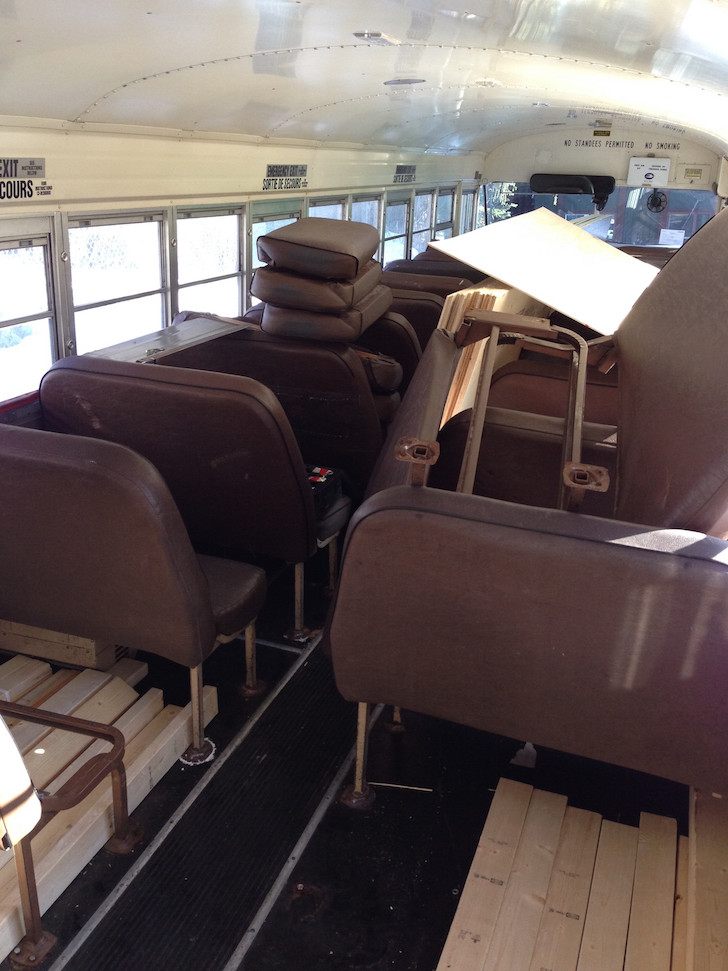
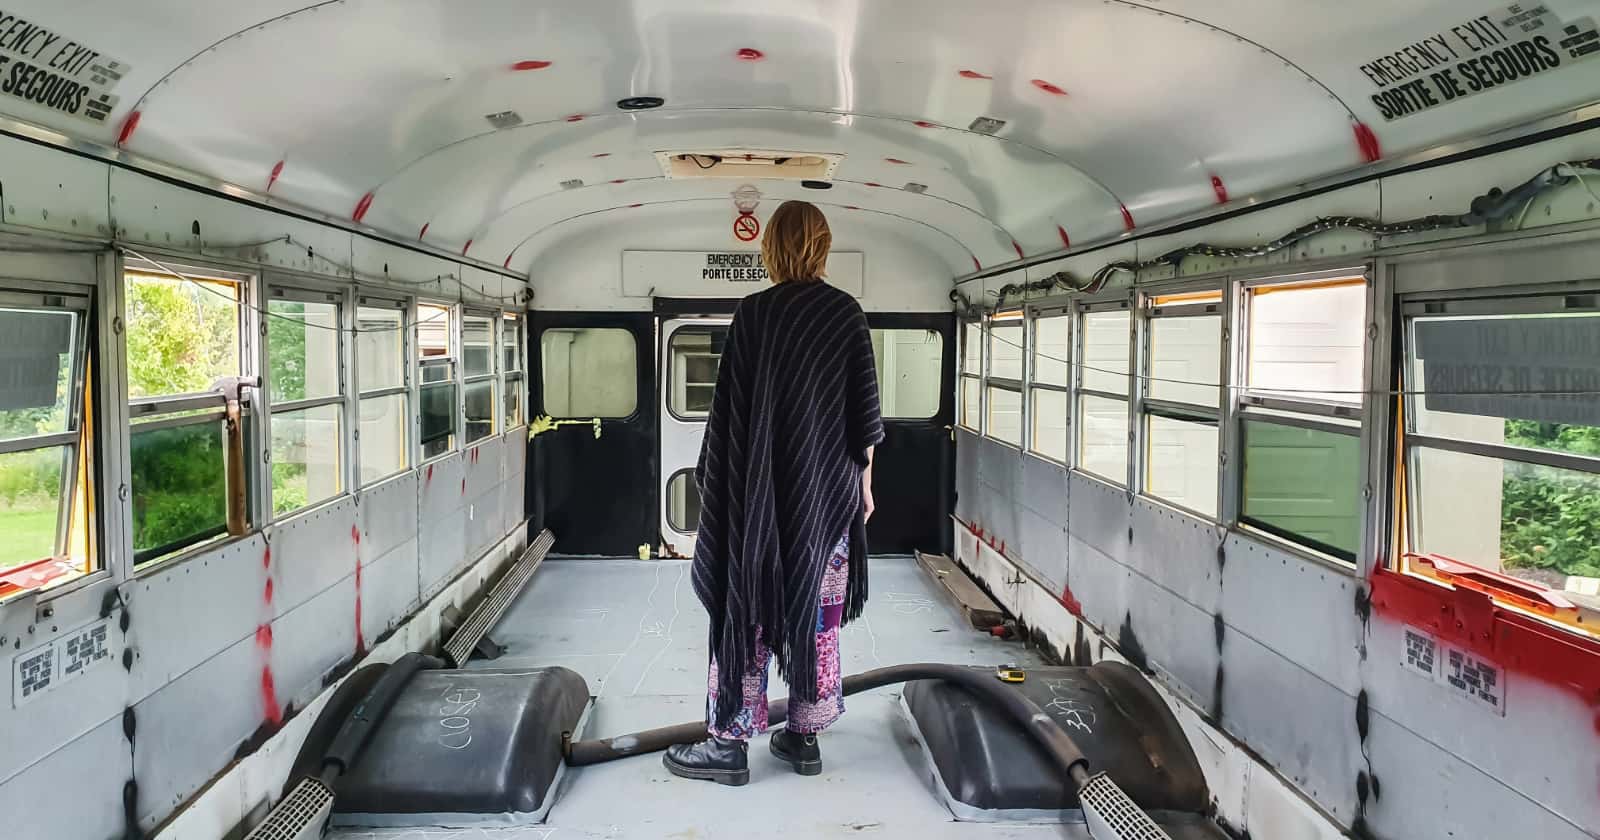
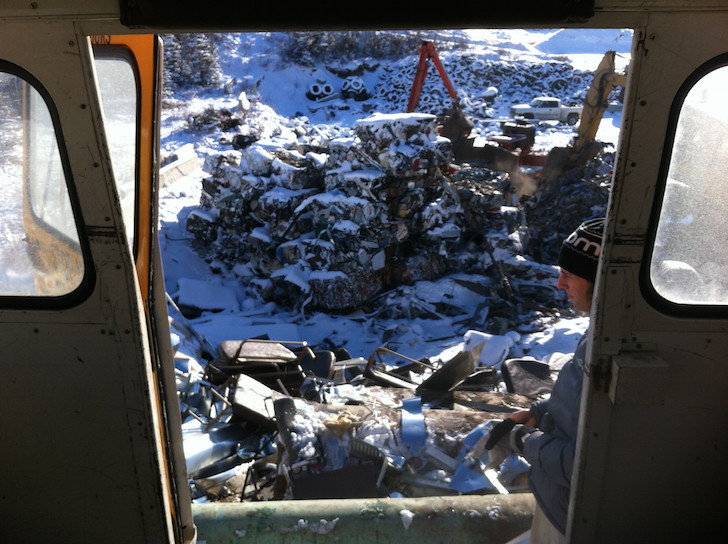
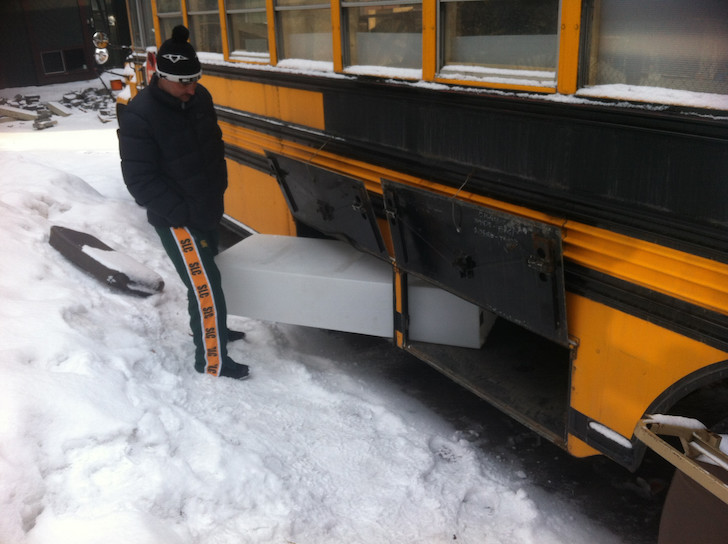
Before they could modify the bus’s interior, the old seats and paneling had to go. “We dumped around 500kg of chairs and interior panelling we stripped.”
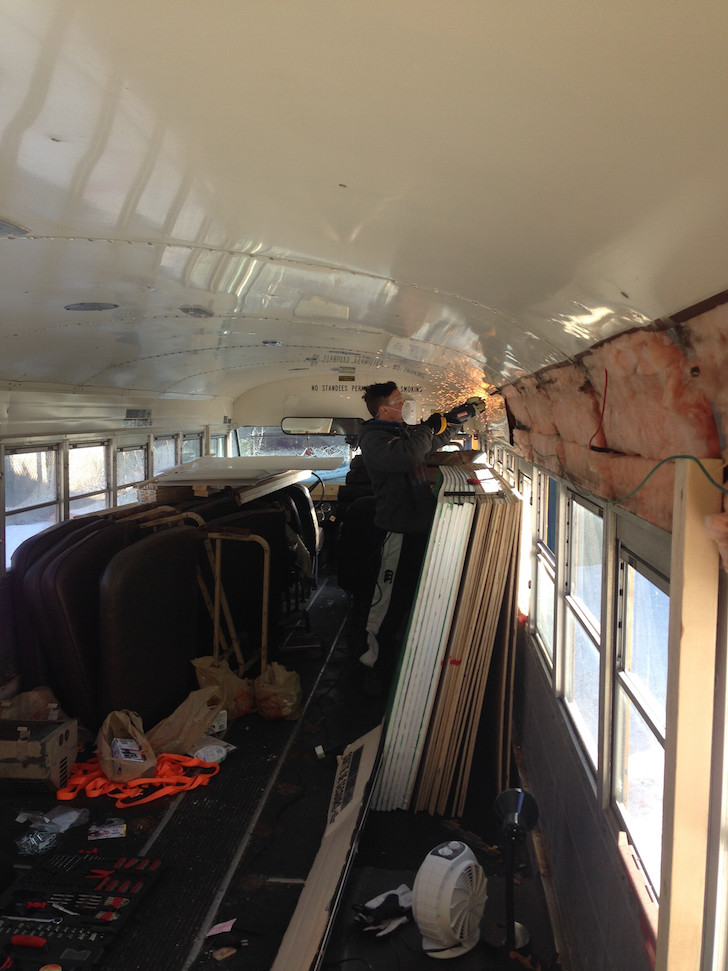
“We removed the metal panelling above and below the windows to allow us to install the roof and insulation.”
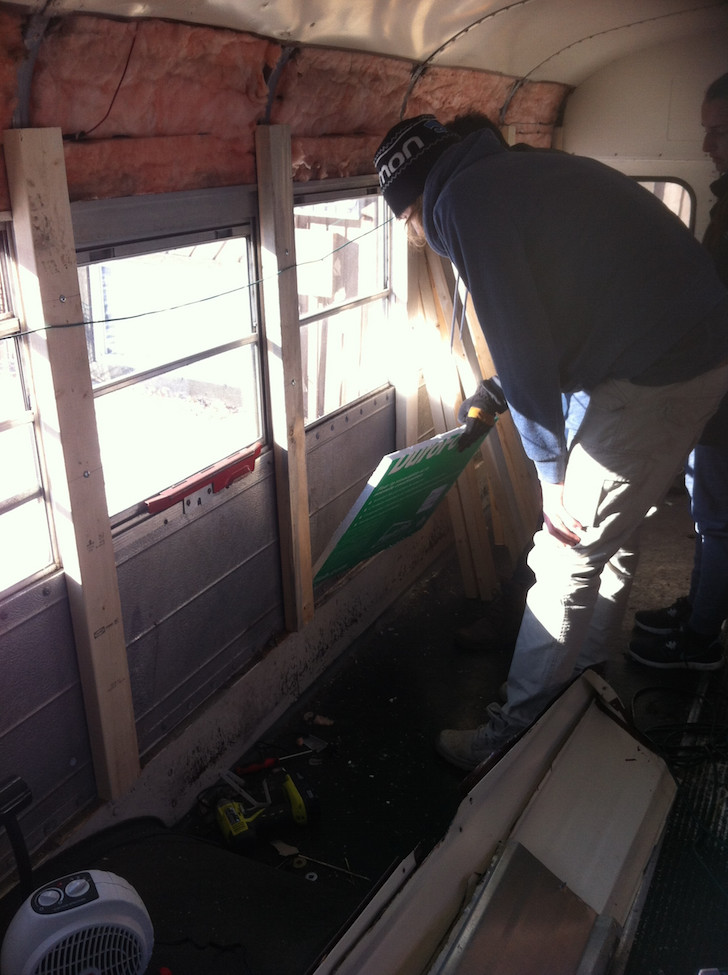
Foam board insulation went in over the bus’s metal walls.
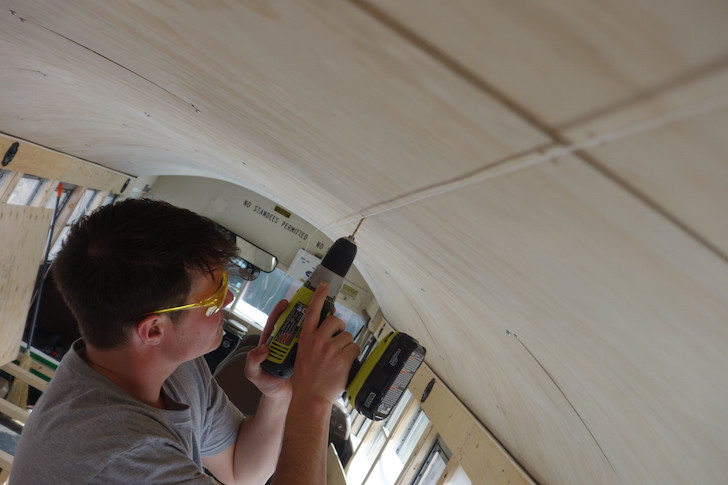
“We used full sheets of ply and fixed them to the existing roof. They just happened to be the perfect size.”
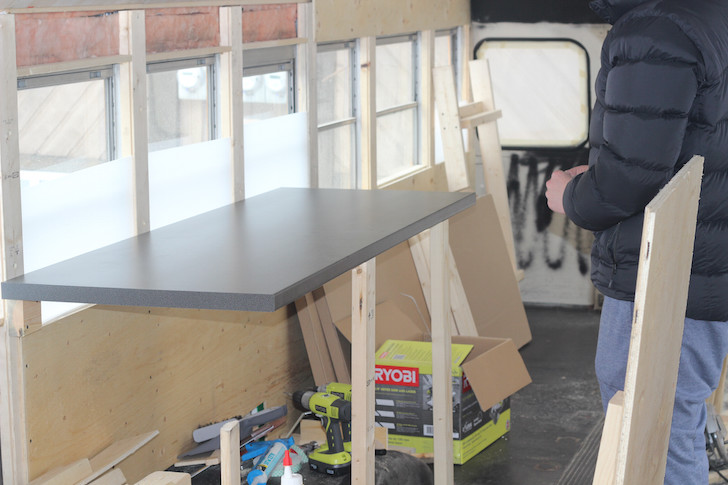
Bench tops from IKEA made a budget-friendly surface for the cabinets.
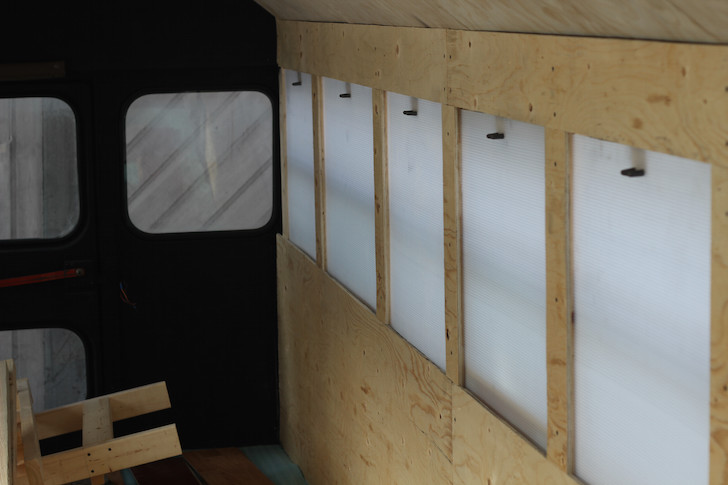
They used plastic shutters to provide more privacy and improve insulation. “…a sliding runner system on the inside of the ply to allow plastic shutters that fixed with magnets at the top.”
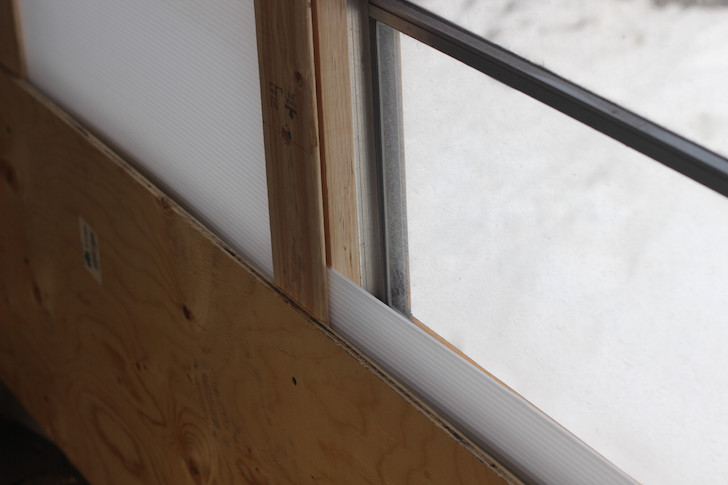
Close-up of the shutters. Coroplast might work well for making your own window shutters. “They don’t keep the light out 100% but they’re good for privacy.”
Click-lock floor boards went in easily. (You might also try Allure planks like this RVer used to redo the floor in his motorhome.)

In true do-it-yourself style, all the bunks were made by hand.

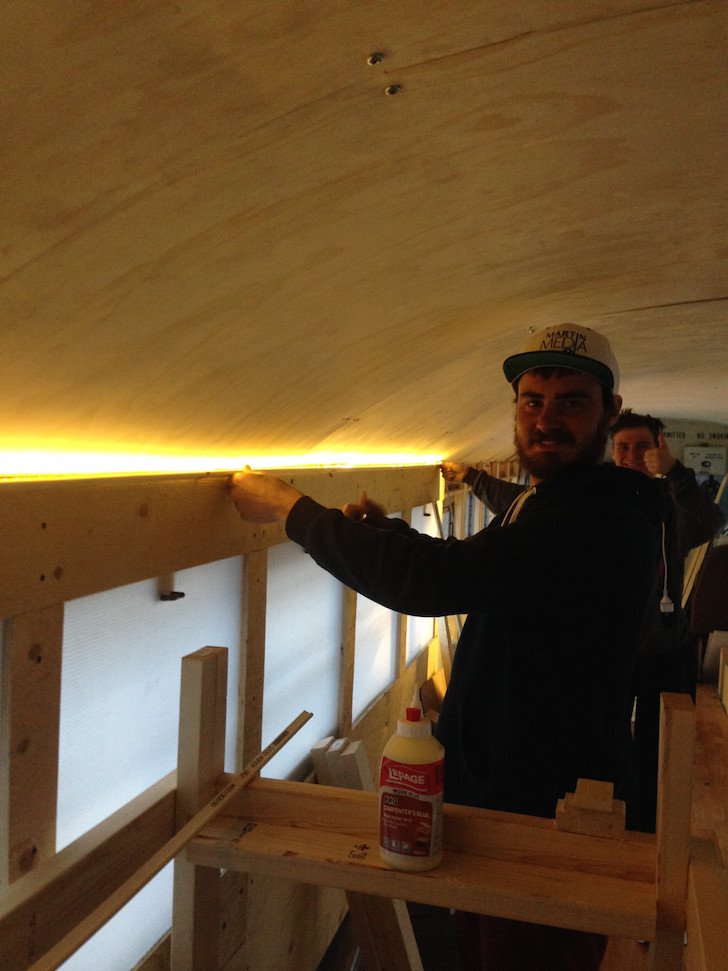
“Testing out the lights! We fixed a picture rail the length of the bus on both sides and ran an LED light ribbon the whole way down. It comes with an adhesive back so super cheap and super easy to install.”
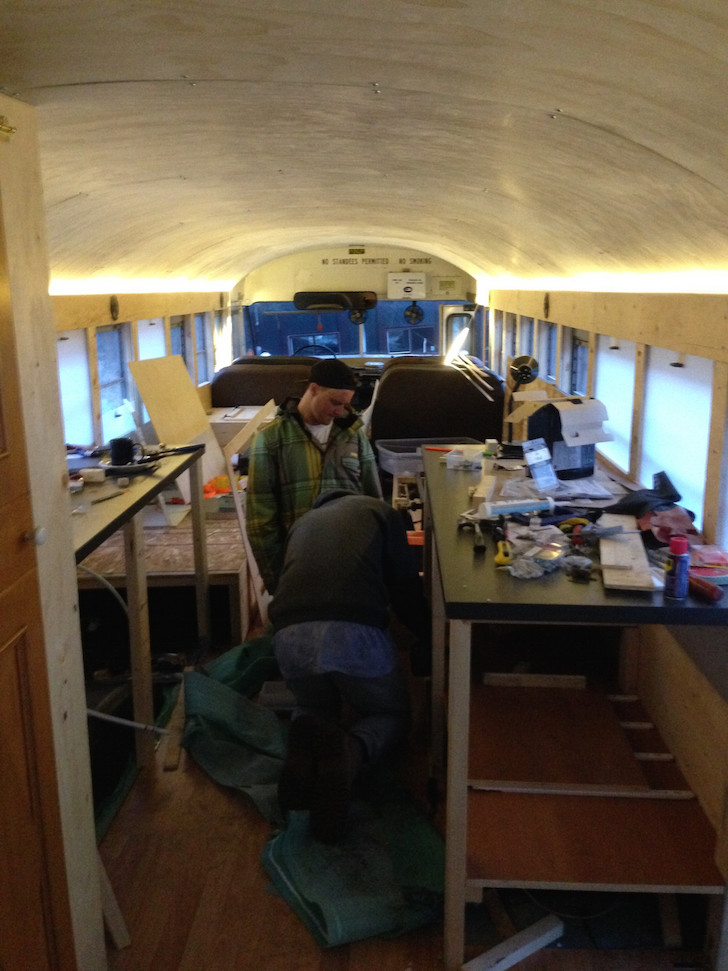
“Here we are battling to install the shelving. The lack of room to build in here starts to get to you after a while!”
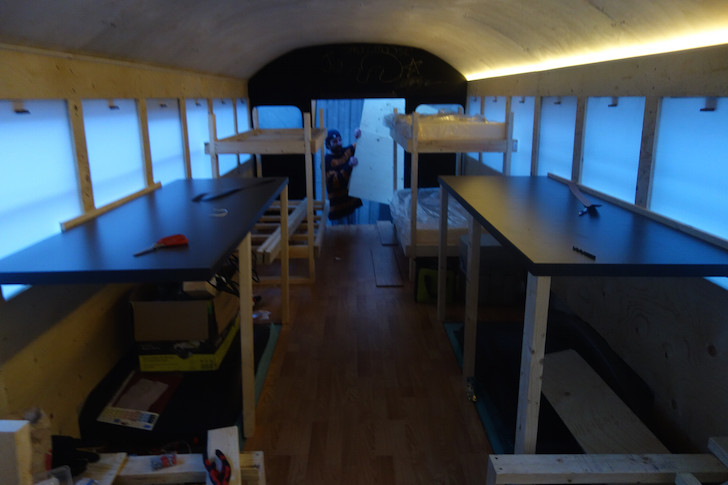
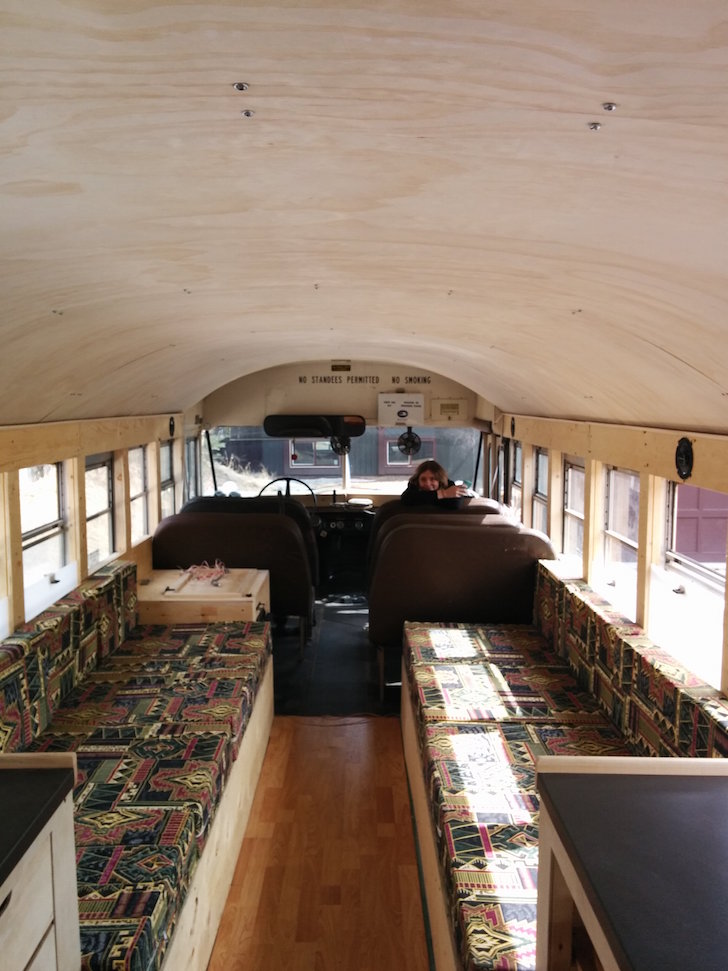
Looking toward the rear, with the benches and bunks in view.
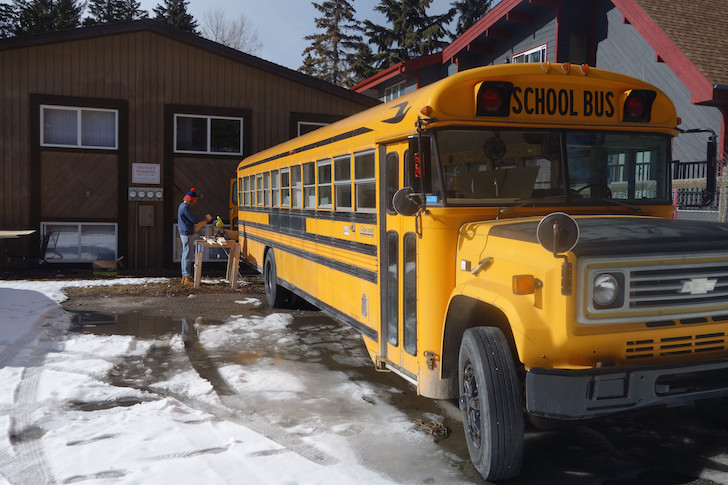
When the weather turned warmer, the crew opted to work outdoors any chance they got.
Yep, these new bunks look comfy.
They ran into a bit of trouble adding one of the tanks to the bus. “We ended up cutting the middle support to get the tank in and re-fixing it with brackets.”
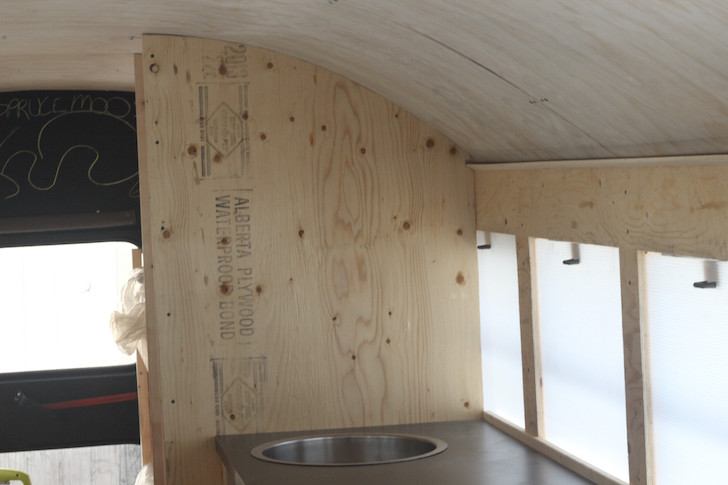
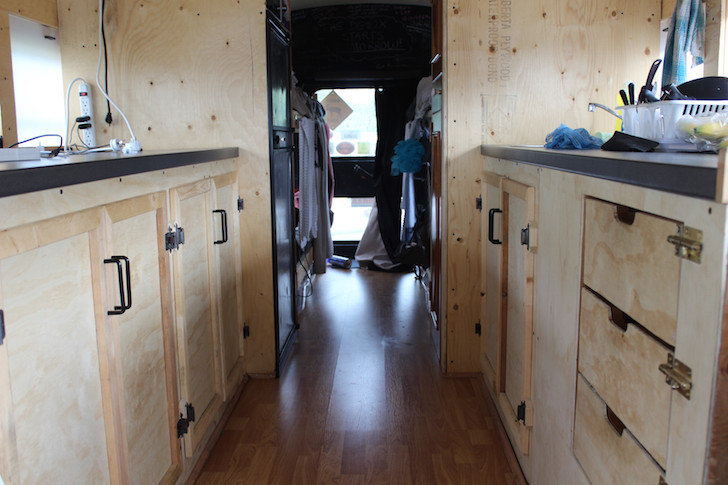
“The sink and walls separating the kitchen and bedrooms are in. We had to build an air-tight baffling system to direct any hot air from the back of the fridge to the outside vents.”
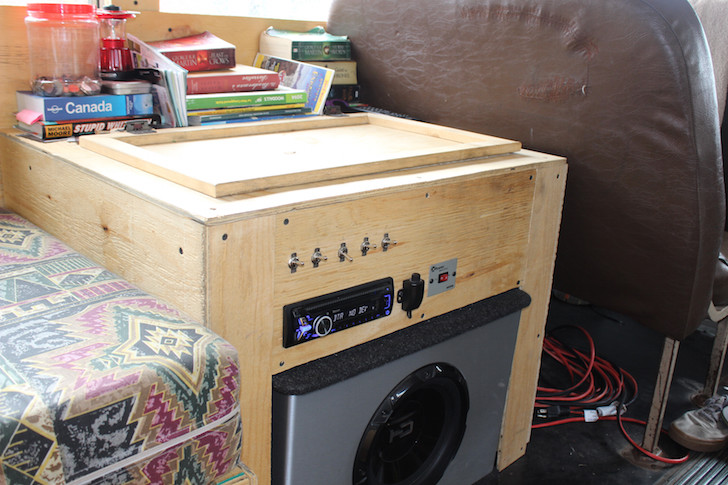
Custom electrical system distribution box. “The switches are for the water pump, stereo, sub, inverter (converts 12v to 110v so we can run the appliances without hooking up to electricity), lights and the fridge.”
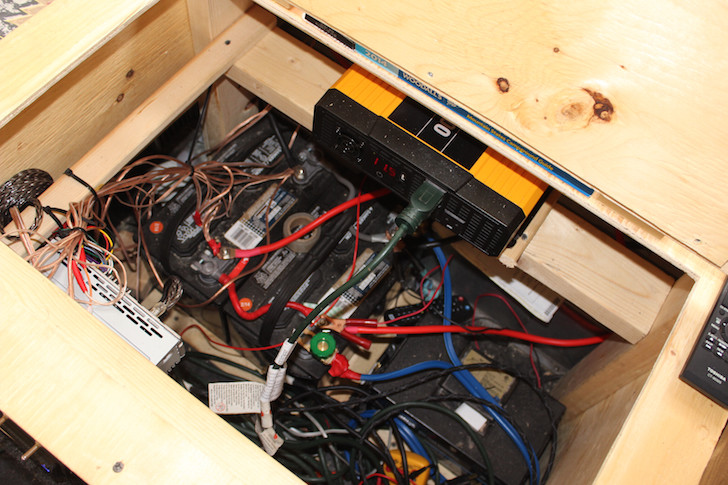
“Here’s where all the fun stuff happens. 2 batteries, trickle charger, inverter, amplifier and speaker wiring.”
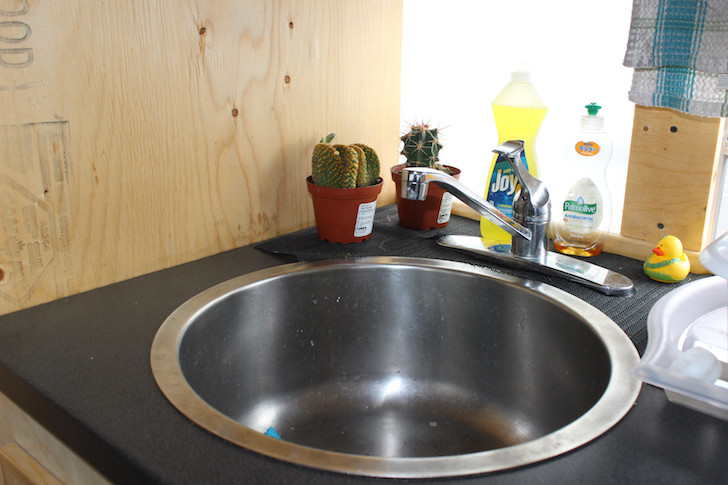
“Sink and tap installed. Not quite a cat but these are our bus pets- cacti Keith and Warren.”
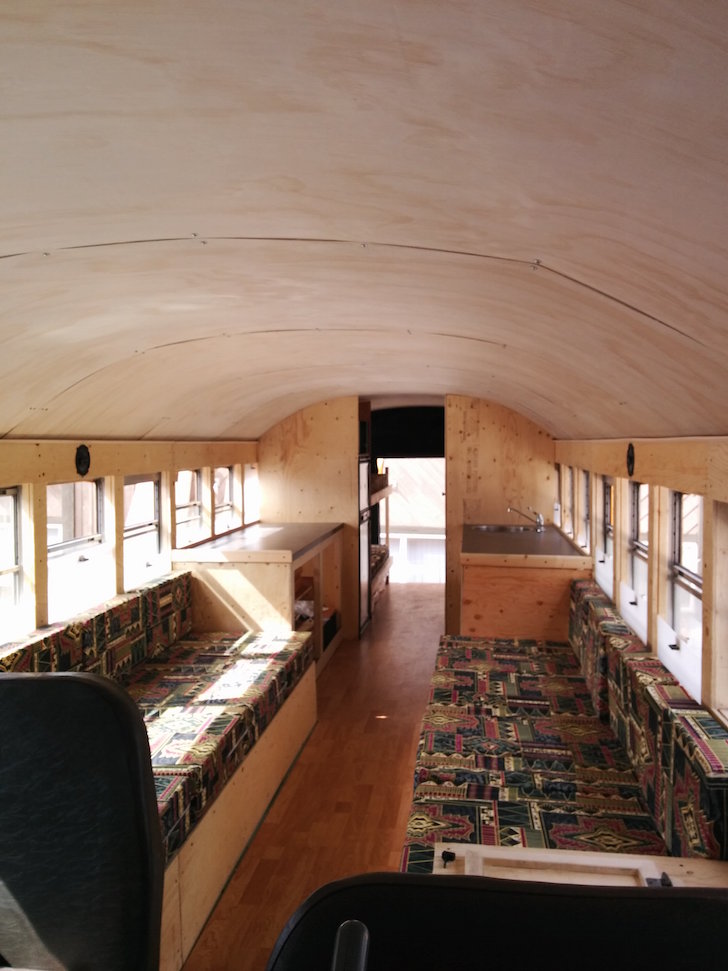
“Interior all but completed! This is about 90% done view from the front looking back. Couches (also act as 5th and 6th beds), kitchen benches and the dividing walls. The door opposite the fridge is a cupboard for storage and our emergency toilet.”
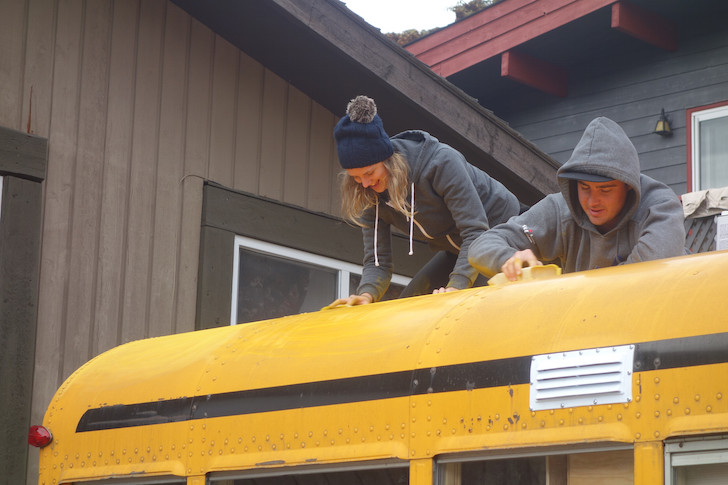
“The moose’s first bath. 5 days before we leave for Coachella and still not painted. Leaving the bus yellow just wasn’t an option since it is illegal in most states in the US to have a private school bus that color.”

“The whole bus was hand sanded and cleaned with acetone to prep for painting.”
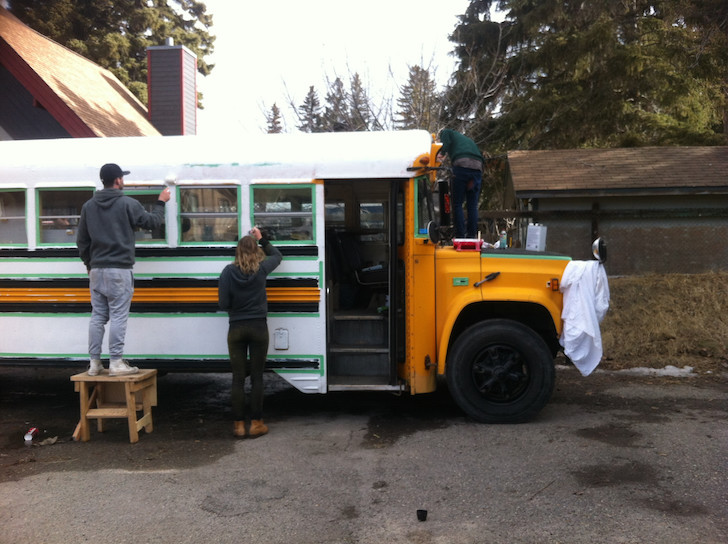
“After much “discussion” we settled on white and green. We used tremclad, which is a metal paint with a rust-proofing ingredient. We did two coats of white and three coats of green for the stripes.”
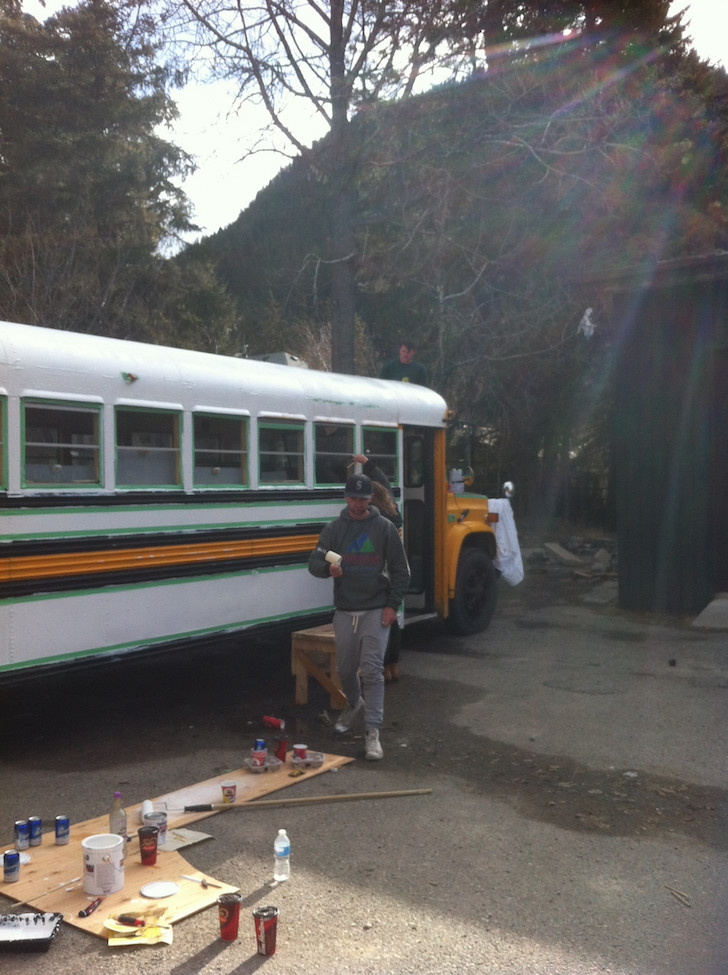
Taking a break before adding the final touches to the rear.
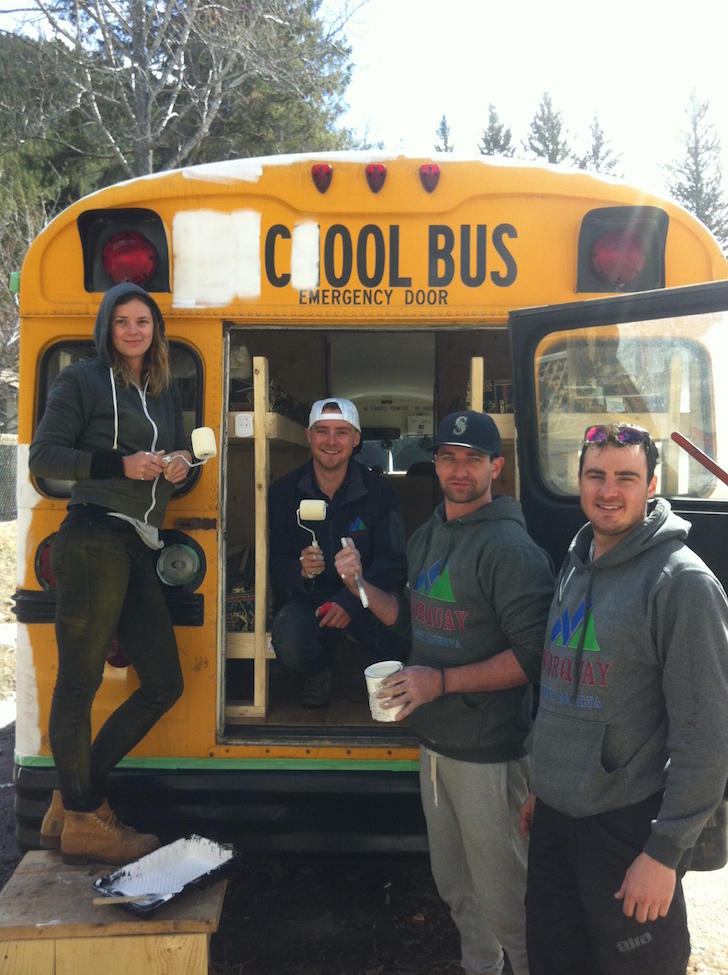
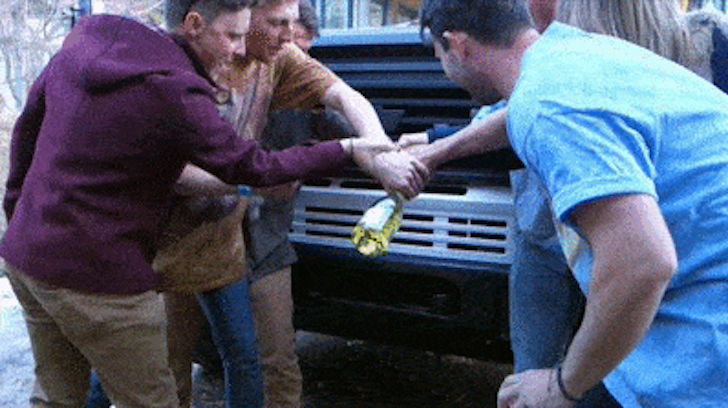
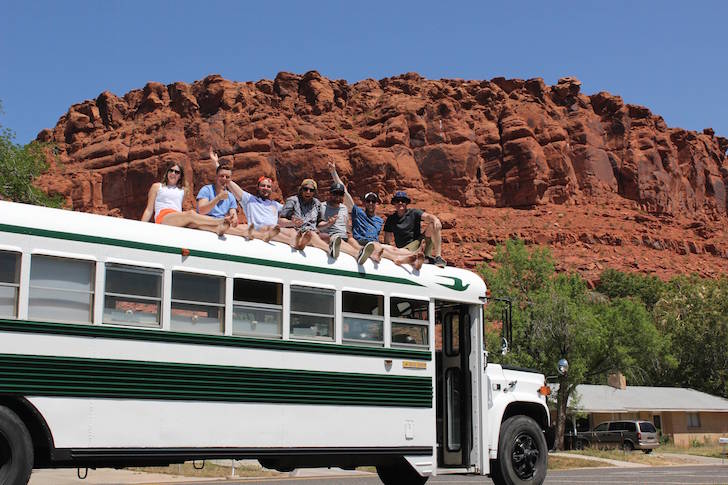
Finally, ready to christen this new skoolie!
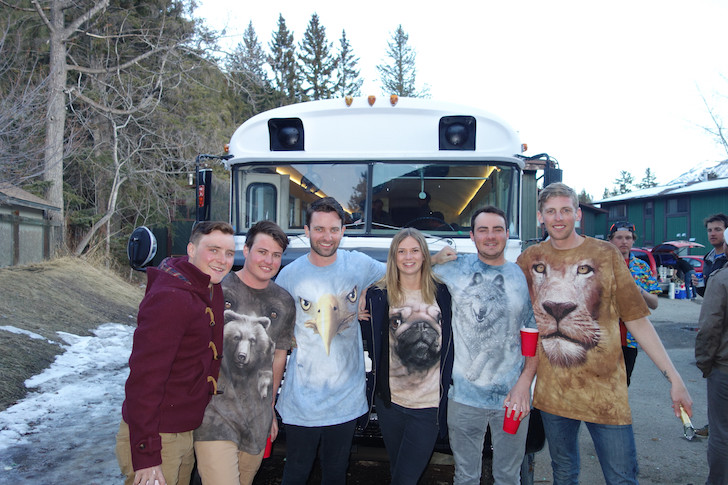
One last group photo before heading off on their North American tour.
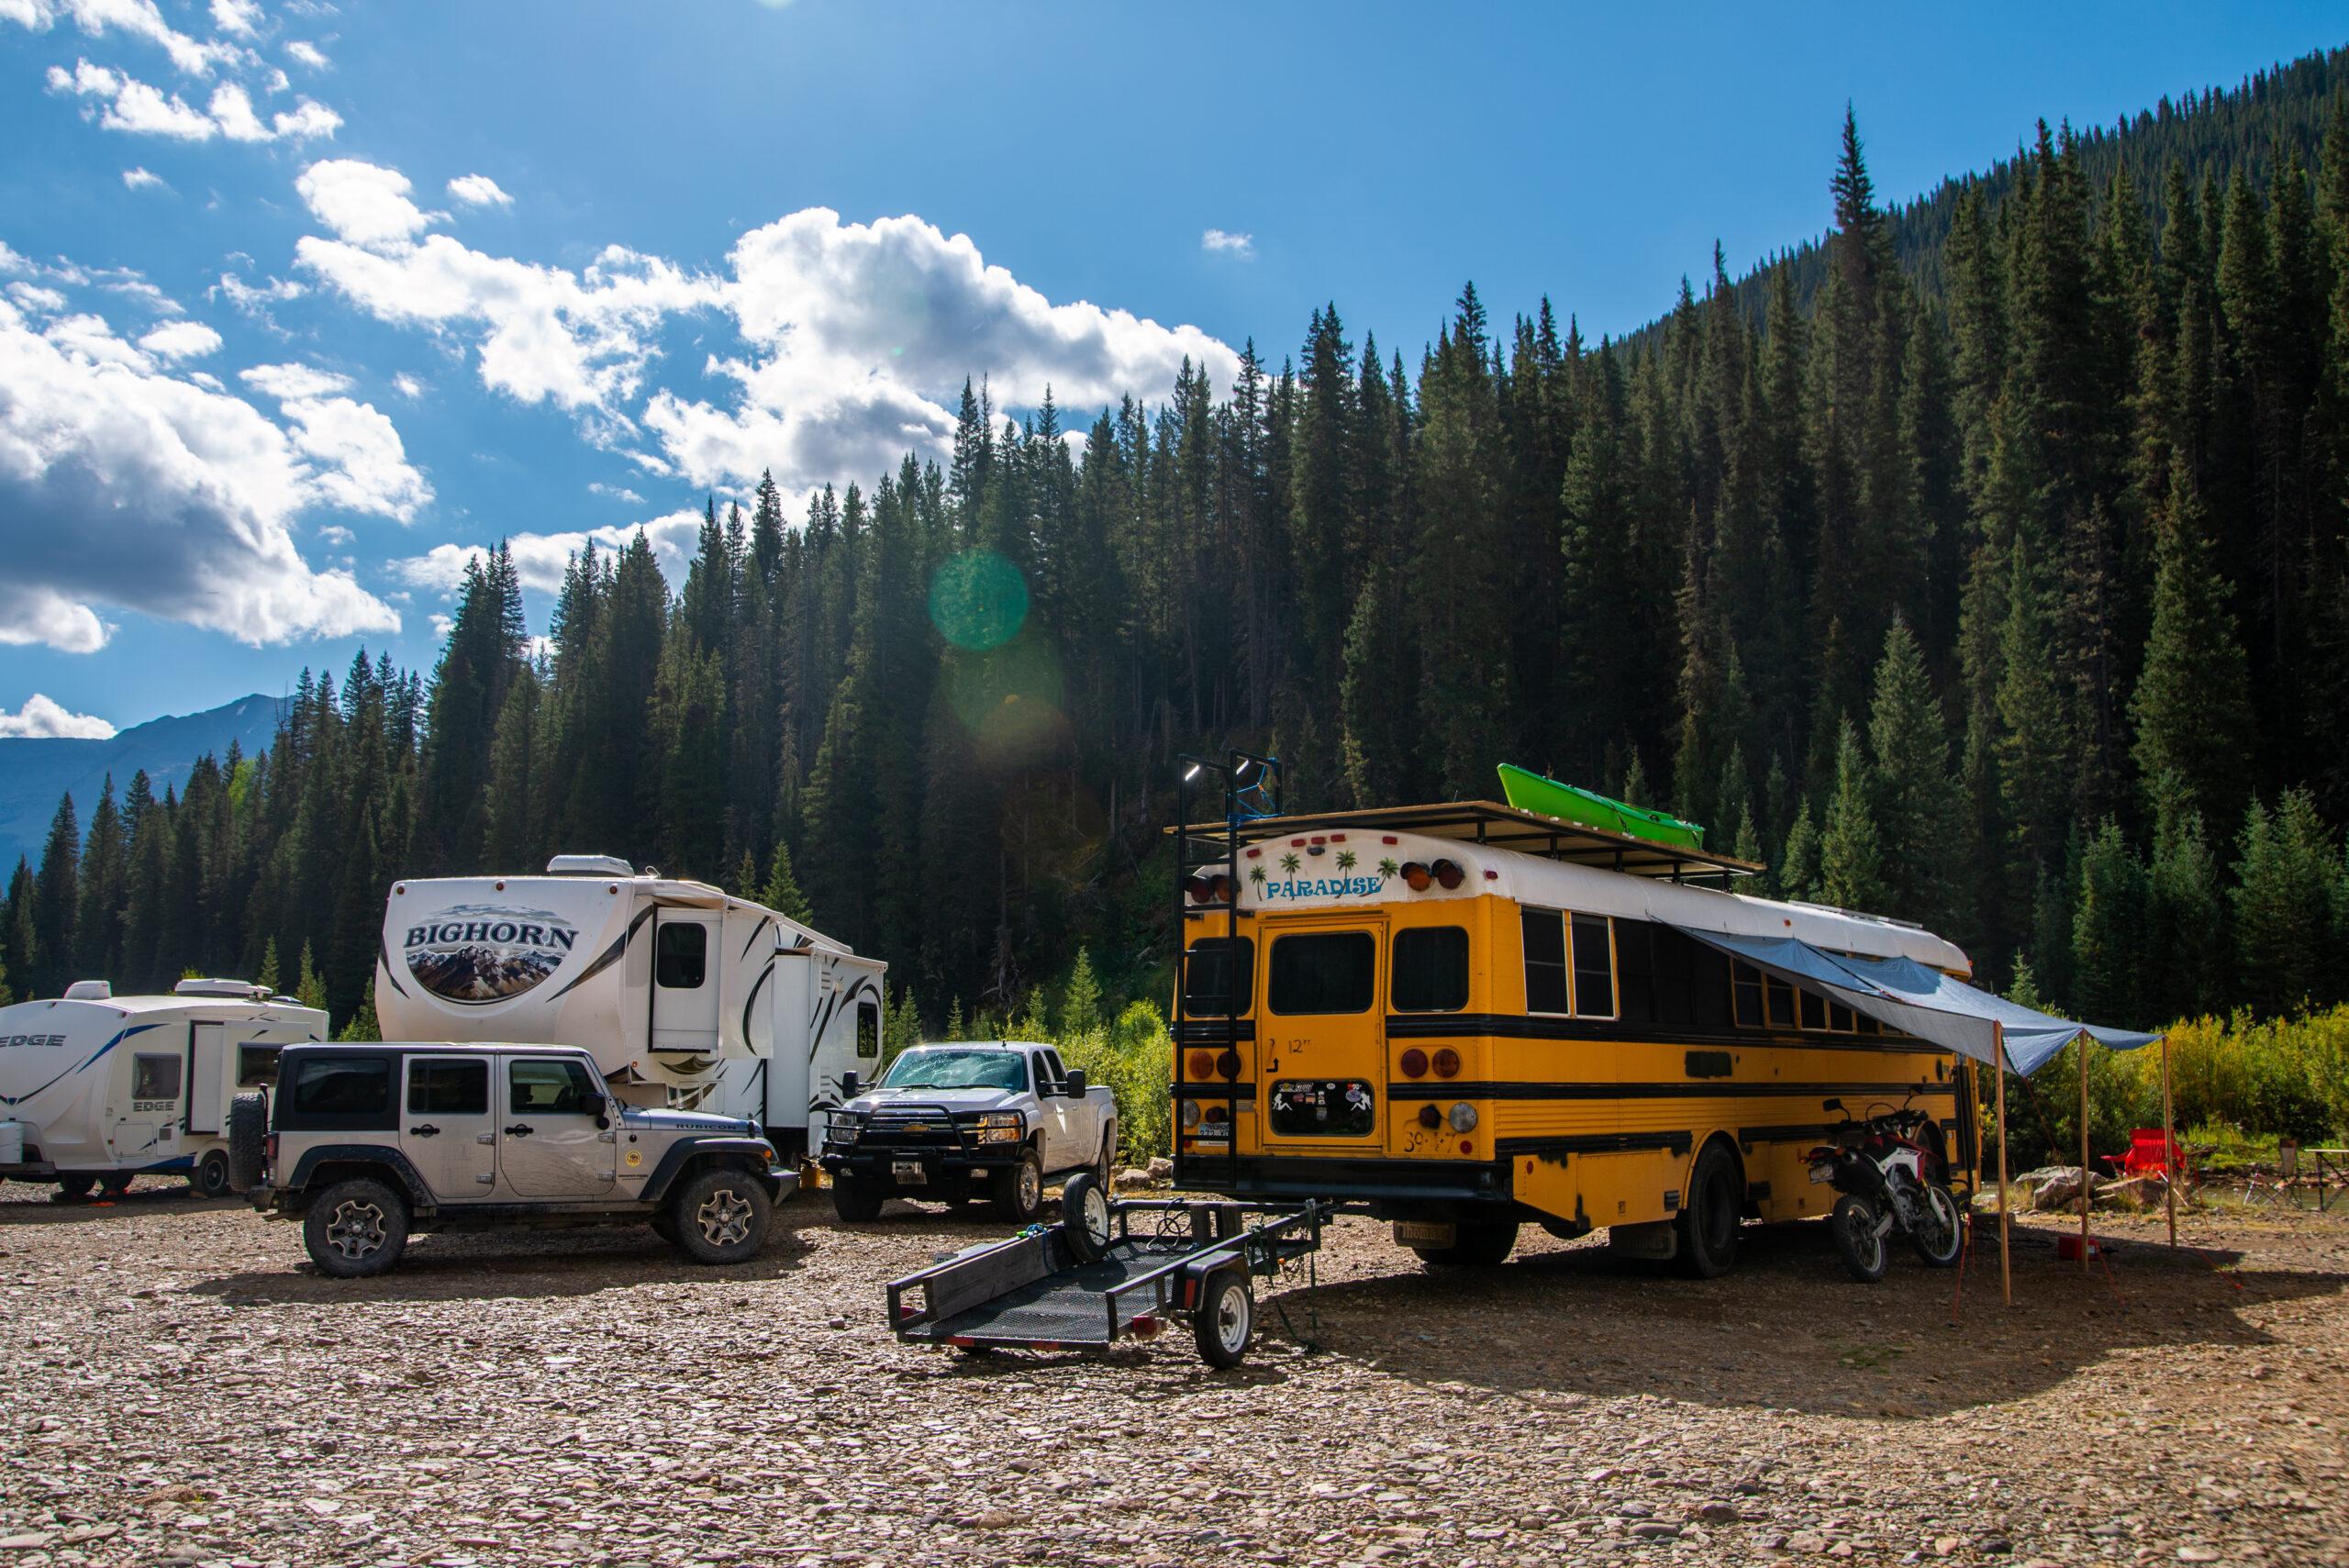
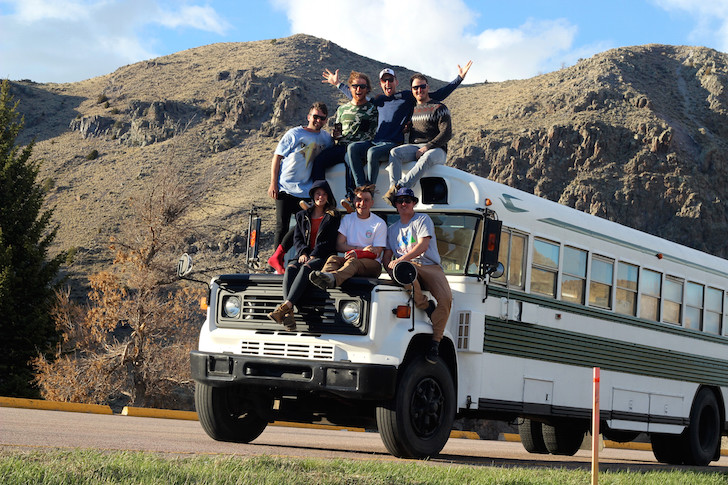
Another photo while in Montana (a couple of friends had joined them for the trip by this point).
Enjoying great weather during their nearly three-month-long expedition.
You might think that anyone who would willingly leave their stable job, especially in this economy, has a screw or two loose. These young folks threw caution to the wind, and made a remarkable choice to experience a once-in-a-lifetime adventure.
Altogether, the build took 3 months, and the friends supported themselves by working full time at a ski resort in Banff, Alberta. Here’s an update while they were still on the road last summer,
Our journey so far has been incredible. We didn’t quite know what to expect before coming here but I think we can all honestly say we’ve never met so many great people that are willing to selflessly assist in our journey and make the experience special. We’ve been offered food, places to stay, tools, sent whole itineraries for places and activities to visit and countless locals have come on board for a tour of our humble home.
After around 70 days on the road, we are currently in DC and will be heading up to Philadelphia tomorrow. We’ve got around 3 weeks of the trip left and would love to hear suggestions for places to visit as we make our way up the East coast!
As you can imagine, it’s pretty well impossible to find RV parks close to the CBD in NY, Boston etc. so we will be parking up the bus and staying in AirBnB’s once we start heading into major cities.
Like all wonderful journeys, theirs too came to an end. The friends sold the bus once they had criss-crossed the US. They were asking for $12,000, though we couldn’t find a final sales price. Some of the friends went back to Canada, while others returned to Australia to find new jobs.
Here’s a short interview with one of the members from Reddit:
How much did it all cost?
Well the bus itself cost $3,500 CAD. Obviously there are 6 of us and at times 7 or more so we needed it to be a pretty big vehicle. We looked at other RV’s that could fit that many people and they were way out of our price range or too dodgy to risk driving 10,000 miles.
The conversion cost around $10,000 CAD. This includes absolutely everything including chairs, plates, knives and forks etc. The big ticket items were the fridge ($1,500), mattresses and couch foam ($1,100). Everything else like timber, power tools etc. just adds up. Would definitely have been cheaper if we had a shop to build in. Couple of costs that aren’t pictured are the toilet (just a portable RV toilet with detachable tank) and water pump for sink. We also replaced the tyres and ensured it had a service and wheel alignment before leaving.
Was it cost effective?
In short, yes. There’s no way in hell six 20-somethings like us could travel for this long in the US just driving and staying in hotels and we saved up for over a year just for this trip. The 6 of us own it equally so the initial outlay was large but doable. The bus actually runs on propane so it burns efficiently and is generally cheaper than gas/diesel. Again, we split fuel costs so not bad. It’s by far the biggest outlay but we saved HUGE amounts of money in accommodation. We bought a National Parks pass for $80 for the year, which gives us free access to hundreds of parks in the US so we’ve used that multiple times. Most RV parks we’ve come across in the South were around $30 per night ($5 each per night!) and include showers, toilets, water etc. The most expensive we’ve stayed at is our current destination in DC at $90 per night and the cheapest we’ve come across was $15!
Any repairs?
On the way down from Alberta to Coachella it busted a water gasket. Had a very kind man in Idaho take it straight into the shop and it was fixed in a few hours. Repairs are cheap since these busses are everywhere and are pretty simple machines. Since then we’ve had zero problems and we’ve done about 8,000 miles. These old things are built like tanks.
Resources:
- Project Moose Facebook photos page
- Original post on Reddit
- Treasure trove of photos on imgur
- More detail and a map of their journey at DailyMail
Photos courtesy mooseryders
H/T: ViralNova