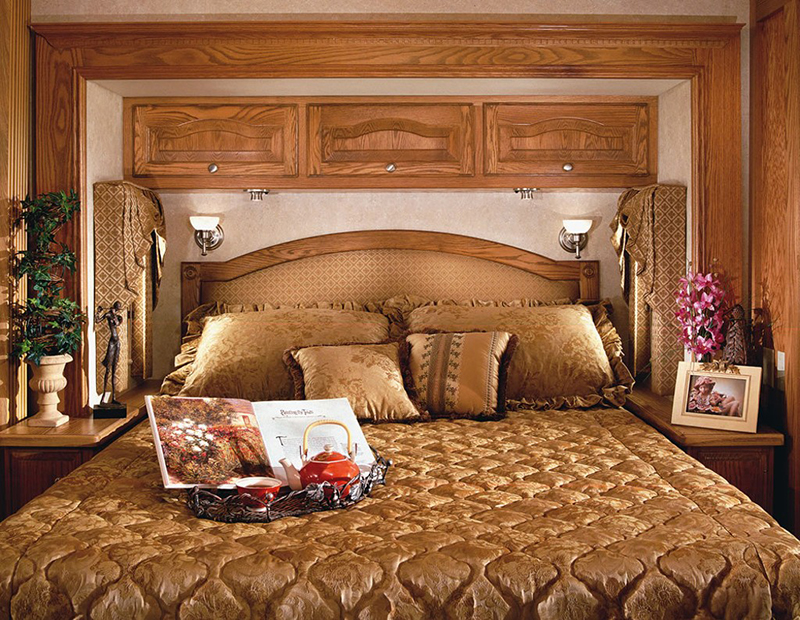
If you’ve got a large trailer or motorhome, you’ve probably got a well-appointed, trimmed-out and paneled bedroom.
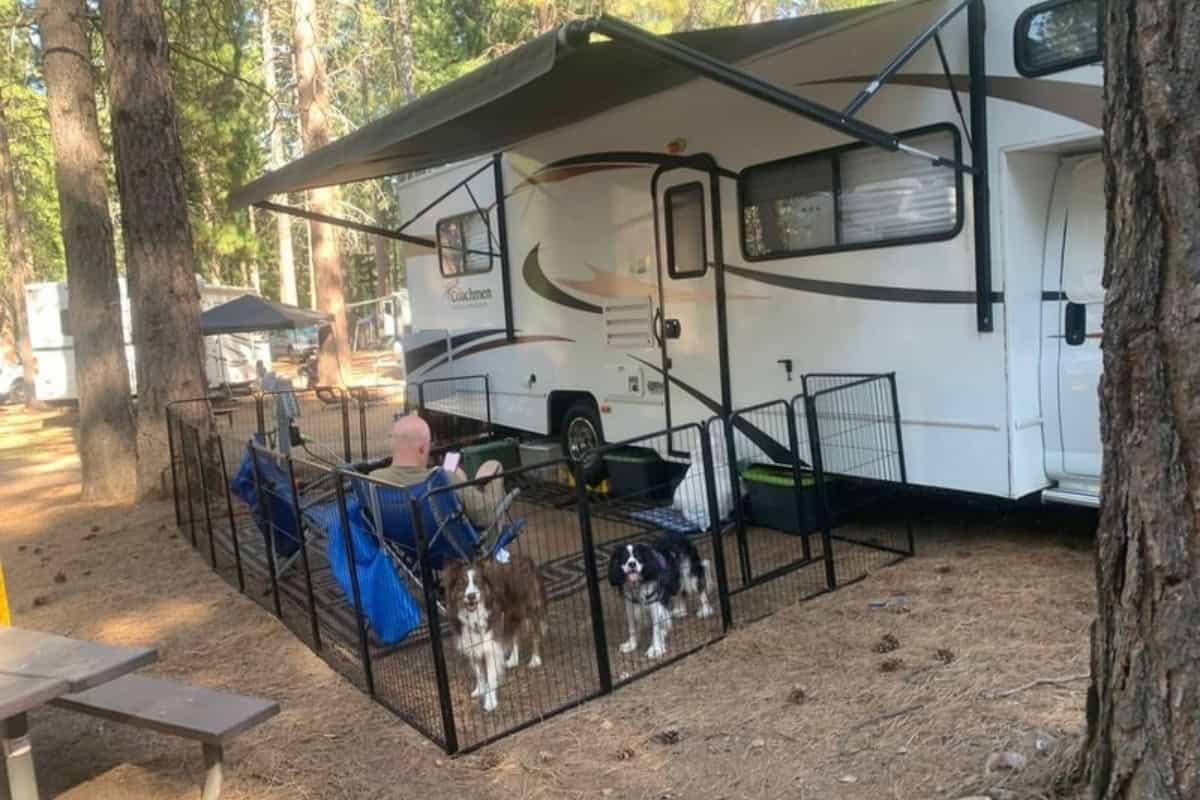
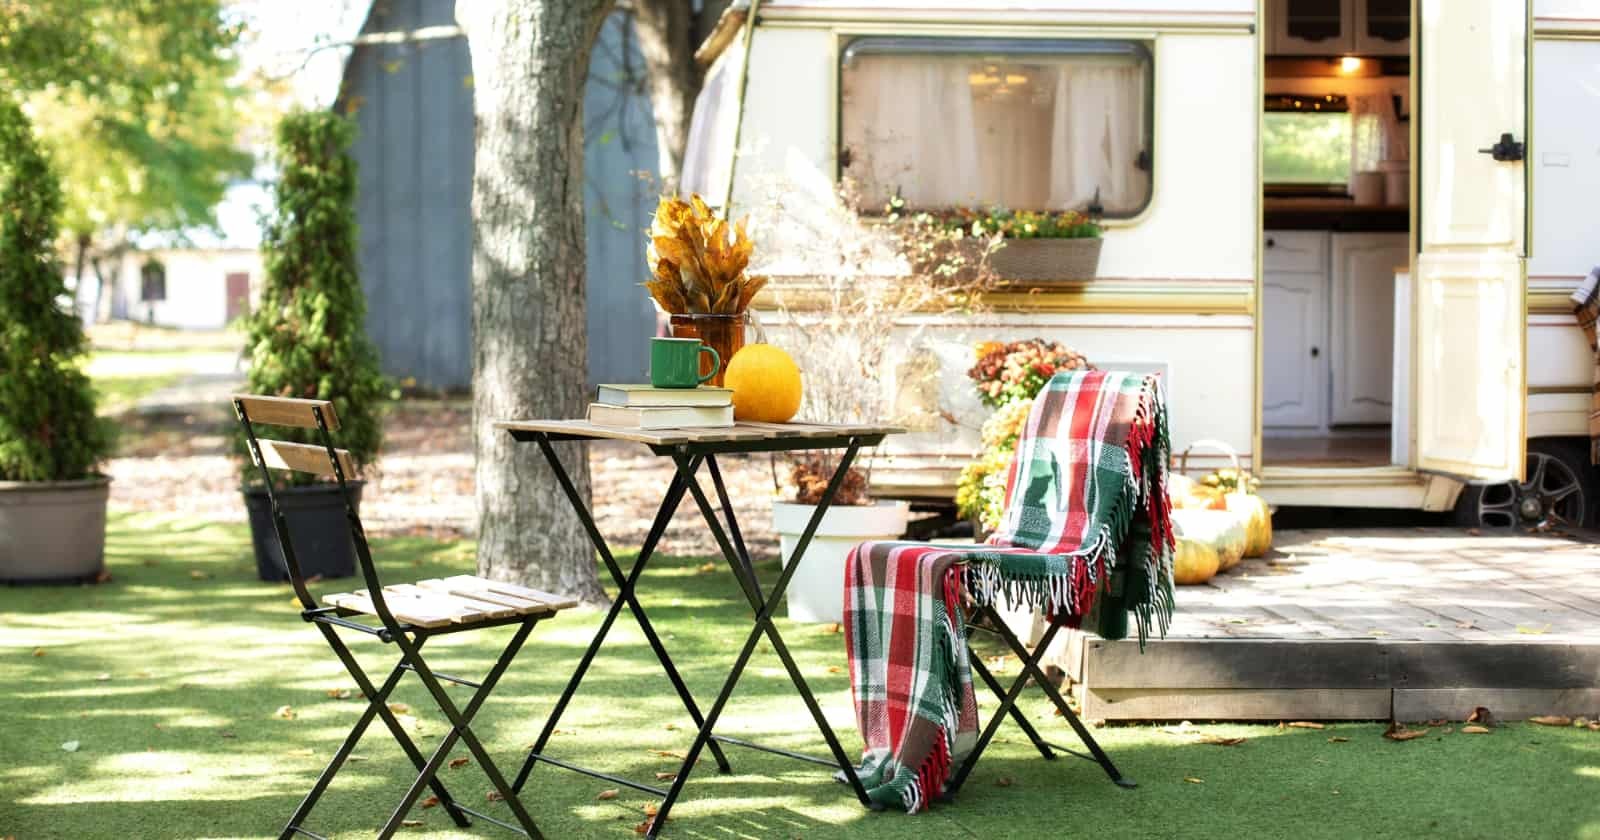
But for those of us with smaller RVs like pop-ups, tear drops, and travel trailers we have to do a little decorating on our own. To save on weight and cost, most manufacturers design their smaller RVs with just the essentials.
Adding a Touch of Style to Our Aruba Trailer
Our 27’ Aruba travel trailer is on the smaller side of the RV size chart.
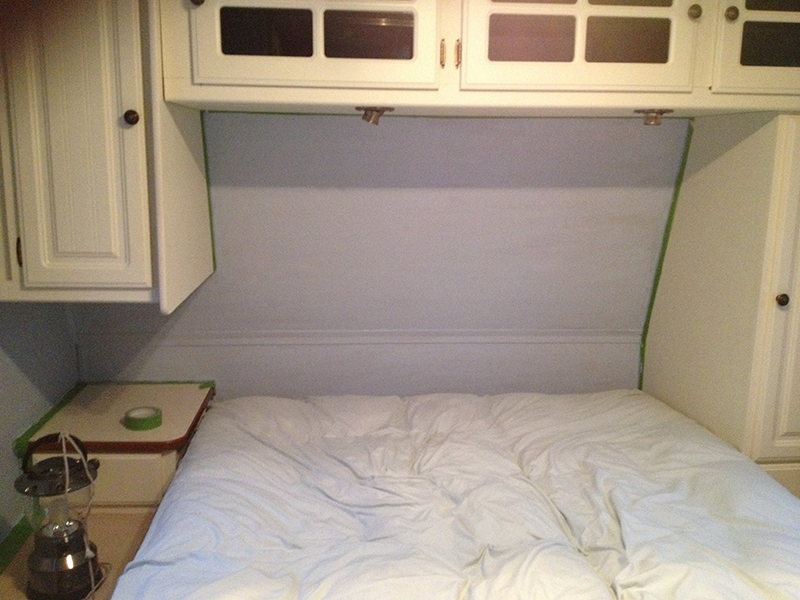
The walls of the bedroom didn’t have much personality, so we decided to do something about it. We checked Pinterest, spent some time walking around a couple of RV shows, and browsed the HGTV website.
What finally struck us though was a simple, vinyl adhesive wall decal with the lyrics of one of our favorite songs, ‘Free’ by Zac Brown.
But a couple of things bothered us. We had painted our bedroom walls and thought that might make it difficult for the decal to stay put.
We also didn’t know if the finished product would look cool or tacky. One click of the ‘Add to Cart’ button on Etsy though and we were in it for the long haul!
How to Apply a Decal to the Wall of Your RV
The first thing to remember when installing a vinyl wall decal is that they work best on clean, smooth and flat walls.
Because most RV walls are covered with a vinyl skin glued to paneling or utility plywood, they’re typically smooth enough and flat enough for applying a decal without problems.
Just to be cautious though, we first took a baby wipe (it was the only thing within arm’s reach) and just brushed over the wall section where we’d place the decal. Make sure the wall is totally dry before you begin.
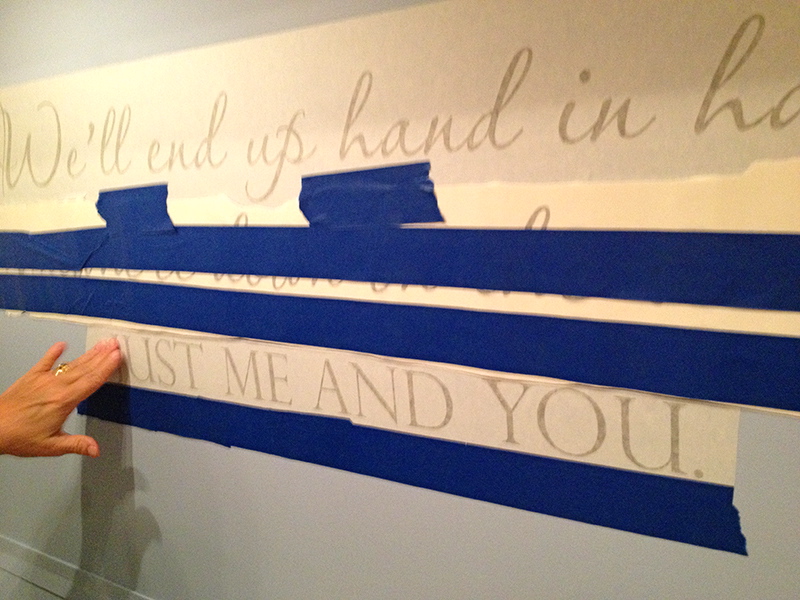
NOTE: The quote we chose to use was a 3-section quote. We lined up each section and taped them together with blue painter’s tape.
Step 1: Using a soft cloth or old t-shirt wipe away any dust or dirt from the wall section.
Step 2: With a credit card or a plastic application squeegee rub both sides of the decal (the letters are attached to paper when received) to flatten them from shipping.
Step 3: Apply masking tape from top to bottom at the center of the decal.
Step 4: Stick the decal sheet to the wall where you want it to adhere. Level if needed. We chose the very center of our wall (both top-to-bottom and left-to-right).
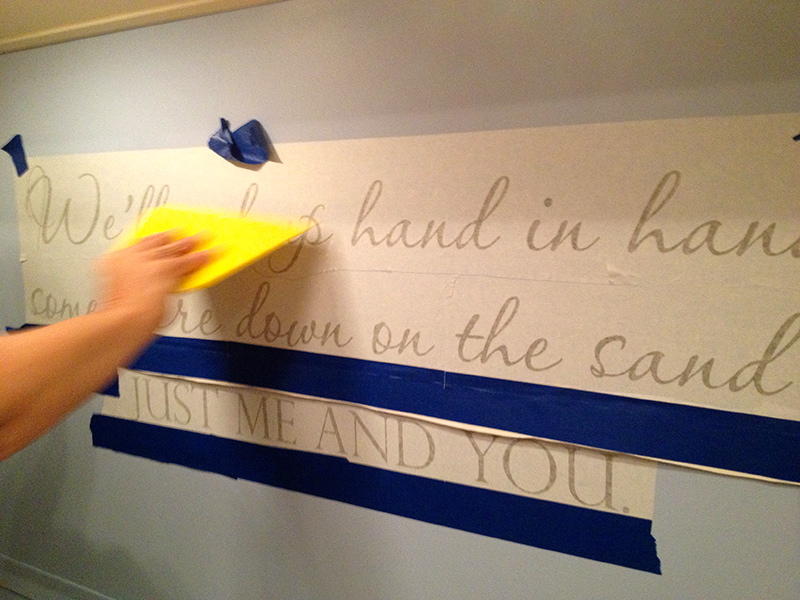
Step 5: Using a credit card or the application squeegee, rub the decal so that it’s flat and smooth against the work surface.
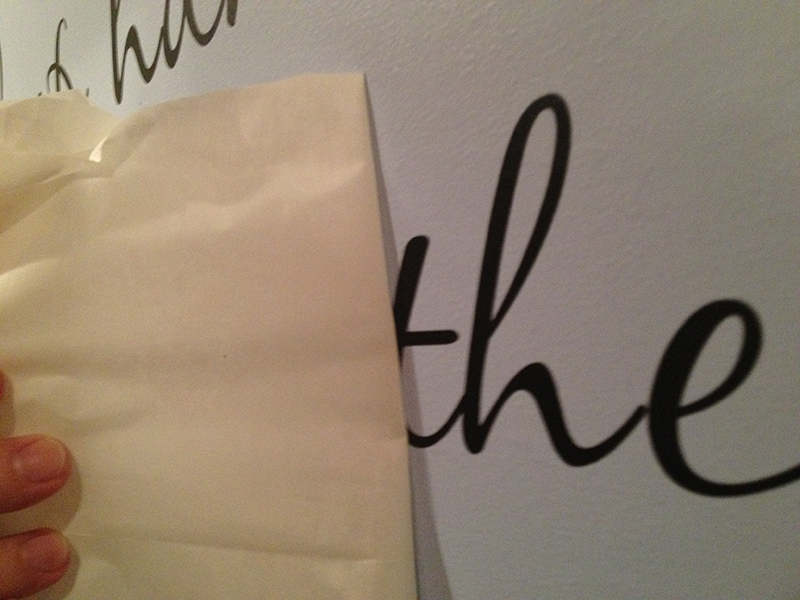
Step 6: Peel back the application tape slowly so the vinyl letters all stick. You may have to carefully rub down any letters that don’t want to flatten out easily.
If your decal is as long as ours, you can do this in sections by simply taking a razor blade and cutting the decal into smaller pieces. You won’t be able to see the seams once everything is finished.
Step 7: Using scissors, cut off the backing paper leaving only the application tape and text. Be especially careful not to let the letters prematurely stick to the wall.
While most vinyl decals are easily removable, they are not reusable.
Step 8: Moving from the center outward, use the plastic application squeegee to slowly place and stick the vinyl letters (still attached to the application tape) to your work surface.
Step 9: Rub the decal well, making sure each letter is stuck to the wall and that there are no bubbles or wrinkles in your decal.
Step 10: Remove the initial piece of masking tape from the middle of the decal. Rub the decal again.
Step 11: Slowly remove the application tape so that the vinyl letters stay affixed to the wall.
Step 12: Stand back and admire your new wall-turned-custom headboard!