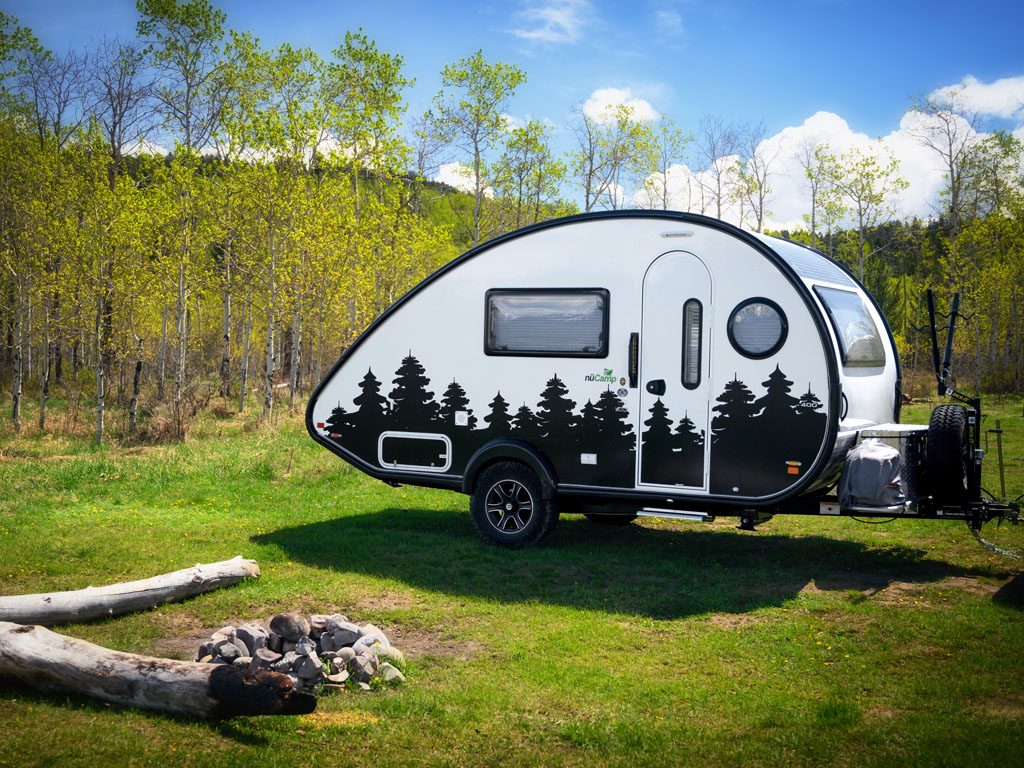
Some handcrafted RVs and trailers have a decidedly homey feel. The “Wyoming Woody” teardrop trailer built by Ryan is anything but. This slick, production-worthy camper has a gorgeous “modern classic” feel.
The Wyoming Woody Teardrop Trailer is the product of 1 year of thinking, 6 months of designing, 7 months of construction, and the help of some good friends who provided tools and workshop space.
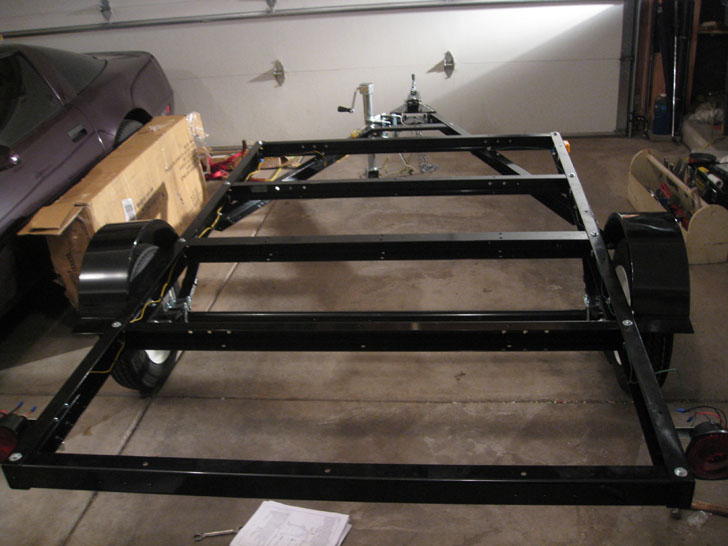
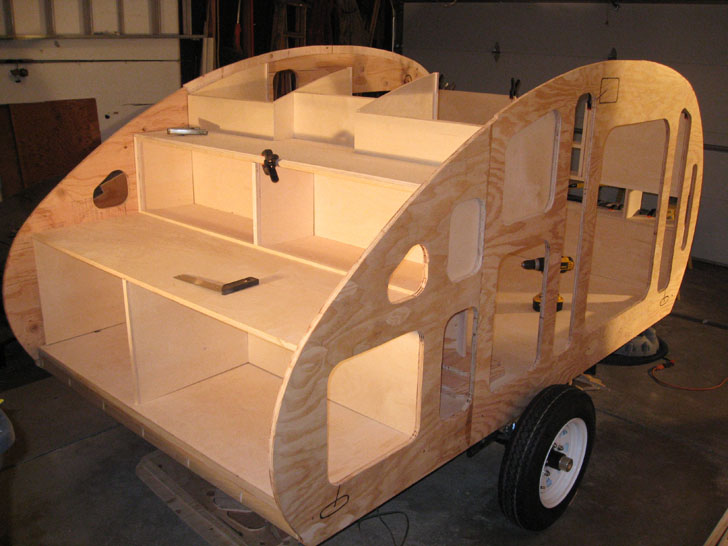
Built on a 5′ x 8′ kit trailer, this one starts off roomy. The trailer deck is made up of a couple of layers of birch plywood, some poplar lumber center framing and insulation board.
A gorgeous camper starts out as a heavy duty, bolt-together kit trailer.
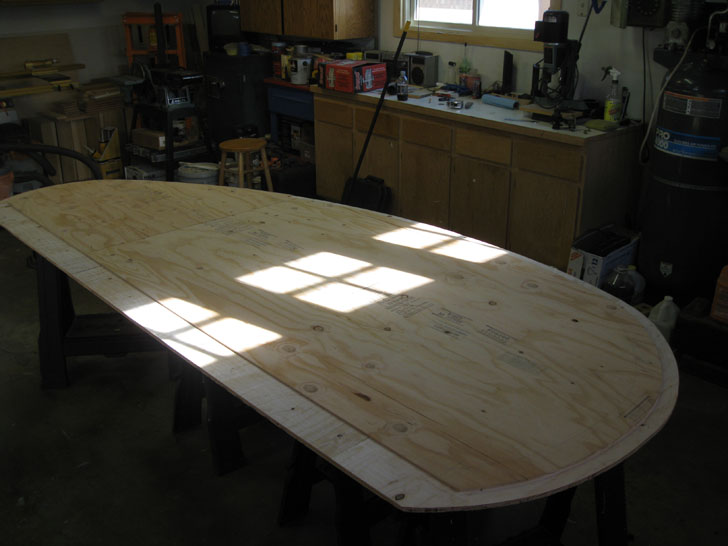
The bottom of the deck is coated with asphalt emulsion to resist road wear and tear. The walls of the trailer are also made from ¾” birch plywood, which has been “scarfed” together for added strength and to cover the area in a single piece.
Once the teardrop shape is cut, the edges of the plywood get routed down to fit on the edge of the deck and to accept a headliner. This level of detail is consistent throughout.
The side walls use a “rabbet” joint to overlap the floor and support the ceiling.
The side panels are then cut for doors, windows and some utility openings for wiring. The rest of these “vents” are cut to reduce the weight of the overall trailer.
An open frame serves to reduce weight.
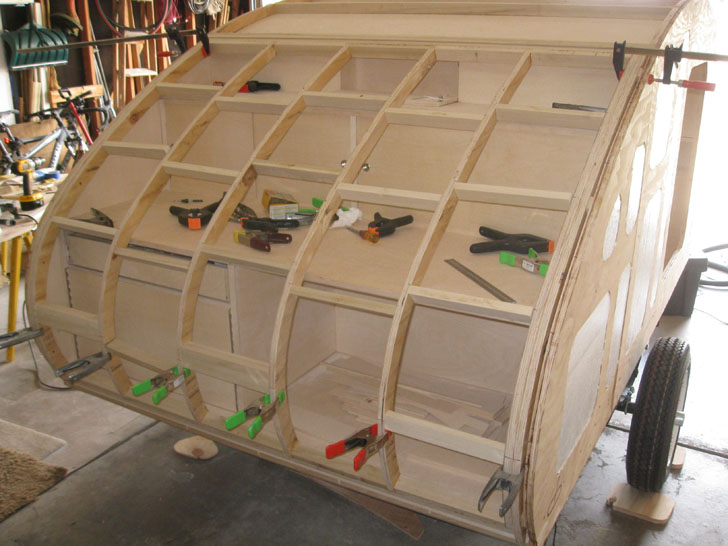
All of the Wyoming Woody’s cabinetry is made with very strong tongue and groove joinery. It takes a bit of extra time to cut on a table saw, or with a router jig, but it makes cabinet assembly a snap!
The front and rear cabinet sections are built separately. It makes final assembly easier, since you’re not working inside of a cramped teardrop.
Cabinets go in first.
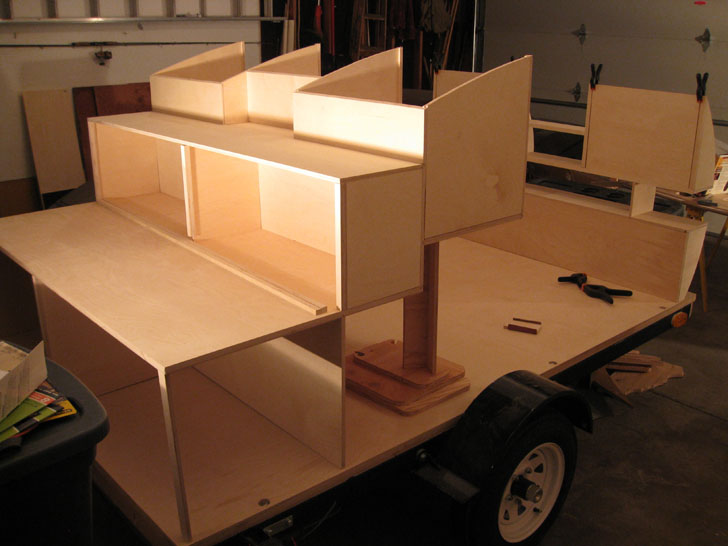
Once all of the cabinetry was installed atop the trailer base, attaching the sides is simple. The cabinets are stout and provide a very strong and lightweight frame for the camper.
A thin sheet of “bending birch” plywood was used as the inner skin of the trailer’s roof, or the headliner. It fits neatly along the routed edge already provided and ratcheting straps make great clamps to hold it as the glue dries.
The inside skin, or headliner, with hatch frames on top.
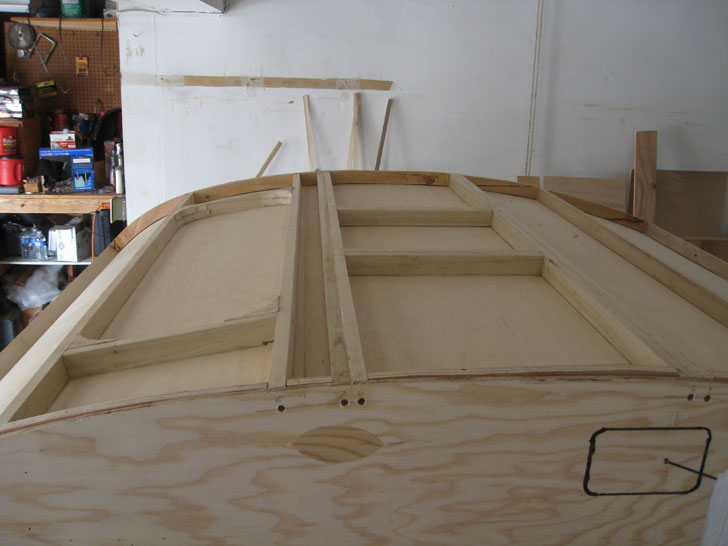
The unneeded voids in the trailer’s walls were filled in with thin foam insulation board. The lumber roof spars are installed on top of the headliner and bracing gets installed to stiffen them. The ventilation hatch and skylight are framed in on the top of the roof as well. The headliner gets cut out from the inside using a pattern bit where the fan and window will be.
Skylight and vent installed.
The galley hatch frame is built of plywood ribs and an inner skin is installed, like the headliner. With the frame still exposed, it’s time to add the wiring.
Plywood frame for the galley hatch.
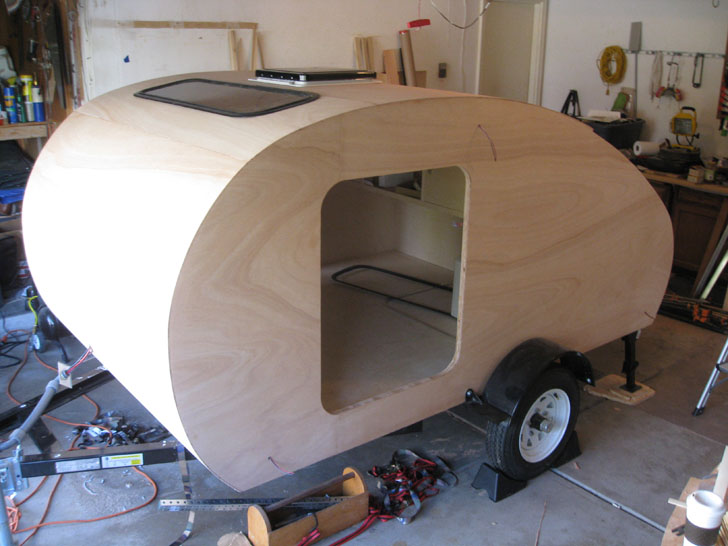
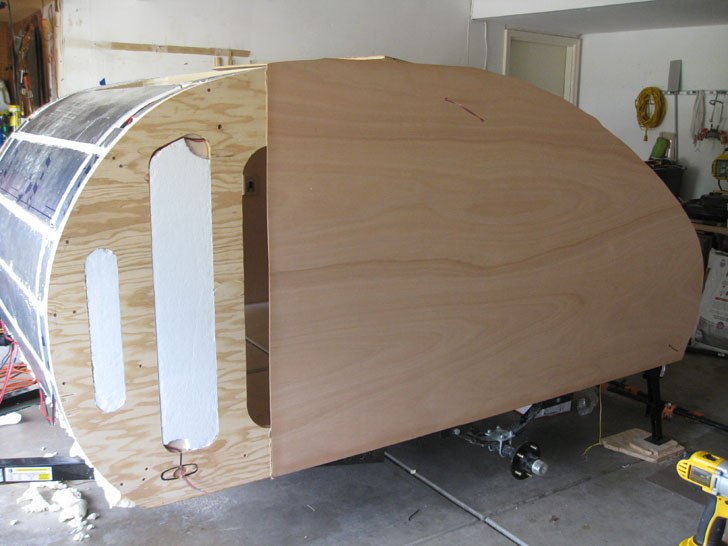
A layer of radiant barrier insulation and an exterior skin of thin plywood are installed as the trailer nears completion. The roof is made from the same plywood as the exterior body panel.
The skin is in place and ready to be routed around the door.
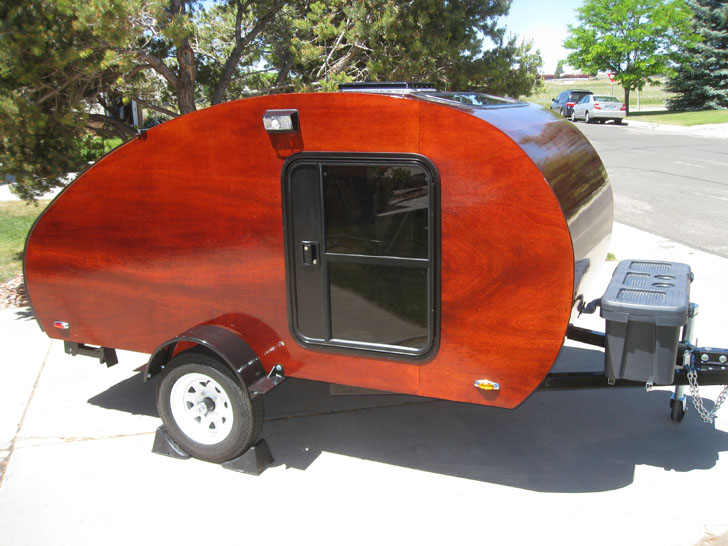
Three coats of epoxy and two coats of poly inside, as well as spar varnish outside for a beautiful finish.
Completed trailer – sure to turn heads!
Ryan summarized his experience,
This project has taught me a great deal about woodworking, cabinetry, electronics, wood finishing, and dozens upon dozens of other areas of expertise for which I had little or no experience before starting this endeavor. It is proof that no matter your skills you can build one of these Teardrop Trailers if you put your mind to it! More importantly than all of that, it was a blast and now we are out there enjoying it!
To learn even more about this teardrop trailer build or to view detailed plans, visit Ryan’s website Teardrop Builder.