
RV kitchens have their shortcomings. Lack of counter space, too-tiny sinks, and little light make pursuing your culinary passion difficult in an RV.
An often overlooked area is the wall just behind the stove.
When cooking greasy foods or simply boiling water, the wall behind the stove tends to get dirty and nasty-looking quickly. Some of the more popular remedies include plexiglass backsplashes, eggshell paint, or peel-n-stick tin or aluminum coatings.
When we began to renovate our travel trailer, we felt like none of those options represented our style.
We wanted tile!
But conventional mortar and stone tiles wouldn’t work well in our rig. Heavy stone held up with brittle mortar doesn’t do well in a moving vehicle.
Then we found Smart Tile.
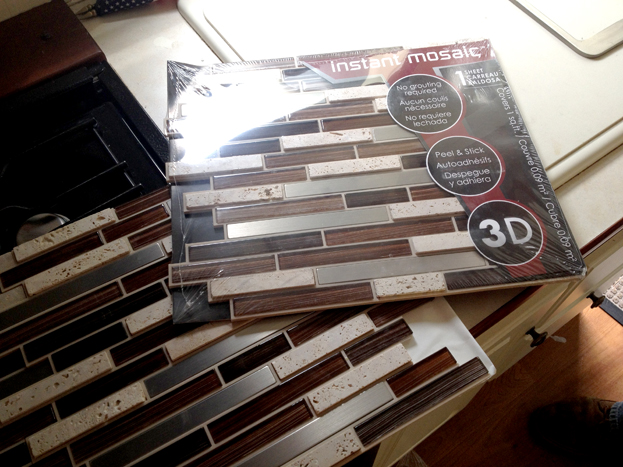
What is Smart Tile?
Smart Tile is a relatively new product. It’s designed to save you time and money compared to using real tile and stone backsplash materials.
You don’t need to use any messy grout because the tile material has a do-it-yourself peel and stick adhesive on the back.
In short, Smart Tile is a big sticker that adheres to your wall with no grout, no glue, and no special tools. It will give your kitchen (like it did mine) a sleek appearance.
People will definitely think you installed real tile.
But just how easy is it to install? Let me show you how I did it in my trailer.
Step-by-Step Smart Tile Installation
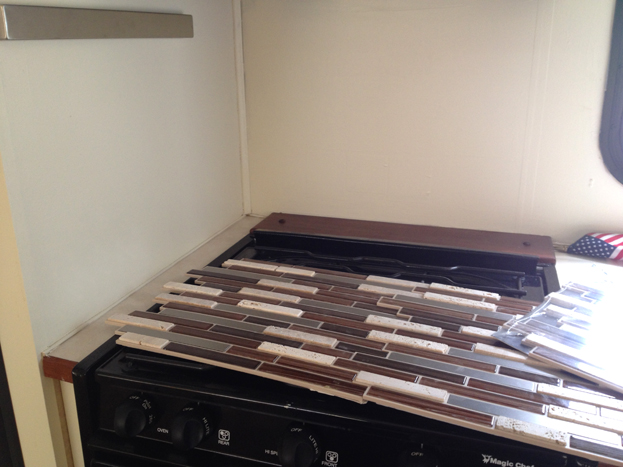
Step 1: Lay out your tile (1- 10.125” x 10” section in each package) or a cardboard cutout of the same size to get an understanding of how many ‘packages’ you will need to cover your area and to get an idea of what the final size will look like.
Note: Each section of tile has two smooth edges (the top and bottom) and two jagged edges (both sides). This allows you to slide together multiple tiles while still keeping the pattern looking natural. You’ll have to cut one edge flush to start the pattern initially.
Step 2: Measure the area behind your stove to nail down the square footage of Smart Tile you’ll need.
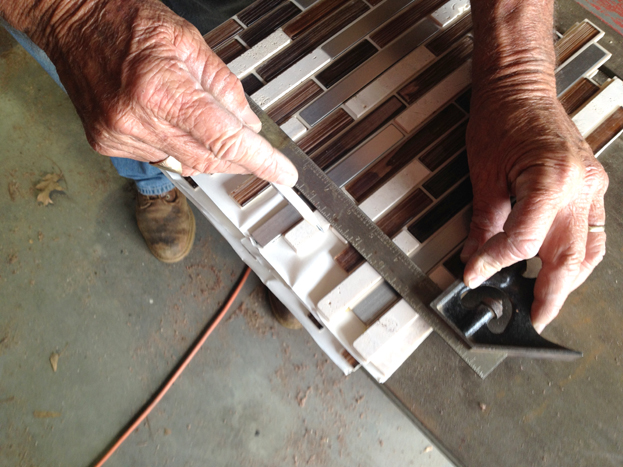
Step 3: Using a straight level or T-square, draw a line down your tile section to cut one side straight. This will be your first edge. Leave the other side jagged to accept another tile.
Step 4: Without taking the adhesive cover off, set your tile with the flush edge against the wall, and tight to the inner corner. Take your second tile, interlock it with the first, and mark your final edge. You may need a few tiles to get out to where your final edge will be.
NOTE: When you look at the final photo you will see that we used 4 total sections. This means that two sections were cut flush to fit against the inner corner, and the outer two sections were cut flush at the edge of the wall.
We only needed two sections and four tiles to cover our backsplash area. You might need more.
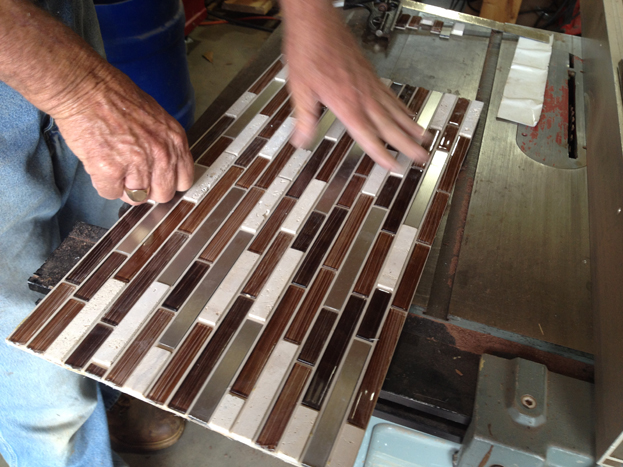
Step 5: Turn one piece over at a time, remove the sticky backing, and place onto the wall. Working from one side out, and press down firmly across the entire tile. Rock your hand back and forth to ensure good contact between the tile and the wall.

Step 6: Once stuck to the wall the Smart Tile will be hard to move. You can shimmy it just a bit for a second or two, but be careful where you initially set the tile. These things are sticky!
Admire your work and your new backsplash!

A Few Last Words
Depending on the space you are covering, you may want to do a bit more prep work before placing the tiles.
Since we covered a corner area, we caulked a strip down the corner molding to make sure no water would seep down behind the tiles. We did the same on the top just so nothing would get behind our sections. We didn’t want any chance of moisture working the adhesive loose.
Once we began full-timing with this travel trailer we did have one corner (left wall / upper left) begin to pull away from the wall. I attribute this to the fact that we painted our walls using a satin finish. Perhaps if the walls were a bit more “rough” the adhesive would have held better.
To fix the loose section, we carefully pulled the tile away from the wall and sprayed a bit of 3M Super 77 adhesive on both the wall and the back of the tile. After applying some pressure the section looked like new again.
Six months and nearly 2,400 travel miles later, our tiles are sticking like the day we put them up. To keep them looking new we gently wipe them clean with a damp cloth every so often. They’re easy to care for and look great!
Could we put them up right over the paneling in the RV?
Did you have any issues with using these tiles around your gas stove in the RV?
I bought smart tile from amazon. They were a little less expensive there. They look great!!! It helps to get clear caulk for the tops and bottoms after you have them in.
Because these tiles are a bit thicker than other types of Smart Tiles, Andrew used a table saw. You can use scissors or a cutting mat and xacto knife with thinner Smart Tile styles.
What did you use to cut the tile