
Magnets make great travel collectibles. You can find them nearly anywhere, they’re cheap, and they come in all sorts of fun shapes and colors.
Many RVers collect magnets from the places they visit, creating a visual memory of their trips for years to come.
The problem with displaying a magnet collection in an RV is that you need a magnetic surface to hold them.
In a house the solution is easy- the metal surface of the fridge. But most RV refrigerators don’t have a magnetic front.
Don’t let that stop you though.
I’m going to show you how I modified my RV fridge to hold the special items that make me feel happy and give my RV some personality.
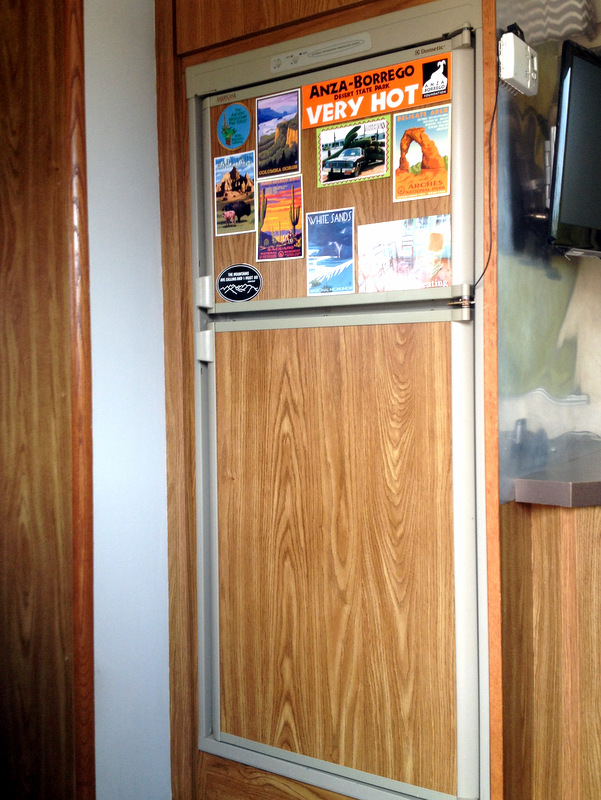
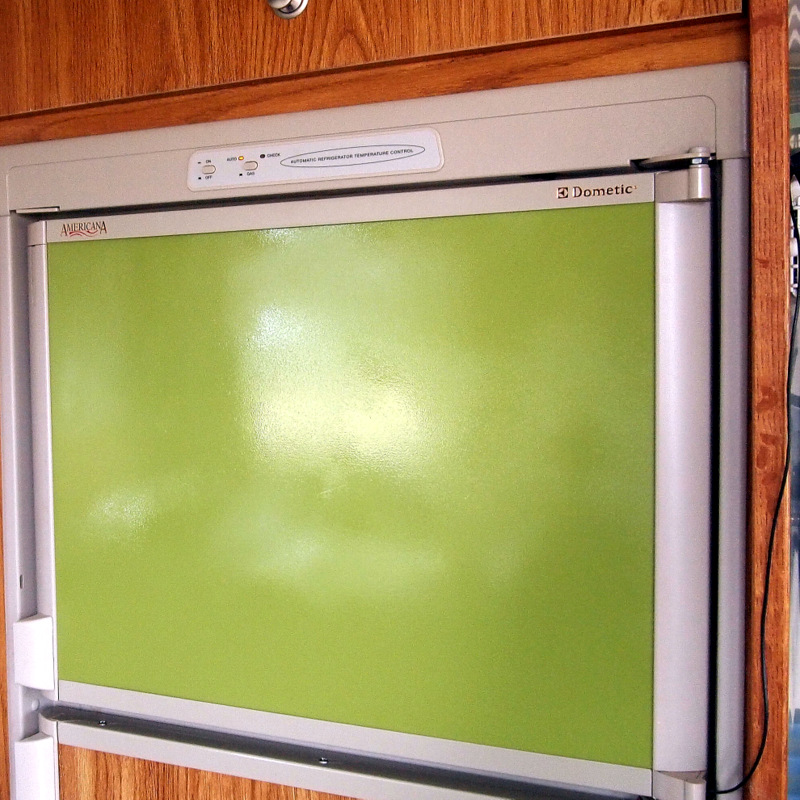
This is a normal fridge, note there’s only stickers on the front.
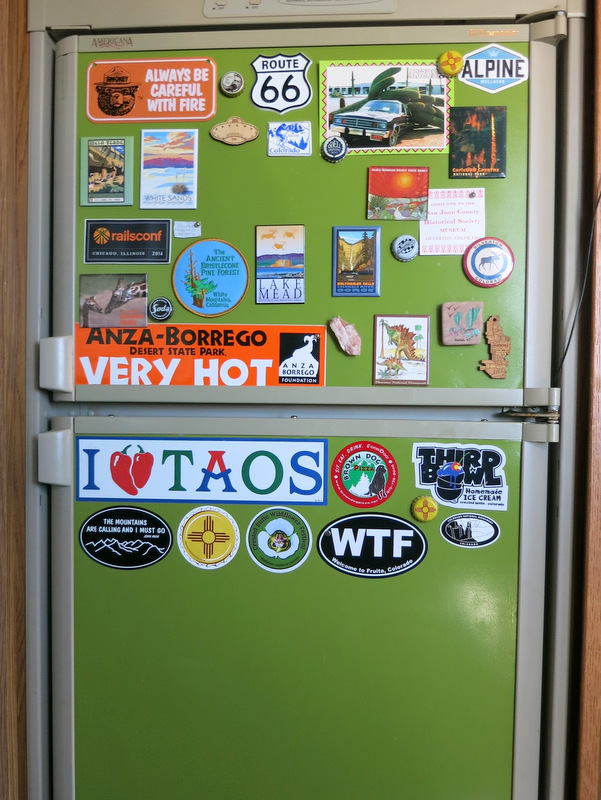
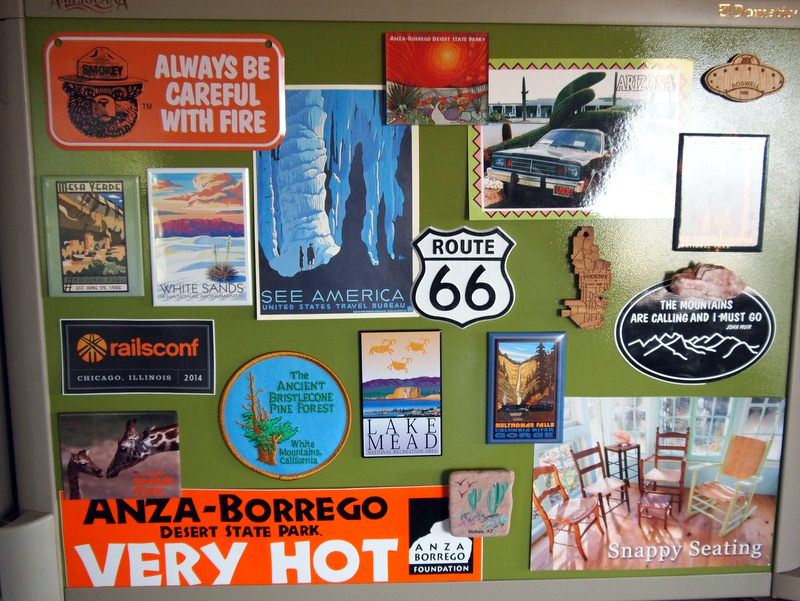
After the mod, a magnet’s paradise.
What You’ll Need For This Fridge Mod
- 2 pieces of sheet metal large enough to cover both the fridge and freezer panels (can be found at any home improvement store)
- Tool for cutting the metal – something like this oscillating multi-tool will do the job
- Spray paint in color of your choice – to mimic the look of stainless steel appliances go with the Rust-Oleum Appliance Enamel in the stainless color
- Wet/dry fine grit sand paper
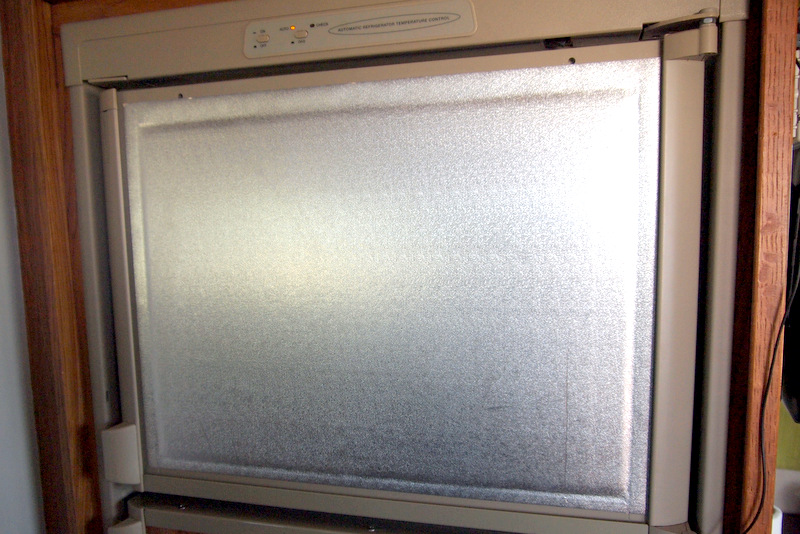
For this project we’re converting a common Dometic RV refrigerator/freezer combo. This particular fridge had two wooden veneer panels held in place by plastic edging.
Steps to Magnetize Your Fridge
Step 1: Unscrew the plastic edging at the top of the panels and slide the panels up and out. Underneath youll be left with a layer of insulation.
Step 2: Using the original panels as a template, mark where the sheet metal needs to be cut.
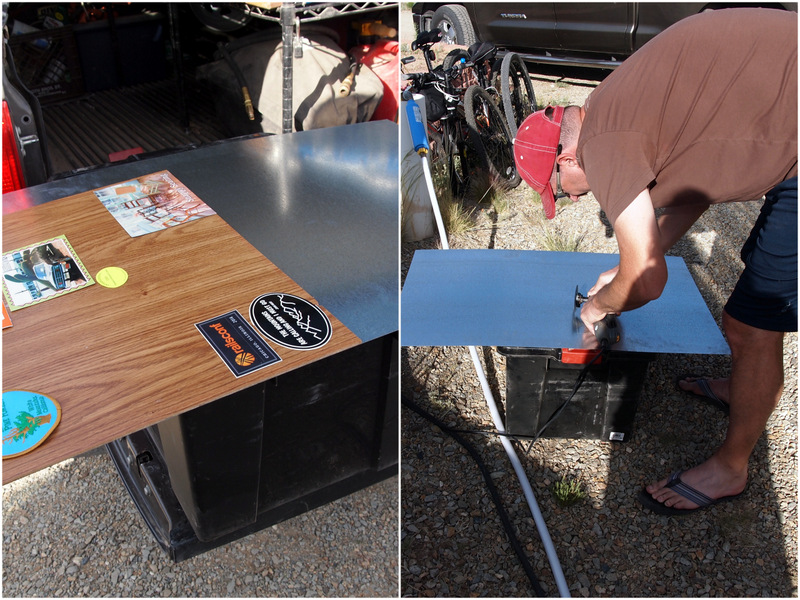
Step 3: Cut the sheet metal. This thin metal is fairly easy to cut. Using the oscillating multi-tool, score the lines that you marked, and then simply bend and snap the metal. Be careful not to cut your hands on the sharp edges.
Step 4: Spray paint the sheet metal. You can leave it unpainted, but the metal tends to have a non-uniform surface that looks much better painted.
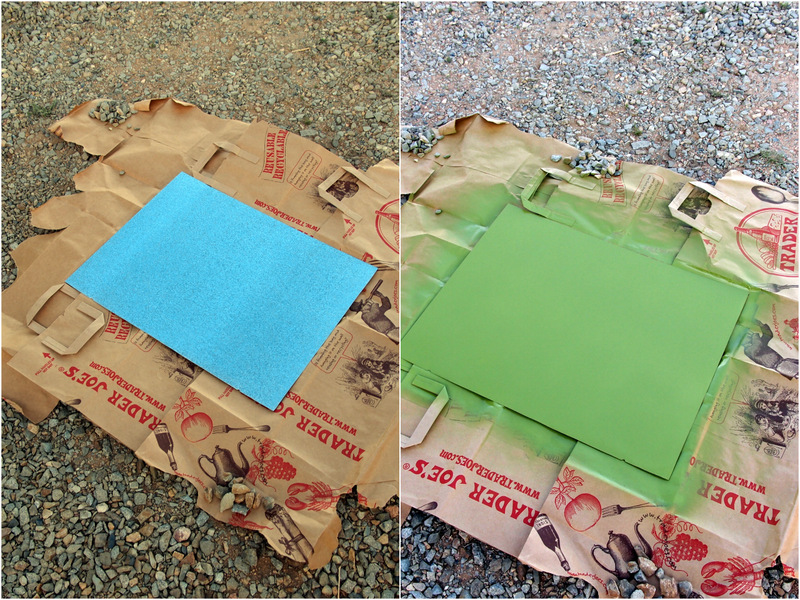
Be sure to look for a spray paint such as the Rust-Oleum brand that bonds well to metal. Rust-Oleum can be found at nearly any home improvement store and comes in a wide variety of colors. You can even find it in a stainless steel color to mimic the look of stainless steel appliances.
Step 5: Spray paint it again, and again, and again. The more coats you cover the metal with the less likely the surface will scratch.
I recommend at least four coats of spray paint. If you get bubbles or imperfections, give the paint a light wet sand in between coats.
Step 6: After letting the paint dry overnight, slide the panels back into place and screw the plastic edge pieces down.
Step 7: Load it up with magnets!
As you can see, replacing your old non-magnetic fridge and freezer panels with new magnetic panels is a simple and affordable DIY project.
If you want to keep the original panels simply slide them behind the new metal panels for storage.
Happy collecting!


Nice welcome to Fruita sticker!
You could also just use magnetic paint on it