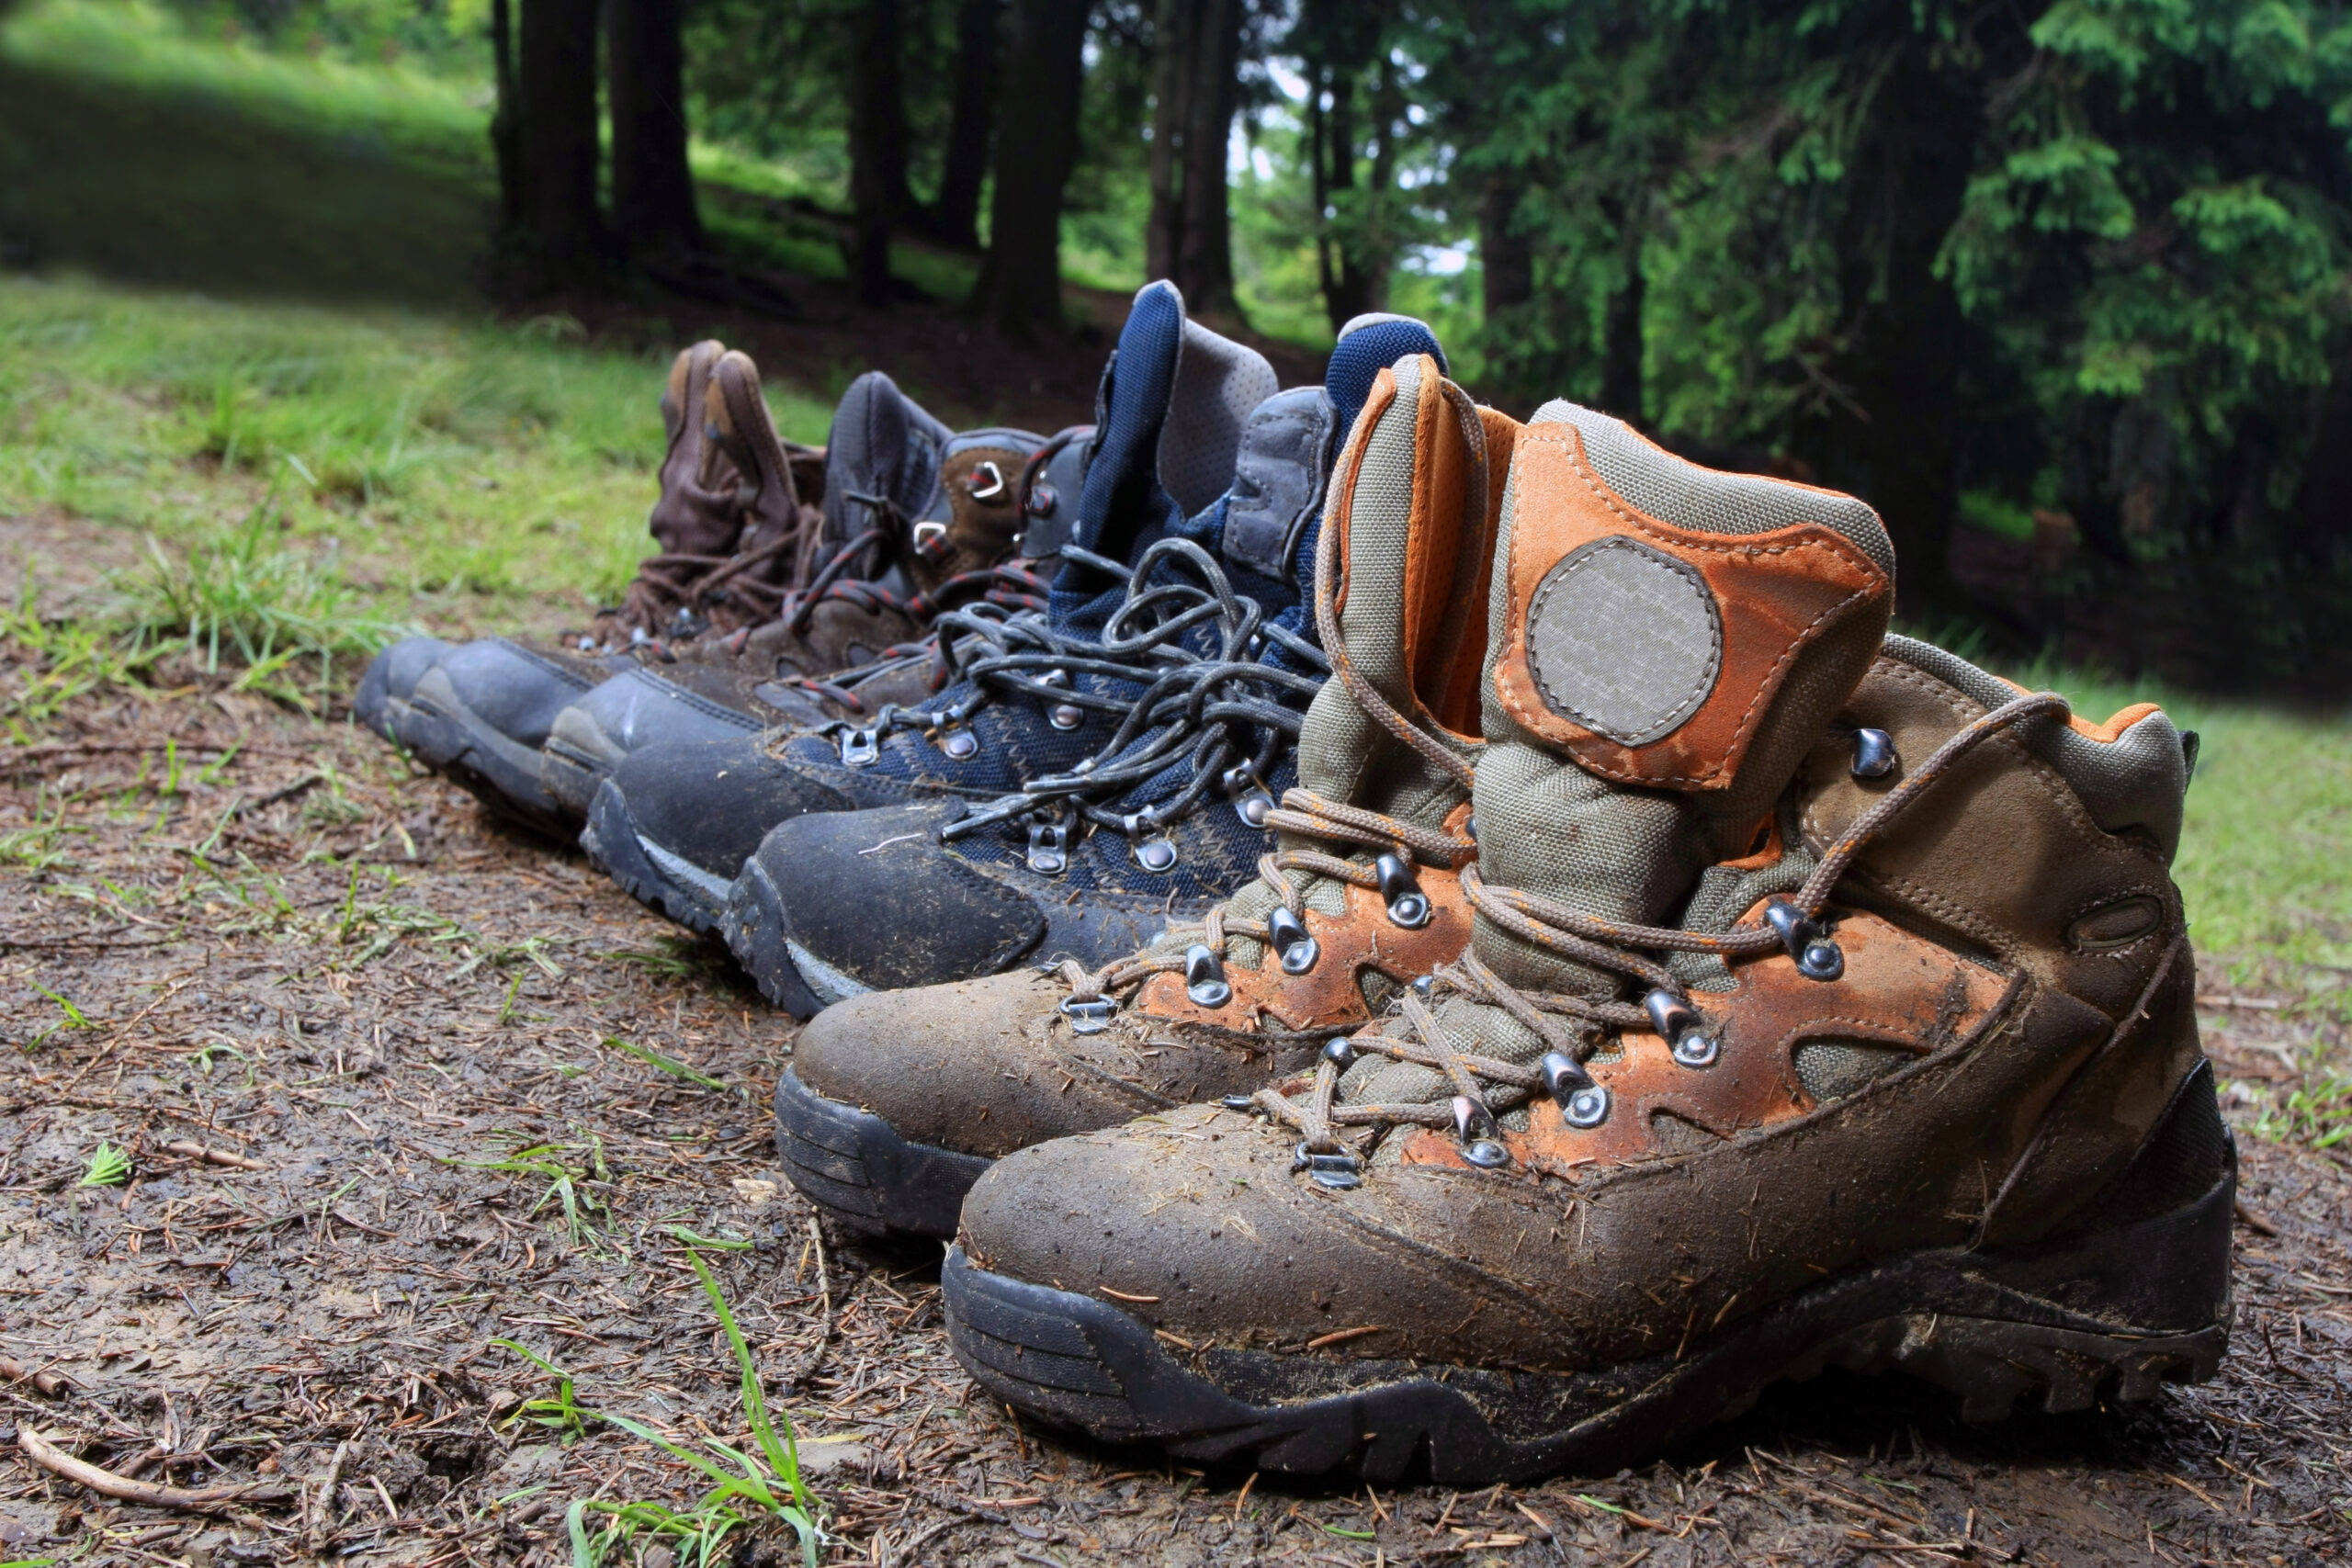
Any camper knows that the right gear makes all the difference in a successful camping trip. When we go camping we do a variety of activities that require a variety of footwear. We limit our family of five to three pairs of shoes per person: crocs/sandals, tennis shoes, and waterproof boots.
But this still means we have 15 pairs of shoes!
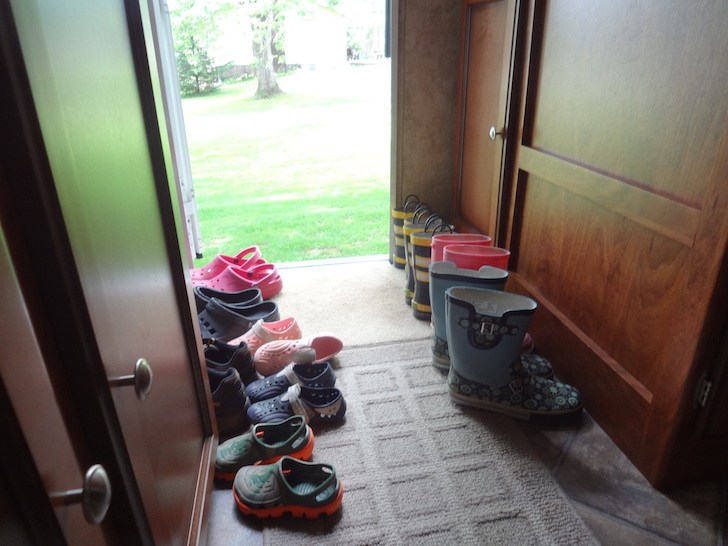
On most camping trips, we found that piles of shoes were always clogging up our camper’s doorway area. So in preparing for our 2015 West Trip we needed a better shoe storage solution. Once again I headed to Pinterest and DoItYourselfRV for some ideas.
I saw one idea made by Mike Boyink on DoItYourselfRV that used small PVC piping to create a shoe rack just inside the door. I was intrigued by this plan, but I knew the design would not work for us since our entry area is too narrow and has a cabinet that we need to be able to open on a daily basis.
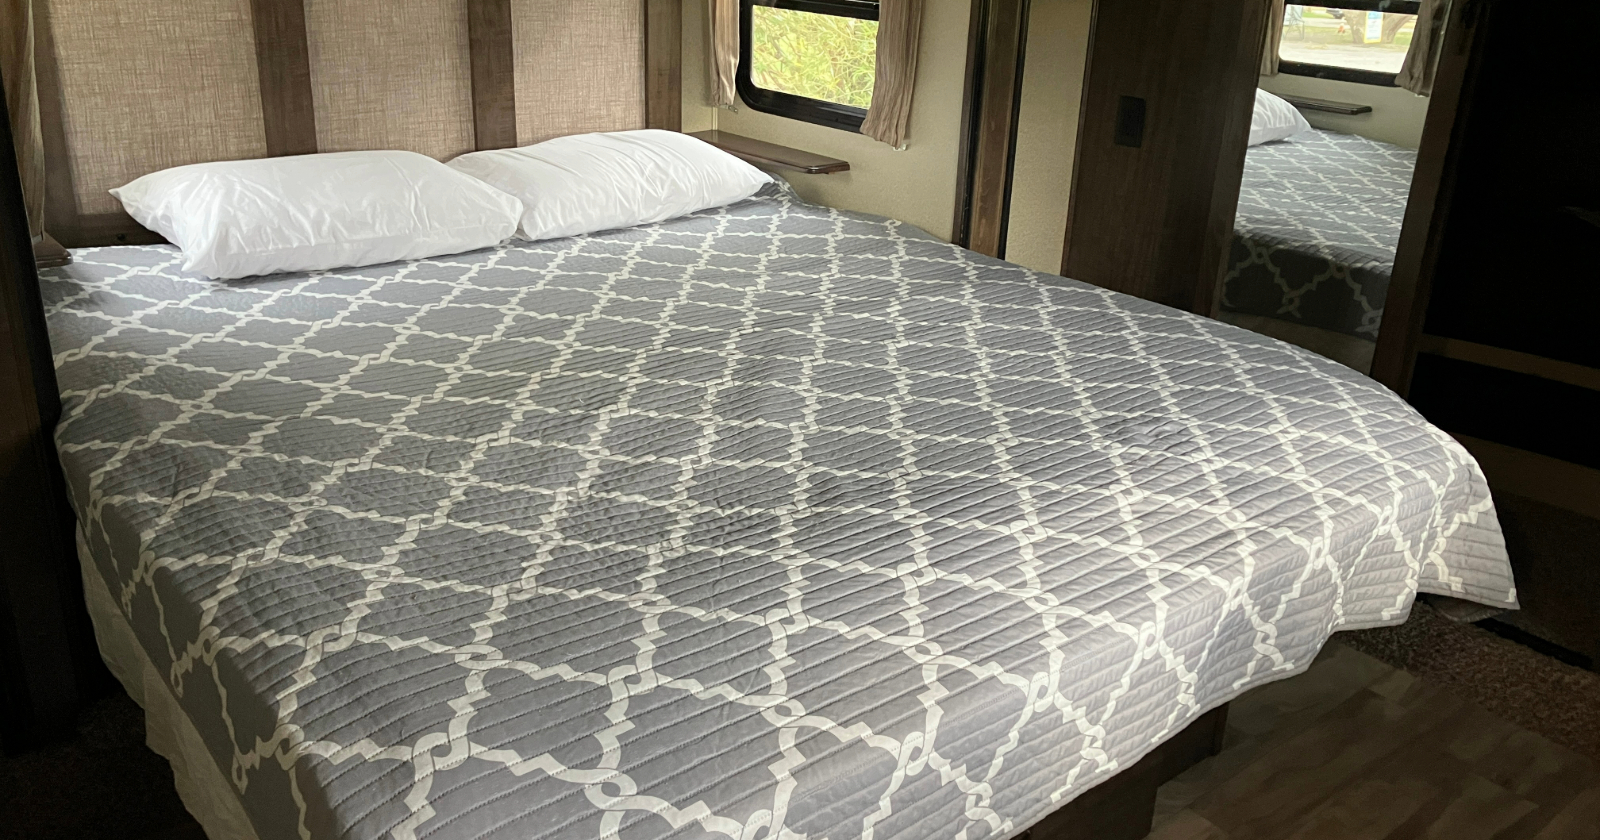
So I pondered other unused areas of our camper and the space under the queen bed emerged as a prime contender. Since we rarely used this area (it’s a bit unwieldy trying to lift it up and access things) I was already planning to modify it to better use the space.
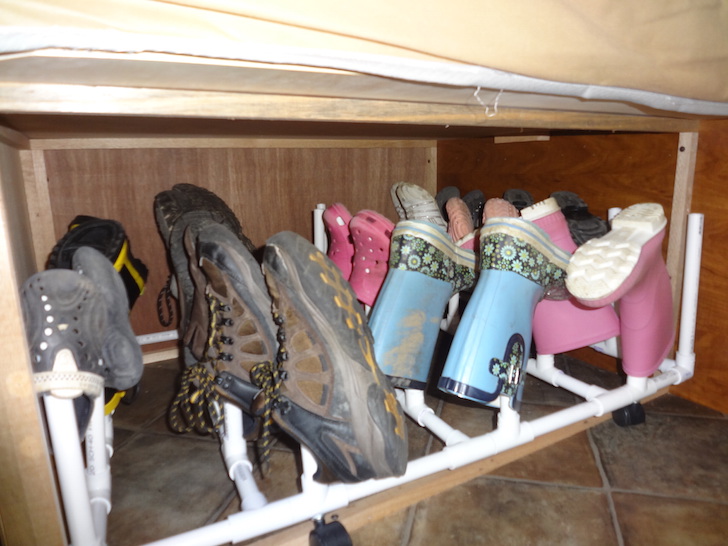
I merged Mike’s idea and a few others and came up with the following solution to hold as many as 15 pairs of shoes (three per person). And I added rollers to make it simple to reach shoes stored on the back of the rack.
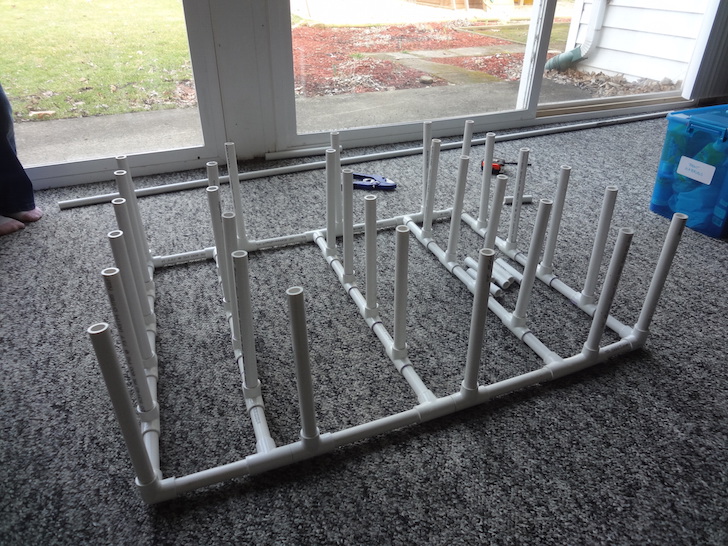
The great thing about PVC projects is that they are inexpensive and an easy beginner project. All of the PVC pipes and connectors were under $20, PVC glue is about $7, and a PVC cutting tool is about $10 (the glue and tool will also come in handy for other projects).
The rollers that I used came from plastic drawer organizers that we use in the kids’ bunk area for organization. To make this rolling, under-the-bed shoe rack, you just need to be able to measure and cut the PVC then glue it together.
The rack itself only took about 30-45 minutes from start to finish. It did take a bit more time to modify the frame under the camper bed (around an hour) so that the shoe rack could roll under the bed.
For step by step instructions (including tips and hints I gleaned from my mistakes), you can check out our post over at TheTouringCamper.com by clicking here.