Table of Contents
show
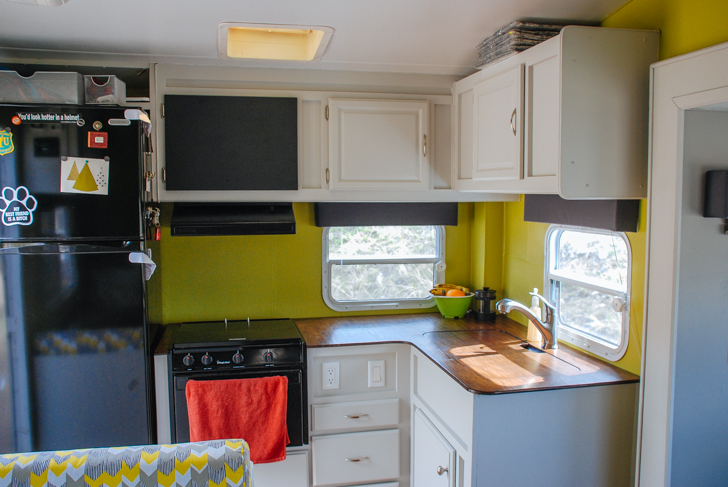
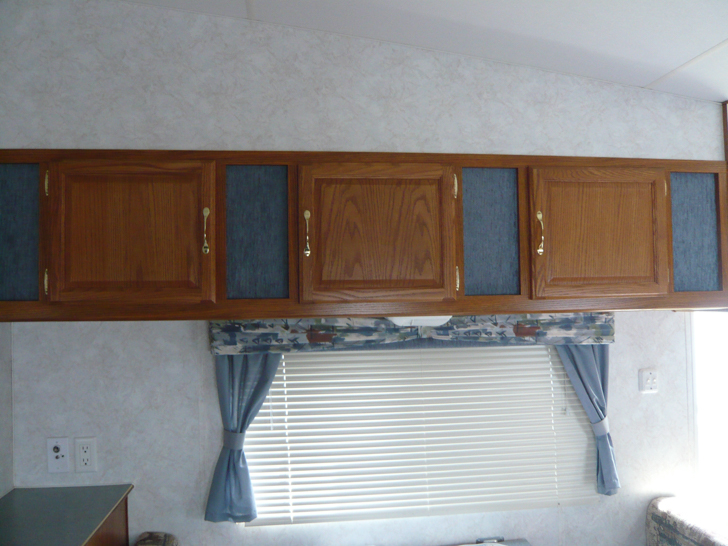
Do you have outdated RV valances that you desperately want to change the look of? It turns out reupholstering RV window valances is quick and easy using tools you most likely already have. No sewing required!
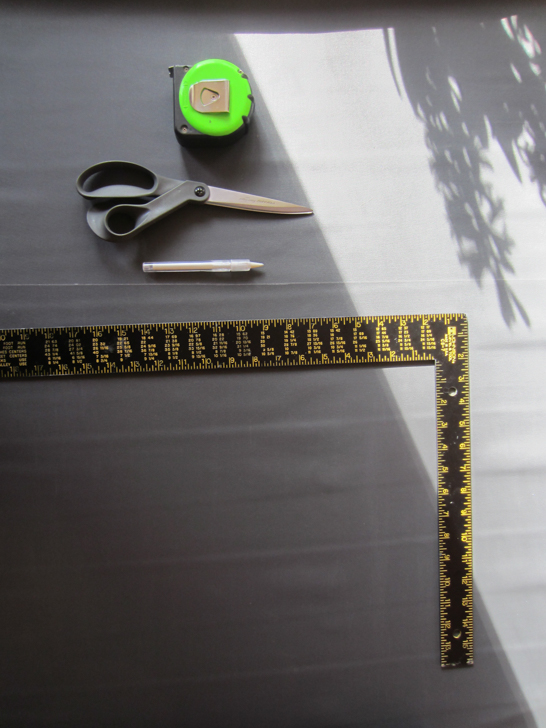
Tools needed for this project
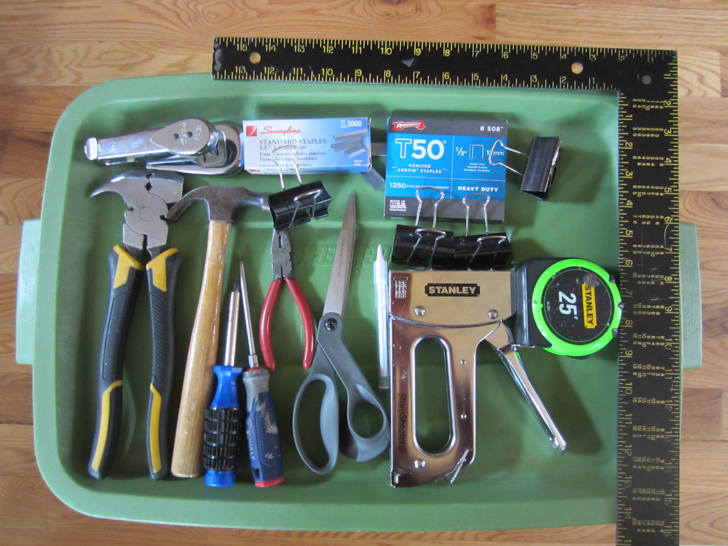
- A staple gun and a regular stapler: to staple the fabric to the valances.
- Needlenose pliers: to remove staples that get messed up during the stapling process.
- Fencing pliers (the black and yellow handle tool in the picture above): this tool is optional because it can be hard to find in stores. Needlenose pliers work fine for this project, but fencing pliers can be faster and easier on the hands, especially for projects that require a lot of staple removal.
- Hammer:to hammer in brads (and staples that didn’t go in flush to the wood).
- Screwdrivers: to remove the valances from the walls and the blinds from the valances.
- Chalk pen: to draw on the fabric.
- Binder clips: to hold the fabric in place.
- Measuring tape: to measure.
- Straight edge: used to connect the dots to make a straight line.
- Scissors: to cut the fabric.
How to reupholster your RV window valances
1. Remove the window valances from inside the RV. While every valance will be installed slightly differently, it should be fairly easy to remove using a screwdriver.
2. Remove the blinds from the valances to make it easier to attach the new fabric to the valance. More than likely, the window blinds will need to be removed anyway so you can easily reinstall the valances to the RV walls.
3. If your original valances have ribbons, bows, or other decorations you may need to remove them so the new fabric can lay smoothly on top. It isn’t necessary to remove all of the old valance fabric because the new fabric will totally cover it.
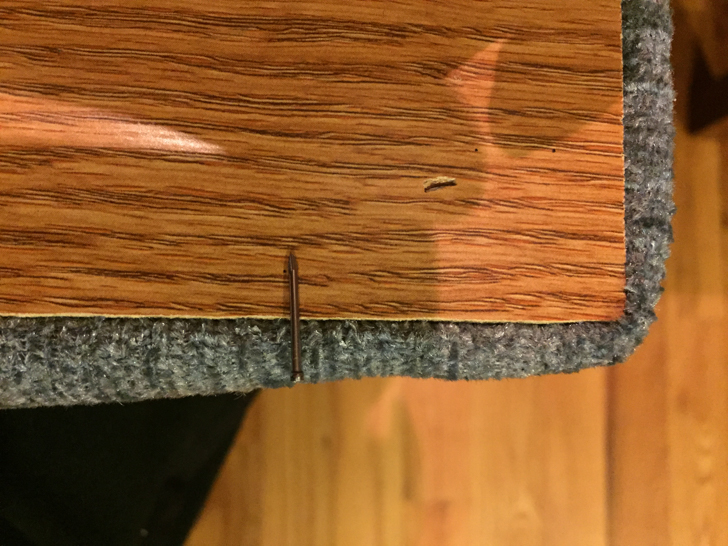
4. Your valance may separate from its wooden base that it has been nailed to after removing it from the RV. If that’s the case, just hammer the brads back in.
5. Measure and re-measure your fabric. Use a chalk pen to mark dots on the fabric and a straight edge to connect the dots into a straight line. Just to be safe, cut out enough fabric for one valance at a time.
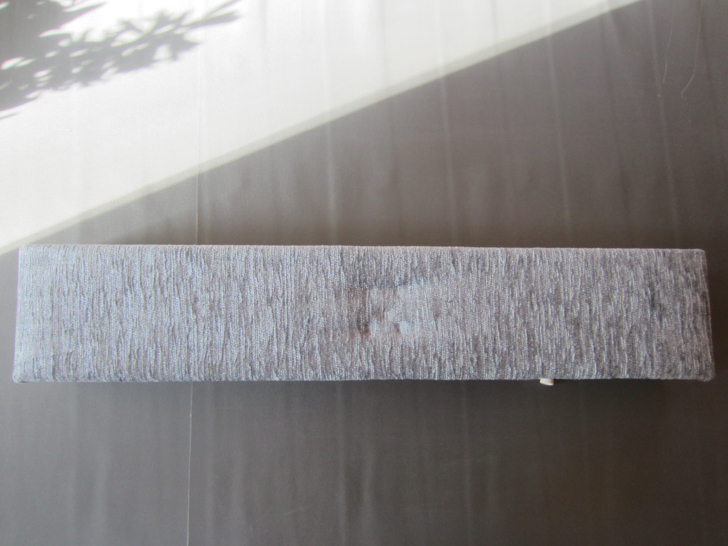
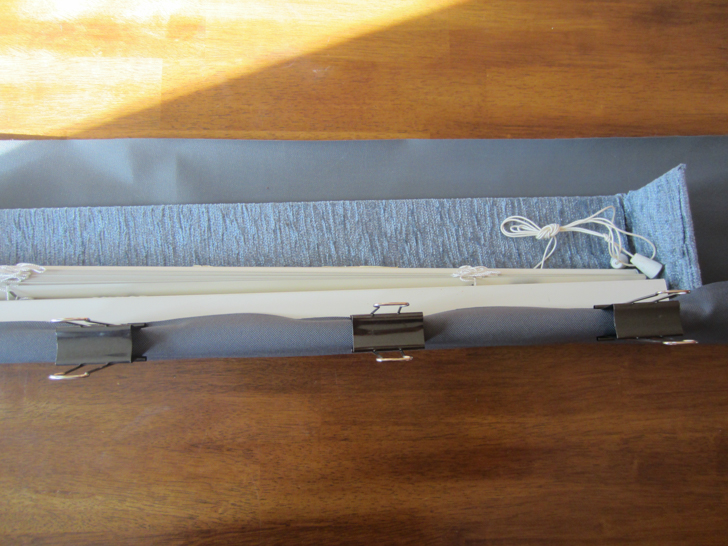
6. Place your valance face down onto the newly cut fabric with extra fabric overhanging on all four sides of the valance. Three to four inches of overhanging fabric is enough, but it will depend on how thick your valances are.
7. Use large binder clips to hold down the fabric in place on the side you are going to staple.
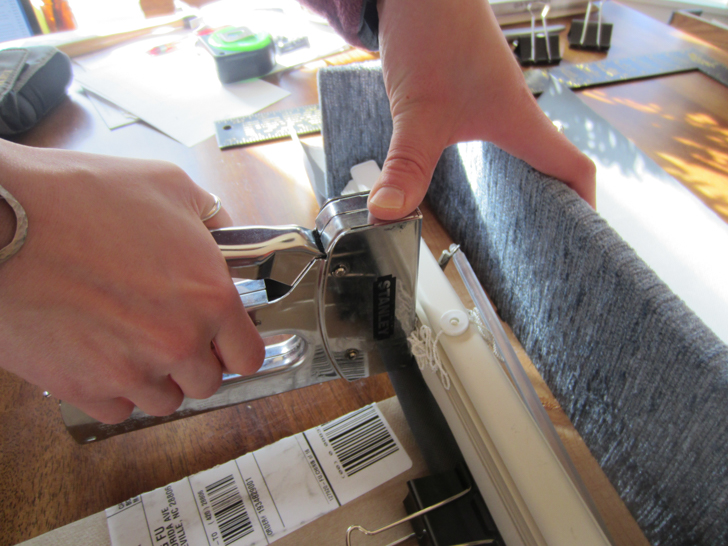
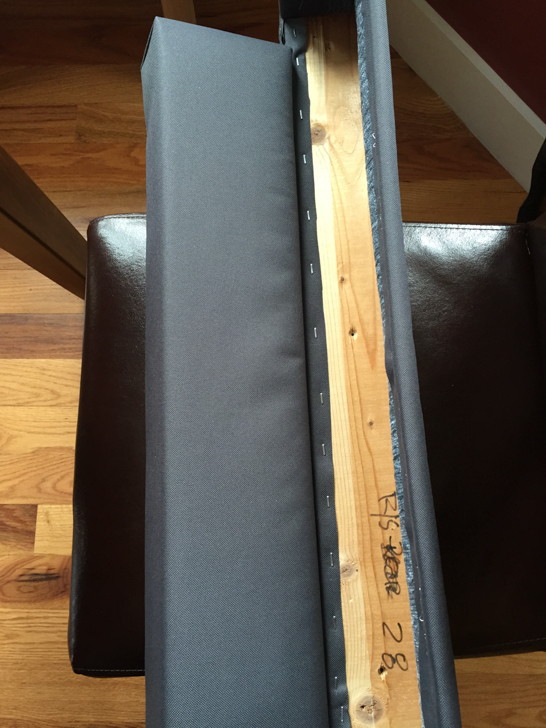
8. Staple the folded over fabric to the valance using a staple gun. Remove binders as you staple along the valance. You may need to get shorter staples or use a regular stapler if the staple gun staples go through the other side of the valance.
9. When you get to stapling the fabric on the short end of the valance, cut a slit in the fabric there.
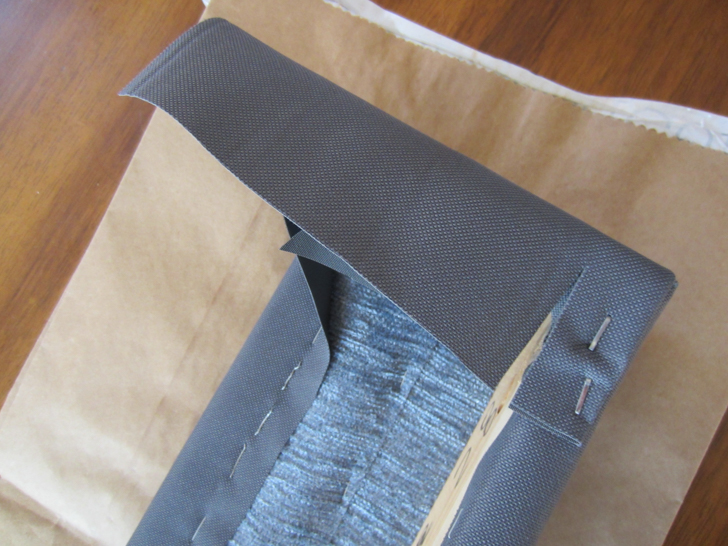
10. Then fold the fabric as if you’re wrapping a gift.
11. After the fabric has been folded, use the binder clips and staple as you did on the long edges of the valance.
12. Repeat steps on the other valances.