RV dump station etiquette doesn’t come naturally to newbie RVers. Unless you’re a sanitation engineer at the local sewer treatment plant, getting comfortable around bodily waste and sewer water is an acquired habit.
One way to accelerate the process is to learn how to get in and out of RV dump stations as quickly and cleanly as possible.
These RV dump station etiquette tips make the job easier.
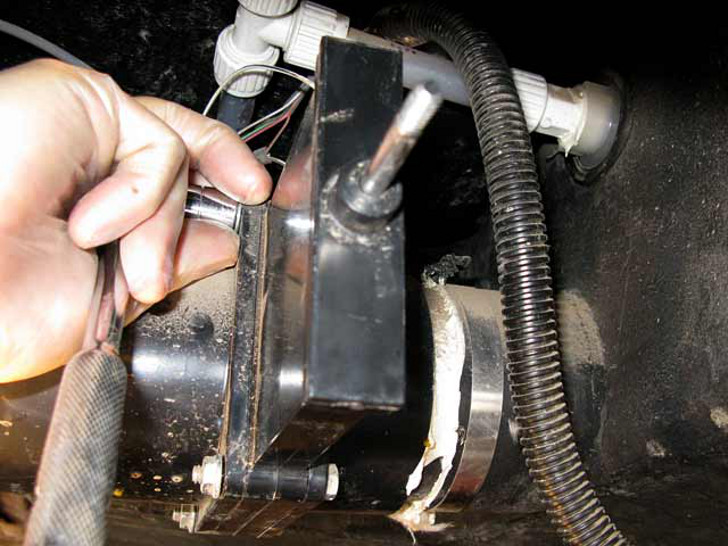
1. Maintain your gate valves
RV waste dump gate valves keep your holding tank waste safely sealed until you can connect a hose and dump. But the more you use your RV, the more those gate valves seals will wear out and allow waste water to drip through.
You’ll know this is happening when you uncap your RV sewer drain and nasty waste water escapes before you pull the handle that opens the valve.
If this happens at a communal dump station, your sewer water can spread pathogens and disease to the next RVer. Yuck!
Don’t put off the job: it’s easy to replace RV waste dump valves.
Be polite. Keep RV waste dump valves maintained.
2. Don’t spread germs
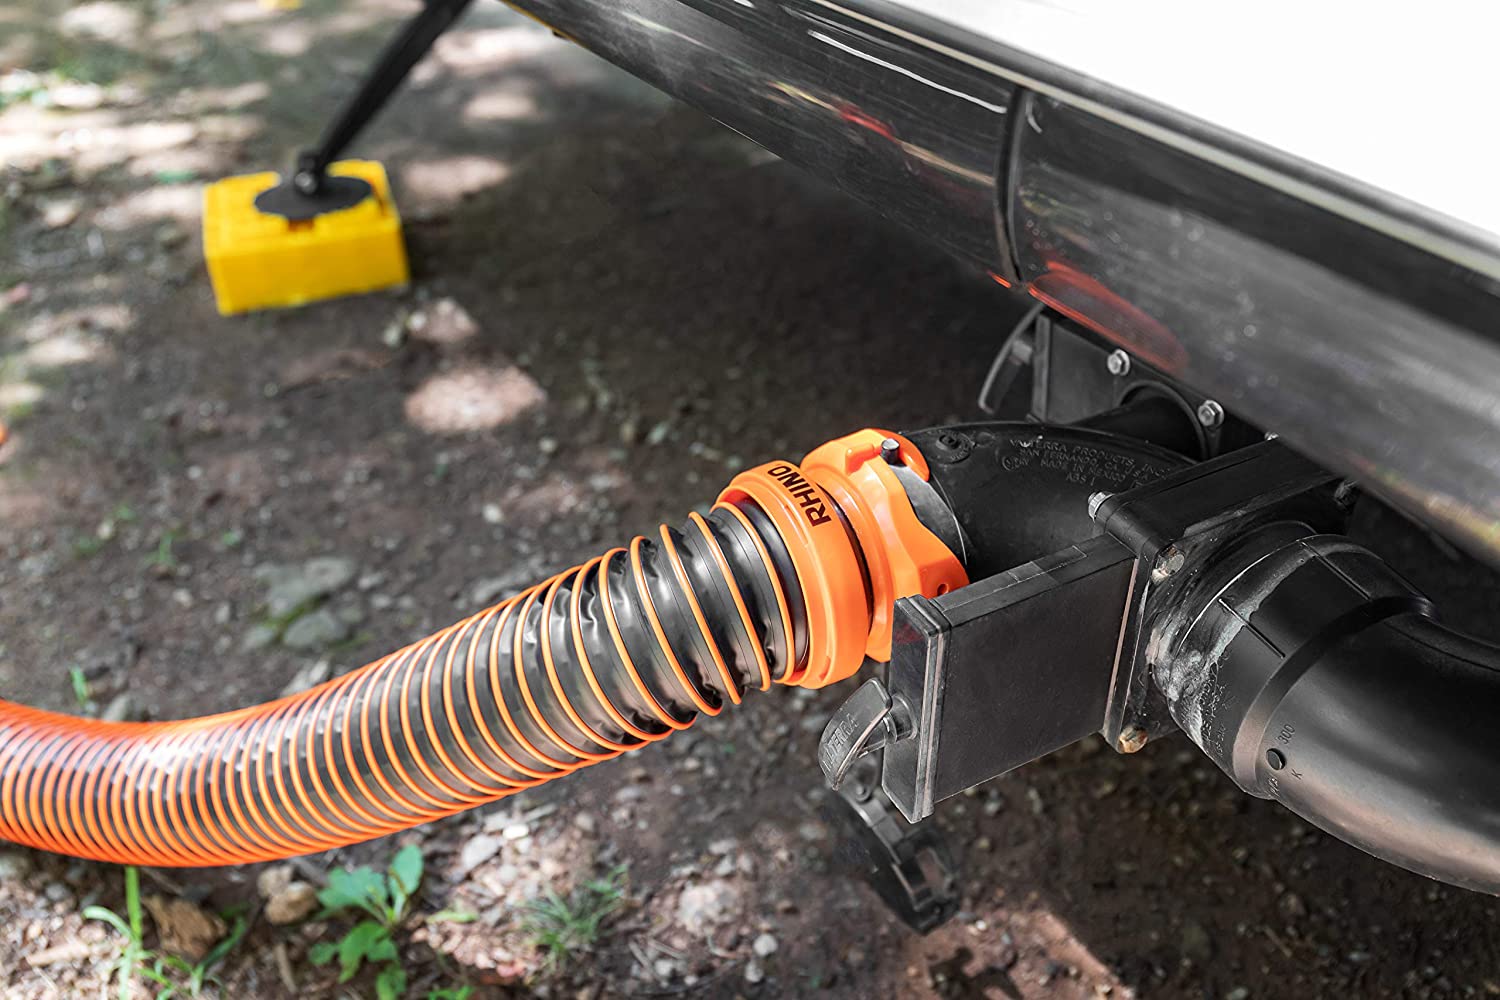
Use the right tools for the right job. RV dump station etiquette means having a proper RV sewer hose with tight fitting connections, disposable gloves, and anti-bacterial hand sanitizer or wipes.
The fewer times your waste water germs make contact with the ground and dump station utilities, the less chance you have to spread disease.
Be a good RVer and wipe down contaminated surfaces before you go. The next time you visit a communal dump station it could be you contracting a diarrheal disease.
3. Dump black first, then gray
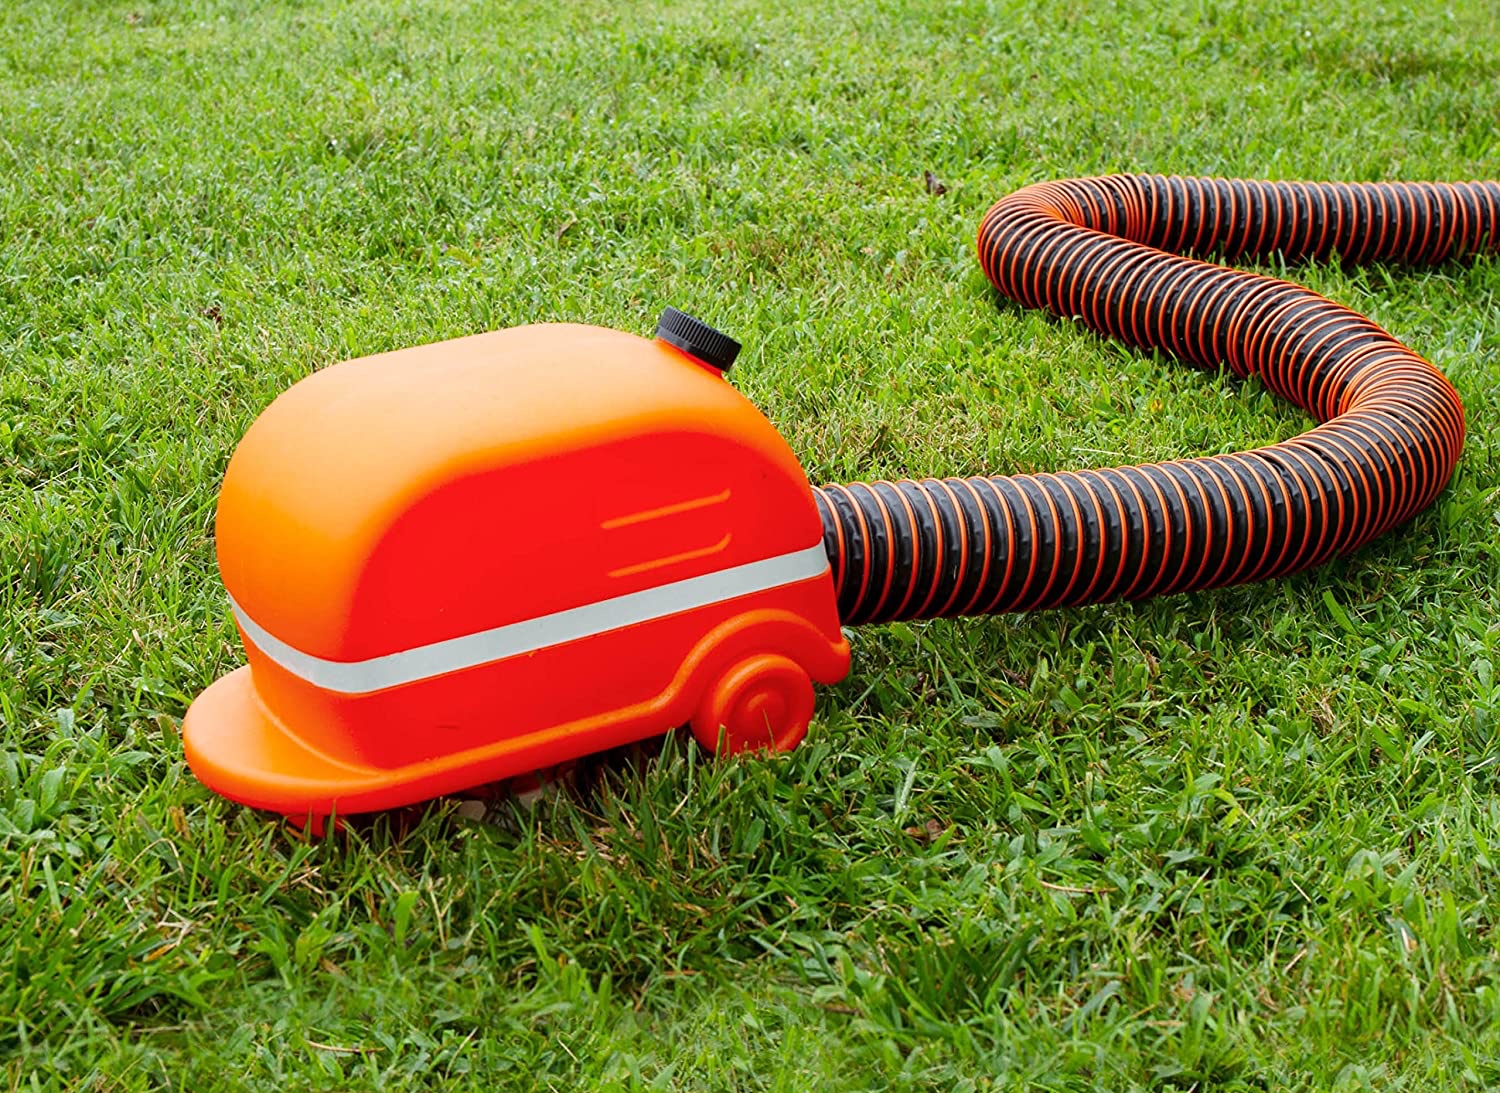
Open and dump your RV black water first. A clear sewer hose fitting can give you a birds-eye view of the contents coming out of your tank.
Although it’s gross to watch, at least you’ll know when your black tank is empty. Once it is, now you can pull the valve for your gray water tanks and allow your bathroom and kitchen water to flow and rinse out the sewer hose.
This lessens the chance of spreading feces and urine pathogens at the dump station outlet.
This connector makes it easy to know when your tanks are empty.

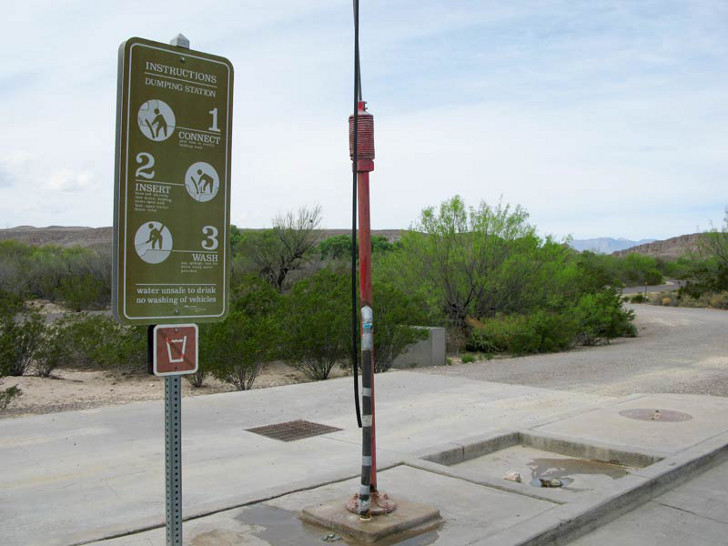
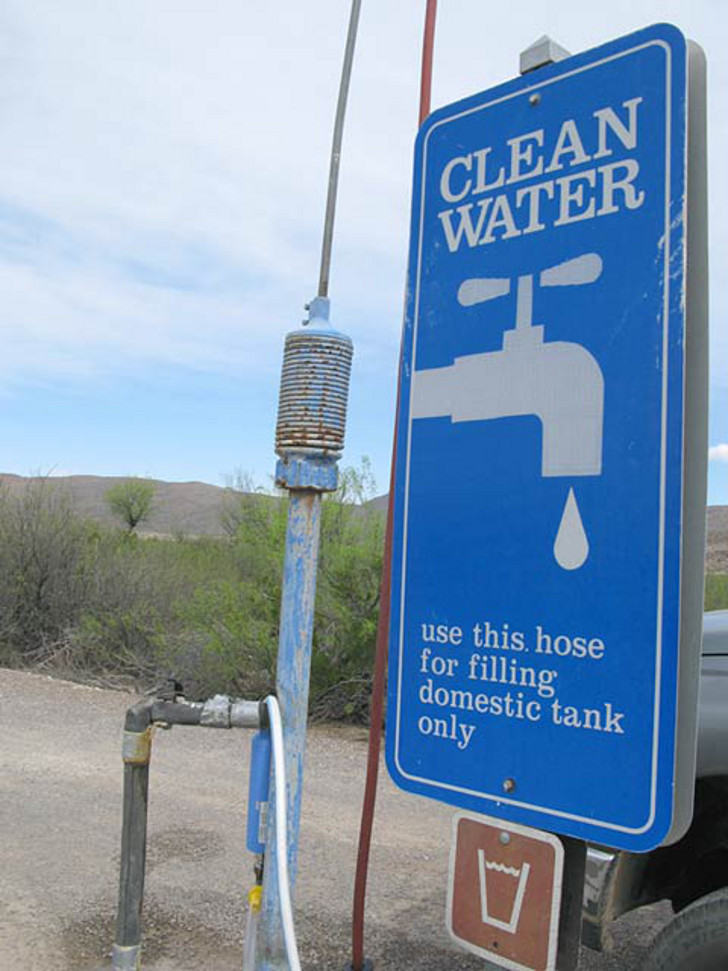
4. Move up for potable water
If the public dump station potable water spigot is just a few feet up from your rig, don’t try to make your water hose reach.
Just turn the key and move up so you’re closer to the source. This allows the next camper to dump while you get fresh water.
It also greatly decreases the risk of contaminating your fresh water hose with sewer water bacteria.
Once you’re at the fresh water spigot, decontaminate it with some bleach wipes before you connect your hose.
5. RV dump station etiquette means a fast, clean getaway
The biggest rule of RV dump station etiquette? Get rid of your holding tank contents as swiftly and cleanly as possible.
Be courteous and don’t forget to put your gloves and garbage in proper receptacles. This is not the time to back-flush your tanks—save that chore for a full-hookup campsite.
Also, please don’t leisurely chat on the phone, allow your passengers to take showers, or eat a sandwich (yes, we’ve seen it).
There’s nothing more nauseating than waiting in line at a public dump station and smelling other campers’ waste until it’s your turn.
Dumping tanks doesn’t have to be an epic Hollywood RV disaster. Practice good manners along with these simple disease prevention tips and you’ll be back on the road in no time.