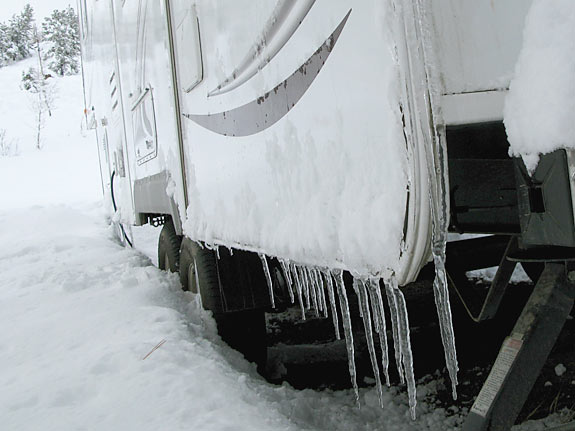
Weather plays the biggest part in slowly destroying our RVs and some exterior parts fall victim to the elements faster than others.
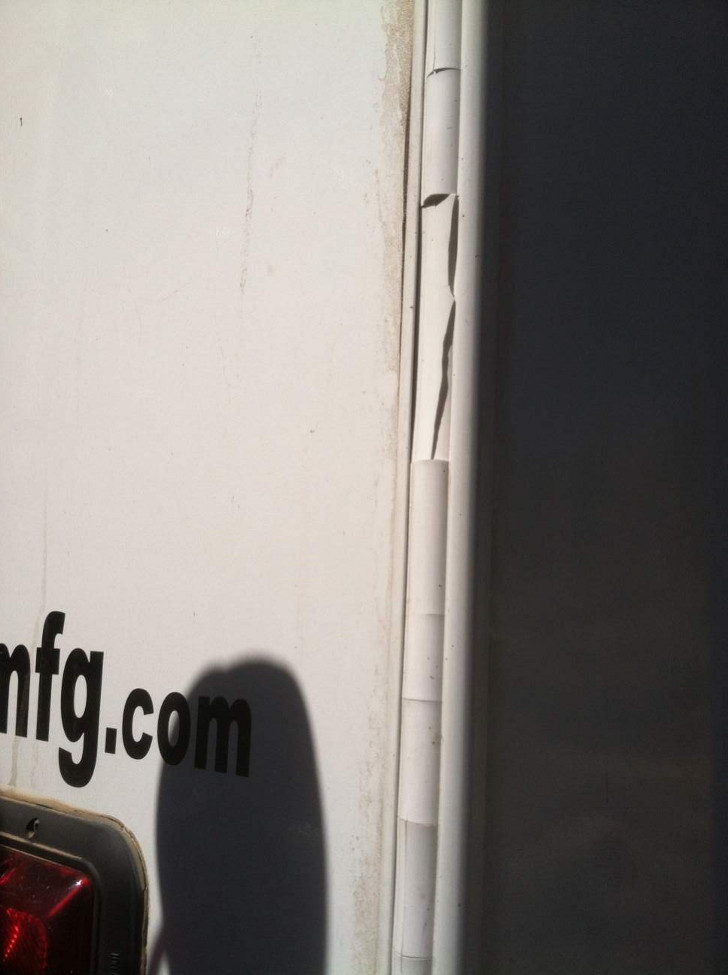
We recently noticed that our rig’s RV insert trim was disintegrating into tiny pieces.
Weather takes a toll on RV insert trim.
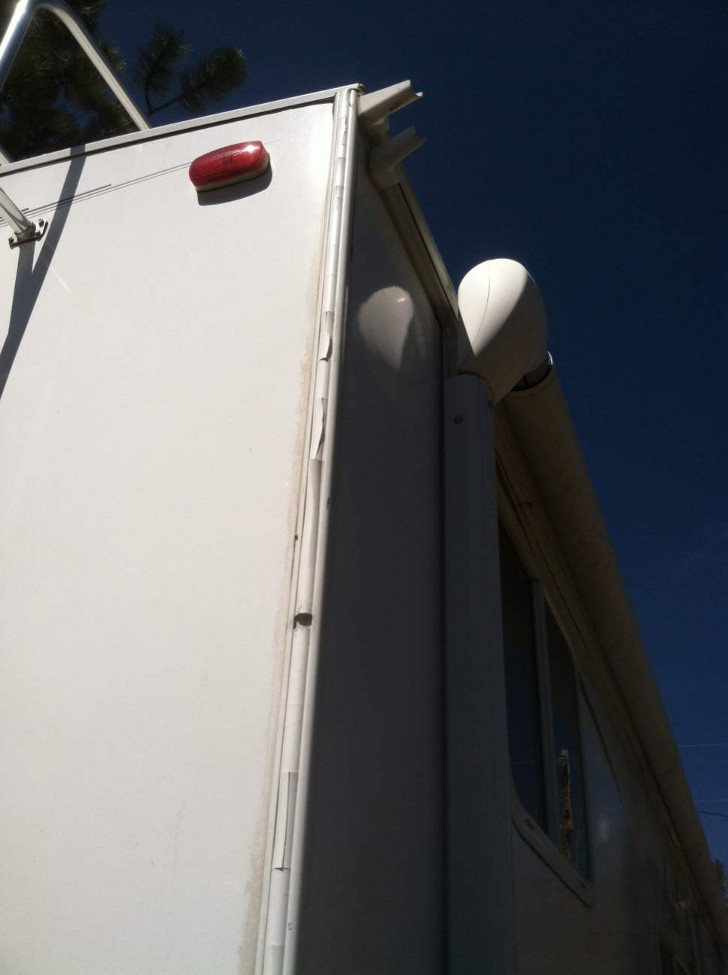
RV insert trim is designed to protect RV wall panel edges and ceiling joints. Without it, any moisture can easily penetrate and rot the vehicle’s body.
Since the exterior edge molding on our 2010 Arctic Fox fifth wheel had been severely damaged by snow and rain, we knew we had to do something – and quick.
How to Replace RV Insert Trim
This project isn’t very difficult. The hardest part was locating the correct replacement part because we had no idea what it was called.
Being frugal RVers with a DIY attitude, we finally found it on Amazon under the description of “1″ RV Insert Trim“.
Do something quick or risk wall damage.
Replace Your RV Insert Trim in One Morning
All you need is a few hours to do this easy RV repair job. Begin by determining the width of your RV channel molding. The most common width is 1”. Get your calculator ready, then measure and add up the total length of all the RV insert trim you need to replace.
For the most cost-effective option, the RV Designer Collections offers a 100′ roll of heavy duty white RV insert trim. When you’re done with this job you’ll probably have leftover material, but at least you’ll be ready when the rest of your RV trim starts falling apart.
Get the correct vinyl trim size.

A few other widths and colors of the vinyl trim are available. For ease of use and longevity, purchase the Heavy Duty trim in the size and color of your choice.
Extract all cracked pieces.
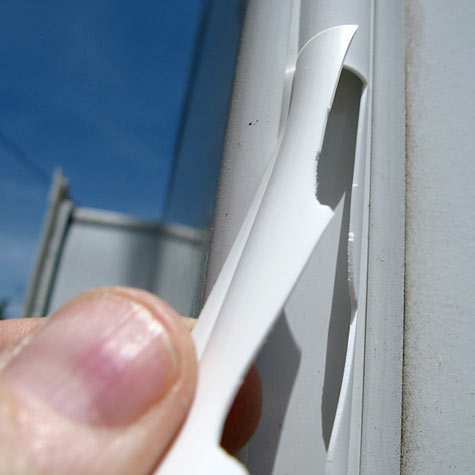
Next, strip out the old insert trim. Take it all out by lightly sliding your finger along the metal channel and pulling out the old vinyl. Use care not to cut yourself. Brush the channel with an old toothbrush to eliminate any pieces you might have missed.
Clean up dirty areas along the RV edge trim.

The trim ends will be secured by screws, so take those out too. Clean any caulk or sealant plugging up the ends of the channel molding. Use rubbing alcohol to remove any road debris, dirty lap sealant or caulk.
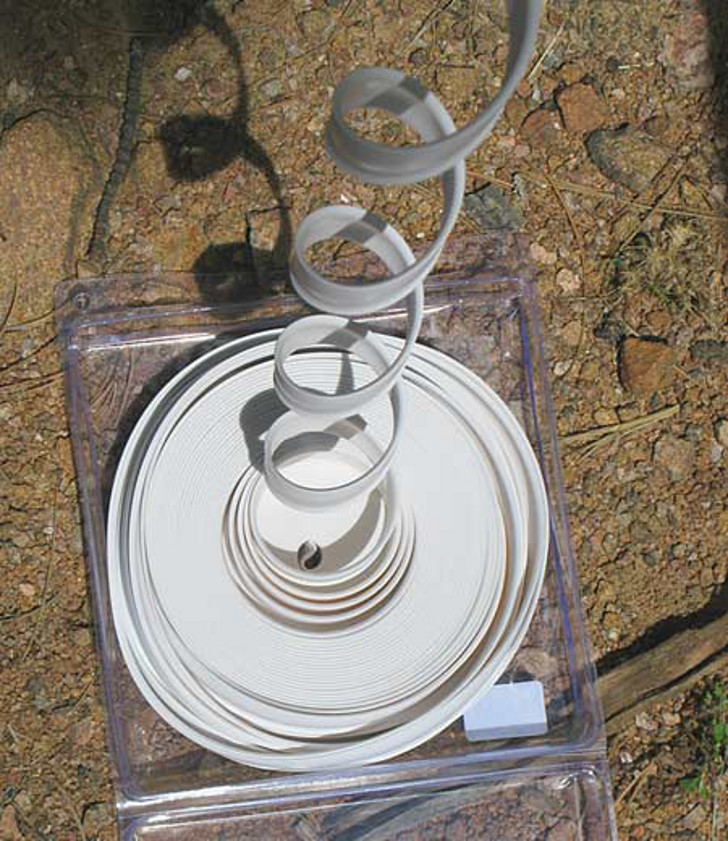
Set the roll of insert trim on the ground and grab the end, located in the center of the roll. Square off the end with a sharp pair of scissors or a utility knife. Slowly untwist a few feet, then go up on a ladder to start the job at the top of your rig.
Pull from the center of the roll.
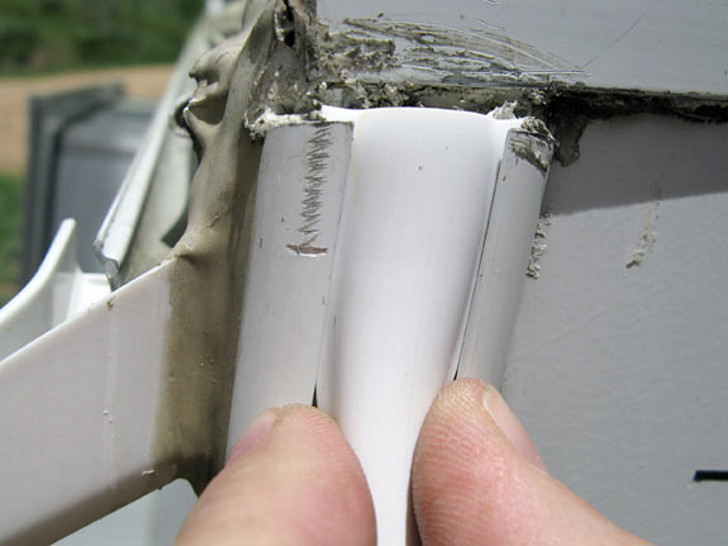
Gently pinch the trim between two fingers so the flanges fit into the channel molding grooves. Slide the RV edge trim in and down through the channel, squeezing it together as you go. Smooth out any bumps in the vinyl by gently pressing on it. Make sure it’s firmly seated into the channel.
Slide the RV edge trim into the channel.
When you reach the end of the molding, cut the loose ends off. Leave enough vinyl to secure the RV edge trim with a new screw. Screws should only be necessary at the very top of the trim, or where it connects under the wall panel. Just replace screws that you removed when you began the job.
Secure with replacement screws.

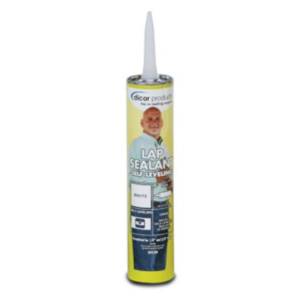
Use Dicor Lap Sealant to cover the top end of the exposed trim and create a waterproof seal around any exposed edges. Don’t forget to add sealant around screws where trim connects under the rig.
Seal with Dicor Lap Sealant.
Now that your RV insert trim looks great again, keep an eye on any that areas you didn’t change. Chances are good you’ll need to replace remaining trim at some point in the future, especially if you have weather like this!
Snow and ice do the most damage!