How To Install RV Rain Gutters
An RV roof can be protected by well-maintained caulking or sealant. Seals around slideouts and windows will keep water from penetrating into the RV. However, as rain runs off the roof and down the outside walls of the RV, it causes unsightly black streaks on your RV. Most RV manufacturers recognize this issue, and they install a small rain gutter at the top of each sidewall.
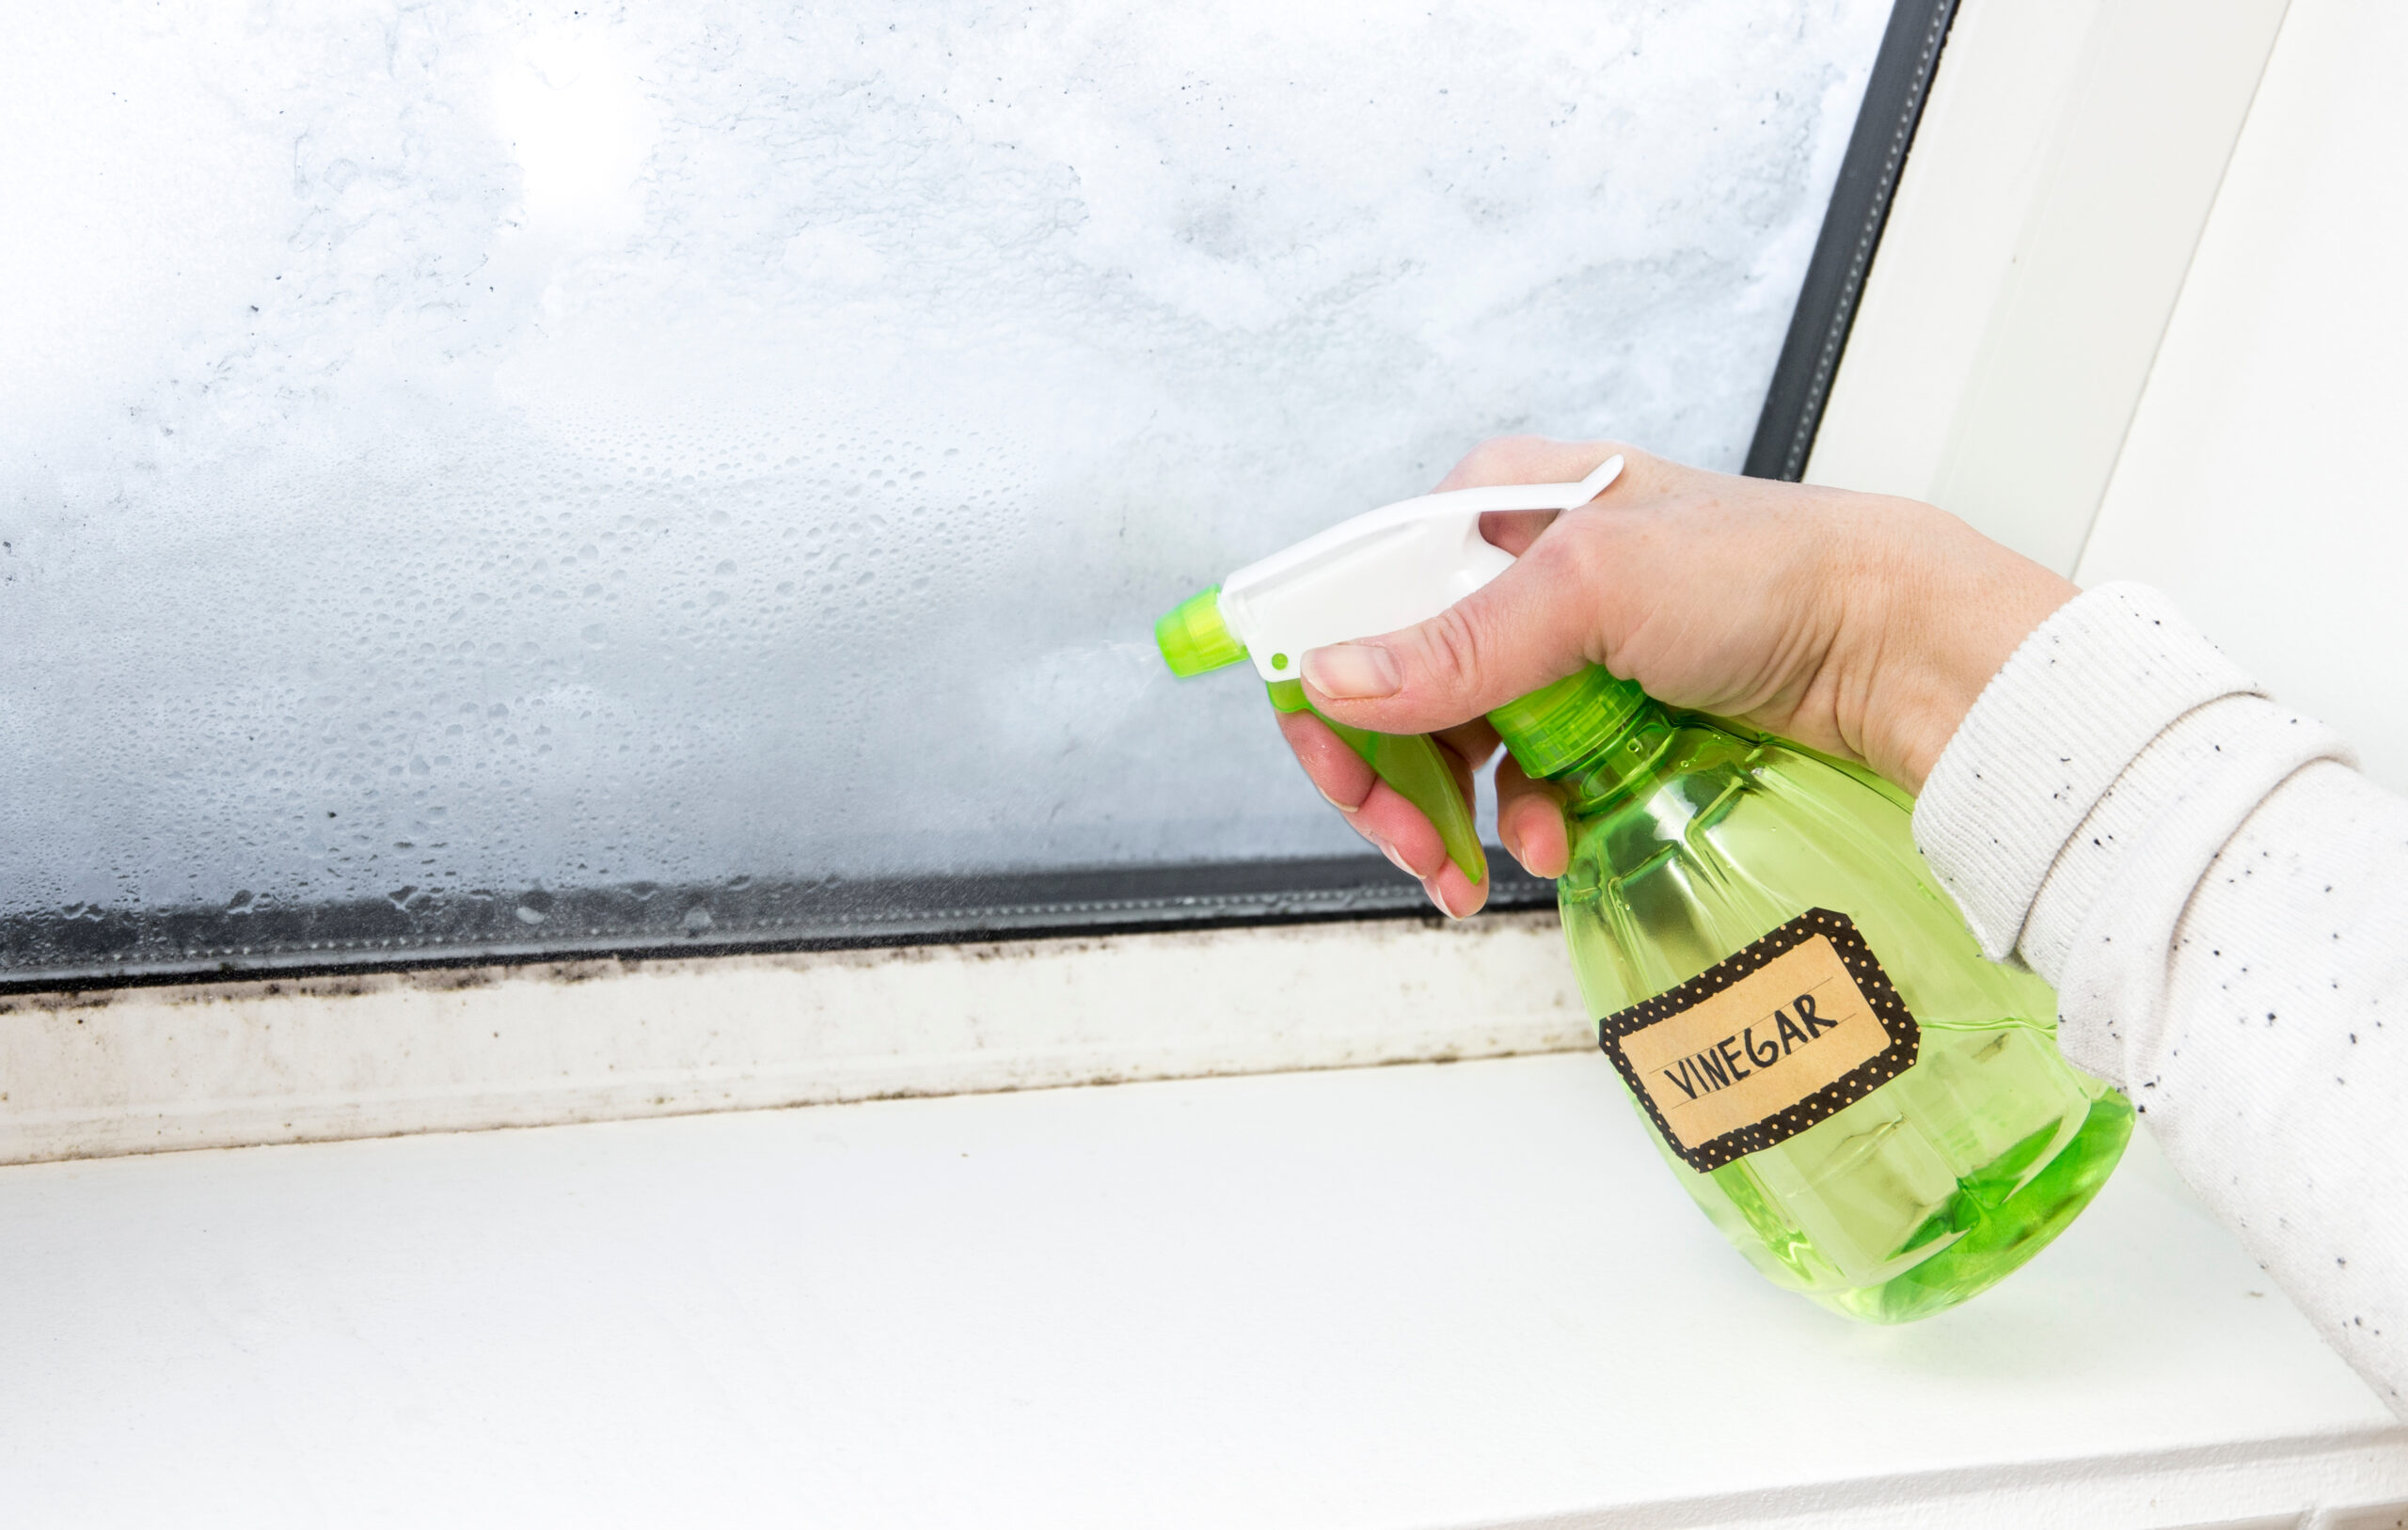
Windows are another place on the RV where rain can cause problems. It can be beyond tedious having to clean streaked RV windows whenever it rains.
Rain gutters over and around windows divert rain water away from the windows. But they don’t just help keep the rain off your RV window panes. RV rain gutters add another layer of protection that helps keep moisture out of the RV.
RV rain gutters are super easy for most RVers to install, but you will need to be comfortable with working on a ladder. Here’s a step-by-step guide to setting up RV rain gutters to protect your RV from rain.
Types of RV rain gutters
Rain gutters for RVs come in two types. The first type of rain gutter attaches to the top of the RV wall with butyl tape and stainless steel screws. The screws on this type of rain gutter are covered up using a strip of plastic that hides them. This plastic strip also helps protect the screws from the elements. This is the type of rain gutter that most later-model RVs have at the top of their walls, right along the roofline. Since your RV likely already has this type of rain gutter, we won’t be addressing their installation in this article.
The second type of RV rain gutter is a peel-and-stick rain gutter that is often applied above windows to divert rain away from them. Peel-and-stick rain gutters can also be used along the RV roofline if you don’t already have a rain gutter there.
These RV rain gutters are flexible and come with a peel-and-stick backing. This adhesive backing will only adhere to a squeaky-clean surface. The adhesive also works best when it’s heated by a little friction.
Setting up rain gutters on your RV
Here is what you’ll need to do to install rain gutters on your RV. In this article, we’ll give you the procedure for installing rain gutters over windows. If you want to install rain gutters along the top of your RV sidewalls, the same basic procedure will apply.
Gather the following tools:
- A step ladder: Be sure your ladder is tall enough that you can easily reach the areas you’ll be attaching the gutters.
- A tape measure
- Rubbing alcohol
- A rag
- Adhesive-backed RV rain gutter
- Anvil-type pruning shears to cut the rain gutter to size
- RV gutter spouts to divert water away from the RV
For those installing rain gutters along the roofline of the RV sidewall: If your RV roof will support your weight, you’ll be able to apply adhesive rain gutters from a secure and stable position on the roof rather than using a step ladder.
How to set up RV rain gutters
- Wash and dry your RV. You’ll need to clean any excess dirt and debris off your RV before you start installing RV rain gutters. Before you do anything else, wash and dry your RV. Don’t apply wax or polish around the areas where you’ll be applying the rain gutters.
- Gently warm the rain gutter so it will become malleable and easy to work with. The rain gutter will come in a stiff coil that can be difficult to work with. Allow it to rest in a warm sunny spot or heat it with a hair dryer to do this.
- Measure and cut the rain gutter using Anvil-type shears. You’ll want to include the length of the top of the window plus the height of one side. This measurement will allow the rain gutter to catch the rain falling into the rain gutter and then carry it halfway down each side of the window.
- Clean a 1-2 inch area around the top and sides of the window using a cloth or paper towel soaked in rubbing alcohol.
- Thoroughly dry the area using a microfiber cloth or paper towel.
- Start applying the strip of rain gutter on the wall. Begin halfway down the left side of the RV window. Avoid laying it on top of caulking. It’s best to peel off the protective strip on the adhesive and press it on as you go.
- Continue applying the rain gutter until it goes over the top of the window and halfway down the opposite side.
- Vigorously rub the part of the rain gutter that adheres to the RV wall with the end of a toothbrush handle (or something similar).
- *Optional: Install gutter spouts to divert rain water away from the RV. These go in easily by snapping into place.
Get tips from other RVers
Forums such as iRV2.com and blog sites like RV LIFE, Do It Yourself RV, and Camper Report provide all the information you need to enjoy your RV. You’ll also find brand-specific information on additional forums like Air Forums, Forest River Forums, and Jayco Owners Forum.
Related articles: