
How To Perform RV Roof Leak Repair
A leaky roof is never a good sign and can lead to severe water damage if it’s left untreated. Luckily, there are a few ways to perform RV roof leak repair. Some are easier than others, but it will all depend on the severity of the leak and the construction materials of your RV.
The best thing you can do to address leaks is identify them early. Don’t ignore any damp spots or pooling moisture in your RV. Even if the leak isn’t immediately visible, it can start causing major damage. In most cases, you’ll need to identify the source of the leak and apply a temporary fix before you can bring in the big guns. A band-aid solution is fine, as long as you follow it up with something a little stronger.
Below is a guide that will tell you all your need to know about RV roof leak repair. It’s a problem that needs to be fixed as soon as possible, but it’s not actually very difficult to do. So, let’s get started and save your RV from leaks, puddles, and other water trouble.
Identify the leak
Before you can do anything, you first need to identify where the leak is and how bad it is. Sometimes, leaks can come from the plumbing system instead of the exterior, so you need to make sure you’re dealing with the real root of the issue.
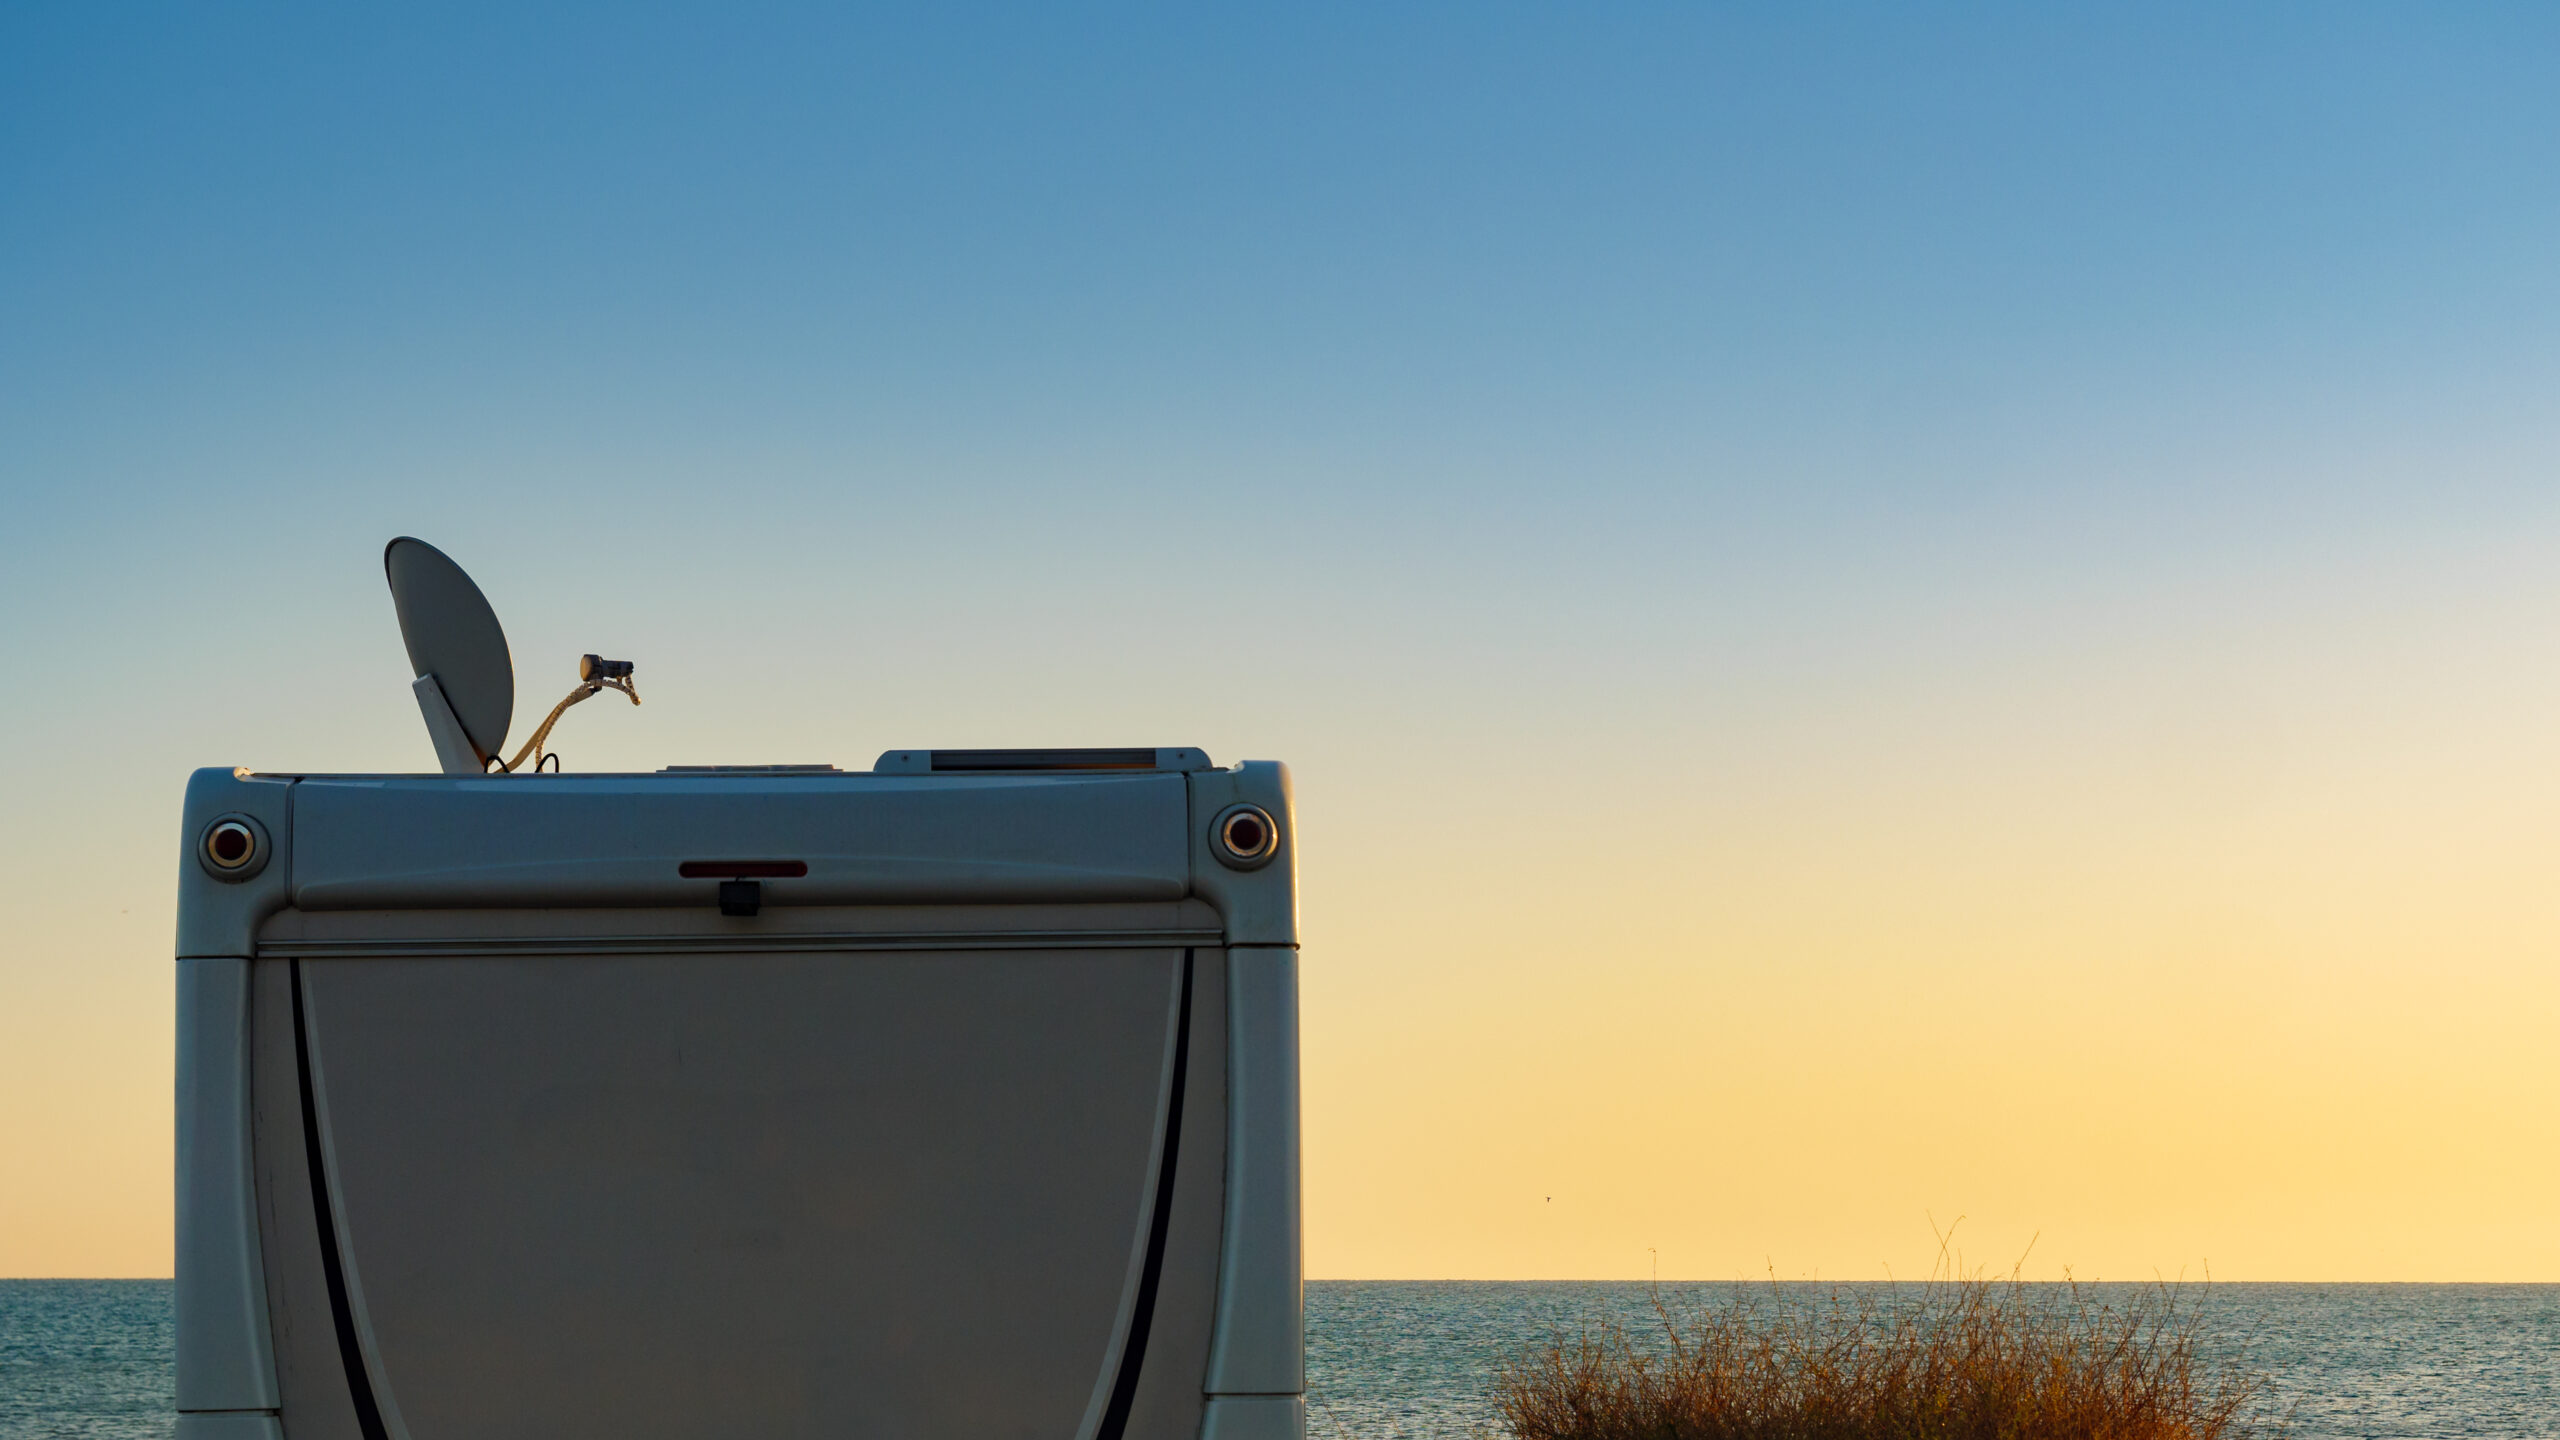
To begin, perform a thorough inspection of your RV, inside and outside. Look for soft spots in the walls, ceiling, and floor, and see if you can spot where the drips are coming through. Next, get a ladder and look at the roof. Many RV roofs are not safe to walk on, especially if they have been weakened by water damage.
With your hands and eyes, examine the surface of the roof. Pay special attention to the seams around your vents, skylights, and any other openings. When these seams crack and dry out, they can let water inside.
If you can’t find the source but are still experiencing leaks, you can call in a specialist to perform a more thorough inspection. Once you’re confident you’ve located the root of the problem, you can move on to the next step.
Apply a temporary fix
Before you can dive into heavy-duty RV roof leak repair, you’ll probably want to apply a temporary solution while you get ready for the real thing. You need to make sure your RV is protected from further water exposure and make sure that it has time to dry out. If you skip straight to the permanent solution, you may just waste time and money because the RV isn’t ready for this level of repair.
The simplest way to prevent further water damage is to cover the RV with a weather-proof tarp. This will protect it from the elements, but it may trap some moisture inside (depending on the type you use). Try to find something that is breathable but waterproof. A tarp like this one from Leader Accessories could be a good option.
You can also apply a roof patch to the problematic area if you’d like an extra level of protection. Rubber patches will work for almost any type of RV roof. These are pretty cheap and effective, so it’s a good idea to have a few on-hand every time you travel in your RV. The Cofair UBE88 Quick Roof Extreme Patch Kit is a good option if you need something that’s easy to apply.
A temporary patch is certainly better than nothing, and it can keep the problem from getting worse for a while.
Thoroughly dry the RV
Next, you need to dry out the RV. If you live in a sunny and dry climate, you can open up the doors and windows of your RV and expose it to sunlight. Using a dehumidifier and heaters can also help speed up the process.
Wipe down damp surfaces with clean towels. You can also empty out the water holding tanks just to remove any remaining moisture in the vehicle. Some RV roof leak repair solutions just don’t work if the surrounding material is wet, so you need to prepare the surface as well as you can.
Apply a roof-appropriate sealant
There are many different types of RV roofs, so there are many products available for RV roof leak repair.
Some leak sealant products can be used for multiple materials, but generally, there will be different rules for each one. Some of the most common roof materials are listed below as well as some appropriate leak sealant techniques. A good overall product is RV Roof Magic, but there are also material-specific ones you can use.
Aluminum
Lots of RVs have aluminum roofs. The material itself is pretty sturdy, so if leaks develop, it’s usually around the seams of vents and skylights. It’s also possible that a hole can be punctured in the metal itself. In most cases, you can just apply a sealant or caulk around the source of the problem. More extreme cases may call for a total panel or roof replacement.
Fiberglass
Fiberglass is also extremely common. A solid fiberglass roof is unlikely to leak, but its integrity can be compromised if cuts and installations are made. You can repair minor leaks around the seams by applying caulk and sealant. If the fiberglass itself is damaged, you will need to take it in for repairs or use a fiberglass repair kit to patch these holes.
Rubber
Rubber roofs are nice because they are hardy and flexible. Unfortunately, they’re also prone to rips and tears. You can fix most of these issues by applying a new layer of liquid rubber coating to the tears and weaknesses. Just make sure it dries and cures properly!
Vinyl
The best way to deal with damaged vinyl is just to remove the whole roof or damaged panel and replace it with a new one. Just be sure to caulk up the seams when you’re done.
Wood
Not many RVs use wooden roofs these days, but it does happen. Wood is quite tricky to deal with when it comes to water damage. If water has already gotten through and started to cause rot or warping, it’s almost impossible to fix. The best you can do is catch it early and apply waterproof coatings.
Canvas
This mainly applies to pop-out campers that have large canvas sections. If these start to leak, you can use the same patching kits you might use on a standard tent. If the damage is widespread, you can also buy and install a replacement canvas.
How to prevent leaks
Every RV owner should have some basic RV roof leak repair knowledge, but it’s best if you never need to use this. Prevention is the best strategy because water damage can be difficult (and sometimes impossible) to fix.
There are a few things you can do that will help you identify leaks before they become a problem.
- Perform regular inspections: Try to check the inside and outside of your RV for leaks before and after every long trip you take. At least do it before putting the RV into storage because water that sits for a long time can cause rot.
- Check caulking and sealant: The main problem areas are around your windows, doors, vents, skylights, etc. Make sure the caulk around the seams is strong and uncracked. Don’t be afraid to apply a little extra if it seems like it’s getting a little old/weak.
- Cover the RV with a weather-proof tarp: One of the best ways to prevent leaks is to keep your RV covered whenever it’s not in use. This can prevent all sorts of problems like UV damage, black streaks, and roof leaks!
- Keep it as dry as possible: Don’t park your RV in a place where it will be exposed to frequent water. Try to use a carport or gargage if possible; at least try to stay away from overhangs or trees that could frequently drip onto the roof.
Make sure you keep track of all your RV maintenance and repairs with an online tool such as RV LIFE Maintenance from RV LIFE. Not only can you keep all of your documents in one place, but you’ll also receive timely reminders when maintenance is due to help you avoid costly repairs and potentially serious accidents.
Related articles:


