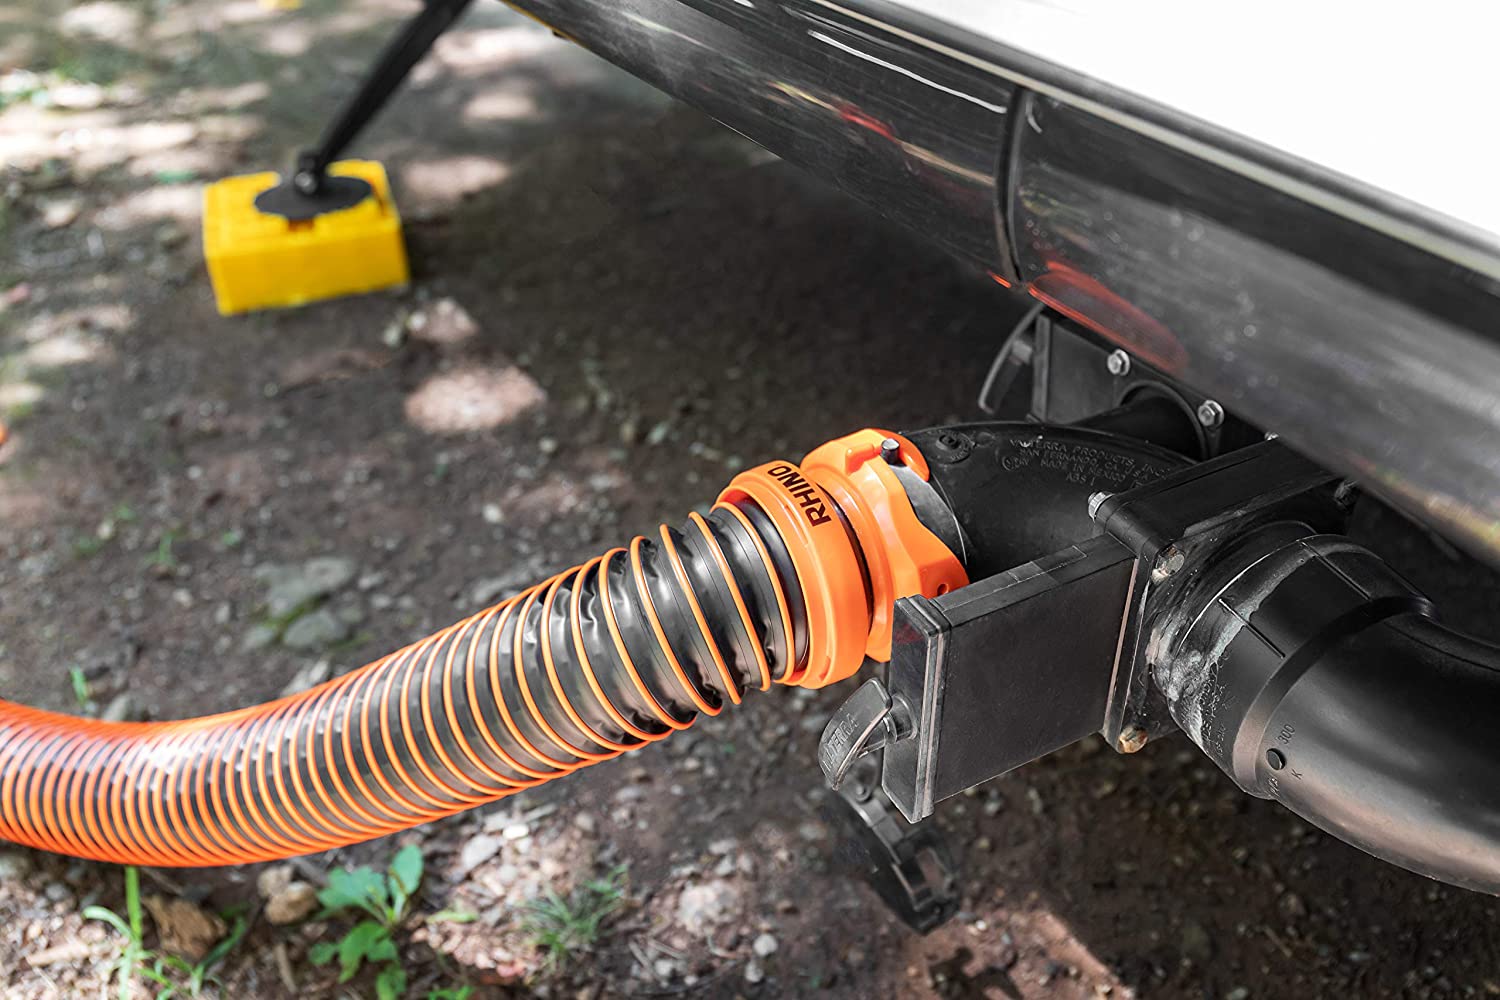
The old stinky slinky is the decidedly unglamorous side side of RVing, but it’s something that every one of us must learn to deal with if we want to stay on the road.
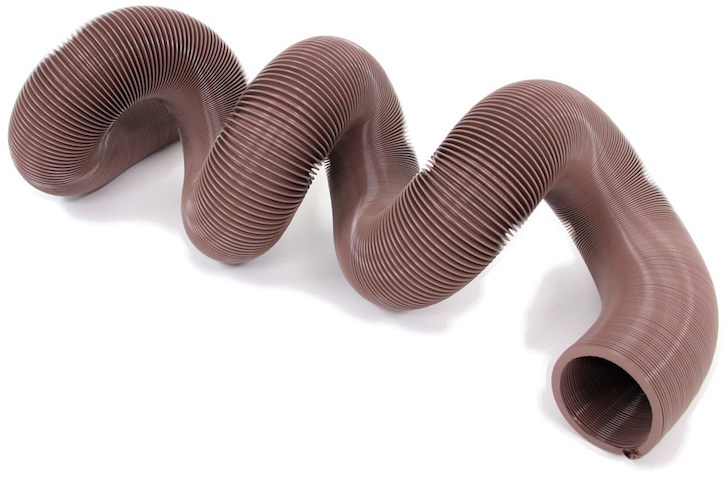
Unfortunately, RV sewer hoses don’t last forever. Oftentimes the hose will leak at either end and you’ll need to decide if yours is worth saving or tossing. Since I’m a frugal RVer, I convinced my RVing co-pilot that we could salvage our hose when one end sprung a leak. Here’s how he did it.
Quick RV Sewer Hose End Repair Tips
Tools you’ll need:
- Disposable gloves
- Box cutter
- Wire cutters
- Screw driver
- Pliers
- Patience
Step 1: Cut the hose end.
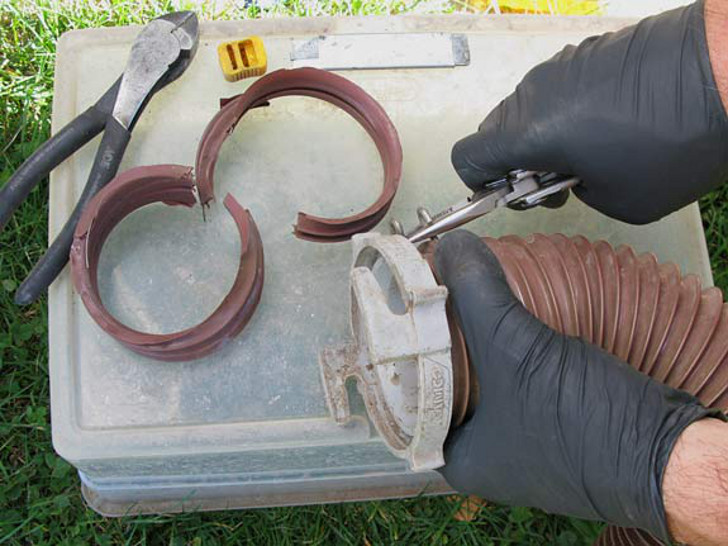
First, rinse the hose out (ours doesn’t look rinsed but it really was!). Next, use your box cutter to slice off the damaged end. Take your wire cutters and clip the interior slinky coil that’s sticking out of the newly cut end.
Then take your screwdriver and unscrew the retainer clip to remove the bayonet fitting from the hose end you cut off. Note: your RV sewer hose may be different than our basic Camco model and require other tools.
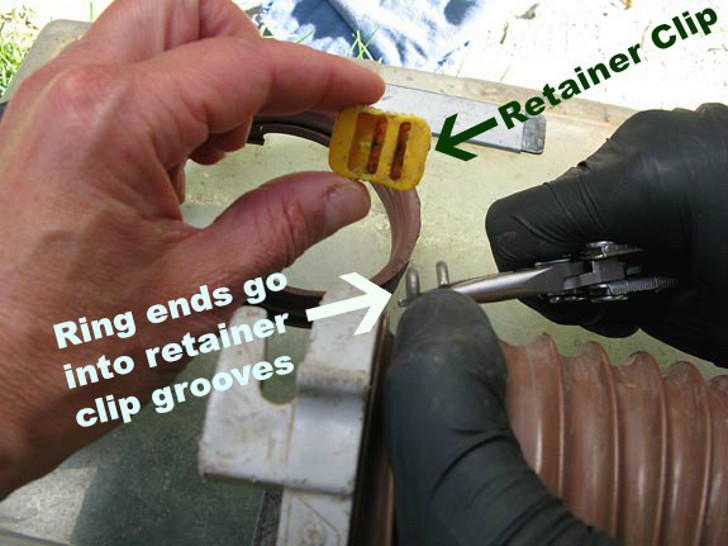
Step 2: Re-install the retainer ring.
Now, you’re going to re-insert the bayonet fitting back into the newly cut hose end and attach the retainer ring. Ideally it will work like this, but it may not:
Although we had the same Camco RV sewer hose as show in this video, our retainer ring was difficult to put back onto the hose fitting.
Strong hands are required to replace the retainer clip.
We had to shimmy our retainer clip over and around the hose and bayonet fitting. Whatever method works for you, be sure to work the retainer ring down by at least two or three coiled rungs. This ensures the bayonet stays in place.
Step 3: Secure the retainer ring.
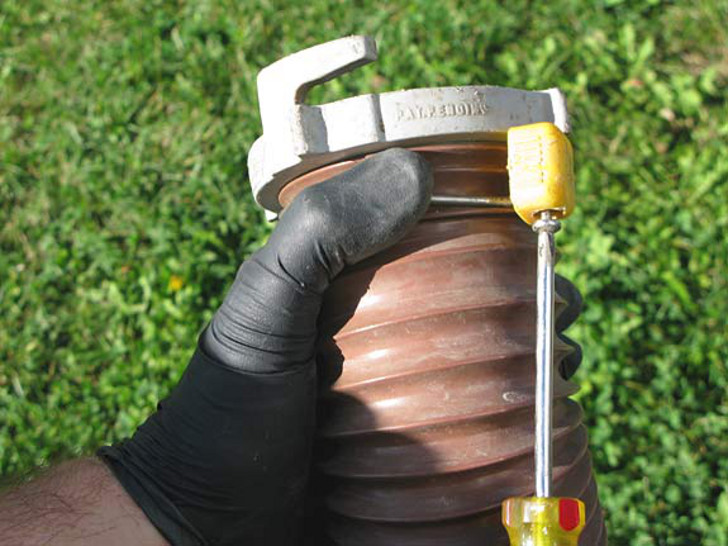
Once ring ends are firmly seated within the retainer clip grooves, hold your hose in place and use a screwdriver to secure the retainer ring.
Although hoses don’t last forever, this RV sewer hose end repair is one thing you can do to help yours last just a little bit longer.