According to the National Serro Scotty Organization, Serro Scotty campers were built from 1957 until early 1997.
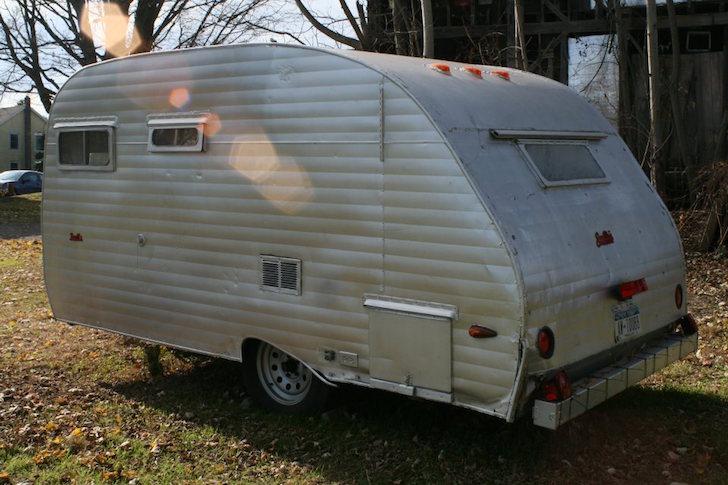
One couple found a very cute, very old Serro Scotty Sportsman camper, and decided to rebuild it from the ground up.
They bought the camper for $650 fully painted (it wasn’t bare aluminum) and with new tires and repacked bearings, it appeared serviceable.
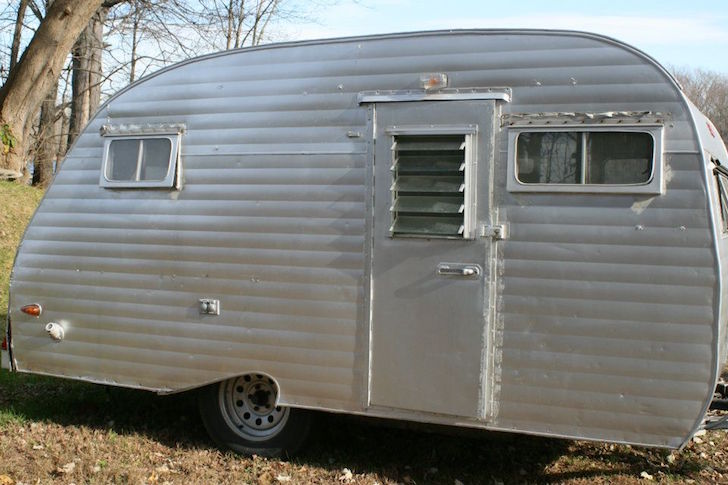
A few dings here and there…
But the inside…OMG!
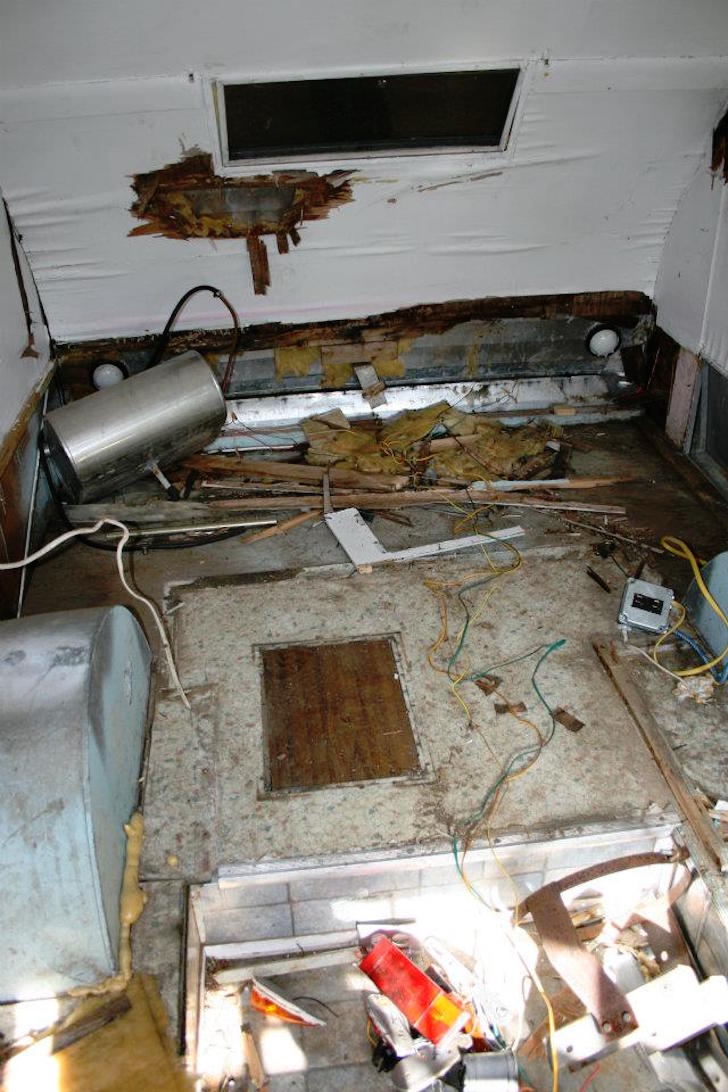
All cabinets and interior walls were gone.
The previous owner had planned on fixing it up himself, so he had just gotten new wheels, tires, and bearings, which would have cost around $300.
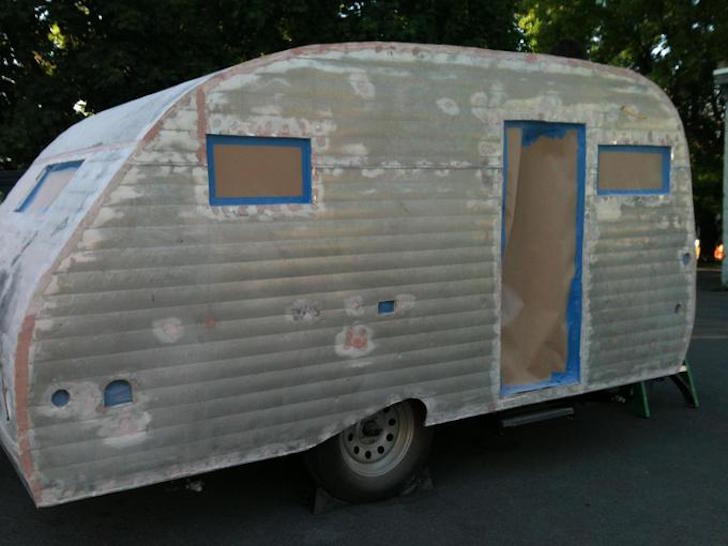
The couple rented a garage, and after moving the trailer there started the renovation. First step: take off the doors and windows.
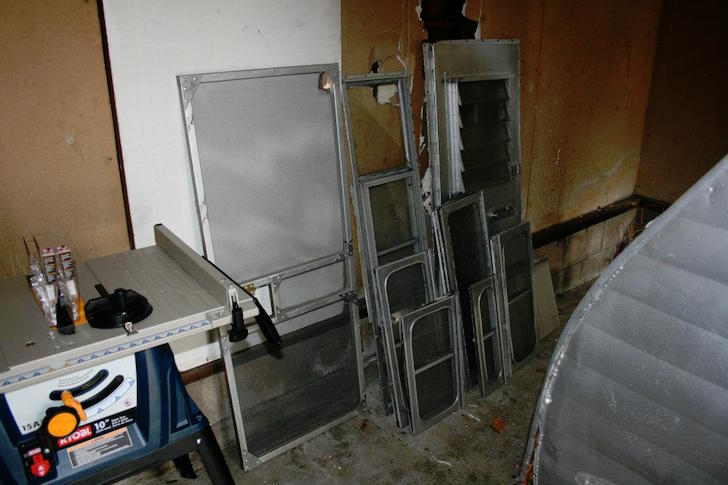
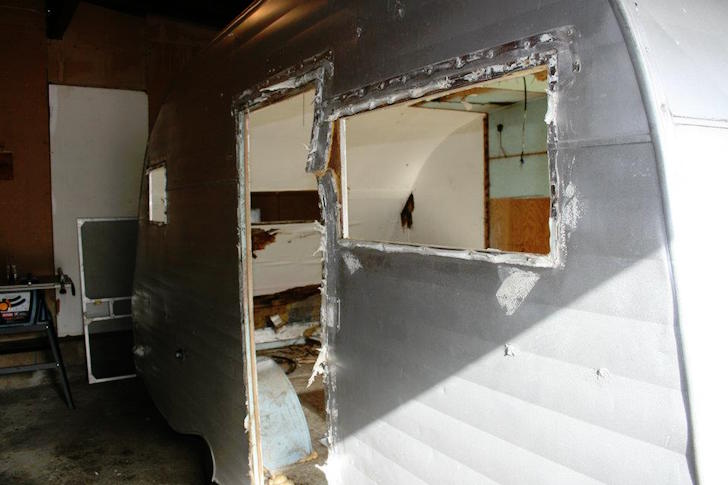
Then off came the aluminum siding.
Because the siding had been painted, removing the thick coating took some effort.
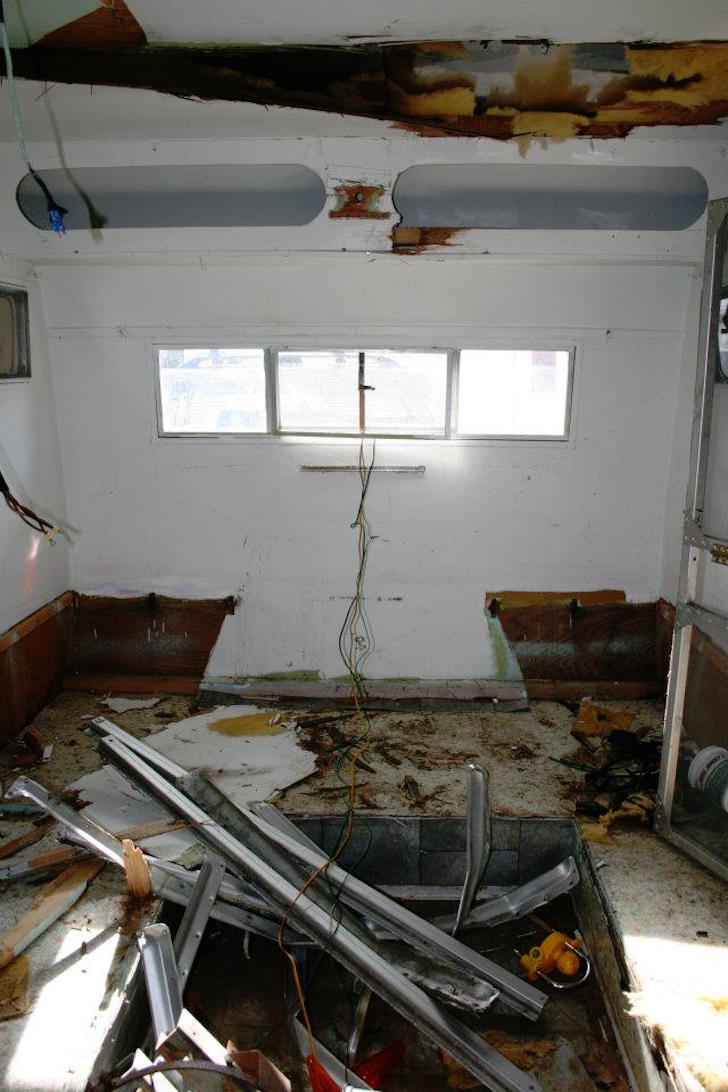
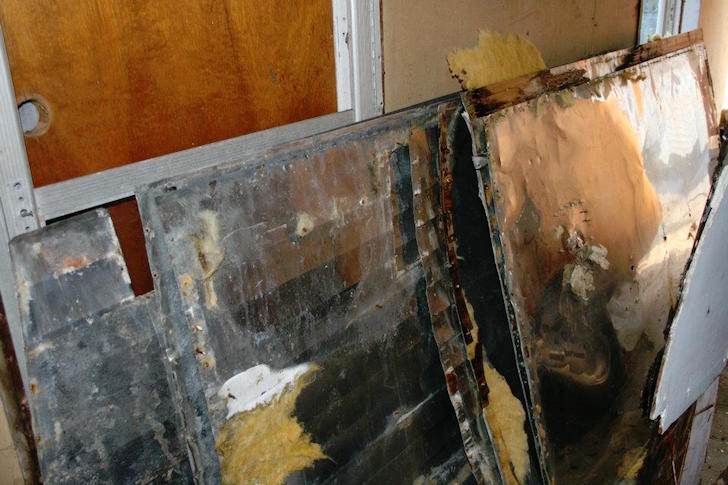
Down to the rotted wood!
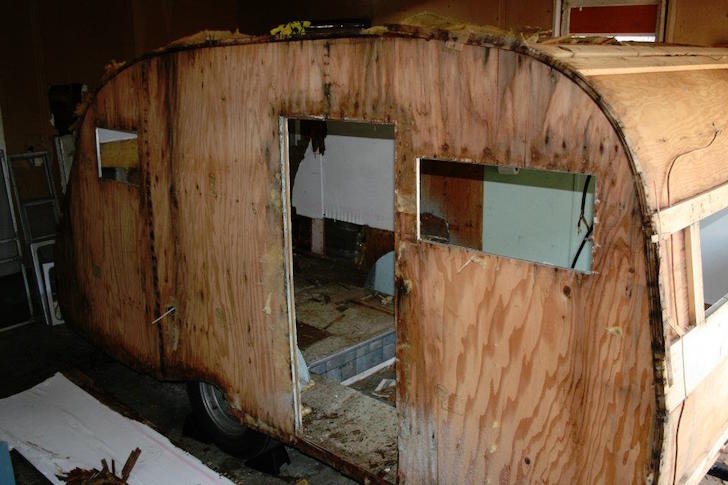
Instead of working with this faulty skeleton, they opted to knock it all down. Better to start fresh, right?
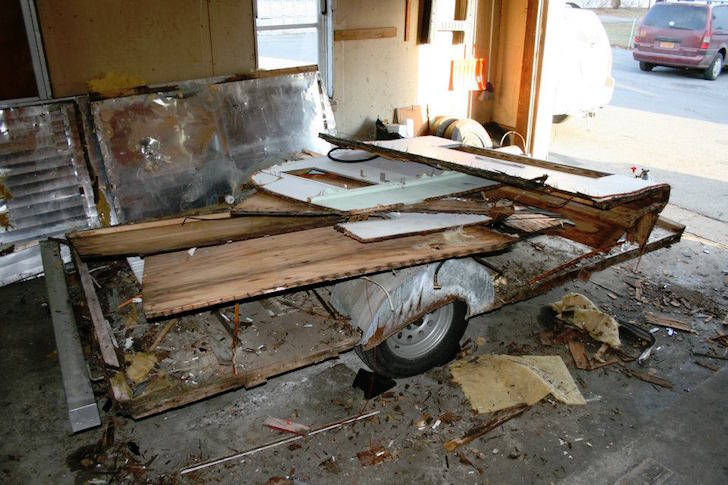
With the floor finally off…

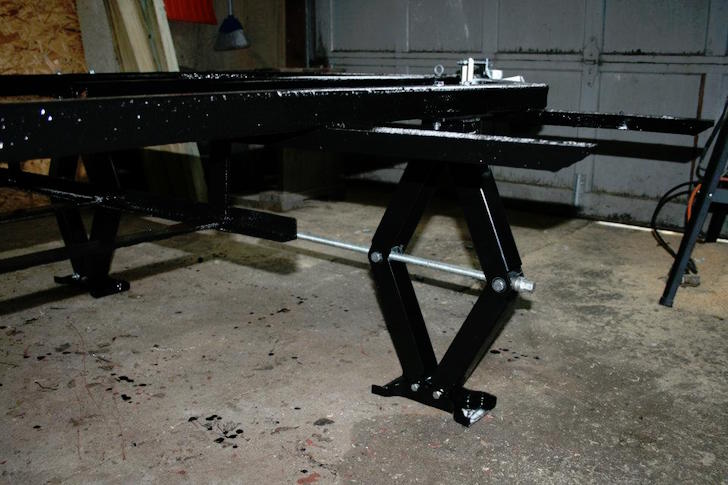
With the camper structure gone, now they could start to work on the metal trailer frame, making minor repairs and then repriming the bare surface.
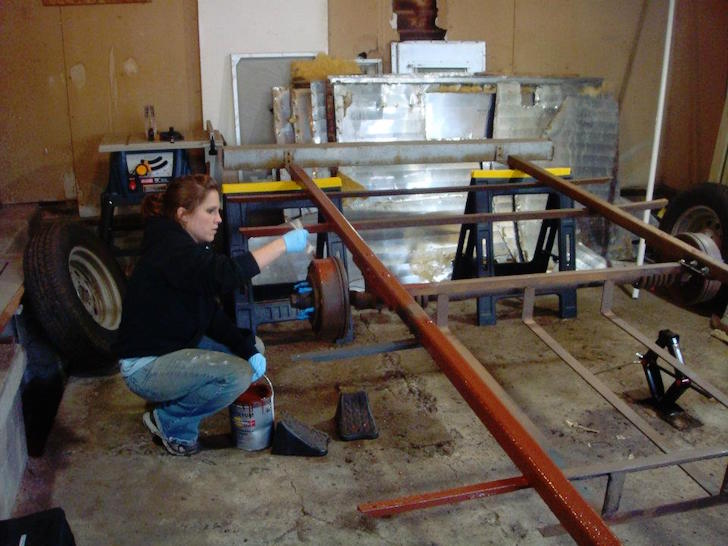
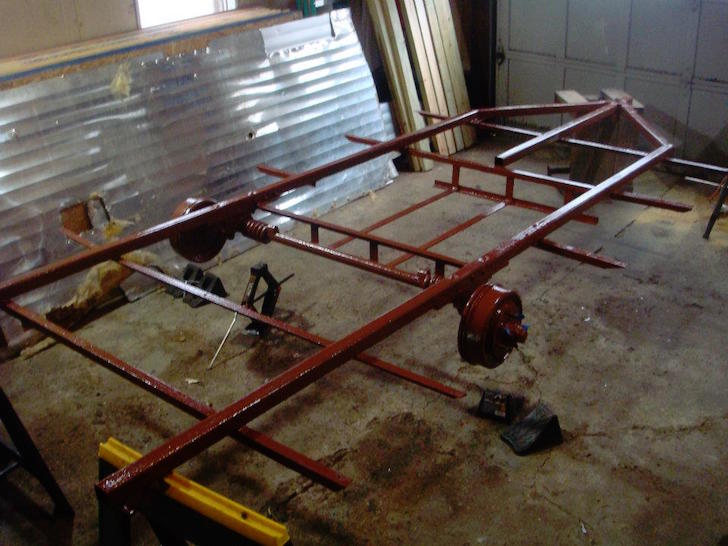
Rust-proofed and ready for the rebuild (with new hardware added as well).
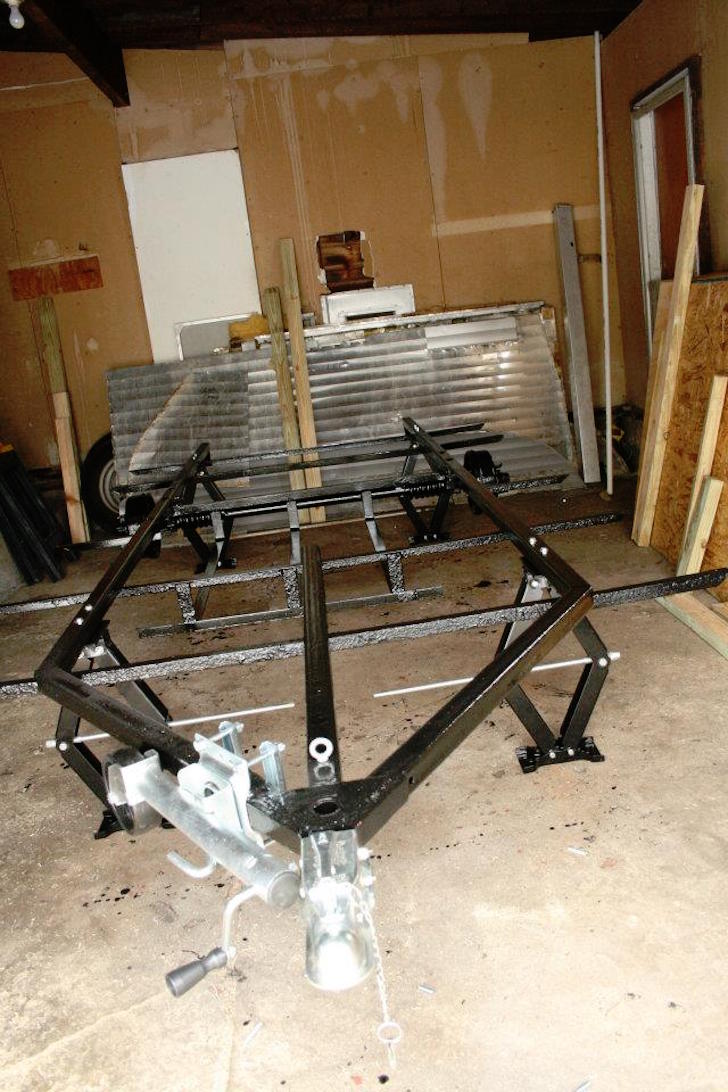
The permanently-mounted leveling jacks will help with set-up, a nice modern-day upgrade.
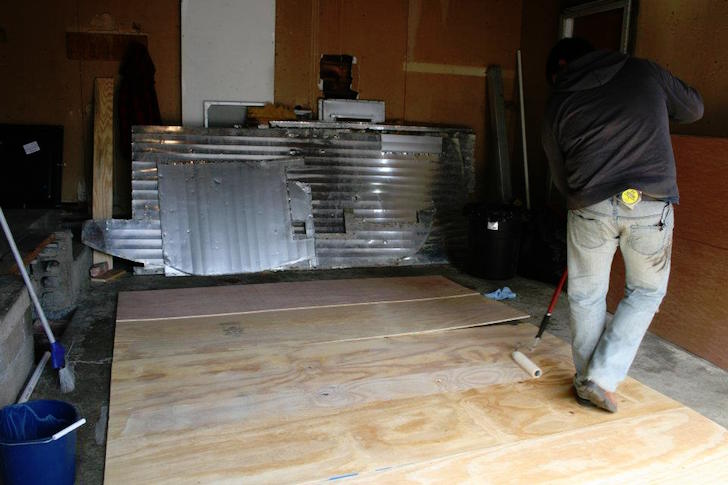
New plywood for the floor.

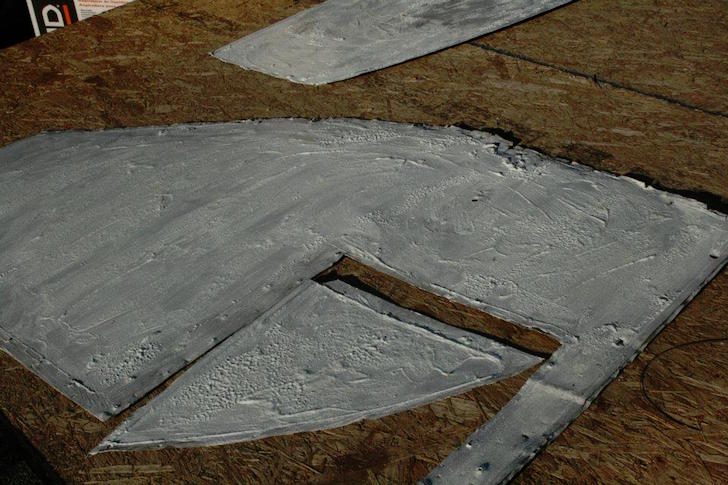
For the walls, they opted to laminate 1/4″ lauan and 3/8″ plywood.
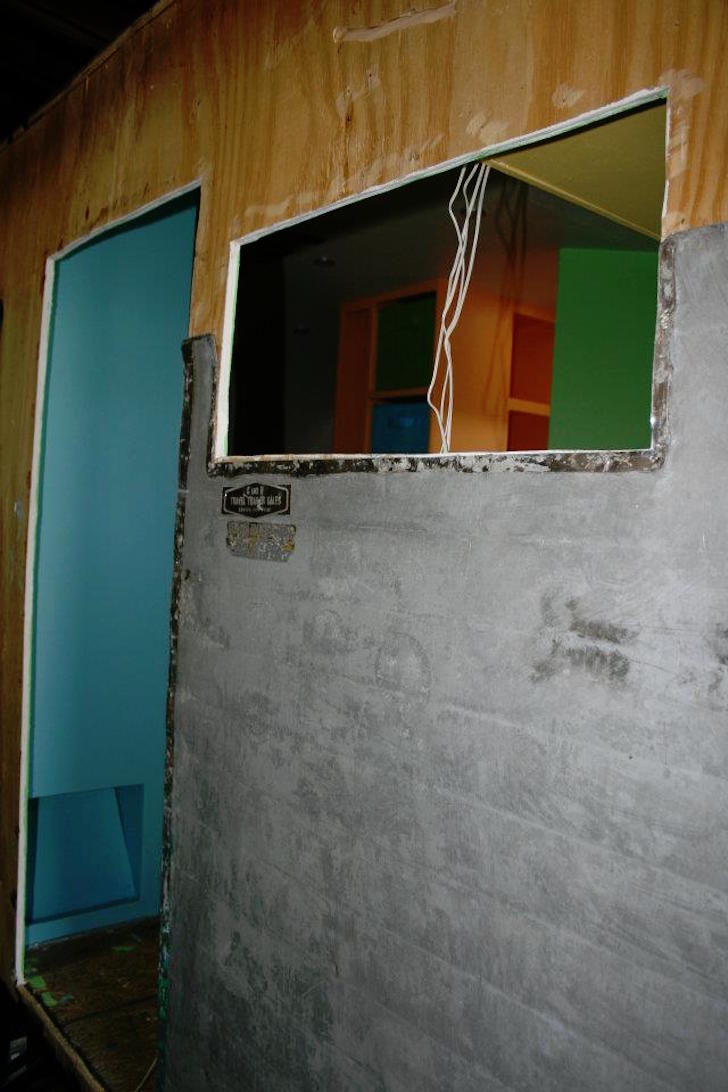
Using the old aluminum walls as a template, the two created new interior panels.
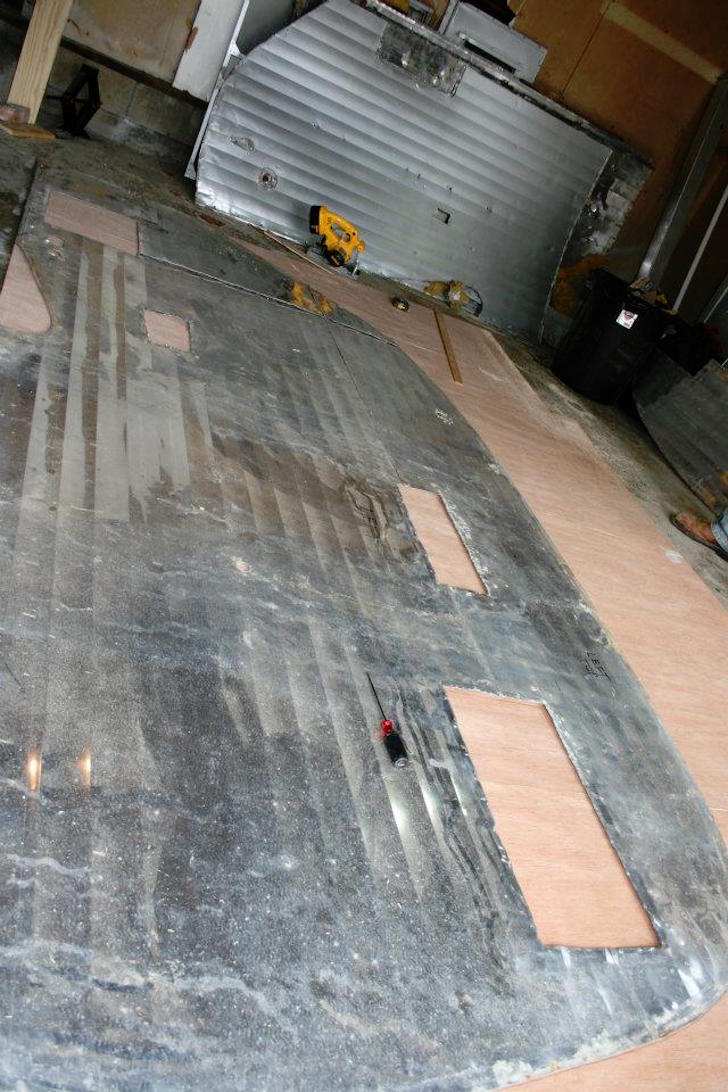
Perfect match!
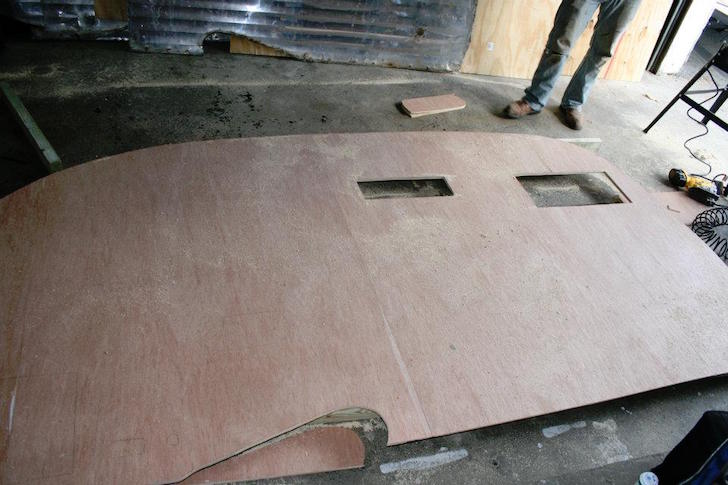
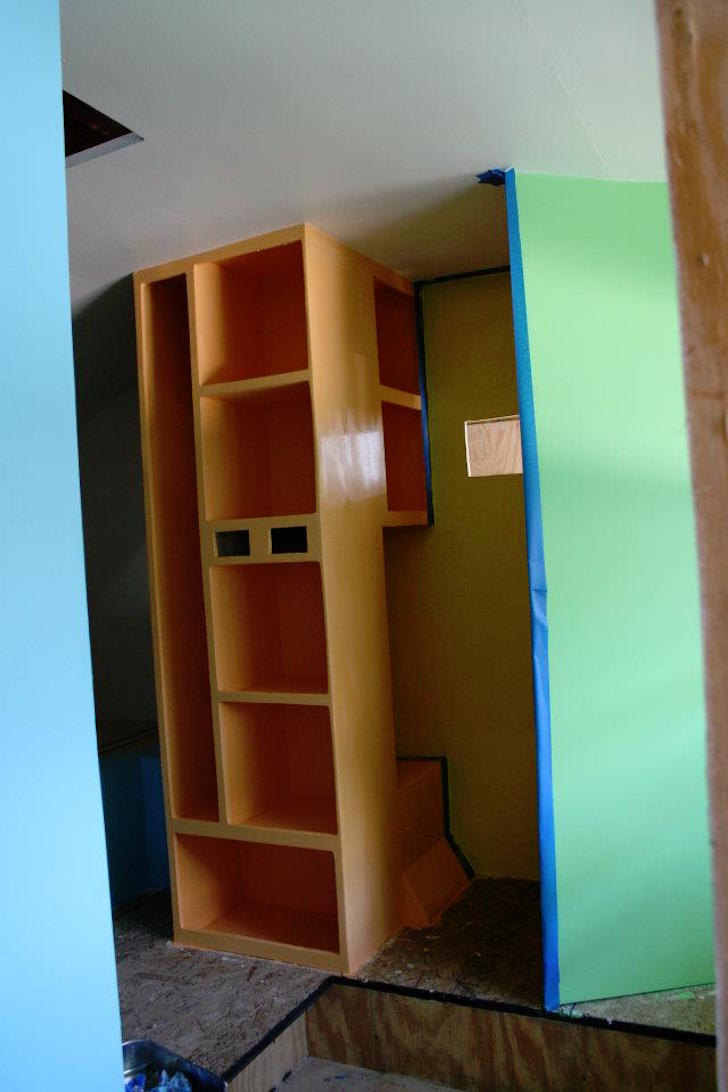
This cabinet front took some time to cut out.
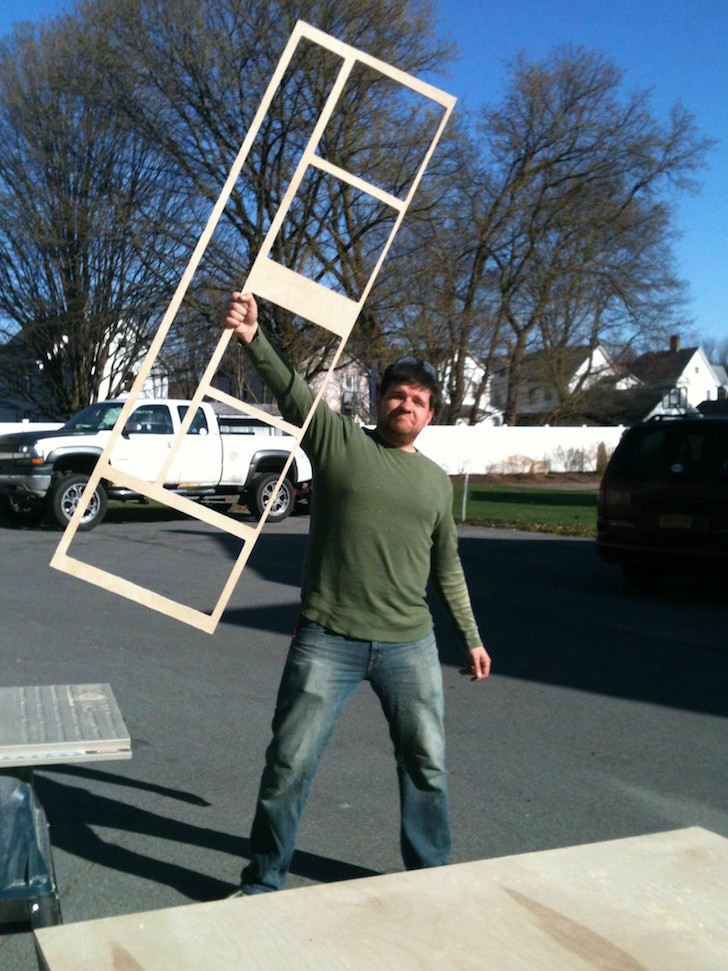
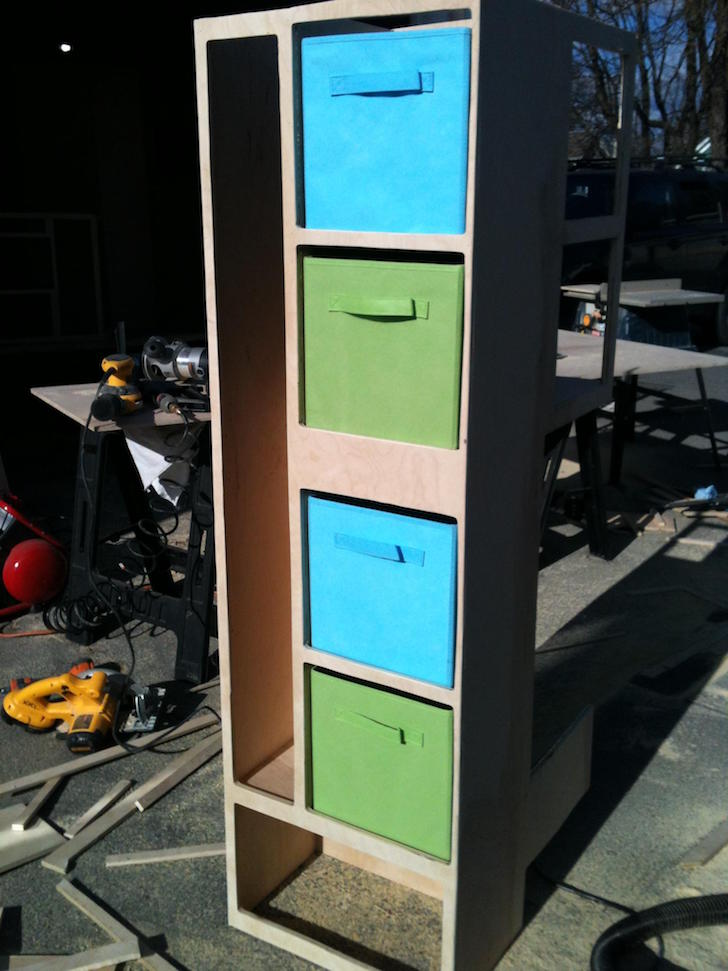
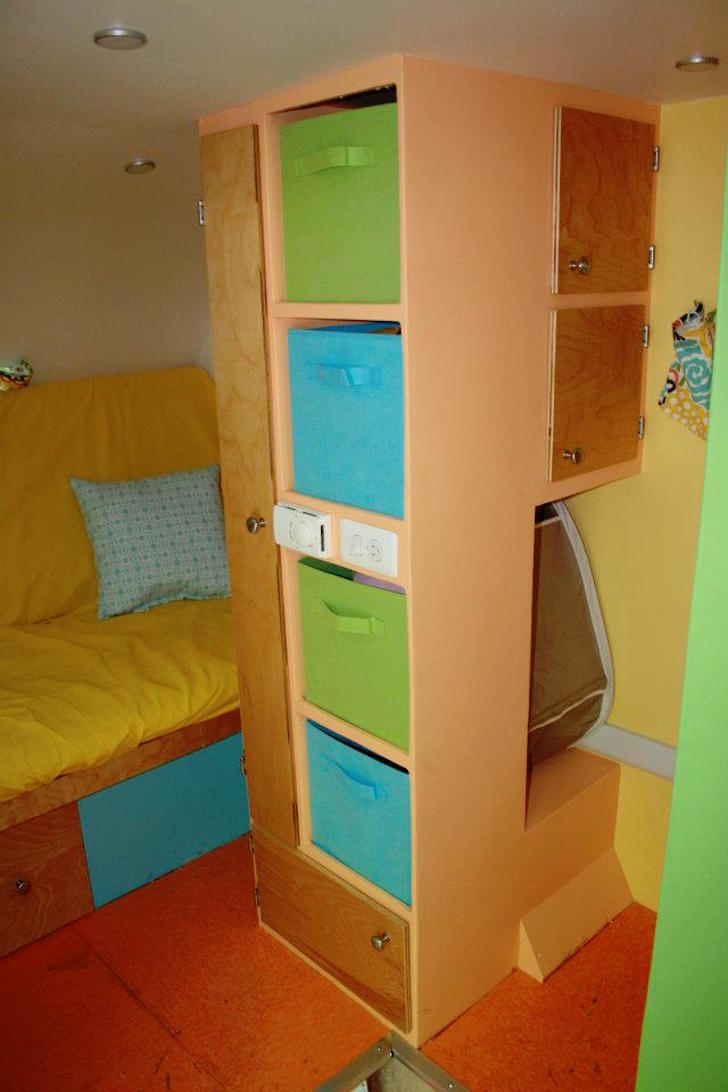
And would form the front of some cubbies to hold removable storage bins.
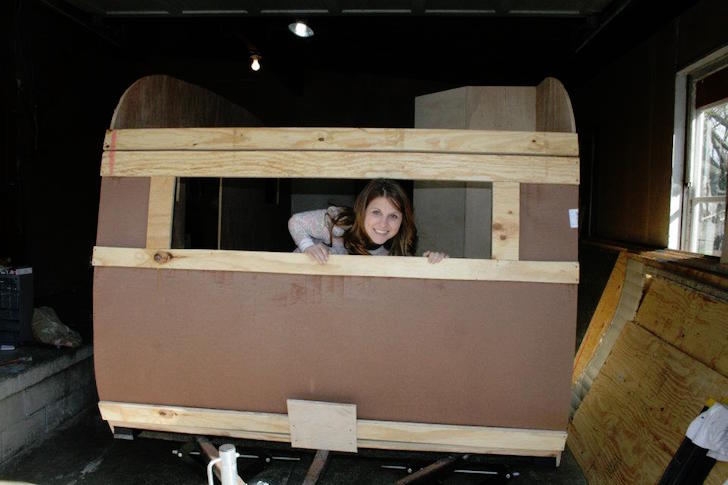
Posing for a picture after the front wall went up.
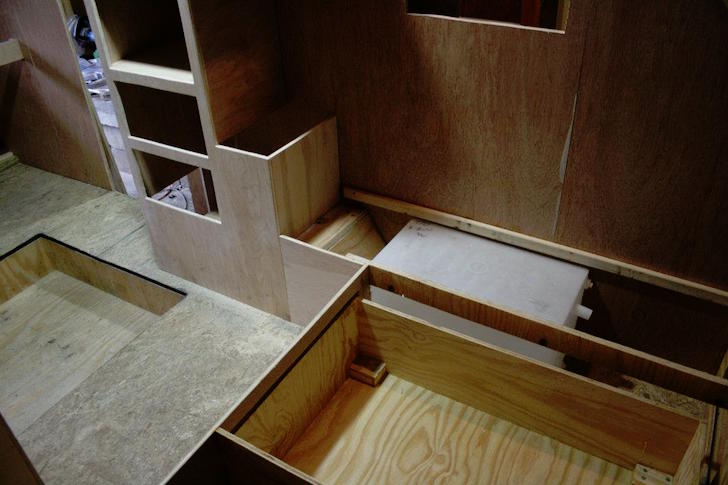
These cutouts would hold the water tank and provide additional storage.
Time to paint the interior!
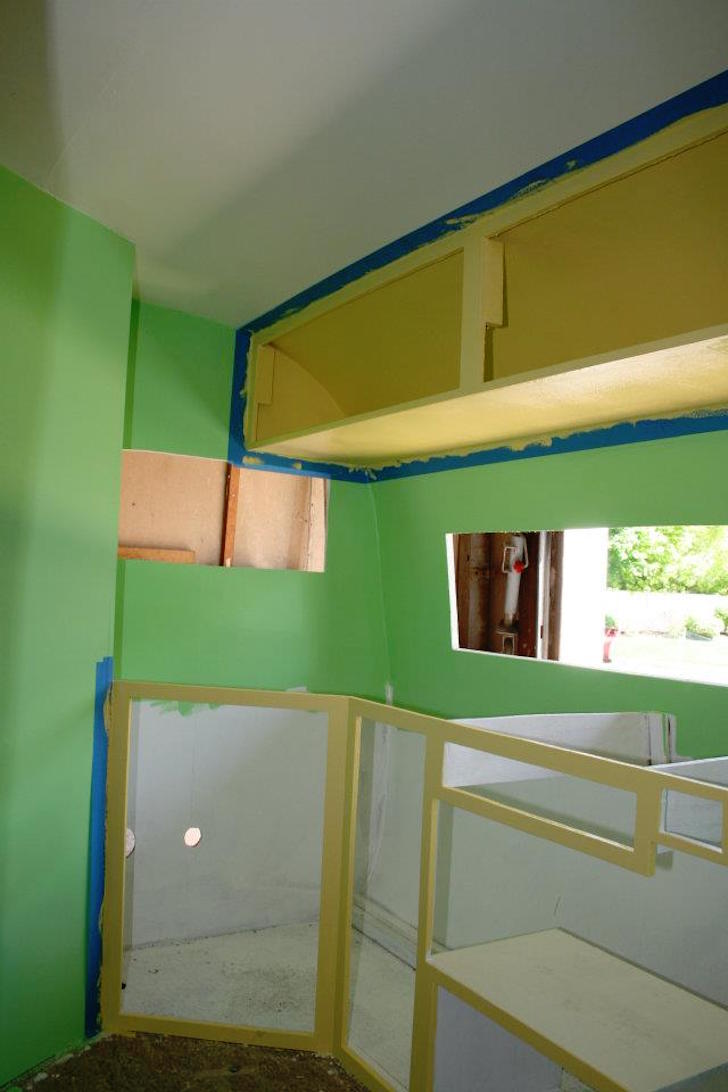
Adding on the aluminum skin to the interior walls.
Masking tape and cardboard applied around the windows, and ready for paint (after a lot of Bondo putty and sanding of course…).
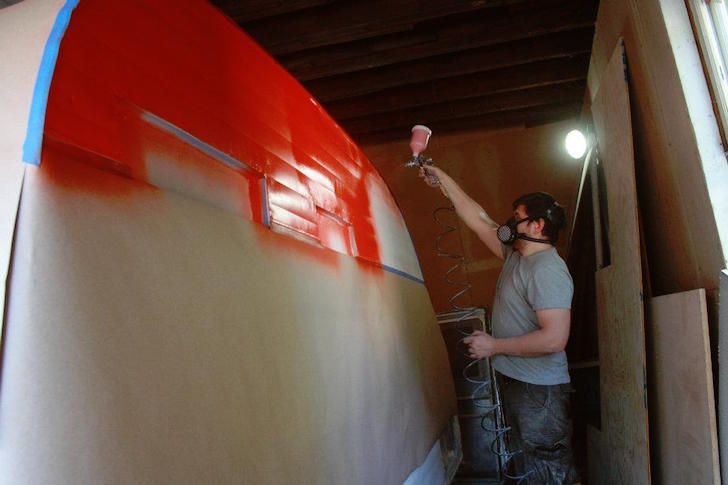
Don’t forget the logo!
![]()
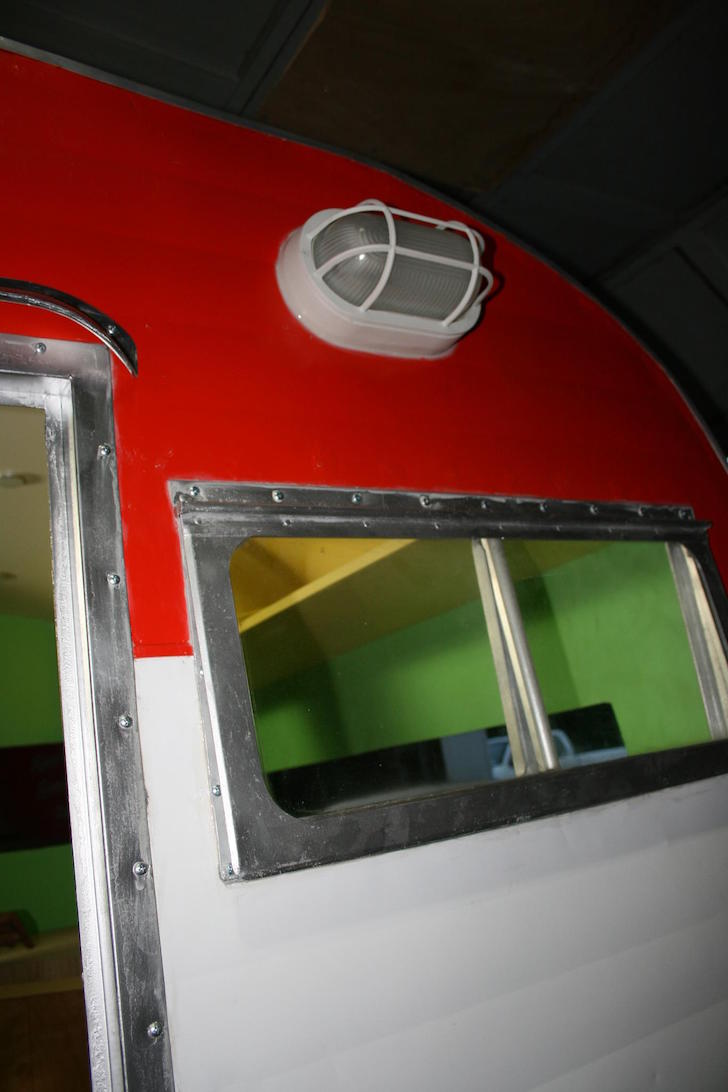
Close-up of the external seams and porch light.
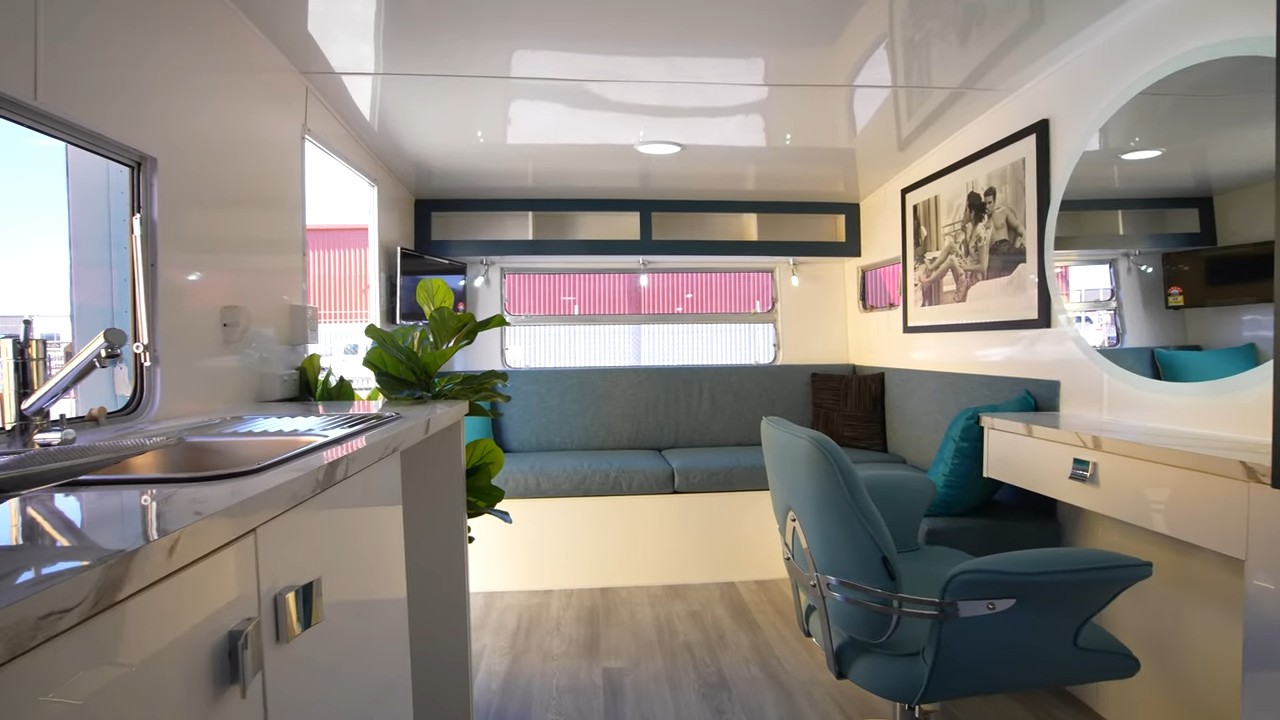
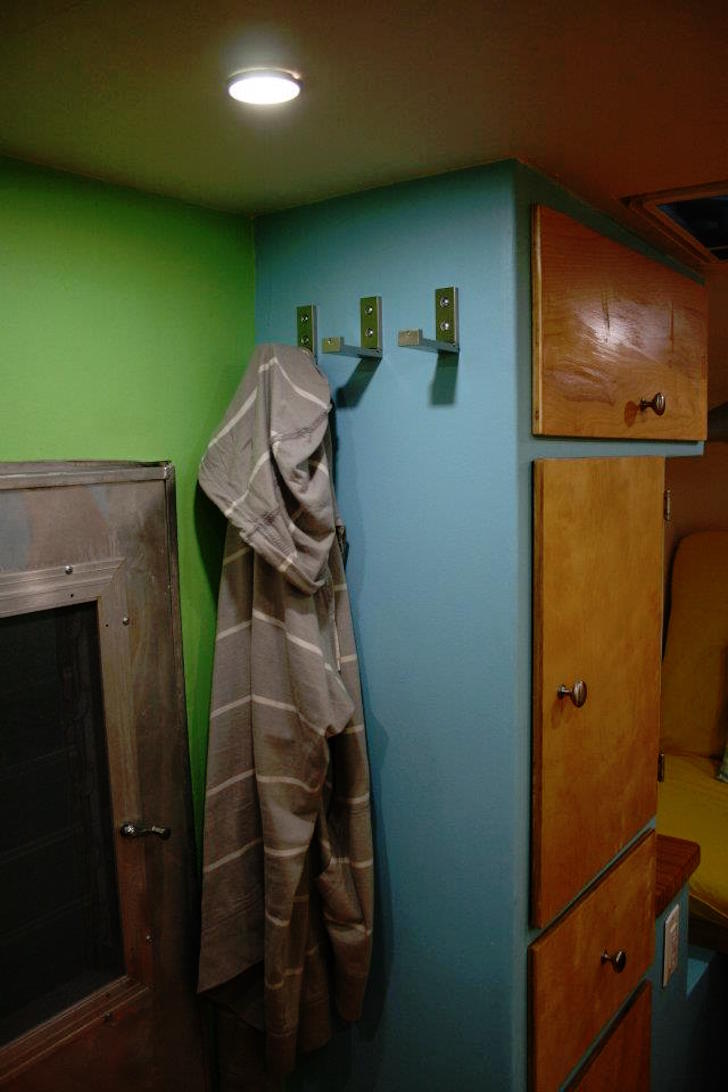
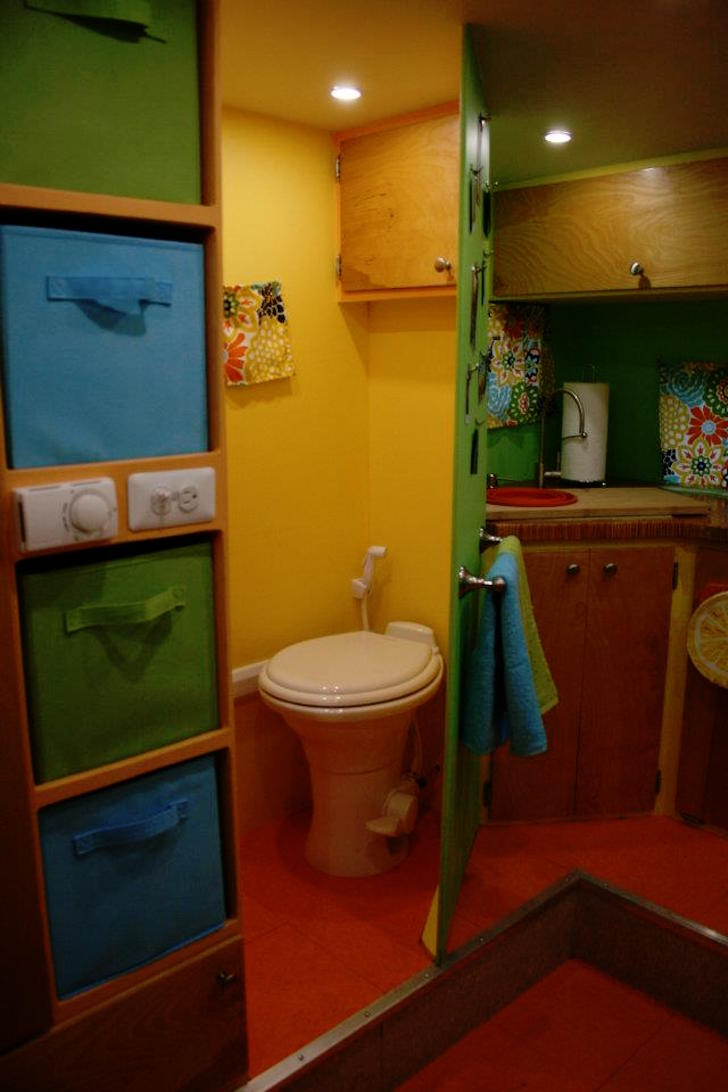
More photos of the colorful interior.

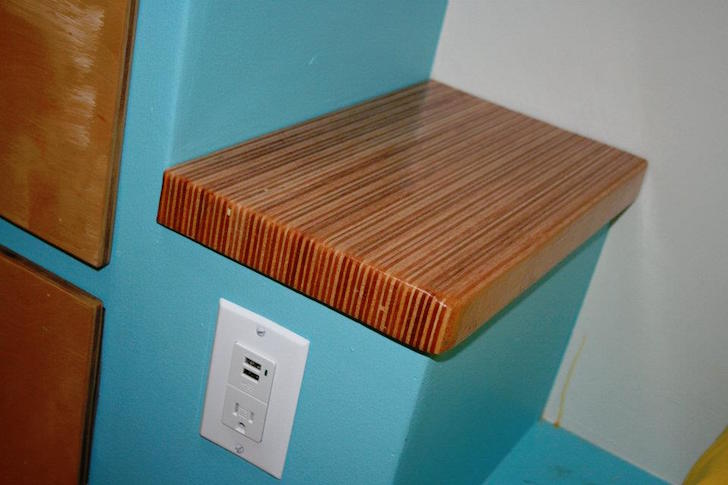
The nightstand also has an outlet with a USB charging port.
Full-size futon mattress in the couch position.
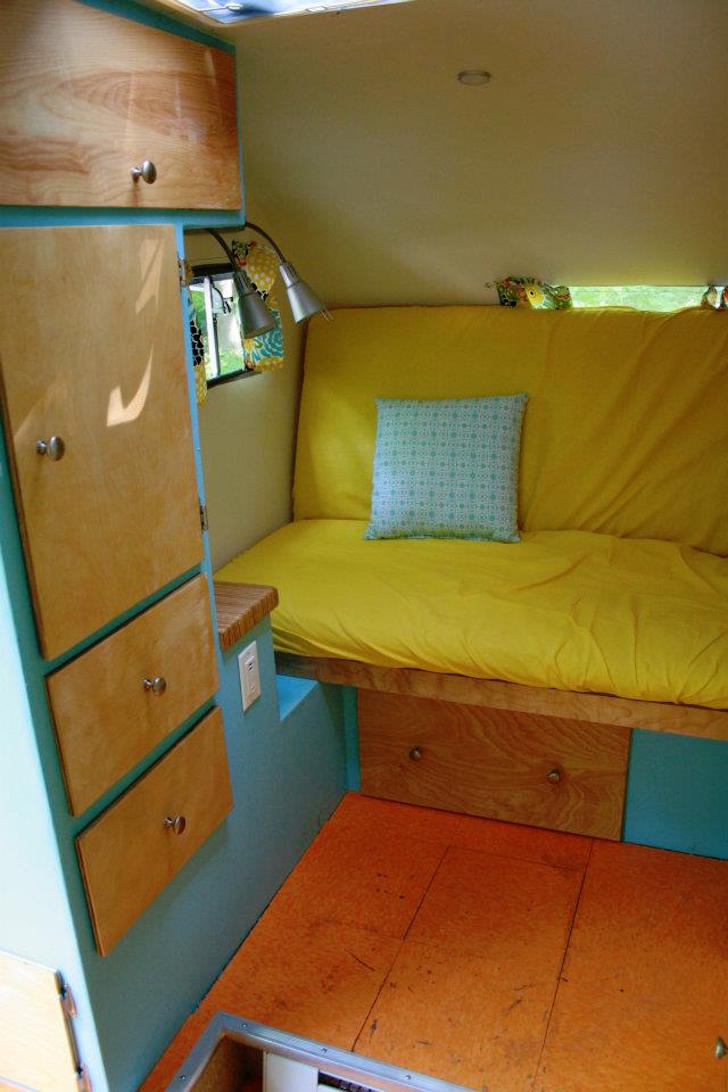
Another angle with the cabinets.
How much did all this cost? They said,
I tried my best to keep all receipts during the project, but some got lost along the way. Also, some of the appliances and parts were given to us as gifts. That’s the long way of saying that we don’t know exactly how much the rebuild cost – but my best estimate is about $5500 on top of the $650 for the trailer.
That’s the original sink from the camper.
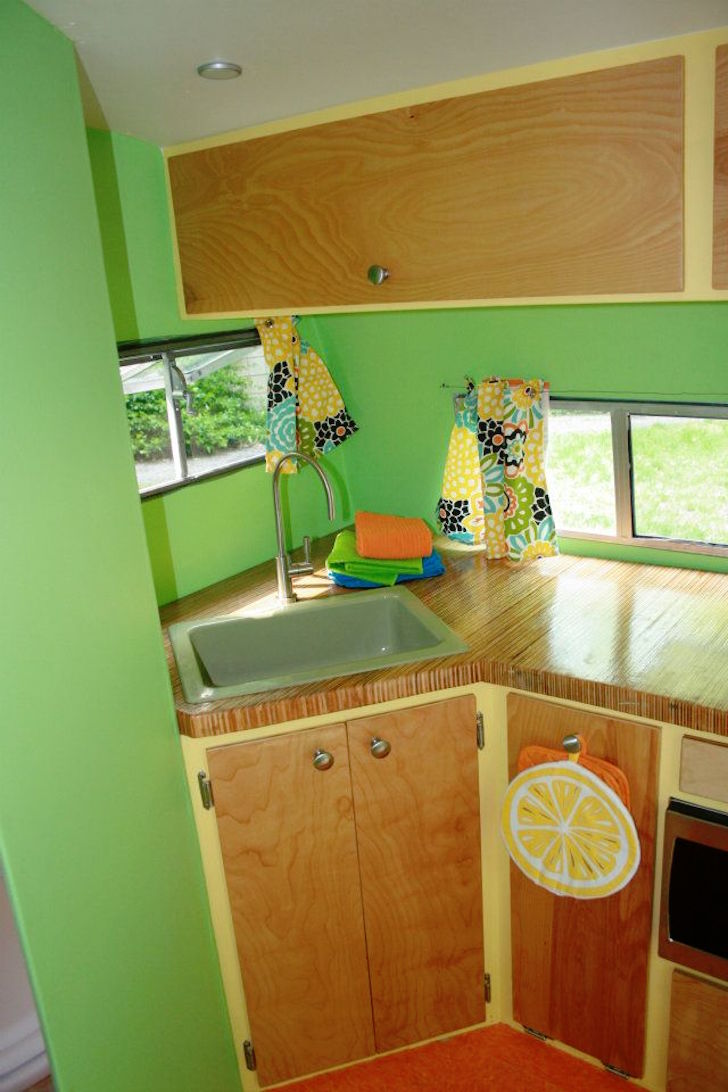
The kitchen sports a microwave, miniature refrigerator, and induction cooktop—plus an itty bitty window!

While the camper was basically built up brand-new, they reused all the aluminum siding, windows, and door.


Once finished with the camper renovation, they went camping! They wrote,
We’ve taken three trips so far, they’ve all been great. The first one was out to the Finger Lakes region of upstate NY—we camped at Stony Brook State Park and took a day trip to various state parks in the area for short hikes and waterfall viewing. The whole Ithaca area is amazing, if you haven’t been camping there, it’s worth a trip!
It’s great to see these vintage campers reborn into a functional and leak-free travel trailer. The only problem—it takes a lot of work and know-how!