In this section of our series on solar power, we will discuss the installation of the first half of the solar system. We are going to put our plan into action and install the rooftop components of the system. The rooftop components will consist of the Renogy Solar panels we purchased, a combiner box, wires to carry the power the panels produce to the controller, and a panel disconnect switch.
In the first 3 sections, we covered What Is Solar Power, What Parts Are Needed, and How Much Solar Is Needed. If you have not read those sections, for clarity purposes, please refer back to those articles first.
A solar installation can no doubt be a very rewarding DIY project. It does not require a large amount of specialized tools or supplies. Solar gives you the ability to extend your off-grid stay and have the power you need while doing it. Think about it, having the ability to pull power out of thin air. What’s not cool about that? Below is a list of the tools and supplies I used for this install.
Tools needed:
- Drill and drill bits
- Wire strippers/cutters
- Wire crimping tool
- Screwdriver assortment
- Heat gun
- Caulk gun
- Ladder
Supplies needed
- Solar panels (# based on watts needed. I use Renogy panels)
- Rooftop entry point (through the refrigerator vent or a combiner box)
- Disconnect switch
- Wire to connect the panels to the combiner box. (I used 10 AWG)
- Wire (for between panels and controller) (I use 4 AWG)
- Various crimp-on eyes and wire connectors
- Heat shrink tubing (for covering connector joints)
- MC4 connectors (for connecting panels to rooftop wire)
- 3M 4941 VHB tape
- Dicor or other self-leveling RV roof sealant
- Solvent for cleaning the roof and mounts (I used Denatured Alcohol)
Mounting the panels
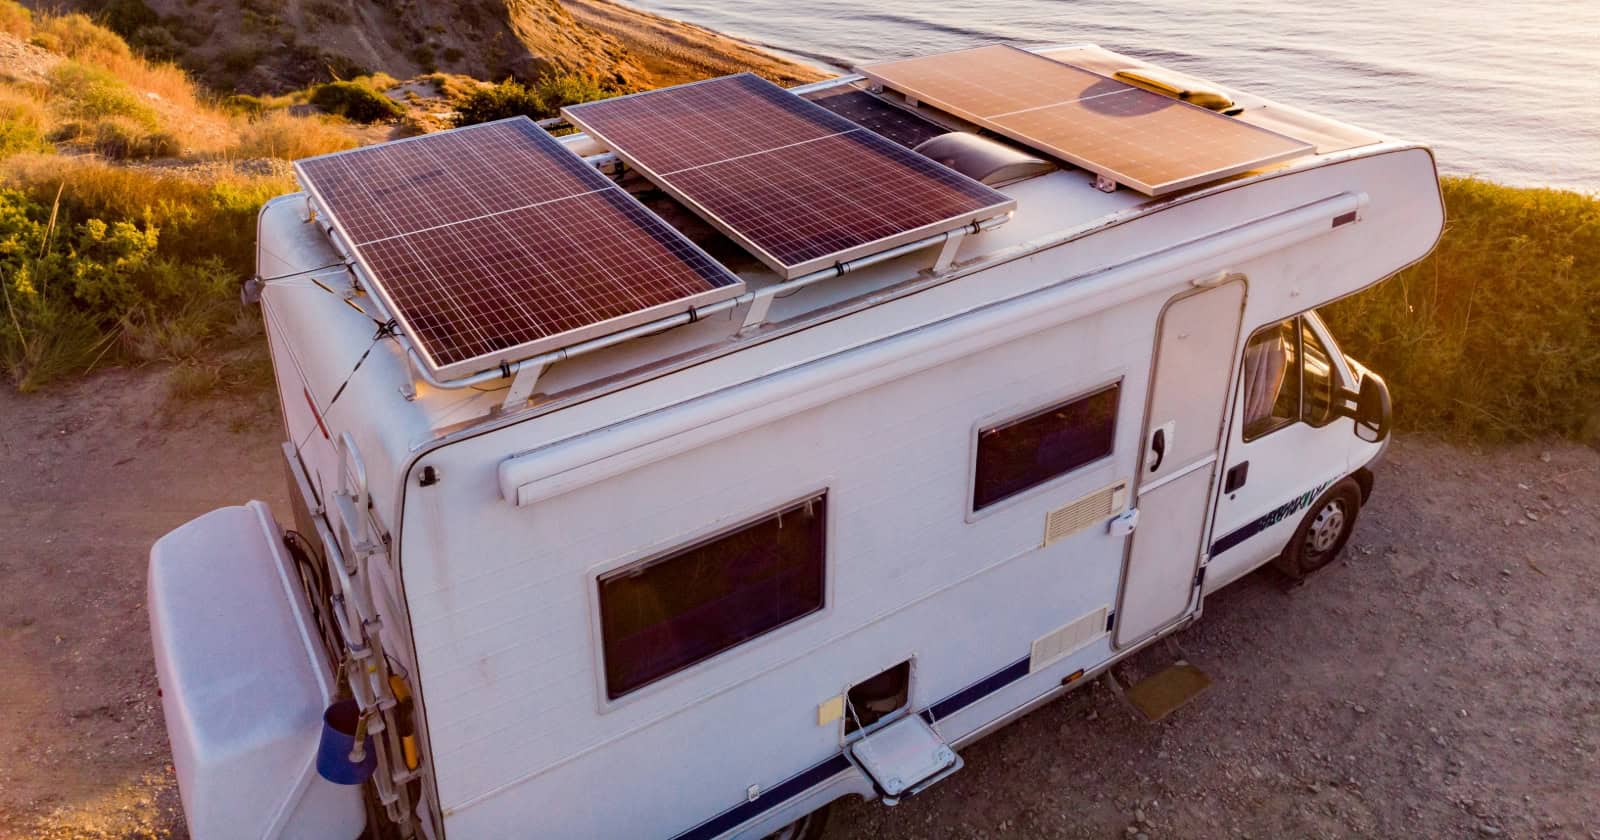
Our panels will be mounted permanently on the roof. They should be located in a position to reduce the amount of shading as much as possible.
You should use cardboard panel sized templates to assist in laying out your panels on the roof. These cardboard templates are easy to work with and move around on the roof making it easier to confirm your panel’s position. Once you have determined the best location for your panels, it is time to prep the panels for installation.
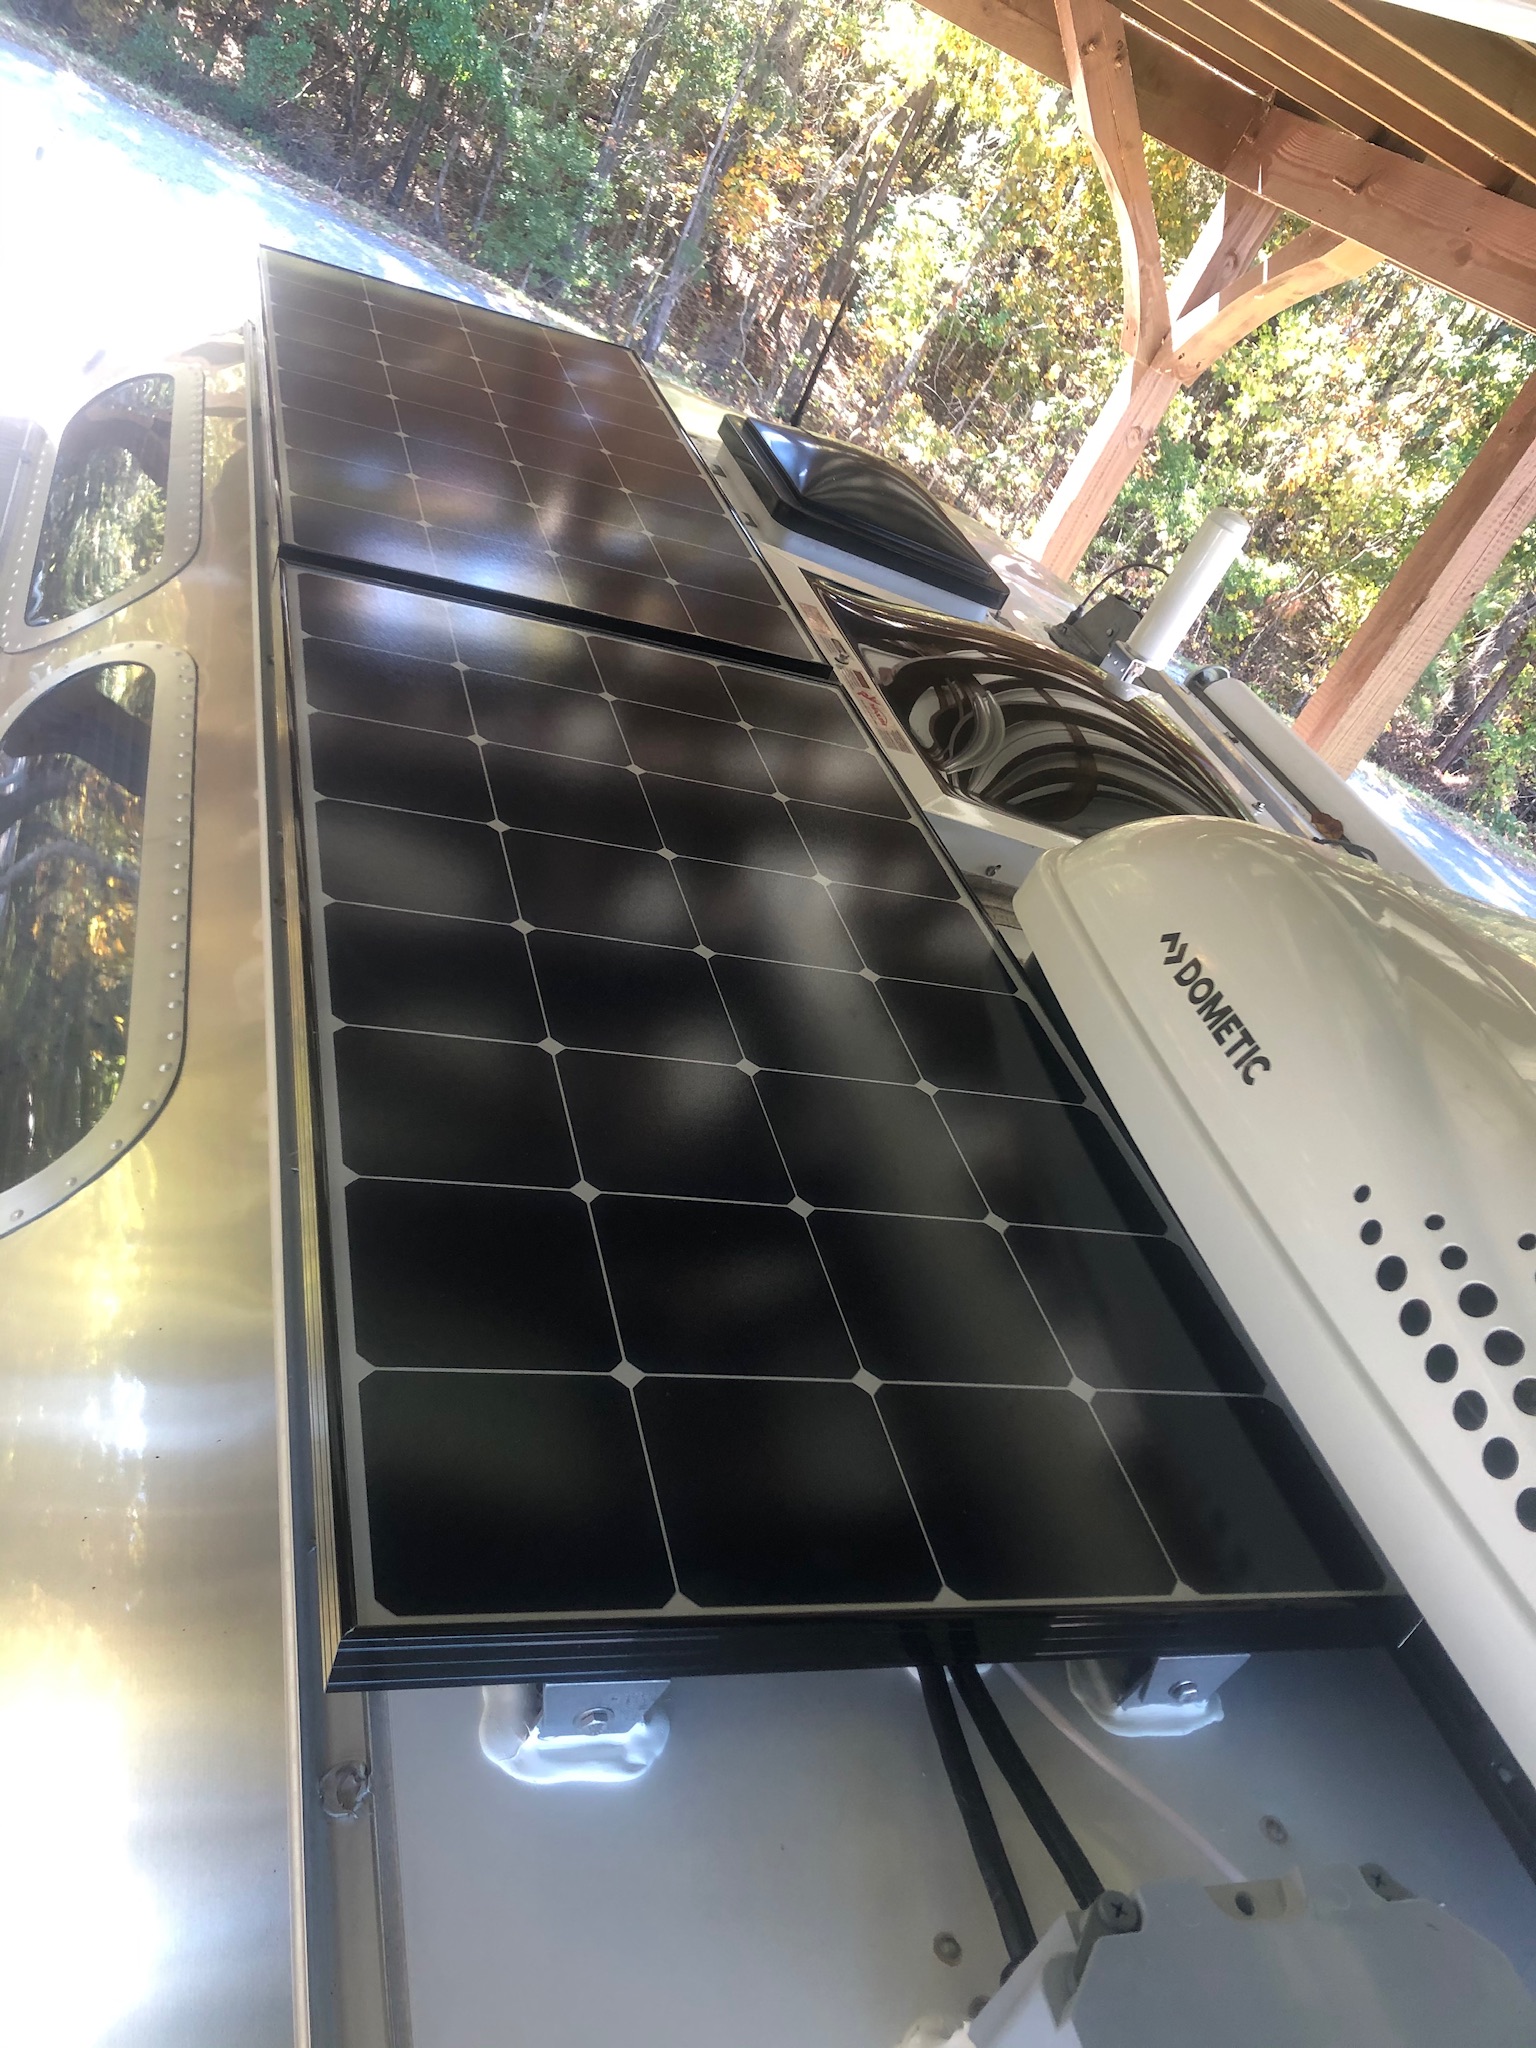
Start by attaching the mounting brackets and hardware. I attached our panels to the roof using 3M 4941 VHB tape and sealed the mounts with Dicor self-leveling sealant. This is a great option for mounting panels because you do not have to make any holes in your RV’s roof, eliminating the potential for leaks.
You might be wondering, using double-sided tape to mount the panels? Yes! This 3M 4941 VHB tape is good stuff! VHB stands for Very High Bond so you better make sure you stick the panel where you want it because it will be very hard to move if it is not. This type of product is used in the automobile industry to attach moldings and trim to cars.
It is very heat tolerant and works well for attaching the panel to a smooth hard surface like the roof of our Airstream. Clean the mounting surface with Denatured Alcohol and attach the panel by pressing down firmly on the areas the VHB is located. Again, use care when attaching to make sure your panels are where you want them because once they are down it will be very hard to move them. Once in place, you can seal the edges of the mounting hardware with a self-leveling sealant. That’s it! The panels are mounted!
Mounting combiner box
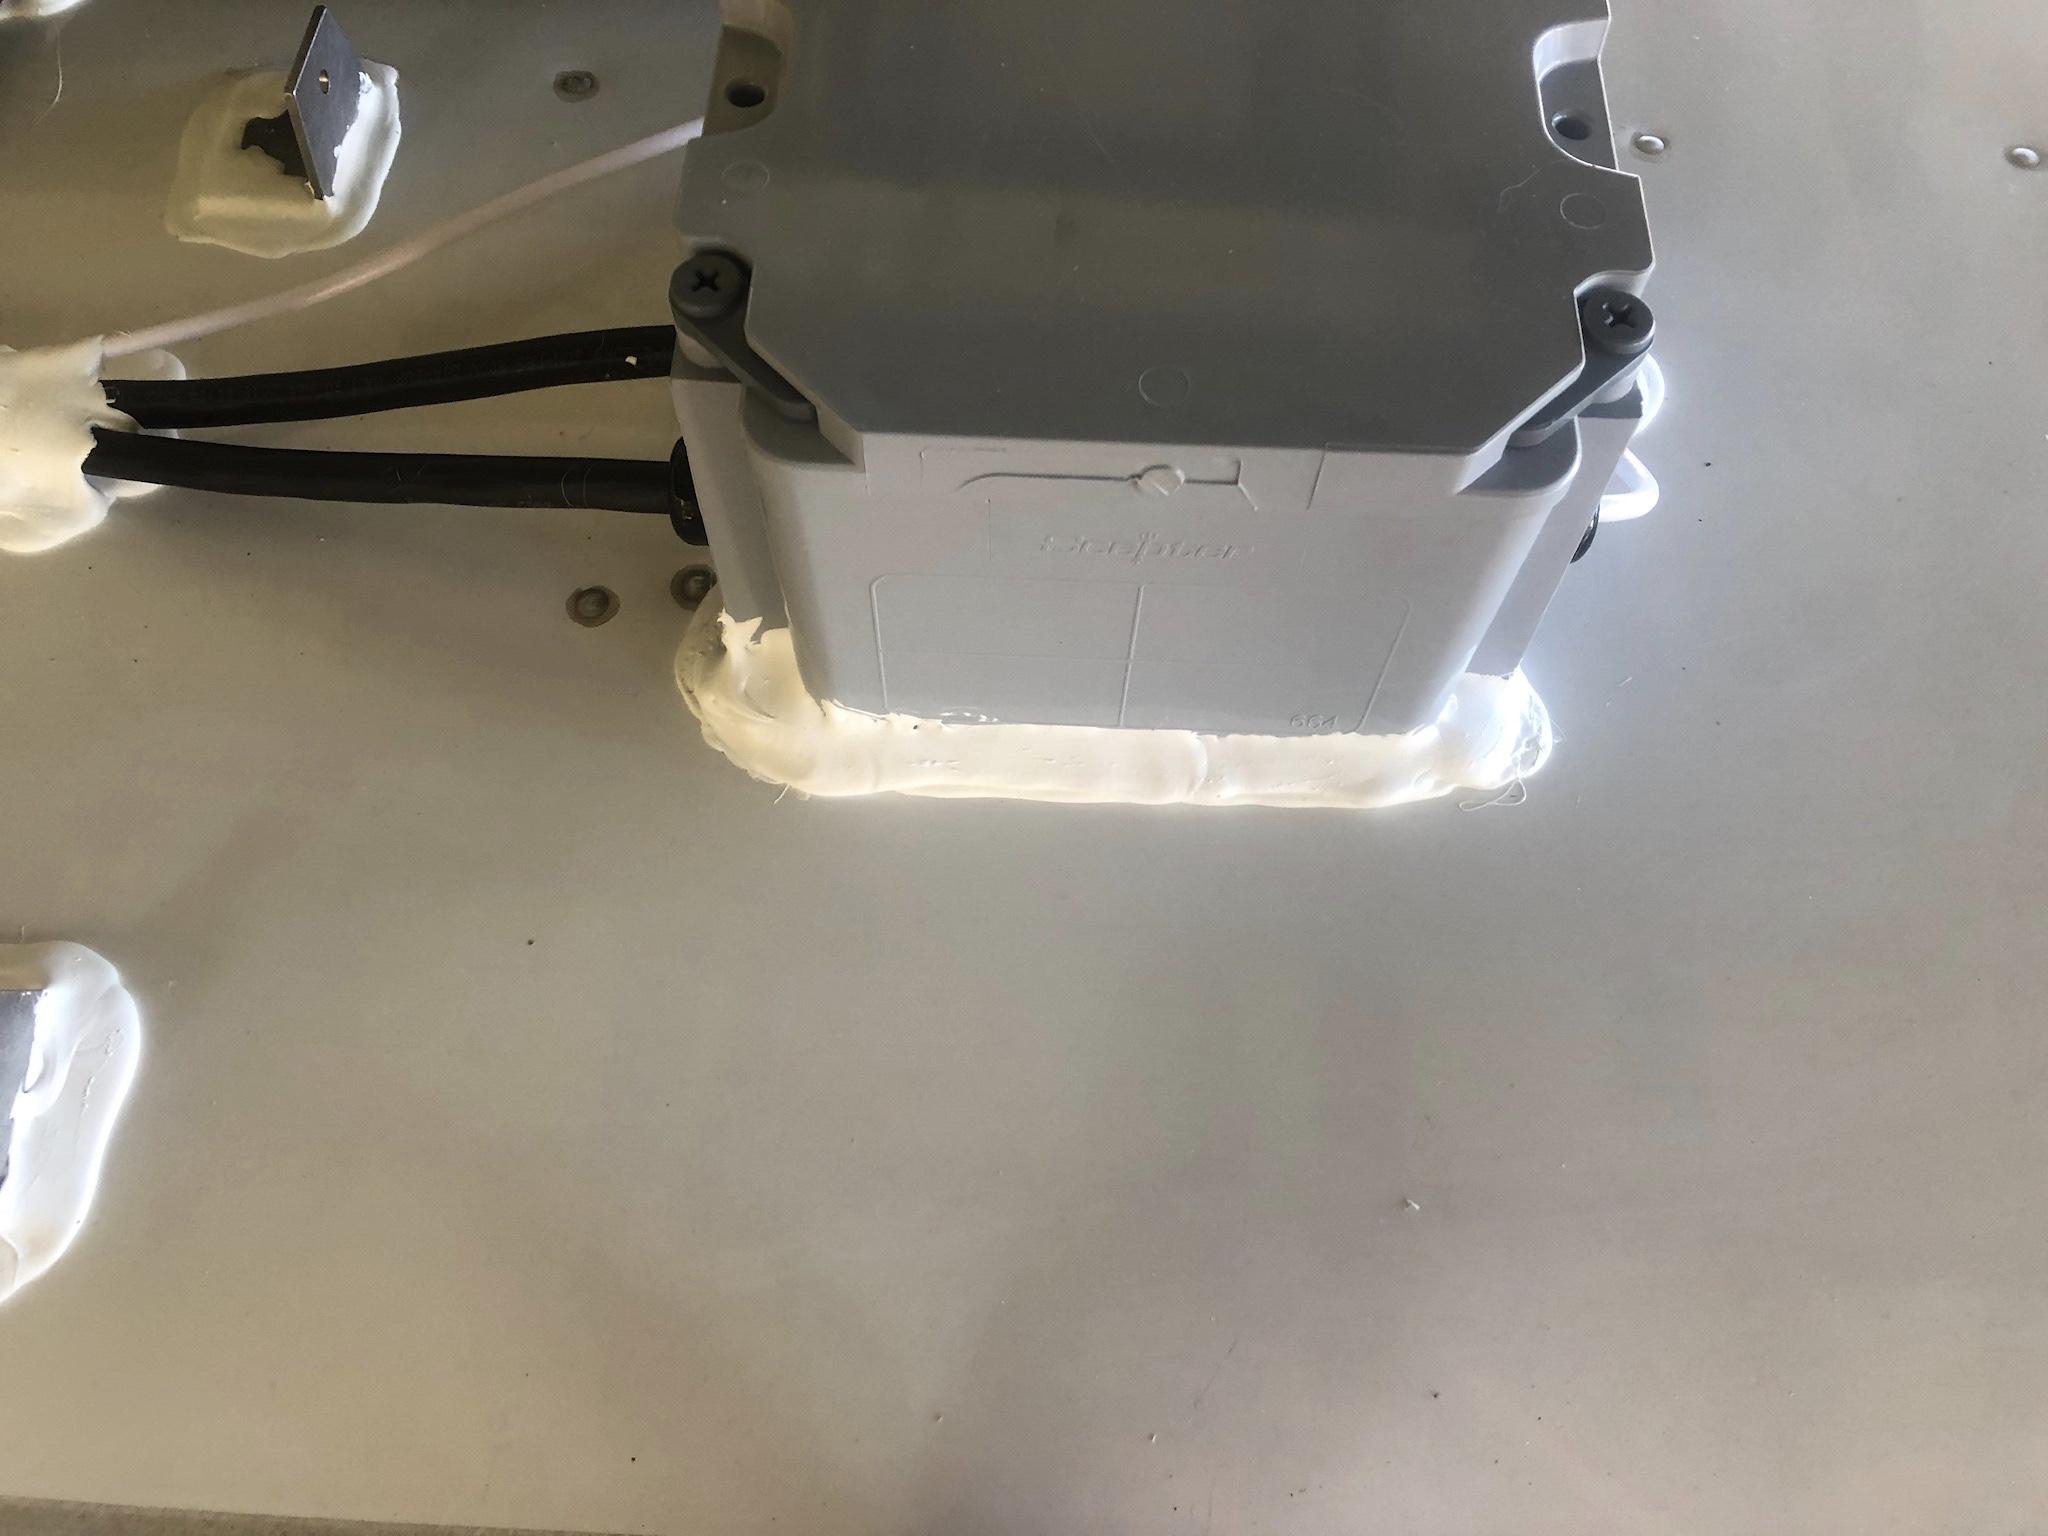
Next, you will need to locate a spot on the roof to mount the combiner box. This location should be one that allows you to enter the trailer in a “hidden” location. I chose to mount the box over the microwave. This allowed my wires to enter behind the microwave where they would be hidden from view.
You will need to drill a hole in the roof of the RV large enough to run the wires inside. I know, I know—I said, “Drill a hole.” If you have other access like a rooftop refrigerator vent, by all means use it, but I did not. Therefore I had to drill a hole. I mounted the combiner box to the roof in the same fashion I mounted the panels, with VHB tape and Dicor sealant around the edges. This provided a secure bond to the roof and a watertight seal.
Running wires inside
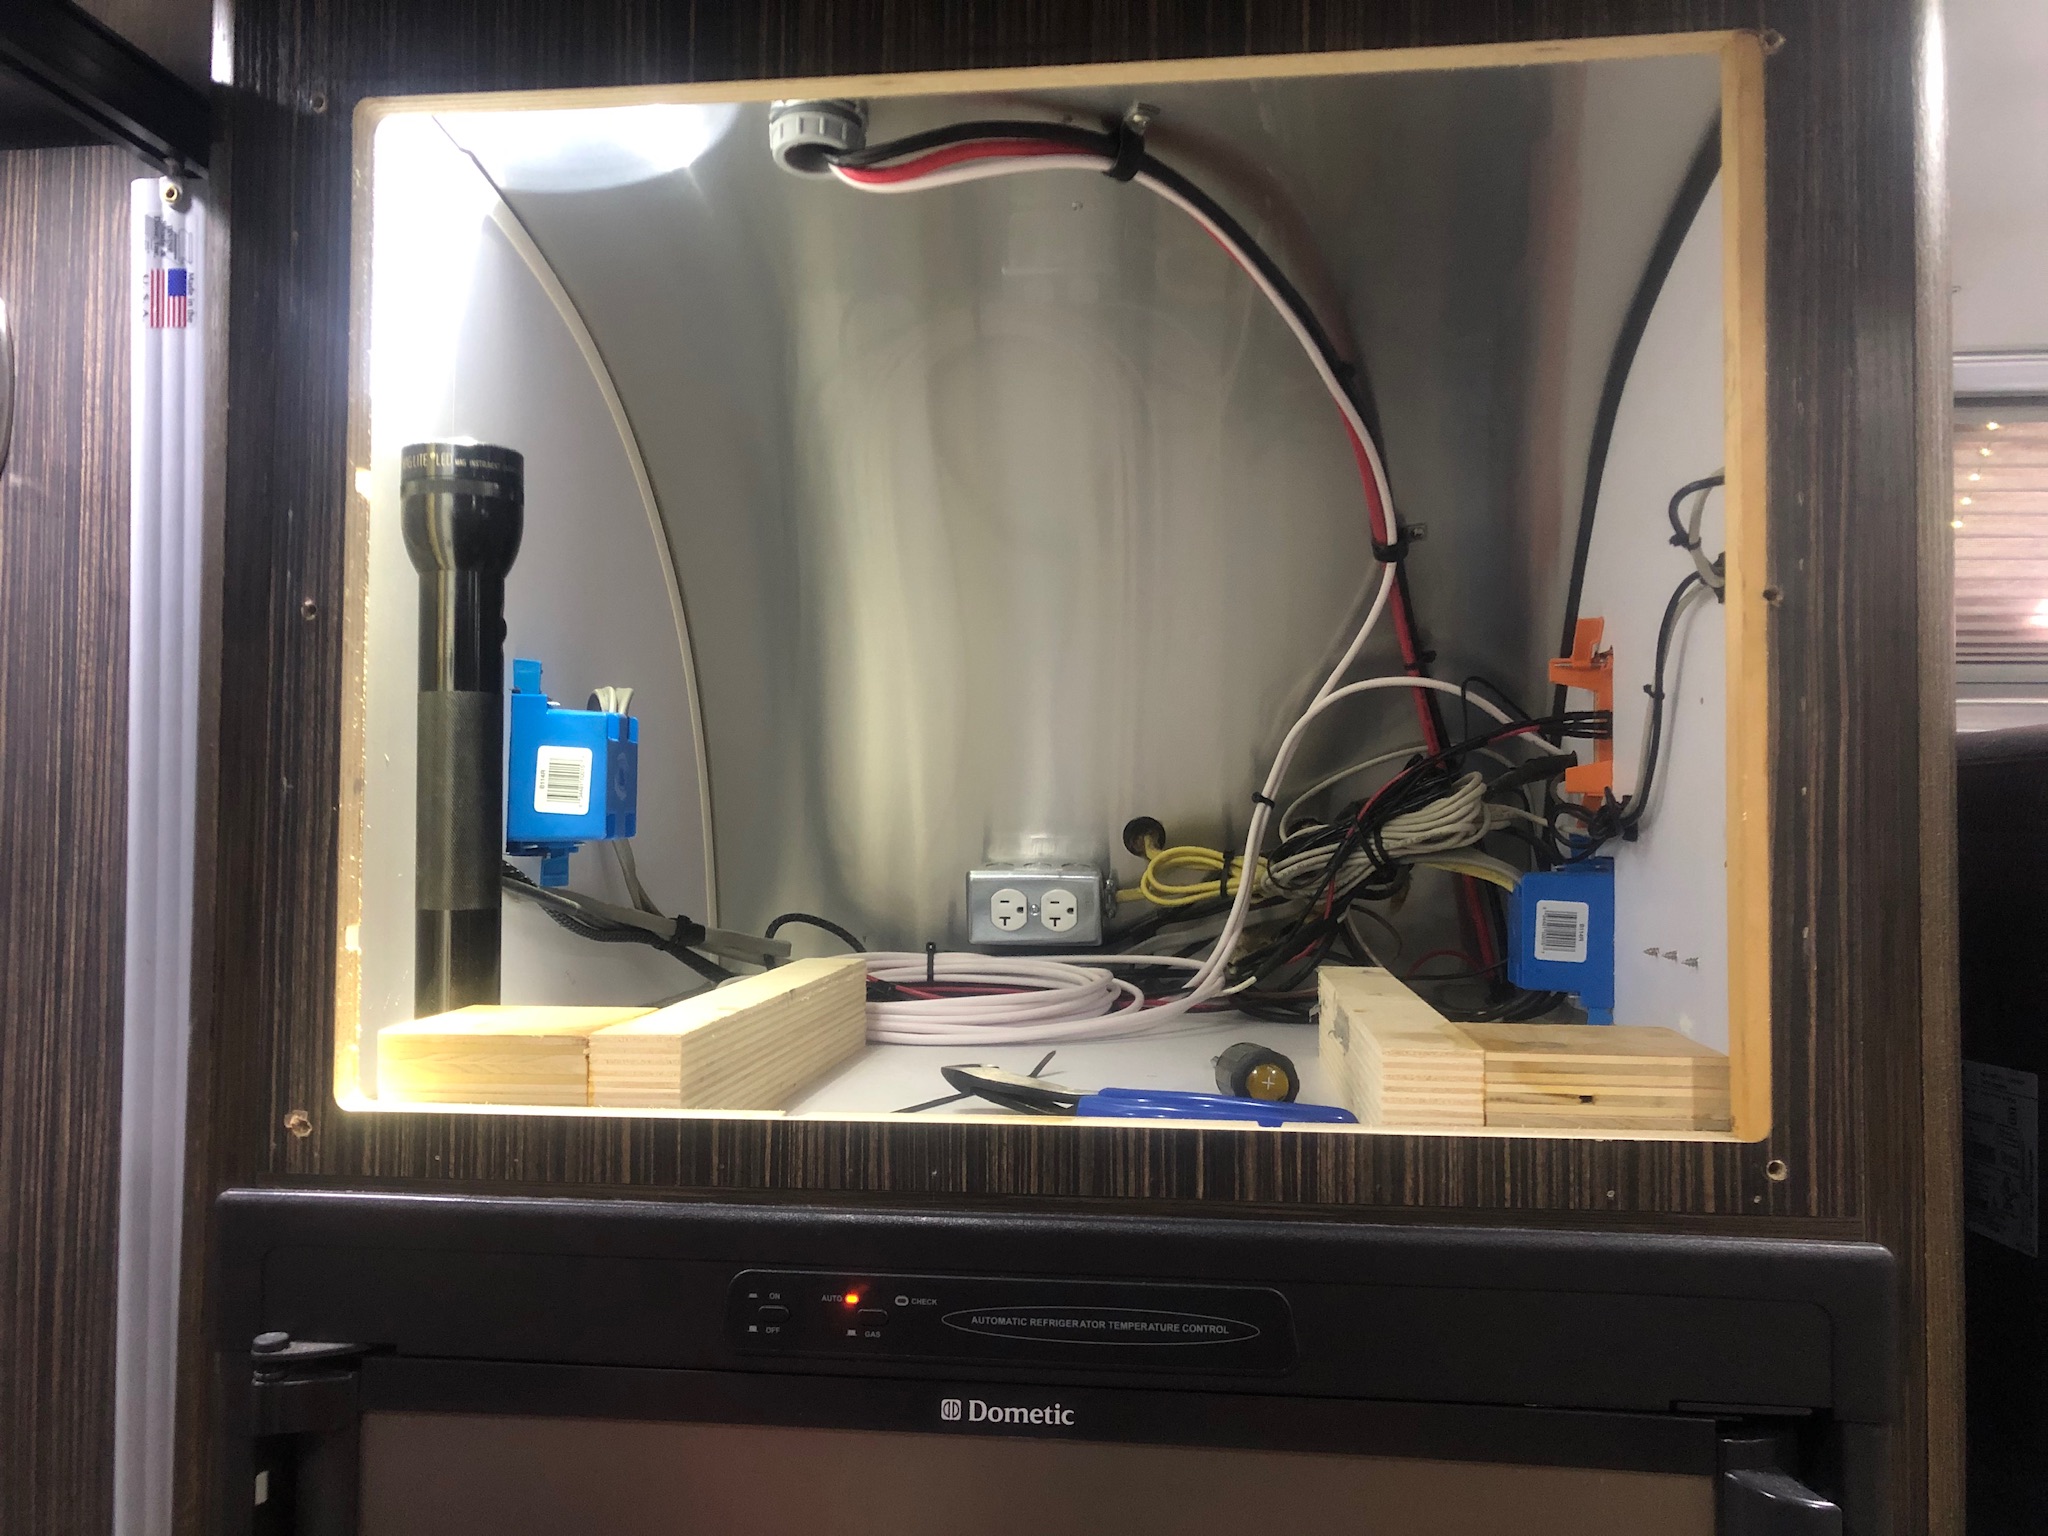
From the rooftop combiner box, I ran 4 AWG wire into the trailer through a hole cut in the roof, through the microwave compartment, down along the side of the refrigerator, and into the area where the solar controller would be mounted.
The negative lead coming from the combiner box will attach directly to the solar controller and the positive lead will run through a Blue Sea M Series disconnect switch. Using a BlueSea disconnect switch will allow me to disconnect the panels from the system. This will allow service of the system without the power from the panels.
Connecting panels to combiner box
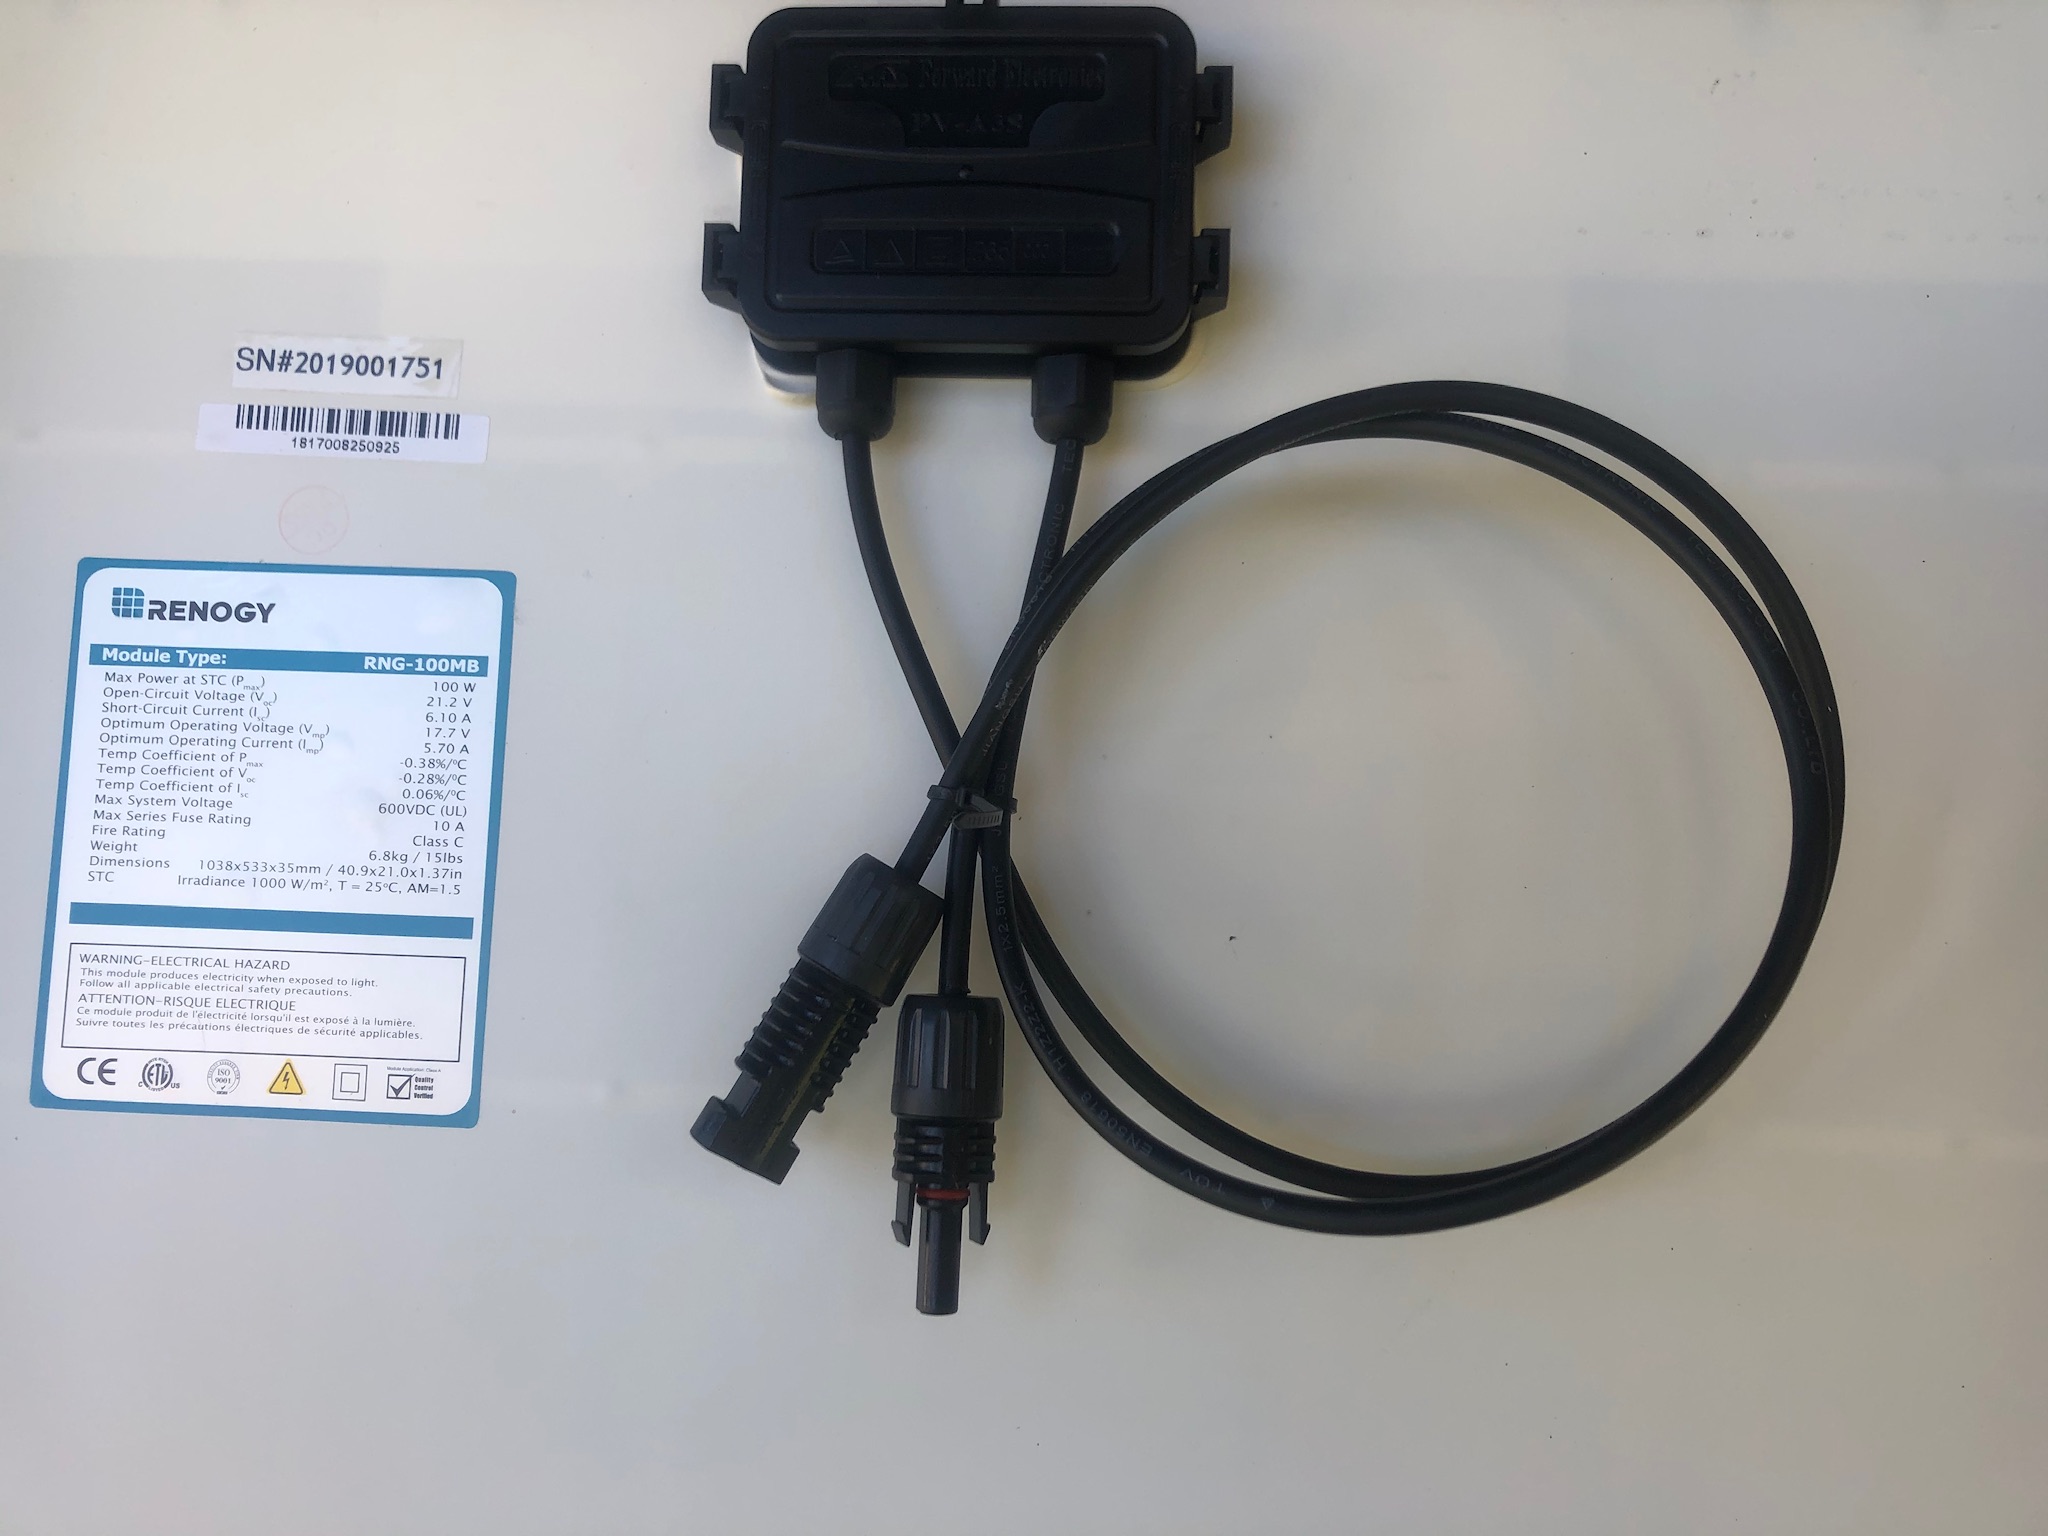
Lastly, I connected my four Renogy 100-watt panels in parallel running 10 AWG wires from the panels to a rooftop mounted combiner box. The Renogy solar panels came with short wires with MC4 connectors attached from the factory.
You will need to extend these short factory wires with longer wires in order to reach the combiner box. You can purchase and add MC4 crimp-on connectors to your rooftop cables which will allow you to just plug your panels into your extender wires.
Recap: That’s it!
Let’s recap what we’ve done. We’ve installed the panels on the roof and positioned them in the best location to reduce shading. We’ve installed the combiner box on the roof gaining access to an inconspicuous location inside the RV. We’ve connected the solar panels to the combiner box, ran wire inside the RV to the location we are going to mount the solar charge controller, and installed a solar panel disconnect switch. Pretty simple so far, as we have basically just brought the power produced by the rooftop-mounted solar panels inside the RV.
I hope that if you are thinking of solar you will continue to follow along with the other articles in this series. In the last and final section, we will install the inside components and FINISH our SOLAR INSTALL! Stay tuned!
Feel free to reach out if you have questions and don’t forget to follow us @Airstream_Nuts_and_Bolts on Instagram for our most current travel and project information.