
Yep, that’s right. Chad built his own RV slide out.
This is a more in-depth follow-up article to our original profile on his DIY RV fifth wheel trailer.
How to Build Your Own Slide Out
Before Chad set to work on his homemade slide out, he spent time observing how the RV manufacturers made them in the factory.
Once he thought he had a good idea on the basic layout and mechanical functions, he set to work on his own version.
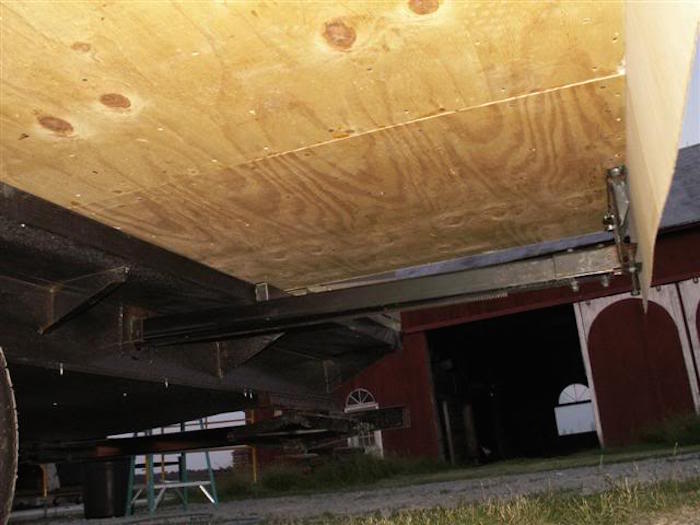
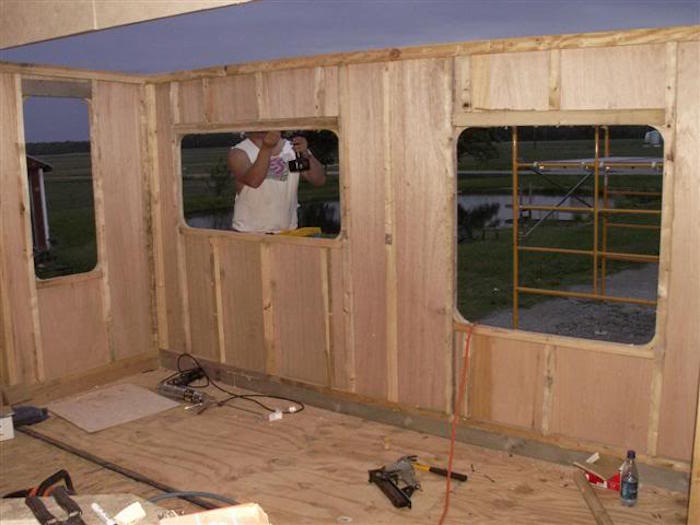
The opening on the trailer frame has a polyurethane silicone edge with a rounded bevel. The rounded edge allows the floor of the slide out to drop down and rest flush with the rest of the interior flooring.
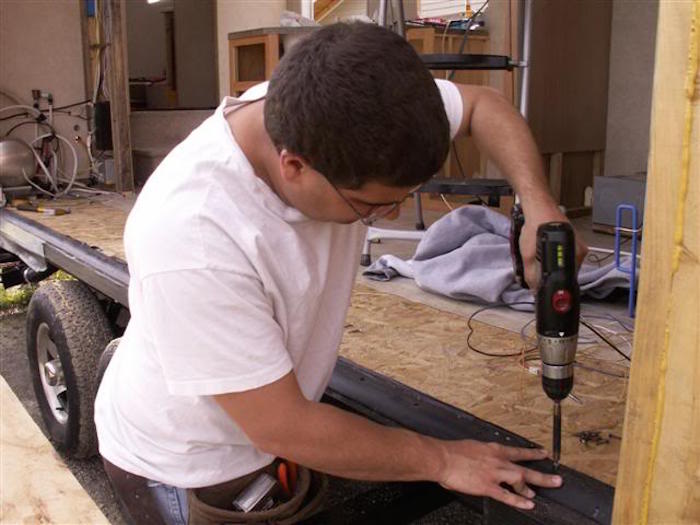
Chad made the opening around the slide out from a 2×6 yellow pine header, supported by 2×2 cripple studs*.
*Note: A cripple stud is a shorter-than-normal stud used above the horizontal header on a door or on the top and bottom (sill) of a window frame. The shorter studs help transfer the weight of the header or sill to the other parts of the framing.
Chad used truss plates with about 30 screws in each side to keep the frame square.
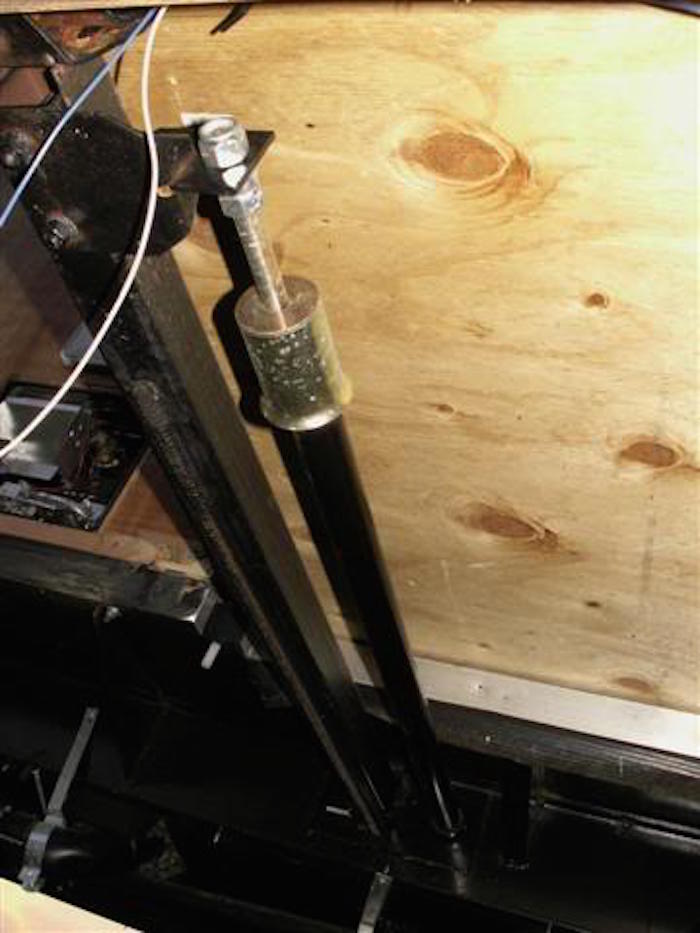
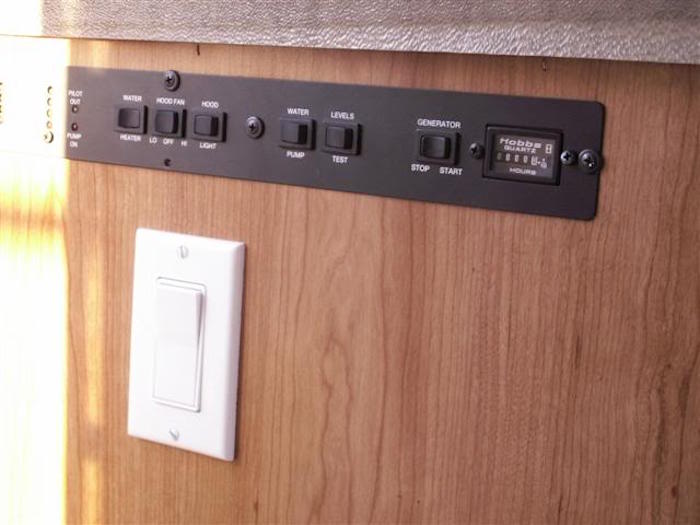
He bought a set of rack and pinion slide out mechanicals. The system is powered by a 12 V DC 30 amp motor, wired directly to the battery pack.
A close-up of the drive mechanism.
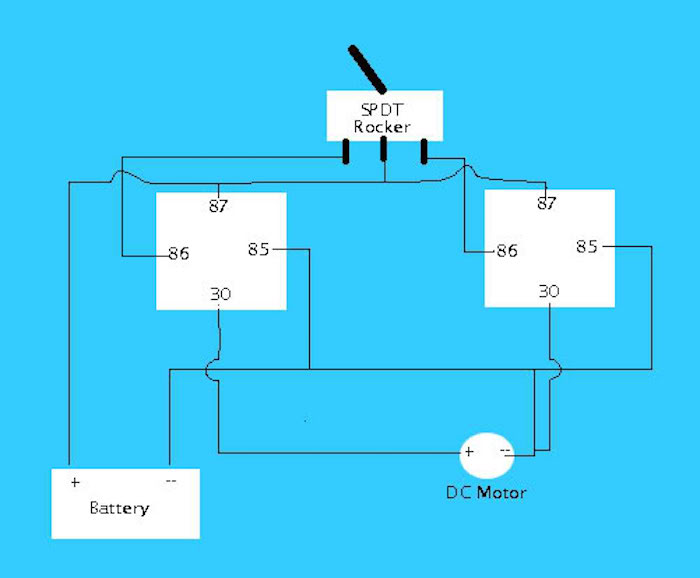
Chad built his own control circuit with two 40 amp relays and a double rocker momentary switch.
Slide out wiring diagram.
For additional support, he glued and screwed a 2×4 to the outside edge.
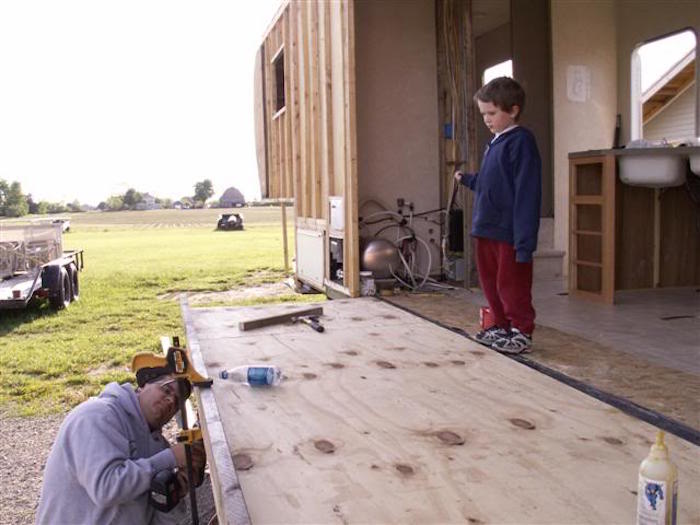
Here’s what Chad had to say about the floor of the slide out,
The floor is made from 2 sheets of 5/8″ exterior plywood, laminated together. I bought 4×8 sheets and offset the seams. I used Elmer’s exterior wood glue, and parked my mower on top of the sheets to make sure I had a good bond. I also out 1” screws at about a 6” square pattern. When you are done, you are left with a very think heavy piece of wood. 4’ x 12’ I turned it over and cut the leading edge with a 60 degree bevel. This is so the floor will pop up over the poly ledge and slide in. I then extended the slide out legs as far as they would go 44”. Then I trimmed it for width and temporally screwed them in and ran it in and out… very cool…When it slides out, the floor sits down flush with the rest of the floor.
Framing the slide out.
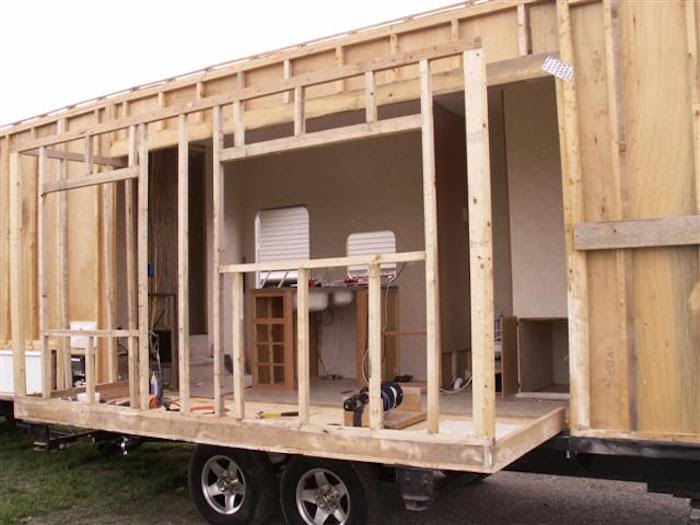
Luan plywood lines the walls.
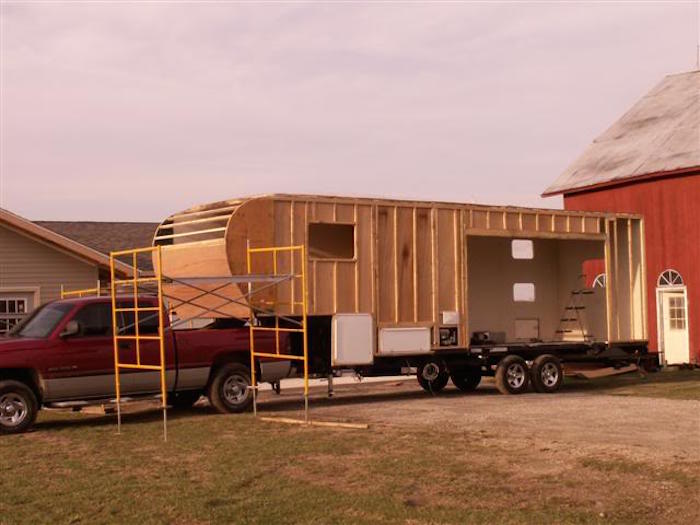
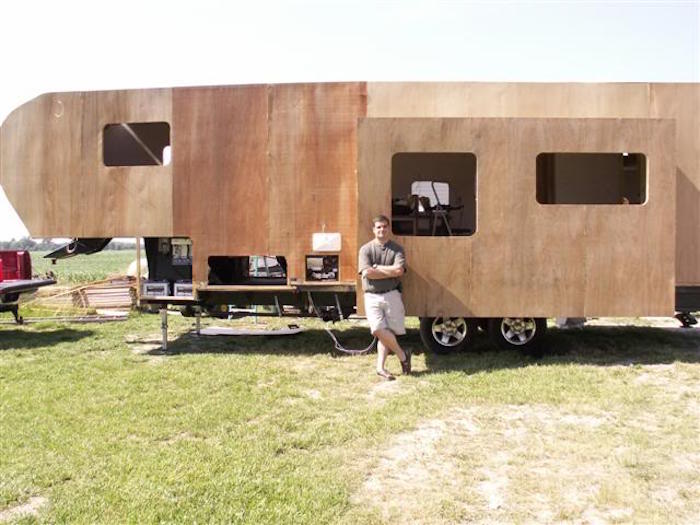
The proud builder and his DIY slide out…on his DIY fifth wheel!
While Chad doesn’t maintain a website for his projects, you can find more information about his do-it-yourself fifth wheel trailer in this article.
Thanks Chad for sharing your creative and functional slide out build!


I have been searching for the mechanicals to add 2 slides to my trailer. Please share where to purchase the systems!