
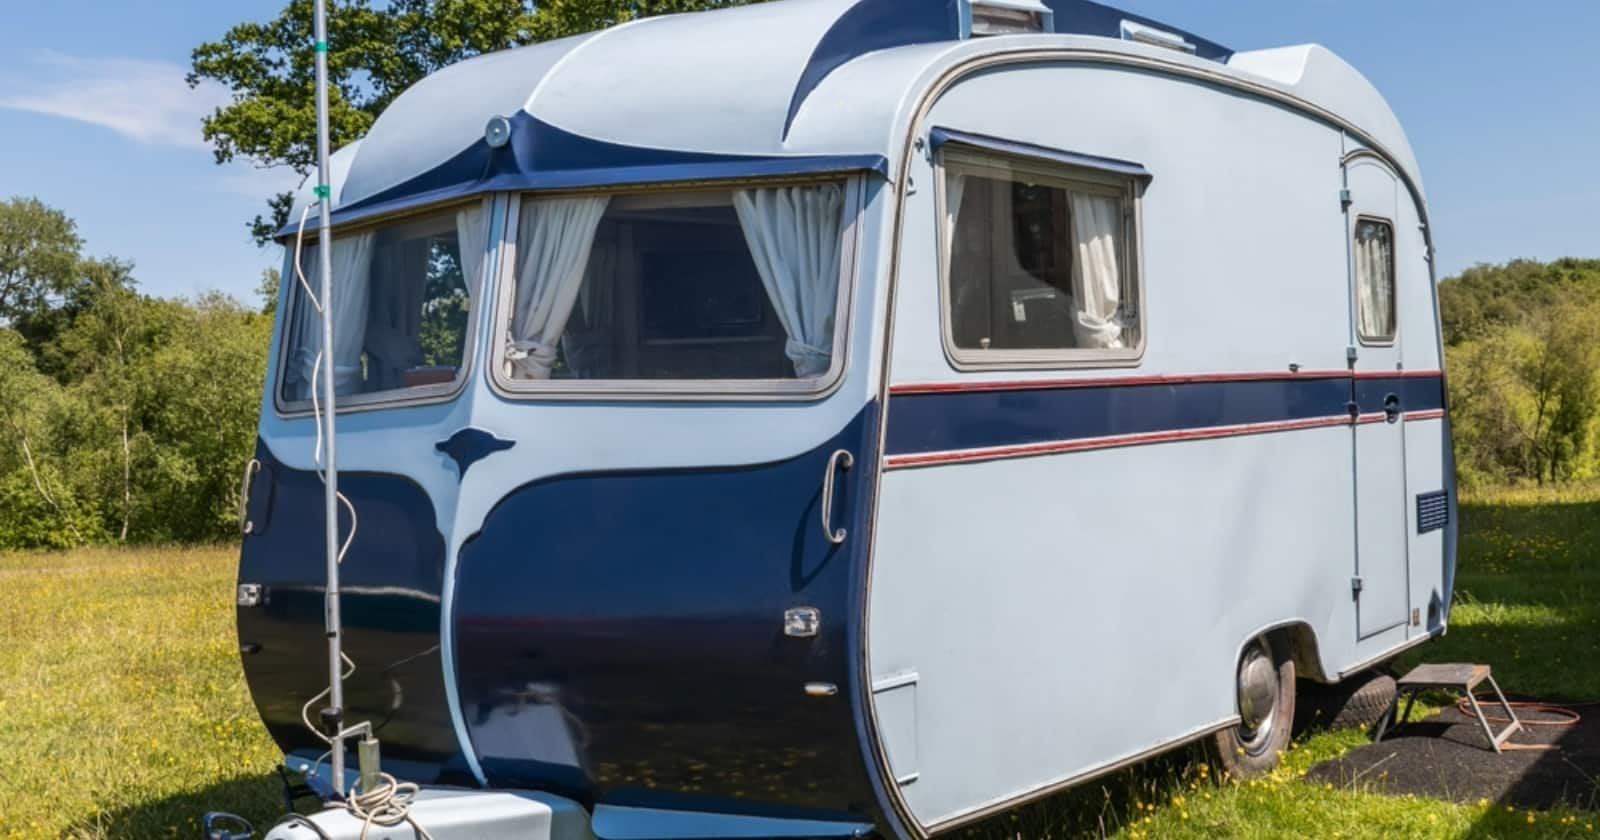
The words, “how to paint an RV” lack a good deal of context. While the purpose of this article is to teach you how to paint an RV exterior, it’s not the simplistic, casual upgrade some may think it is. It’s not a matter of slapping a coat on the sidewalls and calling it a day.
You can certainly do that, but it will likely stick out like a sore thumb. Painting is a blend of art and science, matching colorful aesthetics while also understanding the bonding process at the molecular level. That’s before we dive into the seemingly thousands of different paint types.
It’s a job you want to do right the first time because the result will be a fantastic head-turner that will last for years. The goal is appearance and longevity, and if you take your time, use the right tools, and add a splash of artistic creativity, you’ll get more than enough of both.
Preparation: The Foundation of a Great Paint Job
Learning how to paint an RV is a bit of a misnomer, at least in the beginning. That’s because the best paint jobs spend very little time painting and 90% of the time prepping. Surface prep is the end-all-be-all of a fantastic paint job. Without it, you’re wasting your time and money. Failure to prep the surface of your RV properly will result in a catastrophic end.
The paint won’t properly bond with the surface. It will droop and entire sections may fall off in large sheets. Or, they may simply peel, resulting in thousands of tiny little flags planted on the side of your RV, flapping in the wind. Every beautiful paint job starts with a solid foundation. In this case, the foundation is a lot of elbow grease.
Cleaning the Exterior
If you’re learning how to paint an RV as you go along, it’s just like everything else — a series of steps from beginning to end. The first step is to break out those buckets, long-handled scrub brushes (soft bristle or lambswool, depending), wash rags, ladders, and a gentle detergent, and get to washing your RV. If you’re just not feeling the excitement from all of that, feel free to use a power washer instead.
Dry it up before you end up with water spots and streaks and try to wash the RV away from direct sunlight. Avoid dish soaps and stick with automotive soaps. Once it’s clean and sparkling, the real work begins.
Remove Your Decals
Unless you’re doing a small touch-and-go job, the decals have to go. They won’t be coming back either, so it’s best to plan out your paint scheme and include new decals. Decal removal is relatively simple on paper but more mundane and meticulous in practice. The best way to do it quickly is with a heat gun or a hair dryer, along with a putty knife for scraping it off.
Disclaimer: Always keep the heat gun moving to prevent heat damage when removing decals from an RV.
Sanding and Masking
Masking is the most boring part, mostly because it looks like a quick and easy solution to avoid overspray, and it’s neither. It’s a painstakingly long process. However, the best way to paint an RV is with a spray gun, and extensive masking is required. If you don’t want paint on it, cover it in masking tape and plastic. When you layer masking tape over round surfaces, make sure you cover every, tiny seam, or it will get paint on it. Be sure to catch any seals as well.
Sanding the RV comes next. This is one of the most important parts of the entire process, so it’s not something you should avoid or skip. Sanding opens up the underlying service, allowing the paint to bond properly. Without sanding, your RV paint job will peel, fall off, and often won’t even hold up before dropping to a lower set point and accumulating there.
Obviously, these are things you want to avoid. While you can hand-sand the entire thing, an orbital sander is best, with very fine-grit sandpaper (depending on the surface, 100 to 220 grit with 220 being the predominant choice). You don’t want to remove the paint. You just want to open it up. Make sure you cover every last square inch of the RV as well. A missed spot is an opportunity for a bad finish.
When you’re done sanding the entire RV, blow it off if you have a compressor, or go over it with a dry paintbrush to remove any excess dust. Wipe the entire surface down with alcohol or thinner. Don’t touch anything that won’t receive paint, just the entire surface you plan to paint. As it turns out, learning how to paint an RV involves a lot of non-painting.
Applying Primer
Now, everyone has their own, personal preference, and it’s understandable if a spray gun isn’t the comfortable choice for you. You can use a roller handle, paintbrush, foam brush, or even finger paint if you prefer. Okay, maybe not finger paint, but you get the point. It will take longer if you avoid the spray gun and you always run the risk of leaving behind visible patterns and streaks.
Apply the bonding primer, then stand back and give it a full 24 hours to cure. If you decide to spray it, you can use an airless, conventional, or HVLP sprayer. Regardless, it requires careful attention when applying. Spraying on primer is the best time to get a feel for the spray gun, because you’re going to come back and sand over it, cleaning up any imperfections from mistakes as you go.
How To Paint an RV: Achieving a Professional Finish
Now, here’s where the fun begins. The ins and outs of how to paint an RV are more complicated than it seems. Paint is touchy, and there are so many different types. Even if you figure out which type is best for the surface of your RV, acrylic doesn’t spray on in exactly the same way as latex, enamel, or polyurethane.
Gravity or suction cup guns are probably the ones you see the most often. While one of these may work for a small camper, it’s more difficult to use one on a large RV because the cup only holds a maximum of a quart. Plus, you can’t turn them upside down to spray at different angles or hard-to-reach places.
For conventional, airless, or HVLP guns, you need to maintain a certain distance while spraying.
- HVLP Spray Gun: 8″ to 10″ distance
- Airless Spray Gun: 12″ to 14″ distance
- Conventional Spray Gun: Half a foot to 9″ distance
With any of the three, you need to make precise, rapid movements while creating back-and-forth or up-and-down pathways that overlap. Once you get the rhythm down pat, you can spray a monster Class A in no time.
Never curl your wrist as you spray and maintain the same distance between your spray tip and the surface as you move.
Best Type of Paint
The best paint you can possibly put on your RV is a two-part polyurethane. These paints are the pinnacle of what you can purchase outside of industrial paints. They work on aluminum or fiberglass and only require a thin coat of primer prior to application. They feature one of the best, glossy, premium finishes out of all the families of paints.
However, a one-part polyurethane finish is one of the better alternatives if you don’t want to drop the extra cash. Plus, two-part polyurethanes require mixing, thinning, an accelerator, filler, etc., making them one of the more complicated paints you can get your hands on. It’s more than worth it if you’re up for the task.
No matter what you go with, follow instructions carefully and mix in thinner if the instructions call for it. You may have to thin it a little anyway, to make it pass through the spray tip and properly atomize. If you decide to roll it, stick with foam roller knaps. If you go with the wool knaps, pass a lighter flame over the knap before you start so it will burn off any of the hairs that may end up in your final coat.
Different paints require a different number of coats. Again, whether you decide to go with a one or two-part polyurethane, epoxy, acrylic, etc., pay careful attention to the instructions and thin the paint where necessary. These paints will also come with a cure time. Observe that cure time and only paint between 50° and 85°F — never in direct sunlight, if you can help it. Allow each coat to cure for its allotted time before applying additional coats.
Finishing Touches: Detail Work and Sealing
Detail work covers everything your spray gun or roller just can’t reach. Ideally, you should paint these out with a small roller knap or paintbrush before you spray. Unfortunately, if this is your first rodeo, it’s easy not to recognize areas you might miss before you begin. If it looks hard to reach, go ahead and paint it.
Once your final coat is down, all you need to do now is wait through the proper cure time. You’re probably itching to get your decals on there as well. Give it an extra day or two, on top of the cure time, just to be sure, before you start putting up your decals again. Be very careful as you remove your masking tape. Take it nice and easy, pulling off each strip as you go.
This is when you run across areas you might have covered too enthusiastically with your masking. If that’s the case, reapply the masking to correct the space that needs painting. Lightly scratch the area and hit it with a foam roller knap.
When everything is back in order, apply an advanced polymer sealant, paint protective film, or ceramic coating to protect your brand-new spray job. Wash and wax regularly to maintain the luster and shine.
Final Thoughts
Learning how to paint an RV will take some time, effort, and mistakes. It’s not the easy outing that watching a spray job on YouTube suggests. Watching other people paint is not without its benefits, however. The main thing to concern yourself with is proper preparation, which includes masking, sanding, and cleaning pre-paint.
You’ll be surprised at how easily you begin to pick up on things, but don’t be too worried over mistakes. They are correctable. The beauty of painting your own RV is the sense of personality and ownership that comes from it, especially when done the right way. Be sure to wash it, wax it, protect it, and best of all, enjoy the fruits of your labor.

I’m not a paint expert by any stretch of the imagination. If you think all that is required is a bucket of paint, a compressor, hose and sprayer, you are about to be very disillusioned! I painted my motorhome about 20 years ago because the clear coat and striping was coming off. Because of the cost, I didn’t consider getting it done professionally. It was painted inside a large garage. I had to cover everything else that wasn’t going to be sprayed. Masking was difficult because of the swirling 3-color pattern and the height of the vehicle. Rubberized masking tape worked around curves, but there were many areas where the masking tape didn’t fully mask or didn’t stick. I didn’t know about doing any pre-sanding. It was a 2-part paint mixture from the auto paint store. You had to mix up only what was needed and I needed either fast or slow reducers depending on the temperature, which was never warn enough, using a HVLP automotive spray gun. You absolutely need to use a respirator! Drips were a real problem. Adjoining colors required applying masking tape over recently painted areas and sometimes the fresh paint would get pulled off. The more I tried to fix areas and touch them up, the worse it looked. Following this, I applied the clear coat. That’s the most toxic to spray. To get a mirror-like finish would have required some serious buffing. The buffing compound comes in different grit sizes. The radial buffer flung the compound all over. It was a real mess and I eventually gave up. In the end, it didn’t look great, but it didn’t look terrible either. When I traded it in, the salesman asked if I had painted it myself. When he complimented me on it, I think he was just trying to be nice. My recommendation is to let the pros do it. I know that it’s expensive, but it’s just not worth the aggravation and amateurish finished product.