
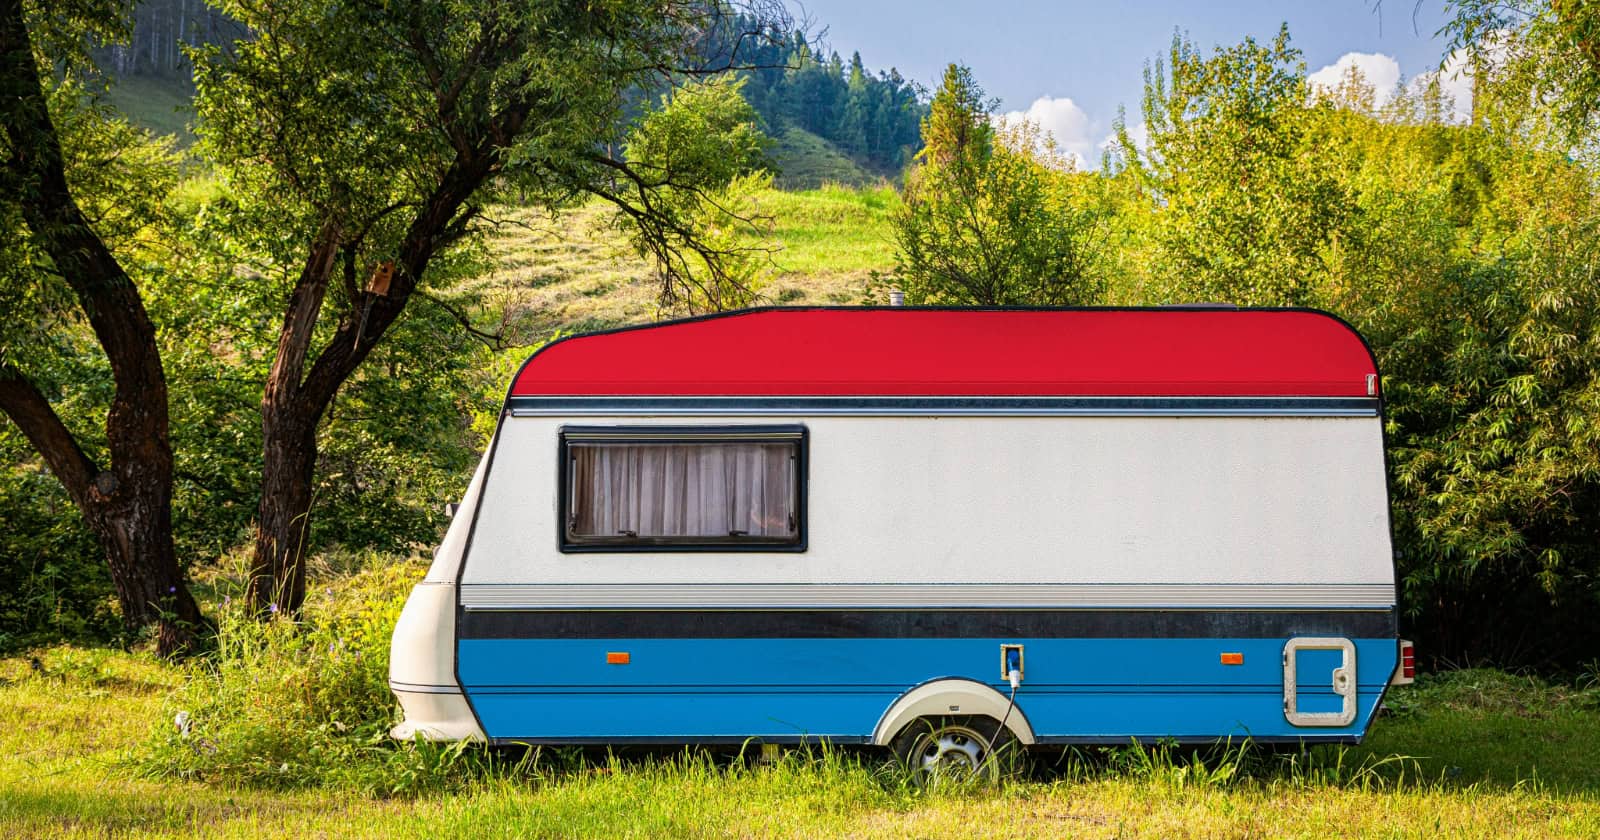
RV decals straddle the fence between two worlds. On the one hand, decals are the panache and pop of the camper, conveying style and sleek creativity. On the other hand, they’re the most underappreciated part of the entire RV. After all, who decides to go with the Forest River Alpha Wolf 30RDB-L because it’s got that snazzy exterior look?
One thing is for sure, however, when RV decals go bad, it becomes a “beauty is only skin deep” issue in a hurry. Peeling, cracking, or blistering decals will ruin the appeal of an RV and morph it into a head-turner for all the wrong reasons. Unfortunately, preventative maintenance rarely includes RV decals, with most RVers focusing on plumbing, electrical, and structural damage prevention.
The next time you run through your maintenance routine, incorporate the exterior of your RV as well. The decals don’t need a ton of love and attention, but they do need some. If you notice that your RV is losing some of its visual pop, bookmark this page so you have a comprehensive decal repair, enhancement, and protection guide to check in with.
Understanding RV Decals
Almost all decals for campers are made of vinyl, with some RVs getting the painted graphics treatment, which comes with its own set of pros and cons. Rather than differences in material, you’re dealing with differences in quality. There’s high-quality vinyl, and there’s that stuff you order on Amazon with a 3-star review and a 50% discount.
RV decals typically consist of calendered vinyl or cast vinyl. Both consist of PVC resin. Cast vinyl is the truly premium, bougie vinyl that you should always aim for if you’re in the market for it. That’s not to say that calendered vinyl is bad, only that the manufacturing process results in a more cost-effective product with a price that is more amenable to consumers and a shorter life cycle.
Cast vinyl has a lifespan of roughly 8 to 10 years, while calendered vinyl is half that, since it thins quicker, resulting in a rapid reduction in adhesion. Both cast and calendered come with a thin coating of premium acrylic adhesive. The manufacturing process and composition of vinyl graphics get a lot more complicated, so we’ll spare you the details that will likely put all but the most enthusiastic chemists to sleep.
However, what is important is the preventative maintenance of vinyl RV decals. If taken to its fullest extent, it’s almost as complicated in its own right. It’s like detailing a nice, expensive sports car. You don’t have to do it constantly, but if you want the RV’s skin to keep that sleek, glossy vibe that draws positive attention, there is a degree of meticulous precision and routine involved.
If there’s one thing premium vinyl loves, it’s attention and TLC.
Cleaning RV Decals
Routine cleaning of your RV decals is crucial to maintaining them and maximizing their lifespan. Nothing survives the onslaught of water, moisture, and UV radiation forever. But you can make it last for a very long time. Some of the below advice may seem a little strange or sketchy, but there’s a method behind the madness, so to speak, and we’ll cover that as well.
- Never wash your RV in the sun.
- Never wash your RV if it’s extremely hot or decently cold outside.
- Avoid solvents at all costs.
- Rinse with the cleanest water you can find or use distilled water.
- Be sure that the surface is completely dry when you’re done cleaning.
- No pressure washing, period.
- Use solvent-free detergents or specifically auto detergents.
- Use microfiber rags, avoiding the use of brushes.
When you read through the bullet points, it sounds almost like you’re washing an RV with sensitive skin allergies. However, cast vinyl prices are such that you’ll want to put in the work and time. Plus, even if you’re dealing with calendered vinyl, you still want to get the maximum life span out of it.
Washing
A first-class painter or chemist will be the first to tell you that it’s amazing how porous a variety of surfaces are, and the immense effects that temperature, water, and UV have on them. For instance, spray paint is atomized via pressure and air. If you scratch the surface prior to applying paint, with an abrasive material, it opens the underlying paint, allowing the atomized paint to bond better.
The upkeep of vinyl RV decals works in much the same way, leveraging the receptability of the vinyl to clean and protect it. You don’t want to wash it when it’s too hot or cold because the temperature of the water is always different than the ambient temperature, causing shrinkage or expansion of the vinyl. Wash it in the shade or at nightfall, when the water is similar to that of the atmosphere.
Vinyl is weak against solvents, allowing them to penetrate and cause damage, eventually fading and shrinking the vinyl. Besides, solvents are bad for your skin as well, penetrating it to a large degree and drying it out. Detergents are the safer bet, specifically automotive detergents. A good detergent separates the oil and dirt from your RV decals through emulsification, and it slides right off when you rinse.
Rinsing
You want the cleanest water possible. If you are at home and know the water coming from your faucets is on the hard side, you should avoid using it. Hard water is full of calcium and magnesium, both of which are capable of damaging the vinyl, creating faded spots in the material.
If you can, use distilled water. It’s understandable if your RV is way too large to dump one-gallon containers of distilled water on it. That wouldn’t be fun on even the best of days. If you can’t use distilled water, softer water is the second-best option. Just remember that soft water has more sodium in it, so you need to dry your RV well.
Drying
There’s nothing too complicated about this part. Simply dry your RV as quickly and efficiently as possible. Be sure to use 100% cotton and dry in rows until the entire thing is done. Since the primary focus is on the RV decals, those should be your priority.
Recommended Cleaning Solutions
Again, you don’t have to do anything too elaborate here. You just want to stick with detergents. As a matter of fact, you can keep things simple and affordable by using a simple dish soap, since these are nothing more than mild detergents capable of cutting through oils and dirt.
Most marine cleaning products are just as viable for RVs since the concerns over vinyl decals and fiberglass are the same.
Protecting RV Decals
Where RVs and boats are concerned, it always boils down to preventative maintenance. While there are varying qualities of vinyl, there’s more to it than just the quality. For instance, vinyl with metallic film becomes more brittle over time or as a result of faulty maintenance. Solid colors are not as susceptible. All of the above are petroleum-based, so the best protectants take this into account.
The ideal wax protectants will defend both the RV decals and the underlying surface, whether that’s straight fiberglass, gel-coated fiberglass, or paint jobs. It’s easier to do than you think because there are one-size-fits-all wax applications out there, otherwise known as synthetic polymers.
Non-synthetic waxes tend to have the aforementioned solvents, abrasives, and chemicals that negatively impact the vinyl. It may work wonders on the rest of the RV, while slowly undermining the look and quality of your RV decals. As with washing, avoid applying wax or protectants of any kind while parked in direct sunlight.
Products like 303 Aerospace Protectant offer a protective layer against UV, temperature, and moisture damage, along with restoring the look of the vinyl and doing the same for fiberglass and gel-coated fiberglass materials. Do your best to park your RV in the shade, when possible, avoid low-hanging tree branches, and keep it covered while it’s in storage.
Fixing Common Issues
Cracking, fading, blistering, and peeling are the most common types of damage to RV decals. However, scratchy tree branches and rocks flung up on the road are common enough as well. Unfortunately, only peeling is something that you can fix without professional help.
When you think about it, it’s not like you can use a red Sharpie marker to fill in a crack on a red decal. In those cases, there’s little you can do other than have the vinyl replaced. For vinyl that’s just beginning to fade, you can bring back some of the luster with cleaning and a good wax/protectant, but it’s in the first stages, and it only goes downhill from here.
The good news is that you can remove and replace RV decals whenever you want or need to. It is a labor-intensive job, however, especially if we’re talking about large motorhomes, fifth-wheels, and travel trailers. It’s also meticulous and time-consuming. You’ll need a few tools and materials before you start.
- Heat gun or blow dryer (preferably the former over the latter)
- Razor blade scraper
- Adhesive removers, such as Goo-Gone, 3M General Purpose, or Un-Du
- Metal putty scraper
- Plastic putty scraper
Replacing vinyl decals is not something you want to mess up since a do-over is difficult to pull off, at best.
Removing RV Decals
Heat the vinyl with the heat gun, while working at the corners with your fingernails or razor-blade scraper. Once you get the corner up, slowly heat the vinyl up in front of your peeling fingers, pulling up the vinyl in a long, slow, single motion. Once the vinyl is up, use a small rag to dampen the area with adhesive remover. Allow it to sit for a few minutes before you wipe it up.
Come behind with a metal putty scraper to make sure you get all of the old adhesive. Some will come off really easy, and some will take a lot of time, patience, and frustration.
Caution: When using a heat gun to remove vinyl, always keep it in motion to avoid overheating and damaging the surface beneath.
Installing New RV Decals
Before you even bother looking for new RV decals, it’s highly advisable that you go with cast vinyl. Yes, it’s the more expensive option. However, you will save money in the long run with much better-quality decals that last nearly twice as long. Plus, considering how painfully meticulous removing and installing decals is, you don’t want to do this more often than necessary.
Before you begin the application process, spray the area down with a mix of automotive detergent (or Dawn dish soap) and water. Leave the wet, soapy area intact. Next, take your spray bottle in one hand and your vinyl decal in the other. Begin peeling the backing off of the decal, and, as you go along, spray the adhesive side of the decal with your detergent water.
Place the wet decal over the wet spot you sprayed in preparation for it. If you need to, pre-mark the area you want to place your decal with a washable marker or something you can remove later. Apply your decal. Use your plastic putty scraper, starting from the middle of the decal, to apply pressure and scrape, from the center outward, the air and soap bubbles out from underneath the vinyl. Wait about half an hour.
Return and gently dry the decal and surrounding area. Remove the protective film layer from the top of the decal. Start from the right or left and work your way in the opposite direction, pulling the film off at a nearly 180-degree angle from the vinyl. Stand back and appreciate your hard work and dedication.
Final Thoughts
There you have it—the highs and lows—ins and outs of RV decals. Bet you never thought you would be working with something at the molecular level, just to spruce up your RV’s aesthetic appeal. Well, maybe it’s not that serious. Taking care of your RV’s exterior is a lot more involved than most RVers realize, especially when it comes to keeping those decals looking sharp and robust.
Just remember, preventative maintenance is everything, and it applies to RV decals every bit as much as it applies to your water heater or A/C unit(s). Keep it clean, keep it protected, and your vinyl decals will last a very long time.


You can enroll here: https://tripwizard.rvlife.com/
This article offers several suggestions: https://www.doityourselfrv.com/rv-replacement-decals/
This article offers several suggestions: https://www.doityourselfrv.com/rv-replacement-decals/
good question. where can we g e t replacement decals?
how do I get enrolled in the rv trip wizzard program?
I purchased my 2001 Bounder decals from a seller on EBAY. They are as much as an exact match as you could hope for, both color and size. These are the “BOUNDER” graphics, with Kangaroo, not the striping.
I have removed 3 of the 4 sucessfully with heat gun, carefully, not to yellow the gelcoat, plastic razor blades and goo gone. And lots of time!
rvgraphics4u is the name of the ebay’er I decided to use, as he was helpful describing his product and he prints them freshly per order, not old stock, sitting on a shelf in a warehouse.
I am doing to install after I remove the last one and finish buffing the gelcoat and waxing with Meguiars RV/Marine oxidation remover/polish/wax 3 step. Dont think the person I bought from 3 years ago ever did that. After 1st step ,WOW, it took on a nice shine. Cant wait to finish polish and wax!
Yes, there will be marks where you remove the decal, but the new ones should fit right over the old ones.
I like this article, but the main factor you left off is where to buy the decals. I have a perfectly intact 2003 36 ft Bounder, and as your article speaks of, the decals are way past their prime. I have take very good care of the motor home, and tried many marine products, but as I said the decals are old. Where or how do I replace the decals, since they have to match the old ones. Obviously once I remove the current decals, it will leave a permanent mark in the paint where the old ones were.