
Few things look better than a freshly washed and waxed fiberglass RV. But sometimes, something can get in the way of your RV looking its best: RV oxidation.
Unsightly splotches and streaks of oxidation can leave your RV looking worse for wear. But what can you do about it? Thankfully, there are plenty of things you can do to both prevent and repair RV oxidation!
What Is RV Oxidation and What Causes It?
Let’s take a closer look at RV oxidation, what causes it, and what you can do about it.
You’ve likely heard the word “oxidation” many times before, but just what is it really?
Simply put, oxidation is a chemical reaction that causes a substance to change via the loss of one or more electrons from the molecule, which is frequently caused by oxygen… hence the name. The most common example of oxidation we see in our day-to-day lives is rust.
Rust is created by iron reacting with oxygen in the presence of water or moisture in the area. This oxidation process creates iron oxide, which we know colloquially as rust. When oxidation occurs on an RV’s exterior, it works much the same way.
When your travel trailer, fifth wheel, or motorhome is exposed to heat and UV radiation, it causes the surface to react with oxygen in the air, oxidizing it and creating a dull, unappealing appearance. Not taking proper care of your RV such as with regular cleaning, or using cleaning products that are too harsh, can also contribute to oxidation.
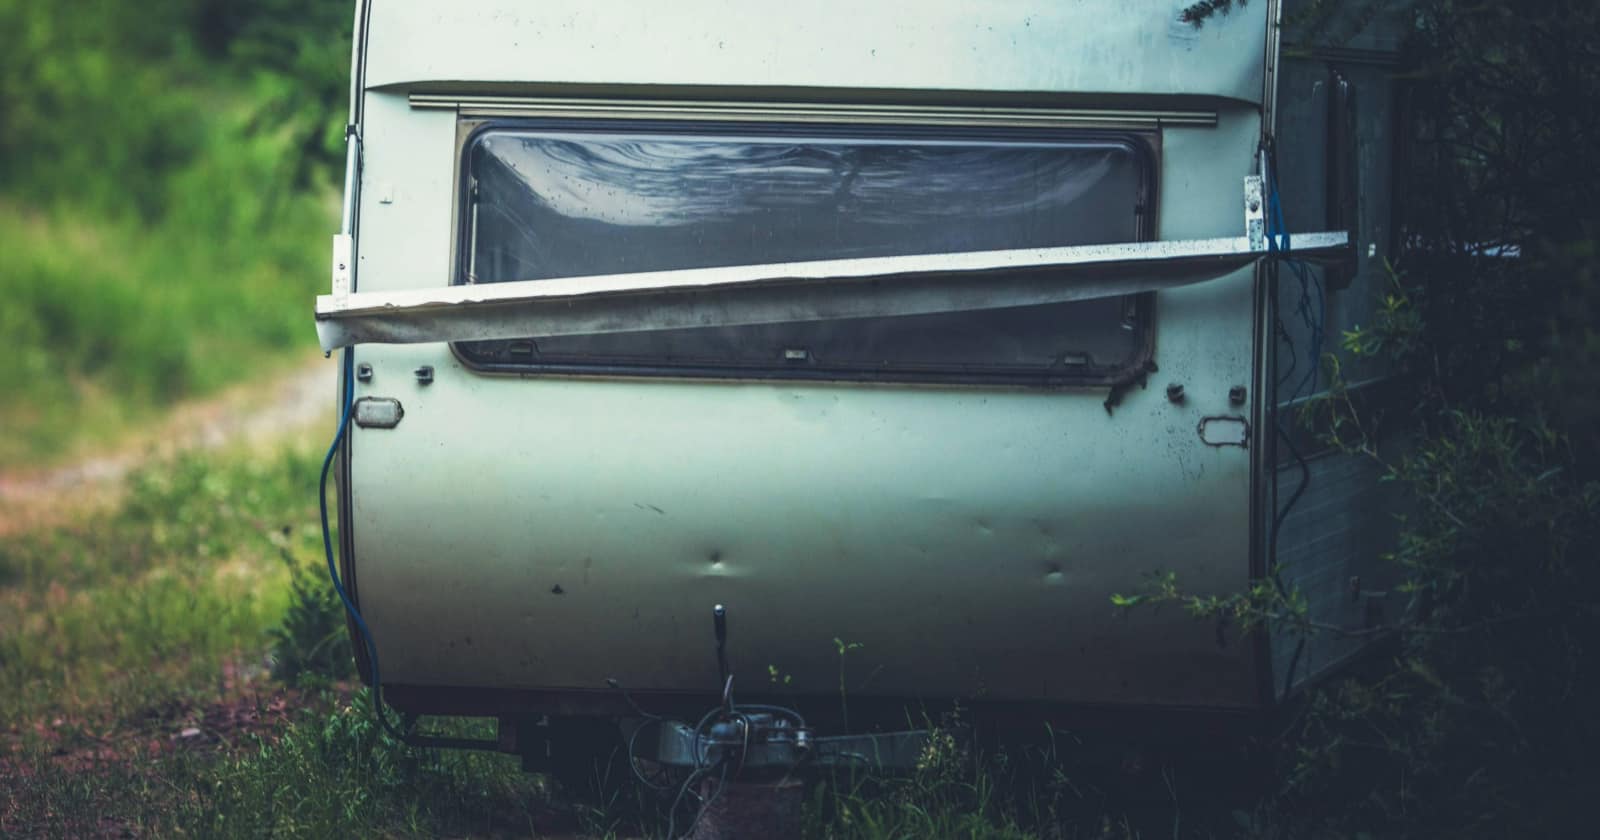
You can recognize RV oxidation on your fiberglass rig by splotchy or streaky discoloration, as well as a chalky, dull appearance instead of the usual shine.
How To Prevent RVOxidation
While RV oxidation is unsightly, the good news is there are a variety of ways to prevent it:
- Wash your RV often, and use the right soap – You should wash your RV regularly and use gentle detergents. Preferably, use a soap that is made for your RV. You should also avoid most household cleaners and avoid washing your RV in direct sunlight if possible.
- Apply wax after washing – While waxing is an easy step to skip, a little wax goes a long way to protect your rig. Apply a quality RV wax that’s formulated for UV protection at least once per season and more often if you live in a hot, sunny climate. Generally speaking, paste or liquid wax is better than spray wax, as it provides better coverage.
- Keep your RV out of the sun as much as possible – UV radiation and heat are some of the biggest contributors to RV oxidation. Whenever possible, park your RV somewhere shady and away from direct sunlight. Consider using an RV cover if your rig will be sitting outside for a long period or if shade isn’t available.
By taking these precautions, you can prevent RV oxidation. However, if your RV is old enough, you may still see some oxidation start to form. Luckily, RV oxidation can be fixed with a bit of elbow grease.
How To Repair RV Oxidation On Your Fiberglass RV
Even if you take steps to prevent it, RV oxidation can still occur, especially on an older RV. Thankfully, if your RV surface is oxidized, it is possible to remove it. To repair RVoxidation, you’ll need:
- RV washing supplies, including soap, a sponge, a bucket, and drying cloths or microfiber towels
- Automotive masking tape
- An electric buffer with pads that range from soft to heavy-duty
- Rubbing compound
- RV polish and wax
You can find all of these easily at any auto parts store or purchase them online via Amazon.
Three Safety Tips Before Starting the Process
- Test First: Always perform a spot test with any cleaners or compounds on a small, inconspicuous area of your RV to ensure there is no further damage or discoloration.
- Use Appropriate Products: Use products and tools that are specifically designed for and safe on the surface of the RV.
- Avoid Direct Sunlight: Apply products and perform buffing in a shaded area to prevent the surface from heating up, which can affect the effectiveness of the oxidation removal process.
The Process To Remove RV Oxidation
- Wash your RV – Give your RV’s fiberglass surface a thorough wash to get rid of any dirt or debris.
- Park in a covered or shaded area – Ensure your RV is out of the sun before you continue.
- Let the vehicle dry, then tape it up – Once the RV is completely dry, you’ll want to tape off all your plastic and chrome molding and trim near the oxidation you’ll be treating. This protects these parts from damage.
- Start buffing – Apply a small amount of rubbing compound to the affected area and work it in slowly and gently with your electric buffer, using the softest pad and the slowest setting. Be sure to use a gentle circular motion, and don’t rush. Go over the area several times. You’ll see the brightness of the paint start to show as you buff.
- Buff more intensely – If the initial buff doesn’t remove all the oxidation, you’ll have to step things up. Move to the next heaviest duty pad and the next fastest setting, and repeat step 4. Continue this process, stepping up the pads and speed bit by bit until all oxidation is removed. Once complete, wipe off the excess rubbing compound.
- Polish the RV – Follow the same process as buffing, slowly and gently working the polish over the affected area using the buffer. Once you’re done, wipe off any excess.
- Wax the RV – Once buffed and polished, your RV is ready for wax. Apply the wax to the area using a soft hand cloth rather than the buffer.
- Even things out – After going through this process, the area you just worked on might end up looking better and more vibrant than the rest of your RV. To even things out, do a light buff and polish the rest of your RV so it all looks consistent.
The Use of Oxidation Removers for Gel Coat or Fiberglass Finish
You can also use specialized oxidation removers. Considered one of the best oxidation removers for gelcoat and fiberglass surfaces, Meguiar’s Marine/RV Heavy Duty Oxidation Remover can do just the trick. The process is largely the same:
- Clean the RV and let it dry before taping off plastic and chrome molding and trim.
- Apply a thin bead of oxidation remover, ensuring the RV is out of the sun and the surface is cool to the touch.
- Work in the oxidation remover using a buffer or soft cloth until nearly dry.
- Wipe clean with a cotton or microfiber towel.
After removing the oxidation, polish, and wax the same as you would for any other method. Once the oxidation is removed, be sure to take proper care of your RV to keep it from coming back. That means parking in the shade, as well as regular washing, polishing, and waxing.
Note: The procedure to follow through with decals is slightly different. The following article explains strategies for maintaining RV decals in detail.
Repair RV Oxidation To Keep Your Fiberglass RV Looking Its Best
RV oxidation can be a real pain. Instead of looking sleek and clean, it can leave your camper looking neglected and worn. Thankfully, RV oxidation can be both prevented and repaired. Keep your RV out of the sun, wash and wax it regularly, and if oxidation does occur, remove it using a few easy-to-find products. That way, your RV will look good as new, no matter how old it actually is.


Hello. I have been maintaining my rv fairly well over the years. I believe I don’t have any oxidation as the figerglass is in pretty good shape. Decals are another story but that is for later. I have been systematically removing the decals because they have largely become cracked and bubbled. This is one of the most tedious jobs on the rv. But I am trying to perservere. The problem I have is “yellowing”! The fibreglass is yellowing and I have been basically stumped on removing it. From other forums and advice from many so called experts I’ve cut polished, used a very fine sandpaper, even used a specific acid (muriatic acid if memory serves me but I can’t remember the actual name). Many trucking companies use that acid to keep their truck fleets free from yellowing on white coloured truck bodies. So if anyone out there has any ideas or advice I would greatly appreciate any comments.
Although your suggestions are one way of doing this, we have found a much better and quicker method. Simply buy a box Mr Clean Magic Erasers. Take a hose and start by wetting the surface and rubbing the surface with the sponges. The oxidization rolls right off and you are done. Have done this to several RVs and one only goes over the surface until it shines right up. Every time we have done this, everyone thinks we bought a new RV. Give it a try.
Brian
Hello all
I suppose the only question I have would be: What product do you suggest:
“Preferably, use a soap that is made for your RV.”
“Apply a quality RV wax that’s formulated for UV protection…”