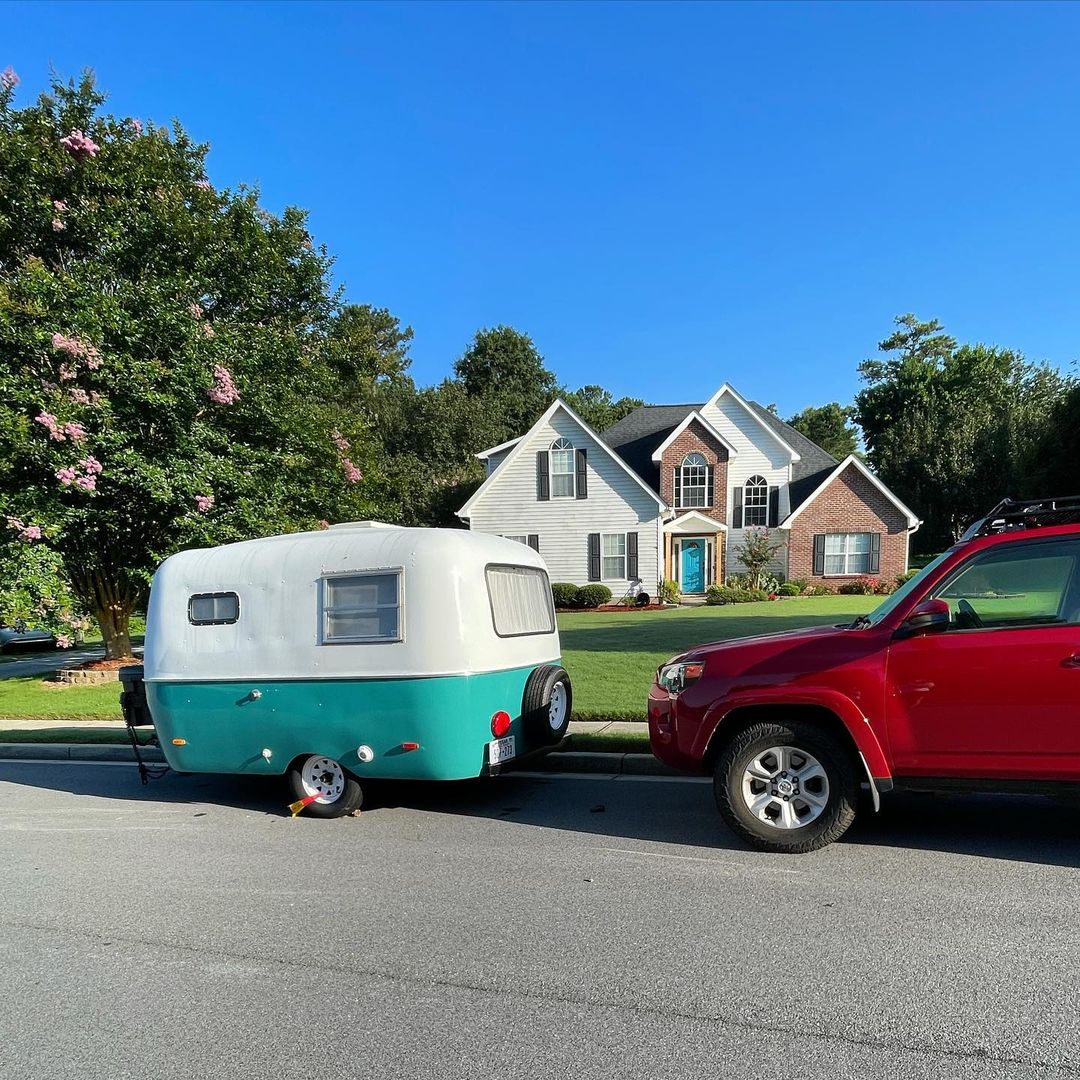
RV dent repair is far from uncommon because RVs have a lot more real estate than a car or an SUV. The more gleaming aluminum that presents itself, the more natural events feel an overwhelming obligation to tarnish it. Fiberglass is not immune to this unfortunate ratio either.
Though fiberglass is more resilient to dents, it’s still prone to taking damage, especially if struck hard enough. Either way, an RV is your home away from home or, for many RVers, a permanent home on wheels. The last thing you want is a blemish on your baby.
Life happens to us all, regrettably, and a dent or a ding is inevitable at some point. On the bright side, unless the dent is the result of a 25-ton backhoe, it’s probably repairable. Depending on the extent of the repair, it may be more or less complex. But for all the DIY RV repair enthusiasts, where there’s a will, there’s a way.
Understanding RV Exteriors
There are generally two types of RV siding: aluminum and fiberglass, though you may find the occasional DIY teardrop made primarily of wood. Besides, repairing a dimple in a plywood panel involves a similar process to that of fiberglass, so it’s neither here nor there. Aside from the obvious differences between fiberglass and aluminum, each has its own pros and cons.
Pros and Cons of Aluminum
Minor DIY RV dent repair on ribbed aluminum is relatively simple, while extensive repairs, such as damage from a hail storm, may require the replacement of entire panels. Ribbed aluminum is nothing more than overlapping, interlocking sections that can be removed and replaced when necessary. Smooth aluminum takes more finesse but can be done without involving professional RV body repair.
Pros
- Damaged sections are often replaceable
- Small dings and dents are easy to pull out
- Durable and long-lasting
- Lightweight
- Panels are often easy to replace
- Multiple methods for approaching dent repairs
Cons
- Cleaning upkeep is more extensive
- Takes damage easier than fiberglass
- Denting stands out like a sore thumb on smooth aluminum
Pros and Cons of Fiberglass
Fiberglass is definitely the more mainstream option these days, despite being the more expensive variation. When you see pictures of RVs, they’re usually fiberglass. Though the material is heavier and more expensive than aluminum (at least in terms of how fiberglass is framed versus aluminum), fiberglass lends a better aerodynamic profile to the RV, which will eventually mitigate the cost.
Pros
- Easier overall maintenance
- Resistant to small rock dings and hail
- Sleek profile and aesthetic
- Better insulative qualities
- Better aerodynamic profile
Cons
- Heavier in general
- Susceptible to UV damage
- More expensive to repair
- Fiberglass RV repair is usually more extensive (in terms of steps and labor)
Assessing the Damage Prior to RV Dent Repair
The moment leading up to assessing the damage is often as bad as the act, especially after a particularly nasty hail storm or an accident on the road. It’s important to recognize what your capabilities are and what you’re willing to do. If your RV is cut in half, it’s going to take more than automotive putty or fiberglass resin to patch things up and hit the road again.
Impact damage from rocks on the highway or minor fender benders is often fixable, but Airstream skin that looks like cottage cheese might be beyond you. Mostly, the assessment step is to help you determine what you will need for a proper DIY RV dent repair. This includes a personal labor estimate, time for repair, tools, and materials. If there are mounting brackets or other components nearby or in the way, you’ll have to temporarily remove them to proceed.
Types of Dents and Their Causes
There’s more than just one kind of RV dent worthy of repair. There are sharp dents, creases, pockmarks, outward dents, dents with strange and irregular shapes, paintless dents, rounded dents, and paint dents. Some are easier to handle than others. For instance, a traditional round dent is often a quick fix with nothing more than a drill, a self-tapping screw, a washer, and some pliers.
The Affect of Dents on RV Values and Performance
After the initial explosive depreciation throughout the first year, RVs typically depreciate at a fairly rapid rate for five years. After that, motorhomes continue to depreciate while travel trailers and fifth wheels tend to level out. Dents will worsen depreciation, even if the RV is leveling out. In a motorhome, visible dents and damage only exacerbate the depreciation factor. Keeping your RV clean, well-maintained, and aesthetically pleasing will minimize the impact.
Dents will also affect aerodynamic performance on the road. Just a few here and there may not be noticeable, but it will have a detrimental effect over time, especially if the dents are large or directly impact the RV’s profile.
DIY or Professional?
Unless you’re an insurance adjuster or have experience in fiberglass or aluminum manufacturing, you’ll have to go with your best judgment and a little bit of instinct. If it looks like way too much, don’t hesitate to turn to professional repair services, especially if your insurance will cover it.
Preparation for RV Dent Repair
Whether you’re dealing with aluminum siding repair or fiberglass RV repair, there are several tools and materials you’ll likely need. It’s best to have everything you need and potentially need close at hand. The following list includes tools and items you may need for fiberglass or aluminum repair:
- Safety Gear: Safety glasses, gloves, a particulate mask, and potentially ear plugs.
- Steel Wool: To scrape the finished dented area clean on an aluminum side
- Surface Cleaner: For either fiberglass or aluminum (BritePlus MX for aluminum and Gel-Gloss RV High-Speed Detailer for fiberglass)
- Paint and Primer: If necessary, for either fiberglass or aluminum
- Fiberglass Resin or Epoxy, and Mat: For filling in and smoothing out the dented area on fiberglass
- Cutting tool: For cutting out the damaged area on a fiberglass wall
- Auto-Body Filler: For filling in the dent and creating a smooth surface
- Replacement aluminum patch or panel: For the same reasons as the fiberglass resin and mat, only for aluminum
- Drill: for pulling out dents in aluminum or attaching siding fasteners
- Utility Knife/Scraper: For clearing off hardened resin, epoxy, or adhesive
- Tape Measure: In case you have to cut a new panel
Of course, much of the above is subject to change according to your specific circumstances.
Step-By-Step RV Dent Repair
Before you get started with the repair process, you have to build yourself a foundation. In this case, “building a foundation” means tearing things apart. Okay, maybe just a little bit of tearing things apart. Depending on the severity of the damage, you may have to grind down bent and jutting material, sand off the paint, or create an abrasive surface for paint adherence.
Aluminum Dents
Standard Aluminum Dent
Small dents are relatively simple to fix. All you need is a drill, a self-tapping screw, a washer, and maybe some pliers.
- Drill a hole directly in the center of the dent.
- Screw a self-tapping screw, with the washer, halfway into the hole.
- Use the washer to grip with your fingers and pop the dent out by pulling it.
- If you can’t grip the washer, use the pliers to grab it and pull.
- Remove the screw and use steel wool to scrape away debris and paint (if there is paint).
- Meticulously clean the area.
- Fill the dent with auto-body filler.
- Use your scraper to scrape away excess and create a smooth, level surface.
- Allow the filler to dry.
- Use a high-grain sandpaper to scratch up and open the surface of the hardened filler.
- Prime and paint the surface to match.
This is your absolute simplest repair job. Anything larger or more disastrous will require patching with aluminum sheets or the complete removal and replacement of one of the panels. If the damage occurs at the edges, near the strips, you can remove the strip and cut through the silicone before reaching in and pressing the dent out from underneath.
Just remember that any stripping removed should be thoroughly inspected for existing damage and sealed with adequate silicone and screws when the repairs are complete. Future water damage via leaks has the potential to be devastating.
Panel/Siding Removal
If the damage is severe enough, you may have to remove and replace the panels. You’re not really engaging in RV dent repair so much as just removing it. Fun stuff.
- Disconnect or remove any brackets, electrical components, or strips that are in the way.
- Cut through any existing sealant (Usually, a box cutter or scraper will do the trick).
- Remove any straps or fasteners (such as dealing with the corners).
- Slowly and meticulously pry the panel away.
- Use this opportunity to thoroughly inspect the area behind the panel and ensure there is no water or hidden damage.
- Clean the underlying area and prep it for the new panel.
- If the new siding requires a primer, apply it.
- Measure the gap and ensure your panel is a match to properly fit.
- Install the new panel either with adhesive or screws/rivets, according to what existed before you removed it.
- Make sure the siding is secure by placing pressure on it across the panel.
Come back and recheck the area routinely to make sure that there are no leaks and everything is tight and secure.
Aluminum Patch
You can patch over dents that have compromised the skin of the RV using an aluminum self-adhesive repair patch. This is best for Airstreams since they are not typically painted. Treat this repair just like you would a standard dent repair on an aluminum RV.
- Use steel wool to clean and scuff the area around the dent.
- Clean the surface with solvent thoroughly.
- Allow the surface to dry.
- Apply adhesive to the surface and to the back of the patch.
- Place the aluminum patch over the damaged area, press and hold firmly for as long as you can, and release.
You can purchase these aluminum patches in a variety of colors and sizes. However, if you choose a color, the odds of it perfectly matching an existing color are pretty low. It may stand out a little bit.
Fiberglass Dents
This won’t be as extensive as the aluminum repairs, though you may find the task to be a bit more complicated. You’ll probably need an orbital sander, a grinder, and a fiberglass mat for replacement.
- Use an orbital sander or hand-sand (depending on severity) to remove paint or jagged fiberglass.
- Use a solvent to clean the area thoroughly, removing all dust and debris.
- Make sure you soak your mat in resin.
- While it’s soaking, use a paintbrush to apply resin to the damaged area.
- Place the mat and smooth it out with a plastic putty knife, gloves, or a paintbrush.
- Repeat this process as many times as necessary to level out the damaged area.
- Allow 24 hours to cure.
This is a highly repetitive process and requires a steady hand to continuously shave off the excess resin or epoxy. Time and patience are key.
Finishing Touches
No RV dent repair project is complete without a few finishing touches to restore the original luster and aesthetic appeal of the exterior. If you lose some paint chips in the process, don’t throw them away! You can use the chips to get a perfect match at any local hardware store.
The best way to paint an aluminum or fiberglass exterior is with a spray application. Atomized paint particles adhere to the surface better, especially if the surface is properly prepared. A UV-resistant latex, urethane, or epoxy primer will work, followed by the paint recommended by the RV’s manufacturer.
Apply two coats for extra protection and a good wax when the paint has more than enough time to cure.
Preventative Measures
There’s no such thing as absolute protection unless you plan on purchasing a tank. But there are a few things you can do to minimize dents. Pay attention to the weather. While hail storms are rare, you’re more likely to run into one when you’re moving around the country.
Carports and underneath bridges are your only safety valves in a hail storm. If you wish to avoid all of the other dents and scratches that come with owning an RV, especially an aluminum RV, don’t purchase one. That’s the only way to never have to deal with dents.
In terms of fender benders and car accidents, practice defensive driving and know your business before you try hauling a travel trailer, 5th wheel, or motorhome. For newbies, find a sizeable, abandoned parking lot and get comfortable with your rig.
For natural dents and most accidents, your insurance will cover a lot. For the smaller incidents where a deductible is more expensive than the repair, it’s time to break out the tools and get to work.
Conclusion
When it comes to RV dent repair, we could write a book on the massive variety of situational scenarios you might run into. It’s important to understand when something is a DIY project and when it’s beyond your ability and should be left to a professional. If not done correctly, the long-term damage may make you wish you had never bothered.
If you can tackle it, by all means. Patience, the right tools, meticulous work, and more patience will see the job done well and right. Also, be sure to use it as an opportunity to inspect your RV, especially when the damage is near silicone beads, rivets, screws, etc. Unfortunately, dents are nearly unavoidable over time. But, with the right tools, know-how, and patience, you can set it right in no time.


