RV Water Damage Wall Repair: What To Do If You Find A Leak
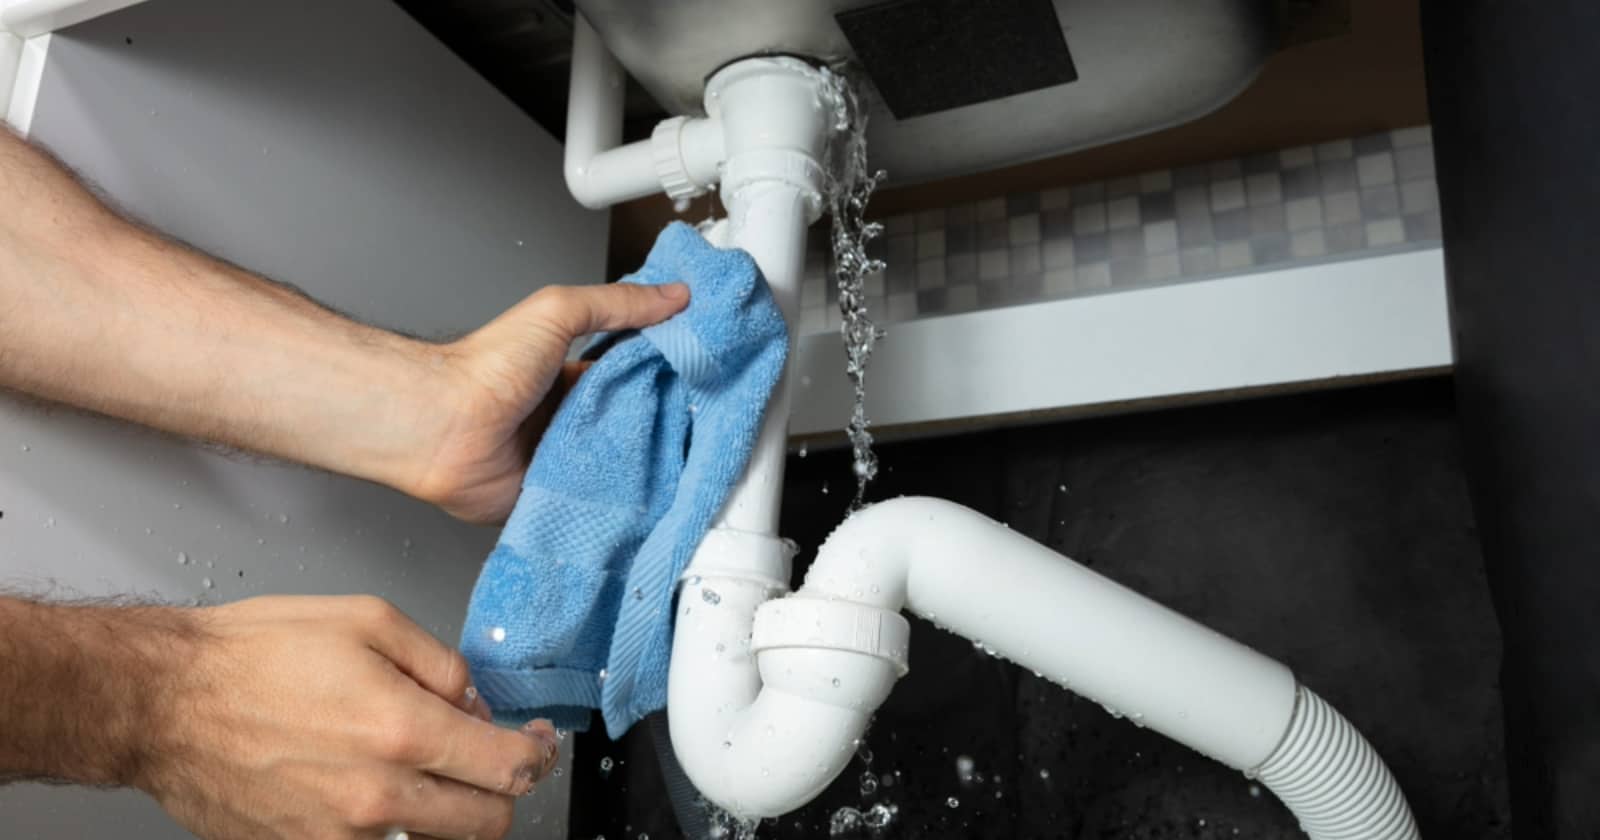
Water damage in an RV can be a serious problem resulting in major renovations and costs. Finding evidence of a water leak can be stressful and overwhelming. So, what should you do if you find water damage?
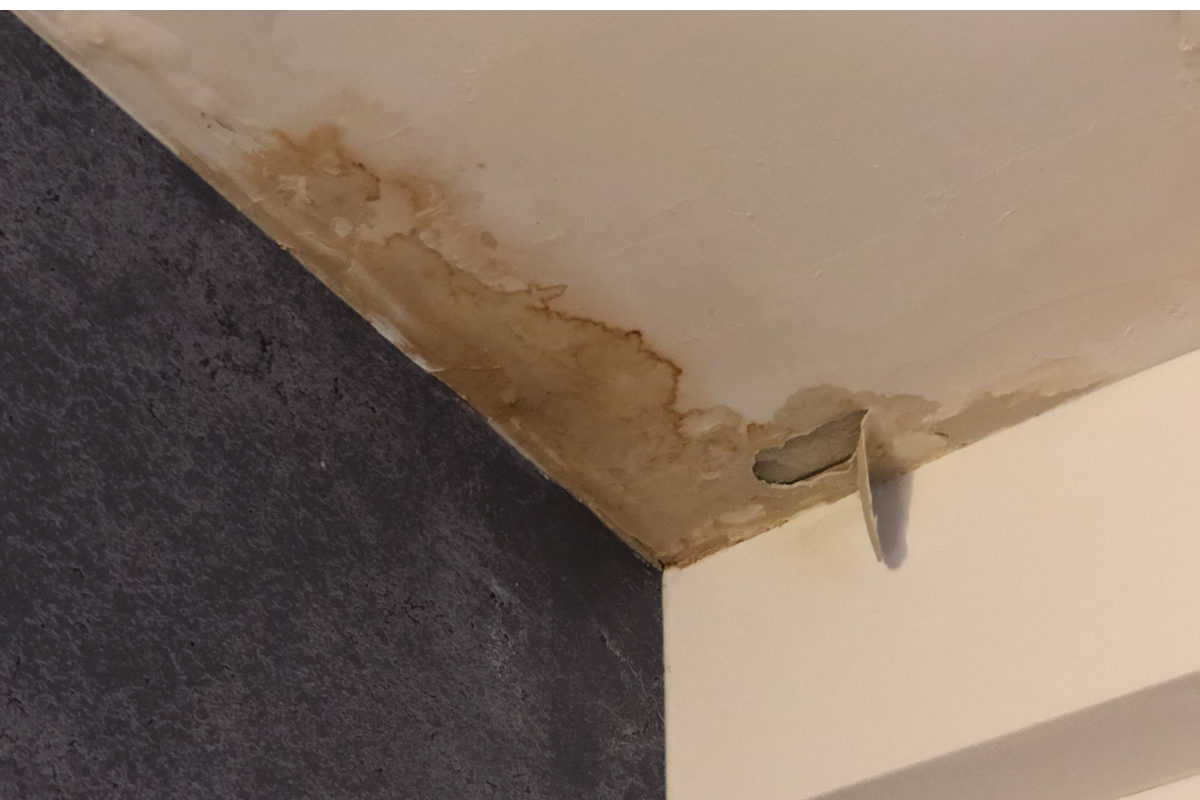
Many times, when the signs of water damage show up, such as bubbling paint or discoloration of wood, the water has been working behind the scenes for a while already.
At the first signs of water damage, it is critical to find the location from which the moisture is entering your RV. There is no sense in repairing water damage that will inevitably just return.
You must determine the extent of the water damage. If you find evidence of water where the wall meets the floor, but the leak originates on the roof, there is likely water damage from one point to the other.
Most of us don’t have a moisture detector in our toolbox, however, if you have access to one or choose to purchase one, they can be helpful.
Pulling wall panels off of your RV may seem extreme and a little scary, however, it may be necessary.
Repairing RV wall water damage can be a big job. If you choose to have someone else do the work, spending the time to locate the leak and areas of repair will save them some time and you some money.
One thing to mentally prepare for is that once you start opening up walls and following leaks you never know what you will find or how far the damage will extend!
Once you’ve found signs of a water leak
Once you find or suspect water damage in a wall, there are only two ways to access it: interior panels or exterior panels will have to be removed. If the damage is on an area of the wall with no or only a few mounted fixtures, such as cabinets, you can likely remove the interior panels to get to the damage.
If damage is suspected along a kitchen wall or behind items not easily removed and replaced, access may have to come from removing the exterior panels. Any time exterior paneling is removed, there is a chance of future leaks if not fully replaced correctly. If you can avoid breaking any exterior seals, it’s usually best to do so.
Interior RV panels are actually not very difficult to remove with basic hand tools and some patience. One nice thing is that each panel generally spans an area from floor to ceiling and over at least two wall studs. This means by removing even a single wall panel, you will get a good look at the situation inside the wall.
Removing wall panels
Finding the edges where interior wall panels meet is easy as there will be a trim piece or a strip of tape covering the joint. Plastic T molding is pressed into a plastic channel mounted to the wall. They are easily removed by releasing the top or bottom edge and gently pulling the strip away from the wall and out of the channel. If nothing is broken while removing, they are replaced by pressing them back into the channel.
Unlike the plastic channel strips, a paper tape-type seam will not be reusable. It will have to be cut down the center with a knife before removal.
Since most panels run from floor to ceiling, any trim pieces along the floor and ceiling will have to be removed as well. These trims are generally just nailed to the wall and can be removed by gently prying them off with a small prybar or flat screwdriver.
Check for electrical outlets in the section of the wall you need to access. In most cases, the plate on the exterior of the wall is all that will have to be removed. Reinstall the screws so you don’t lose them.
The panels themselves are nailed or stapled to the studs. Again, being gentle, pry them away from the studs. This will expose the studs, insulation, and of course any water damage within the wall.
Inside the walls
Insulation that has gotten wet should be replaced with new stuff.
Use gloves when working with insulation and any material that has mold on it. It’s a good idea to also wear a mask if you suspect mold. If the mold is extensive when you open the wall, masks will be required for any additional work.
Take note of how everything is in place before removing a bunch of stuff. Taking pictures will help when it comes time to replace framing or routing wires.
It is likely you will cross some electrical when repairing RV wall water damage. Use caution around any electrical wires and connections as well as plumbing lines and connections. If possible, avoid removing any of these systems.
Framing repair
RV framing is pretty basic. Often it is stapled and nailed together from the top and bottom plates, which at this point may not be accessible. Some twisting and prying will likely be needed to remove them.
Any framing around windows and doors supports those fixtures, so it is important to take note of how they are constructed if they need to be replaced. Maintaining the structural integrity of your RV is key when repairing RV wall water damage.
Window removal, if necessary, is pretty easy by removing the screws surrounding the window. Replacement of the seals is very important to reduce the risk of a leak. This DIY RV window replacement article goes into more detail.
The top and bottom plate of the wall, if damaged, can be replaced in sections. It will be unlikely you will be able to remove the entire top or bottom plate. Entire studs should be replaced and not pieced together. They are small and easy to cut and attach with hand tools.
Putting it back together
When all damaged components are replaced and the leak location has been fixed, the wall panels and trim can be replaced. The wall panels use small finish nails or staples to attach to the studs. An air or electric powered gun makes this easier but a hammer is all you need.
If you removed a taped seam, rather than replace it, you can use a small piece of wood trim to cover the seam.
Until you dig into it, you won’t know exactly what will be required when repairing RV wall water damage. The important thing is to remove all damaged areas and properly fix the leak location. You never want to just cover anything up.
Tearing apart your RV chasing water damage can turn into a big project. However, this is no reason to avoid repairing RV wall water damage, and turning a blind eye to water damage is never a good idea.
Track your RV maintenance and repairs
Make sure you keep track of all your RV maintenance and repairs with an online tool such as RV LIFE Maintenance. Not only can you keep all of your documents in one place, but you’ll also receive timely reminders when maintenance is due to help you avoid costly repairs and potentially serious accidents.
Continue reading: