
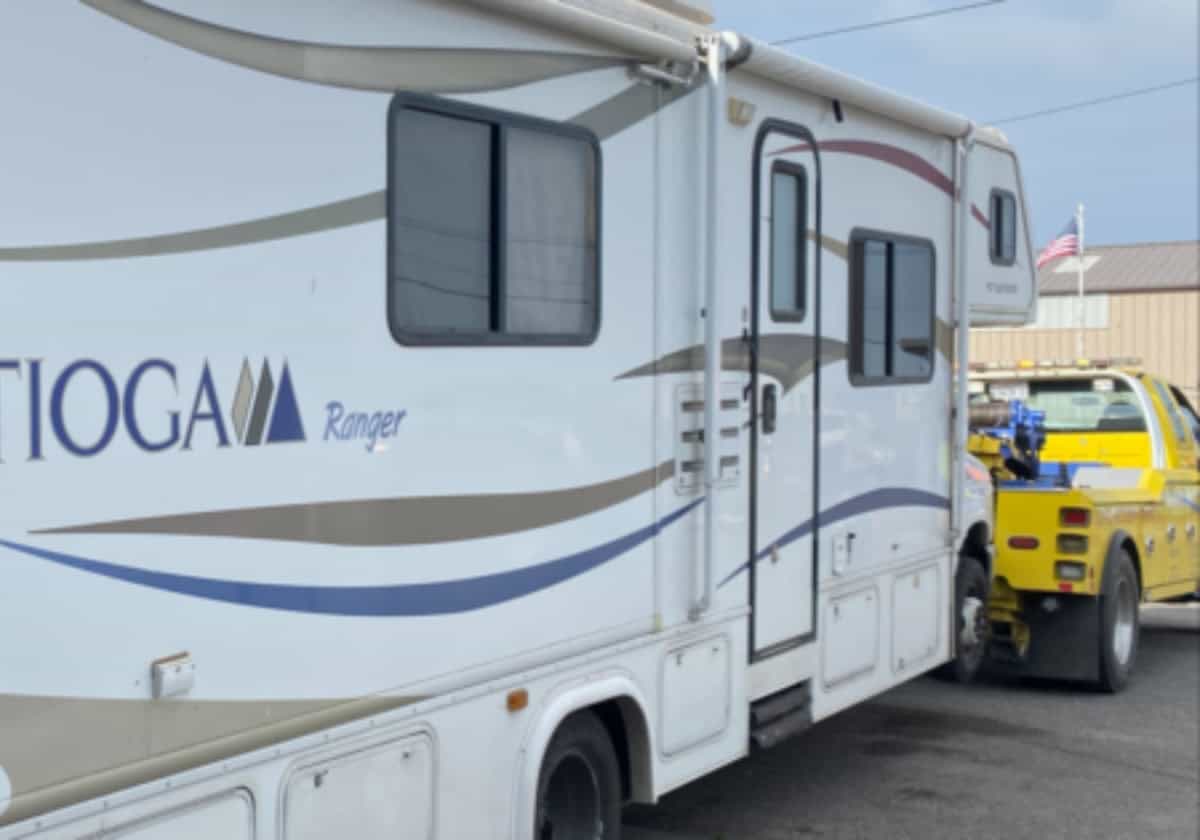
How We Rebuilt The Cab Area Of A Class C RV
Class C RVs are notorious for having leaks in the overhead cab area either from the front window or the roof. Actually, any older rig is notorious for water damage and our 27-year-old Class C RV is no exception to this as well.
Leaks can develop for maintenance neglect like not caulking roof or window seals. They can also develop from a result of damage to the roof or window area.
We have been down a lot of rough roads while exploring this country over the past four years, so damage was bound to happen to our older machine. This is what makes travel and exploring fun and exciting though.
We had a few issues going on with our rig and they were starting to add up and take a toll on our older rig. The previous owner had hit and damaged the roof from what I suspected was a tree branch, which I fixed, but the water had gotten in for some time causing some framing damage.
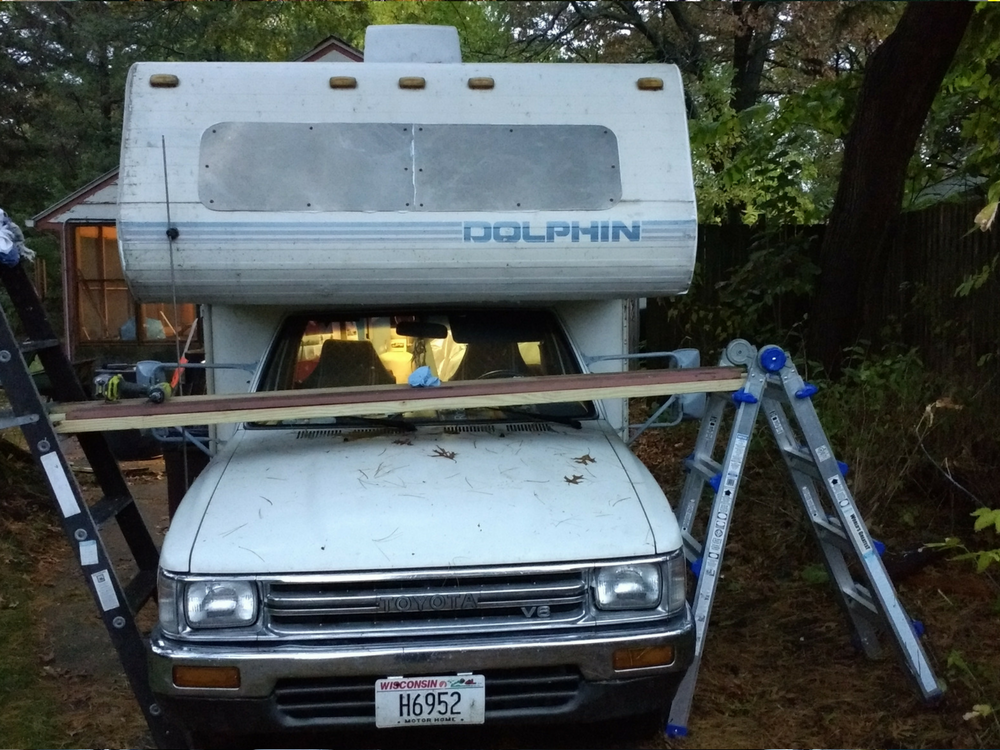
Then we had an incident in Baja, Mexico where we literally went airborne after not seeing a tope (speed bump…more like speed ramp) at thirty miles per hour, this caused a lot of damage.
It made the roof seams separate and lose the waterproofing on the flat roof and front of the RV. It also broke the plywood that connects the bed platform to the wall, which made a huge crack in the fiberglass by the driver door.
I was able to put a band-aid on it and fix it in the parking lot of a Home Depot, prolonging it for a future more permanent repair down the road. Then the final straw was when the front glass window was smashed out by a rock picked up and thrown from the tire of a passing truck.
I fixed this in the parking lot of an Ace Hardware, but it still would leak water whenever we were driving in a heavy rain, causing all the bedding to get wet.
Enough was enough, it was time to do a complete demo and rebuild. So when we found ourselves home to visit family and had access to tools and materials, it was time to do the job.
Everyone’s work style is different as far as workmanship and material choices, but this is what I used and how I did it, and I hope this can help someone out there.
Demolition
This is always the easiest part, the hard part is putting it back together. Tearing things apart and throwing them into a trash can is a stress release, rewarding and fun, but care needs to be taken to not cause any more damage than is already there.
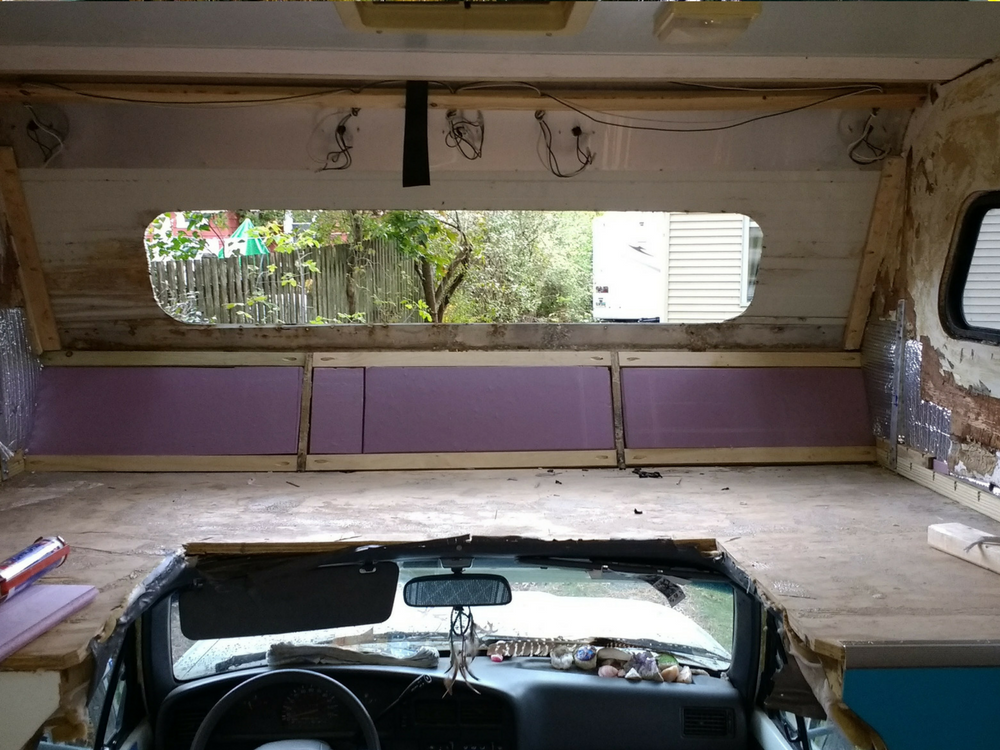
I first removed the window interior frames and wall lights, then ripped out all the wall paneling on the side walls, front wall, and ceiling area. Then I removed the wall insulation from the bottom foot of the wall to repair the broken bed platform and removed the insulation from the entire front window area. We were ready for framing.
Framing
I found rotten wood framing on the ceiling section of the roof from the tree branch damage that I mentioned earlier, so I cut and spliced in new lumber for that area.
Next, I moved on to the heavily damaged bed platform area. For this repair I used lumber, thick gauge aluminum angle stock, and secured it with screws and Loctite Power Grab Ultimate construction adhesive (which I used for the entire project). I then went on to the front window area.
We decided to completely remove the front window and frame it in so we would no longer have the front window. This window always let too much sunlight in when we were trying to sleep and we also feared that it would have been smashed out again down the road. I reframed this entire area to later be covered with metal, insulation, and new paneling.
Insulation
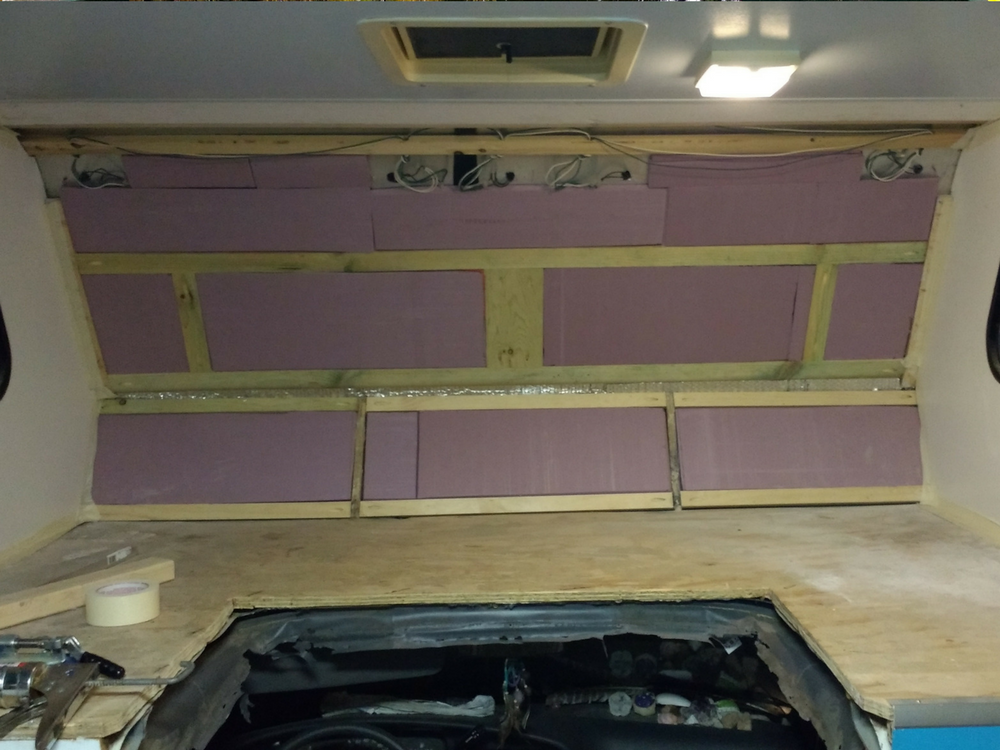
It was now time to re-insulate the entire cab area. For this, I used 3/4 inch pink extruded polystyrene to match up with the existing walls and ceiling. I just cut it to size then secured it with Loctite Power Grab Ultimate. Next, I needed to remove the window and cover it.
Removing the front window
With the inside window frame removed, the only thing securing the window into the RV is some butyl tape, so all you have to do is gently push the window outward and the seal should start to break. The window should now be able to come out completely. We just threw it away when it was out.
I covered the old window opening with a sheet of thick gauge aluminum, similar to a street sign. I just cut it to size and filed the edges smooth, caulked all the edges with butyl caulk, and then secured it to the inside framing with roofing screws (screws with a rubber washer). Now it was time for the interior paneling.
Paneling
To install the paneling I used 4×8 sheets of fiberglass reinforced plastic (FRP) panels. This step took some careful measuring and cutting but came out nicely when it was done. I secured it with Loctite paneling adhesive and let it sit overnight. It was now ready for some caulking.
Caulking
The last thing to do was to caulk all areas inside and out of our Class C RV. For the inside, I used painter’s caulk to seal all the seams for the future paint job in the RV. For the outside seams, I used Vulkem 116 to seal all roof and siding to make it watertight and ready for the road.
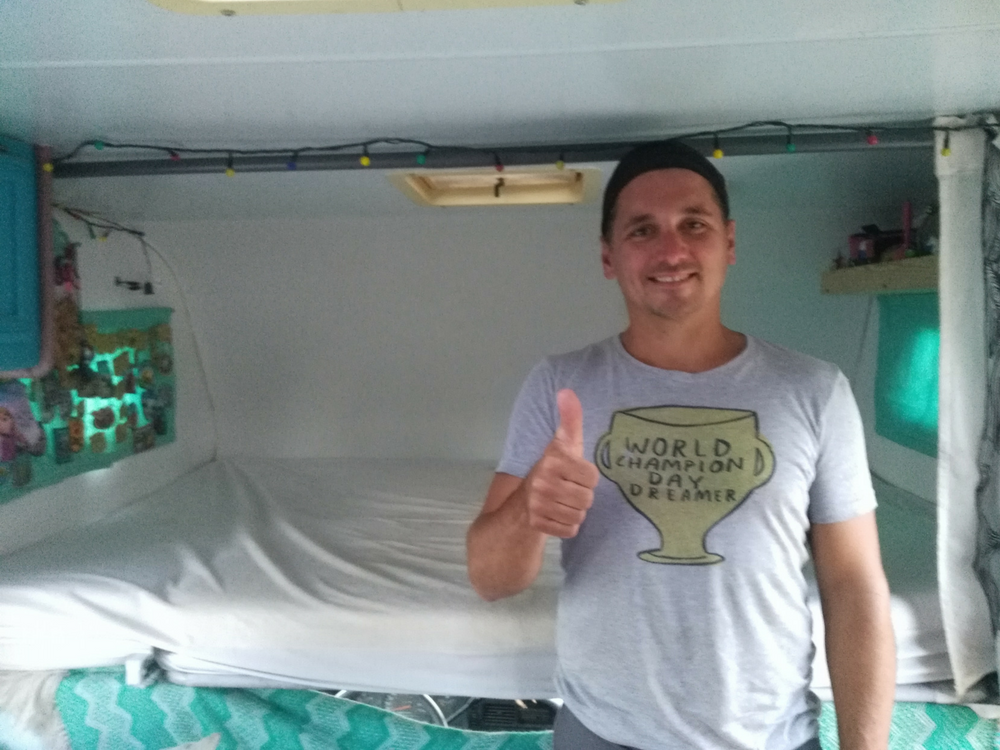
This project took me a couple of weeks to complete as I was working full time and still being a dad and husband, but it wasn’t that bad. If I had all the materials and time to knock the project out, I feel like it could have been completed in just a few days.

Rebuilt the overhead on our 94 Class C last year, had leaked with previous owner and framing was rotten. Renewed framing, new paneling and insulation (11/2 Styro) resealed and reinstaled side windows (no front) all good now.
Peter H.
When I bought my Winnebago 07 Outlook, I knew there was some water damage in the front, but didn’t realize how much until I started tearing it apart. My front area is an entertainment system, so I had to completely dismantle all the cupboards and the a/v system. I wound up having to replace the bottom “sleeper” board, which was originally 1″ thick plywood and it was 8′ 3″ wide! I wound up finding 2 sheets of exterior plywood that I glued together to make it 1″ thick, then I had to cut it in the middle and make a step contour on each middle cut to accommodate the filler piece to get me the extra 3″ of width. By the time I got everything back together and the new fiberglass on the outside, I’m thinking it took about 6 weekends to do the whole job. You can best be sure I watch every trim piece now for any signs of a leak!
I did the same thing this spring. My Forest River Sunseeker had some water damage when I bought it and the bunk mattress was always getting moldy on the bottom. I could never find where the moisture was coming from. When I tore it apart I found that the calling around the clearance lights was not sealed to the casing of those lights. It looked good and was sealed to the fiberglass skin of the motorhome but there was a small crack ill around each clearance light. My 2007 Sunseeker has a 1″ aluminium frame and 1″ styrofoam isolation.
Good job,
But since you had a accident in Mexico etc,
Why didn’t you put a claim in to your insurance Co.?
Looks good , enjoy.
Way too brief. Major structure and support issues not even mentioned. Most Class C cabovers rebuilds require much m o re than is discussed here.