University of Colorado at Boulder student, Andriy Wybaczynsky, decided on a whim to design and build his own DIY version of a vehicle rooftop tent.
The original challenge was to see if the tent could be built using widely available materials, and for under $100. It was during finals week, and he set aside just 8 days for the initial design and build. Fortunately, he would have the help of a good friend.
I decided one afternoon just before finals week that I wanted to build a roof top tent for my car. This was going to be used on an upcoming road trip. My initial thought was that I could do it all for under $100. I didn’t realize how intense the project would get with only 8 days to complete it.
A 3D design drawing showing the frame, hinges and base.
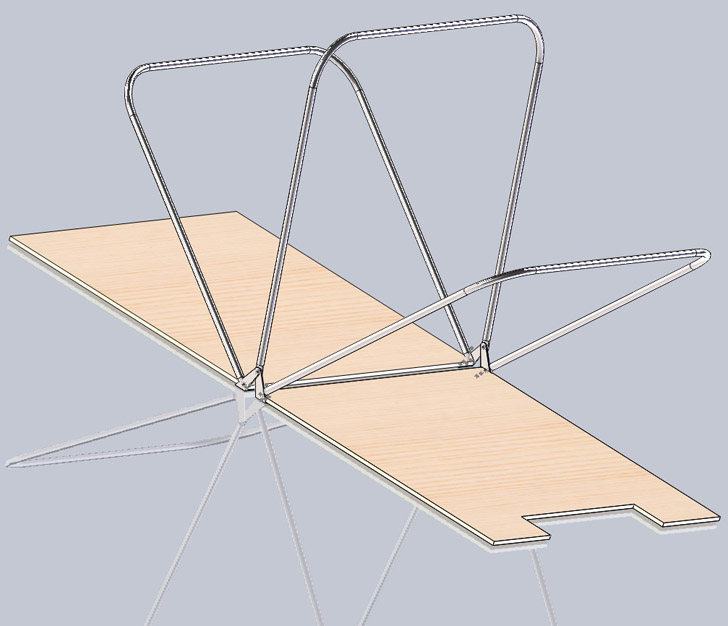
The base was built from a standard 4 by 8 foot sheet of plywood, with hinges from Home Depot. The framing was conduit from Home Depot and the fabric for the tent portion was from ripstopbytheroll.com. The initial structure (minus some extra cost for padding) was completed for the target price of less than $100!
Roof top tent parts, after cutting and bending at Home Depot.
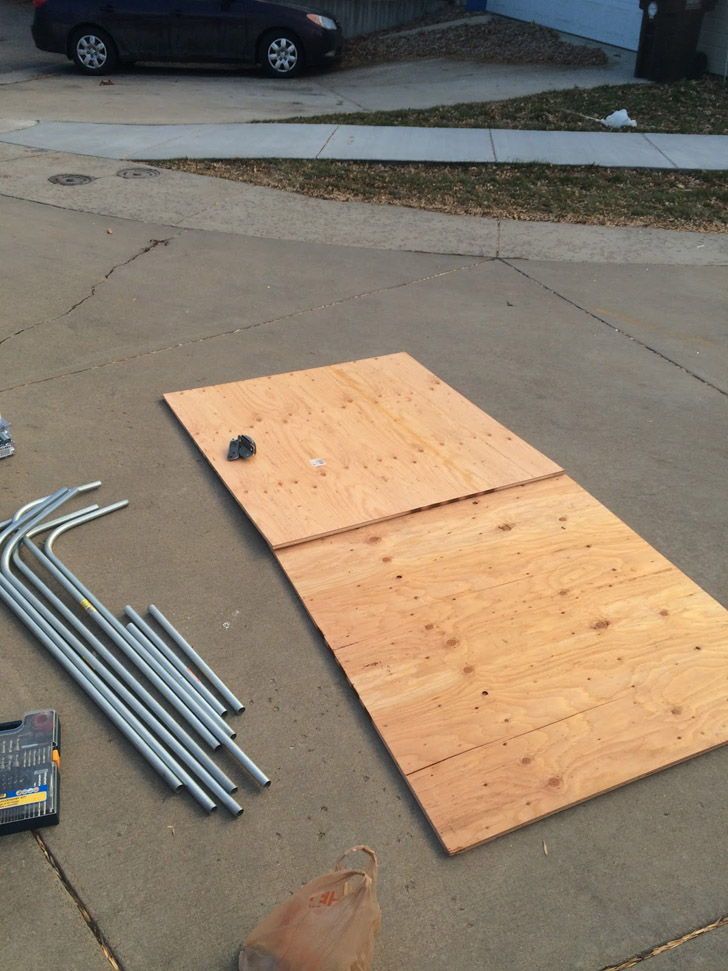
Andriy determined that plywood might not be the best platform for a comfortable night’s sleep, and the needed foam pads drove the price up to $170, still about a fourth of the cost of the cheapest model of rooftop tent available for his vehicle.
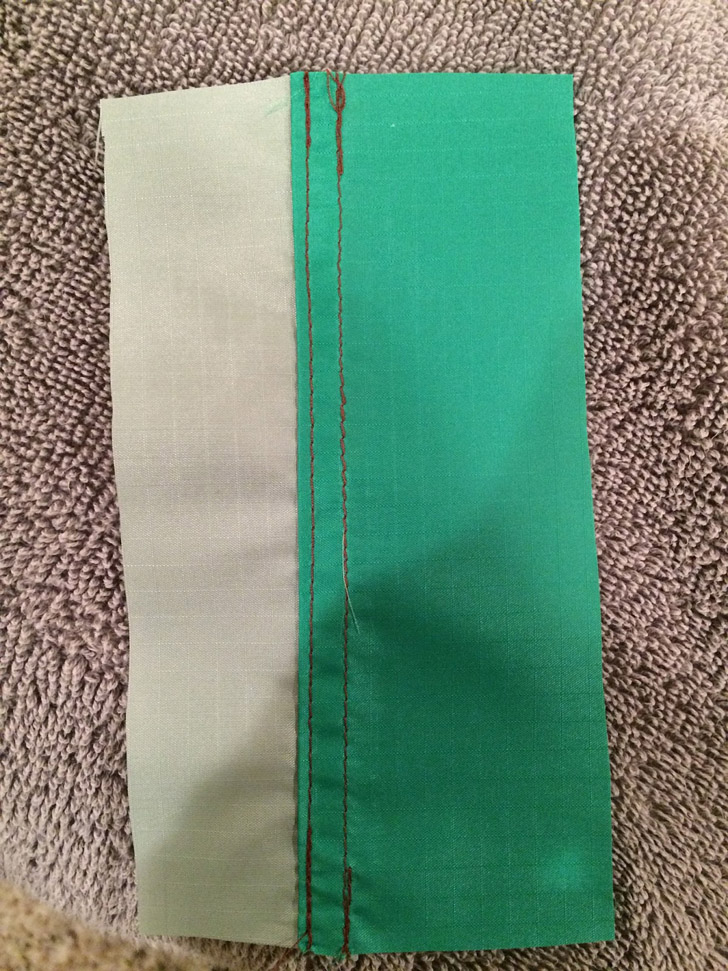
The specialized parachute stitch that was recommended online.
Since the university shop space did not have the proper tools, Andriy took a bold chance and borrowed a conduit bender and hacksaw from the tool rental shop of a nearby Home Depot. He then measured, cut and bent his pipe right there in the aisle! The plywood was also cut on the panel saw by a Home Depot employee.
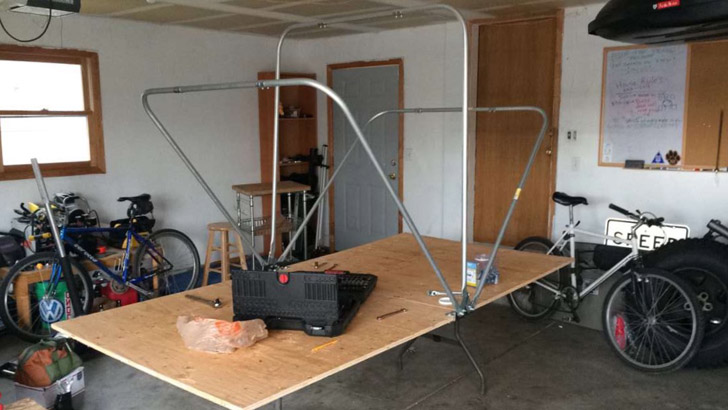
The frame and hinges being tested, open and folded for transit.

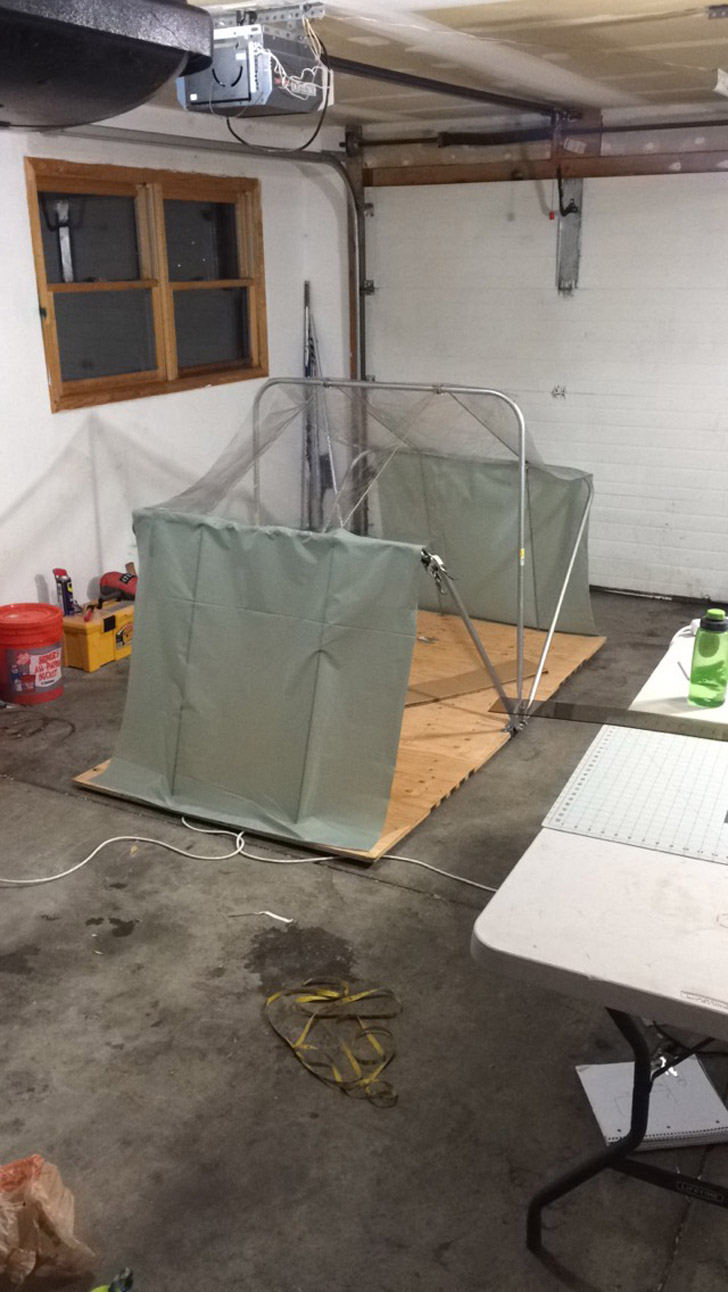
The tent roof and ends, draped over the frame for fit.
Just to add a little more challenge to the project, Andriy had to first teach himself to sew, before cutting and assembling the panels to create the shell of his tent. For those who don’t know, ripstop nylon would not be the first choice for a newbie on the sewing machine, but sometimes being an amateur means you don’t know what you can’t do – so you just go out and do it anyways!
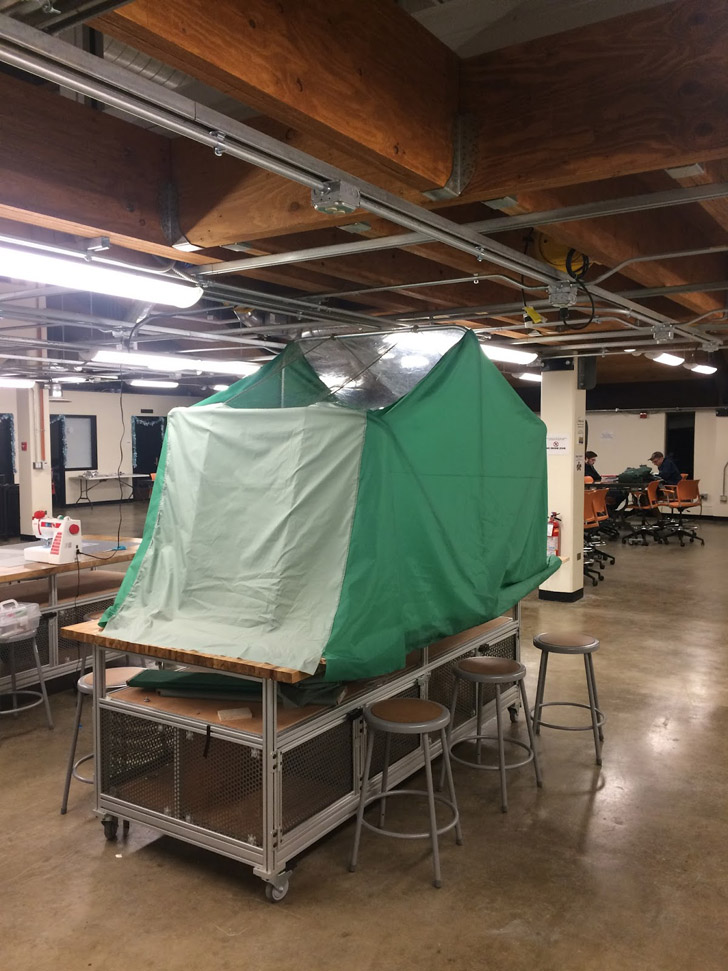
The nearly finished tent, ready for installation on the car’s roof.
He chose a complicated, double stitch parachute seam that turned out to be a bit of an overkill, but his research kept pointing him to that idea.
The ends and side panels are made from lightweight nylon, while the roof is built of clear vinyl to give tent residents a clear view of the night sky, or if you are a horror fan, whatever horrible thing attacks your tent in the middle of the night.
Open tent frame, bolted to the roof rack.
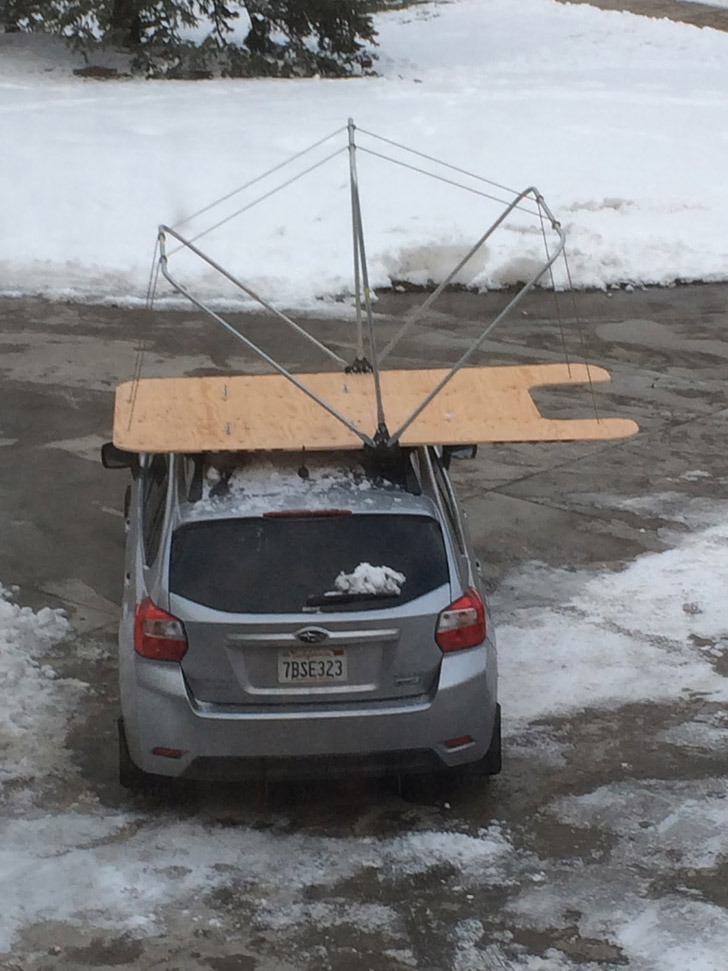
Once complete, the frame and platform sit perpendicular to the car’s length, bolted to the rooftop frame with U bolts. A large notch cut at the folded down end allows access into the tent, via a ladder. The tent was then fastened to the wooden platform with webbing, using wood screws and washers to prevent the screws from pulling through.
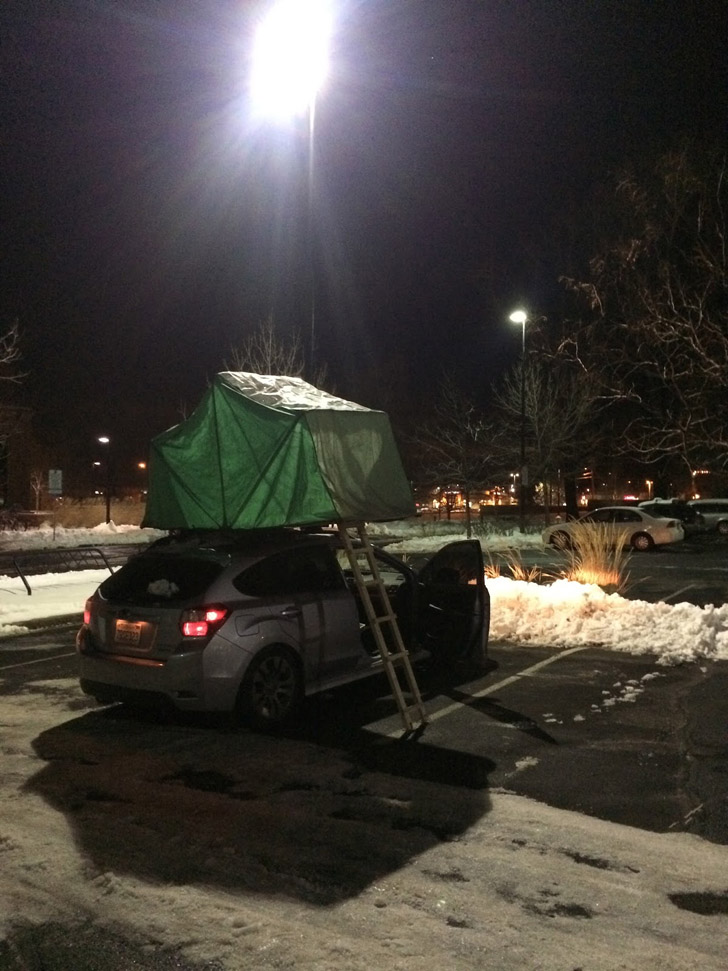
The hard work paid off in a finished, functional roof top tent.
A few tips from Andriy if you decide to follow in his DIY footsteps:
- A tarp is required to protect the tent while folded down in transit, and I concur, 70 mph winds will shred ripstop.
- A good rain fly is essential. The tarp he used was noisy in the wind.
- You’ll need a heavy duty foam pad or air mattress to sleep on. Plywood is very hard!
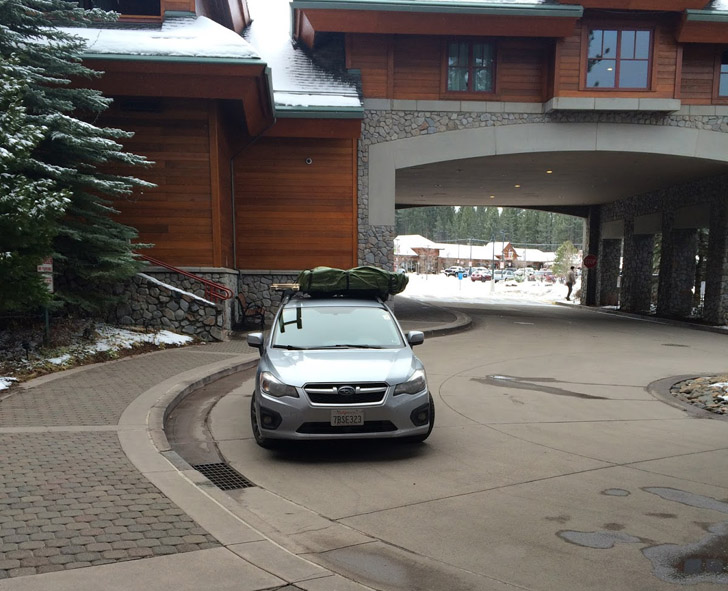
The finished tent, folded down for travel.
You can see more photos and read more commentary on Andriy’s build at his website.