Well, here we go. You have made the decision that solar is right for you and you are ready to get started. Jumping into the solar world headfirst can be like trying to swim in quicksand. With so much technology and so many different products out there, it can get overwhelming fast. In this article (Part #2), we will break down a basic solar charging system into the components needed and what function they play in the overall system.
First, let’s make a list of what components that comprise a basic solar charging system. Below is a list of all the major parts needed for a solar setup. Now, there are lots of little pieces like panel mounts, crimp connectors, screws, etc, but this list is the “Big Stuff.”
Components needed:
- Solar panel
- Solar charge controller
- Battery
- Wire
- Disconnect switch
- DC breaker or fuse
- Battery monitor and shunt
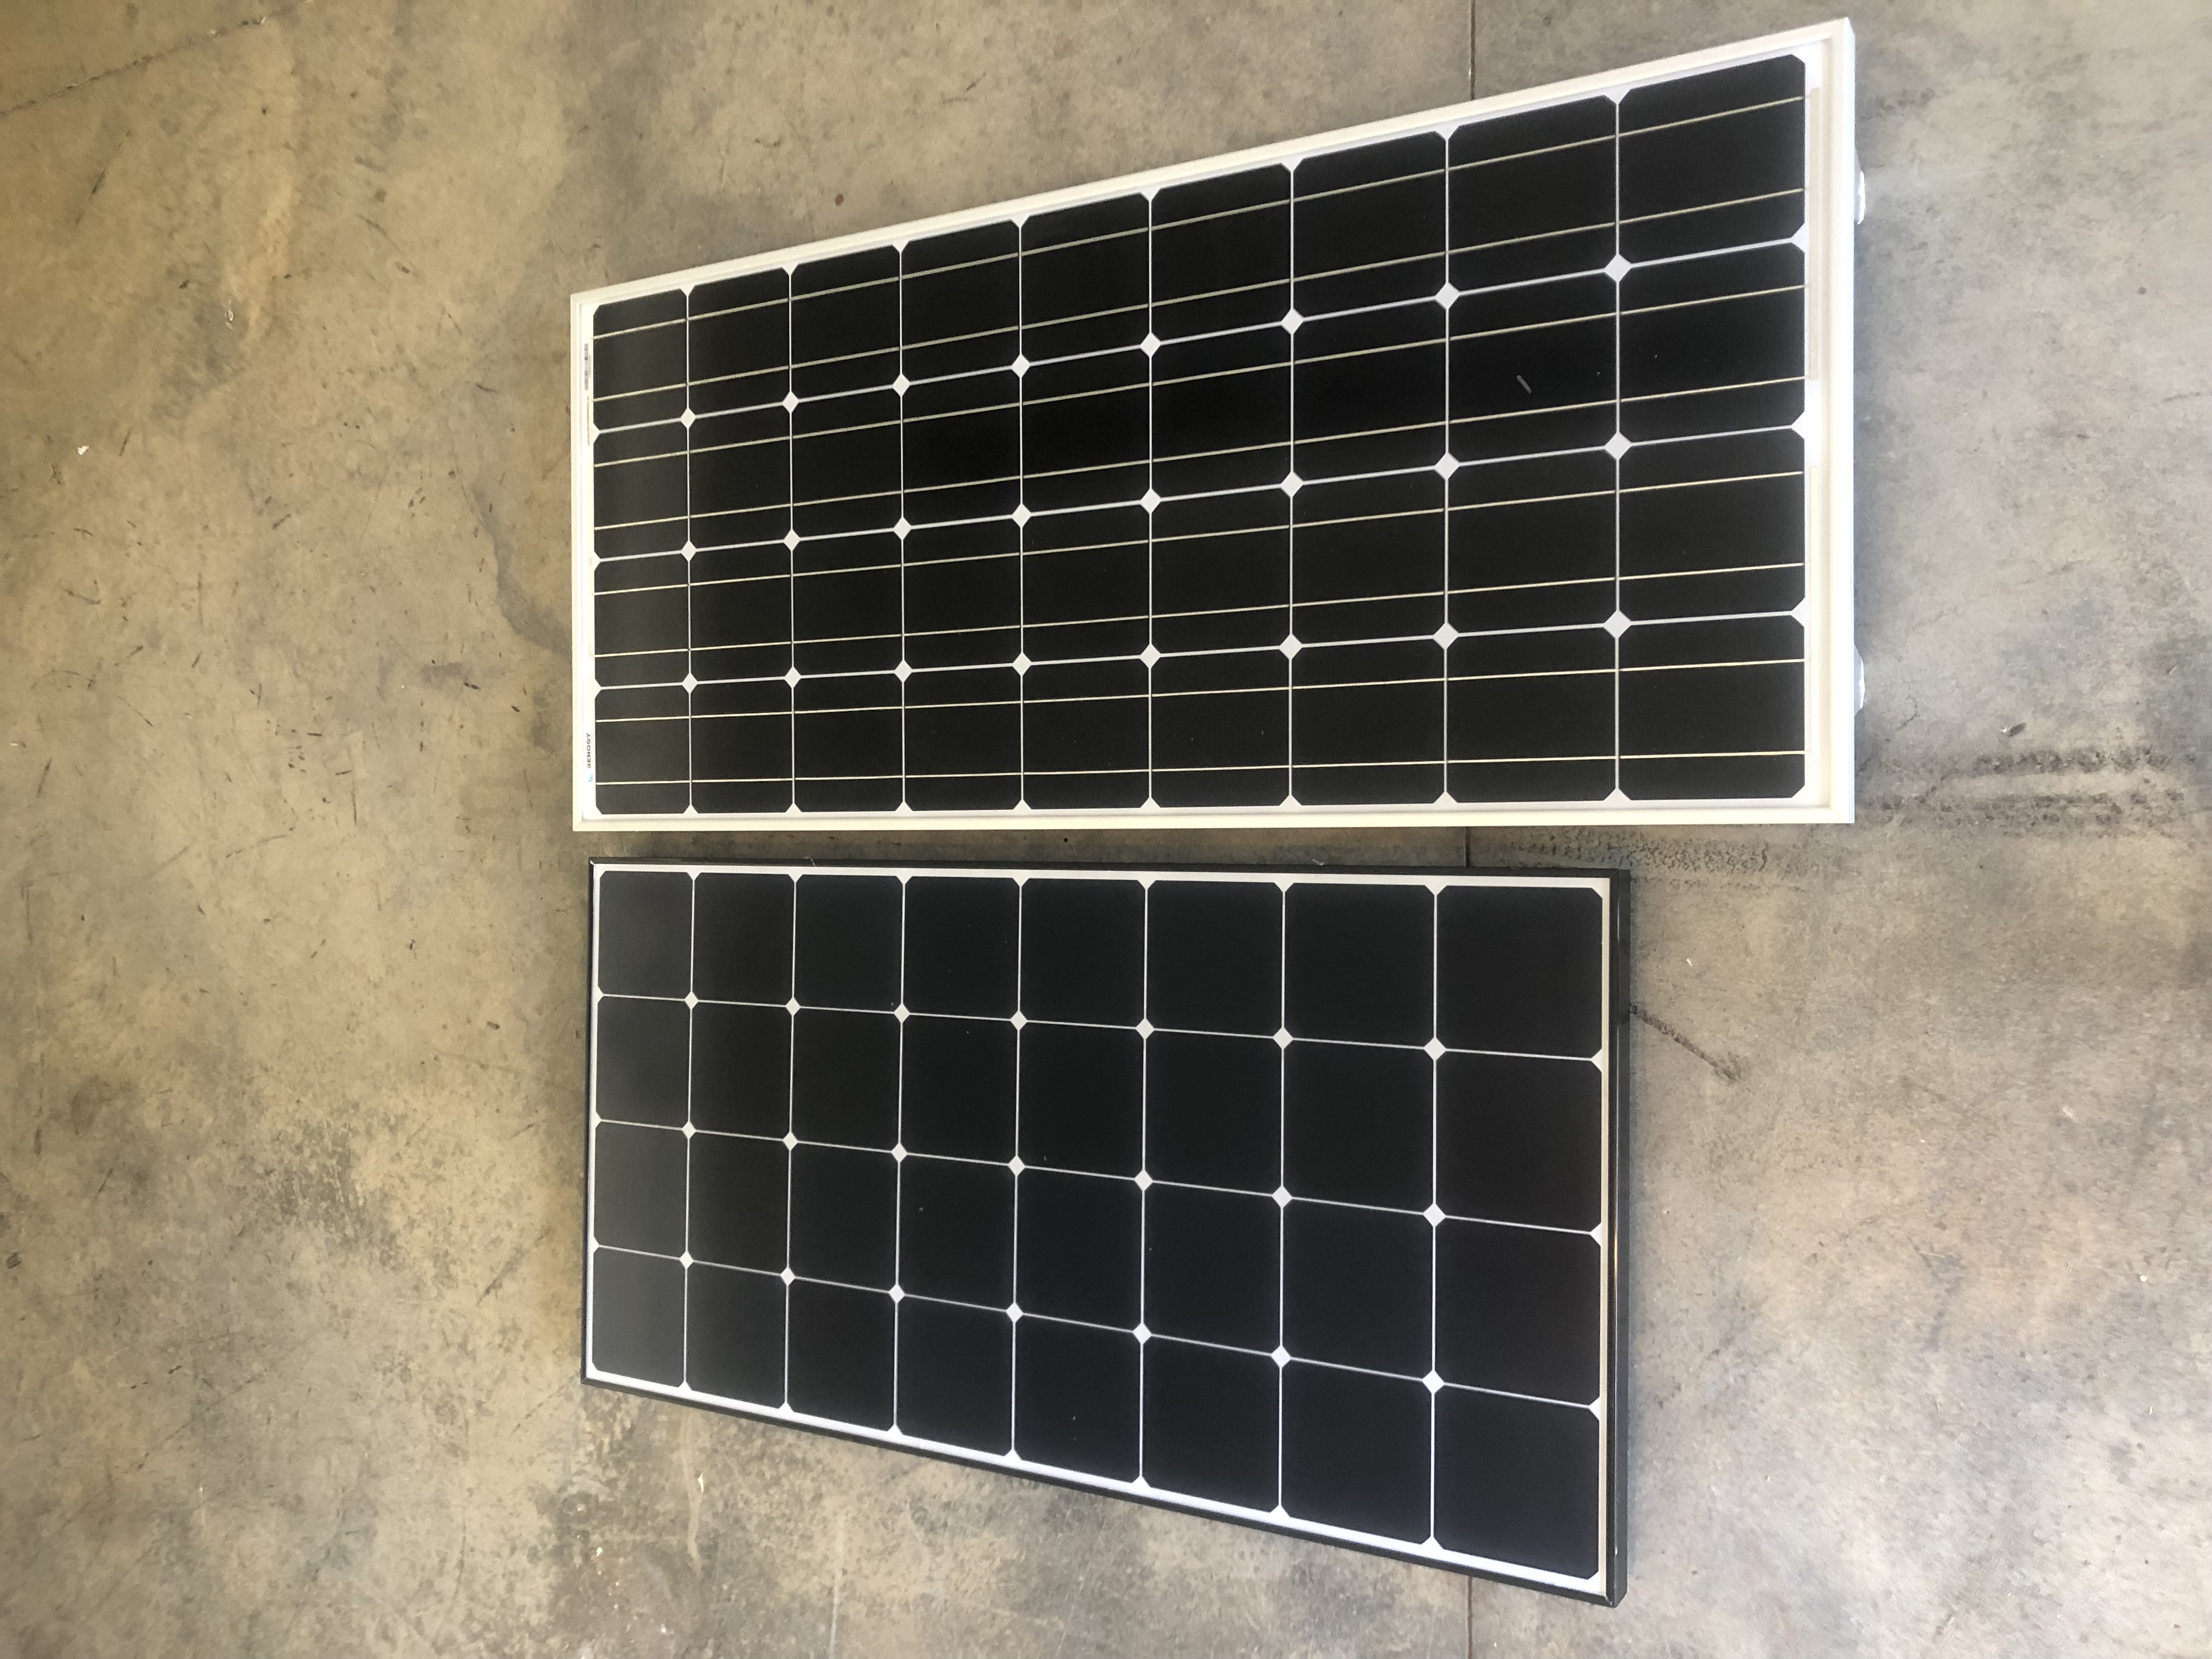
Solar panels
A solar panel is the first major piece of the solar puzzle. So, what do they do and how do they work? Photovoltaic cells (PV cells) commonly referred to as solar panels convert light into electricity. The process by which this electricity is created can simply be explained like this. Solar cells are comprised of two layers of oppositely charged (+ and -) semiconductor material sandwiched together with a thin gap between them.
The negatively charged layer is on top and contains more electrons and the positively charged layer is on bottom and contains fewer electrons. When a solar panel is exposed to light, Photons (beams of light) are able to knock electrons free from the atoms in the top negatively charged layer and those electrons flow across the gap between the two layers to the positive layer creating an “electrical” flow. Basically, it all boils down to some real deep scientific stuff, but all we need to understand is that they produce electricity.
You will find solar panels are rated in Watts. So, what the heck is a Watt? A Watt is a unit of power equal to one joule per second. I know I said we were going to keep this as elementary as possible, but some math is required to better understand the power in electricity.
The mathematical formula for finding watts is (Watts=Amps x Volts). Example: In order for a solar panel to produce 100 watts of energy at 17 volts, it would need to produce 5.8 Amps 100 watts/17 volts=5.8 amps.
That’s enough math for now, but we will need to use this later for sizing fuses, breakers, and wire.

Solar charge controllers
A solar charge controller is the second major piece of the solar puzzle. It accepts the energy/electricity produced by the solar panel or panels and “conditions” it before sending it to the battery.
There are two main types of solar charge controllers: PWM (Pulse Width Modulation) and MPPT (Maximum Power Point Tracking). For the purpose of this article, know that PWM is “old less efficient” technology and MPPT is “new more efficient” technology.
Go with the MPPT controller. The electricity that comes from the solar panels can vary wildly in both Voltage and Amps. The power produced by the solar panel is dependent on the amount and angle of the light that is hitting it.
If you think of an electric current like the flow of water from a hose, Voltage is the measure of pressure in the line and Amps or Amperage is a measure of the volume. An RV’s battery bank is normally 12 volts DC. To charge that 12-volt battery, you need more than 12 volts to do so.
Remember, volts represent pressure and in order to “push” power into a battery, you have to have more charging pressure (voltage) than battery pressure (voltage). A solar charge controller regulates the voltage that is sent to the battery to prevent overcharging or undercharging.
The solar controller also regulates Amps or the volume of “flow” sent to the battery. This volume or flow dictates how slow or fast the battery is charged. Batteries have a rate at which they like to be charged. Too slow or low Amps and you lose the efficiency of the system by taking too long to charge the battery.
Too fast or high Amps and you could damage the battery by charging it too fast. The solar controller’s ability to regulate both Volts and Amps allows you to safely and efficiently use the varying power produced by a solar panel to charge your battery.
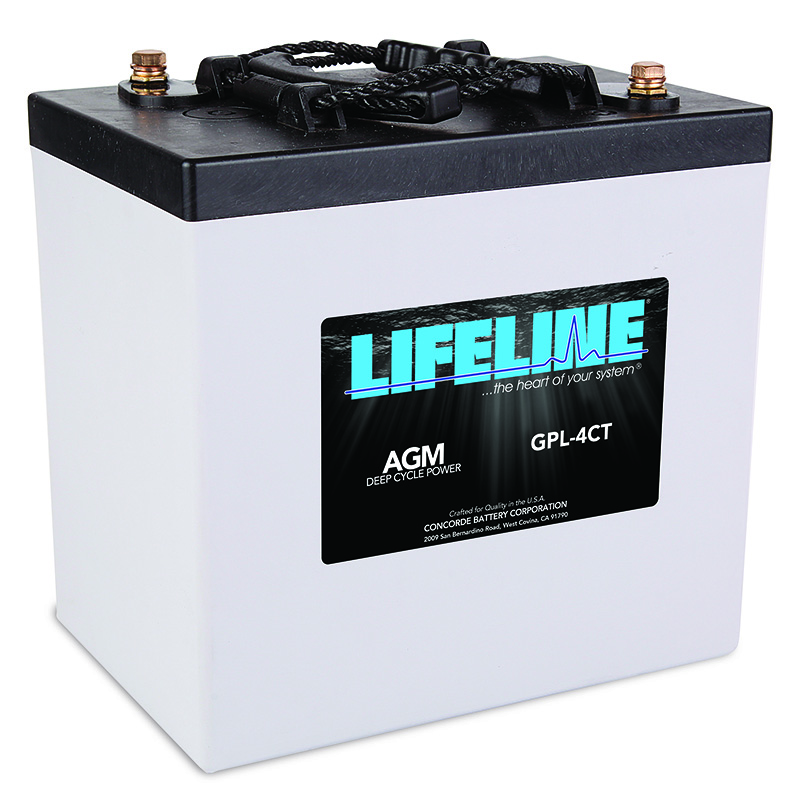
Battery
The battery is the third major piece of the solar puzzle. A battery is nothing more than a storage tank that allows you to “bank” or store energy to be used at a later time.
There are three basic types of batteries used in RVs: Lead Acid Flooded, Absorbent Glass Mat, and Lithium.
Batteries are rated in Amp Hours or Ah. Most RV batteries are “Deep Cycle” and have a rating of 100Ah no matter their internal chemistry. An Amp Hour is the unit used to measure a battery’s energy storage capacity. It represents the amount of continuous current multiplied by the discharge time that a battery can supply before exhausting its stored energy.
The higher the Ah rating a battery bank has, the more energy it can store. This allows the battery to operate larger loads or run longer before needing to be recharged.

Wire
Wire is the fourth major piece of the solar puzzle. Wire is the thread that ties the whole system together. It is very important that the wire used in your system is sized to maximize the flow of electricity and minimize the resistance to prevent energy loss.
The DC current produced by a solar system does not flow long distances well without a loss of its power commonly referred to as “Voltage Drop.” To reduce this power loss, your system will require heavy gauged pure copper wire to provide the most efficient flow of power.
Remember the math formula from earlier? (Watts= Amps x Volts) using this formula will help in calculating the proper size wire to use. Wire sizing charts are also available anywhere wire is sold and note that if your calculations are on the high side for a particular wire size, it is better to “size up” to the next larger size to prevent increased resistance within the system.
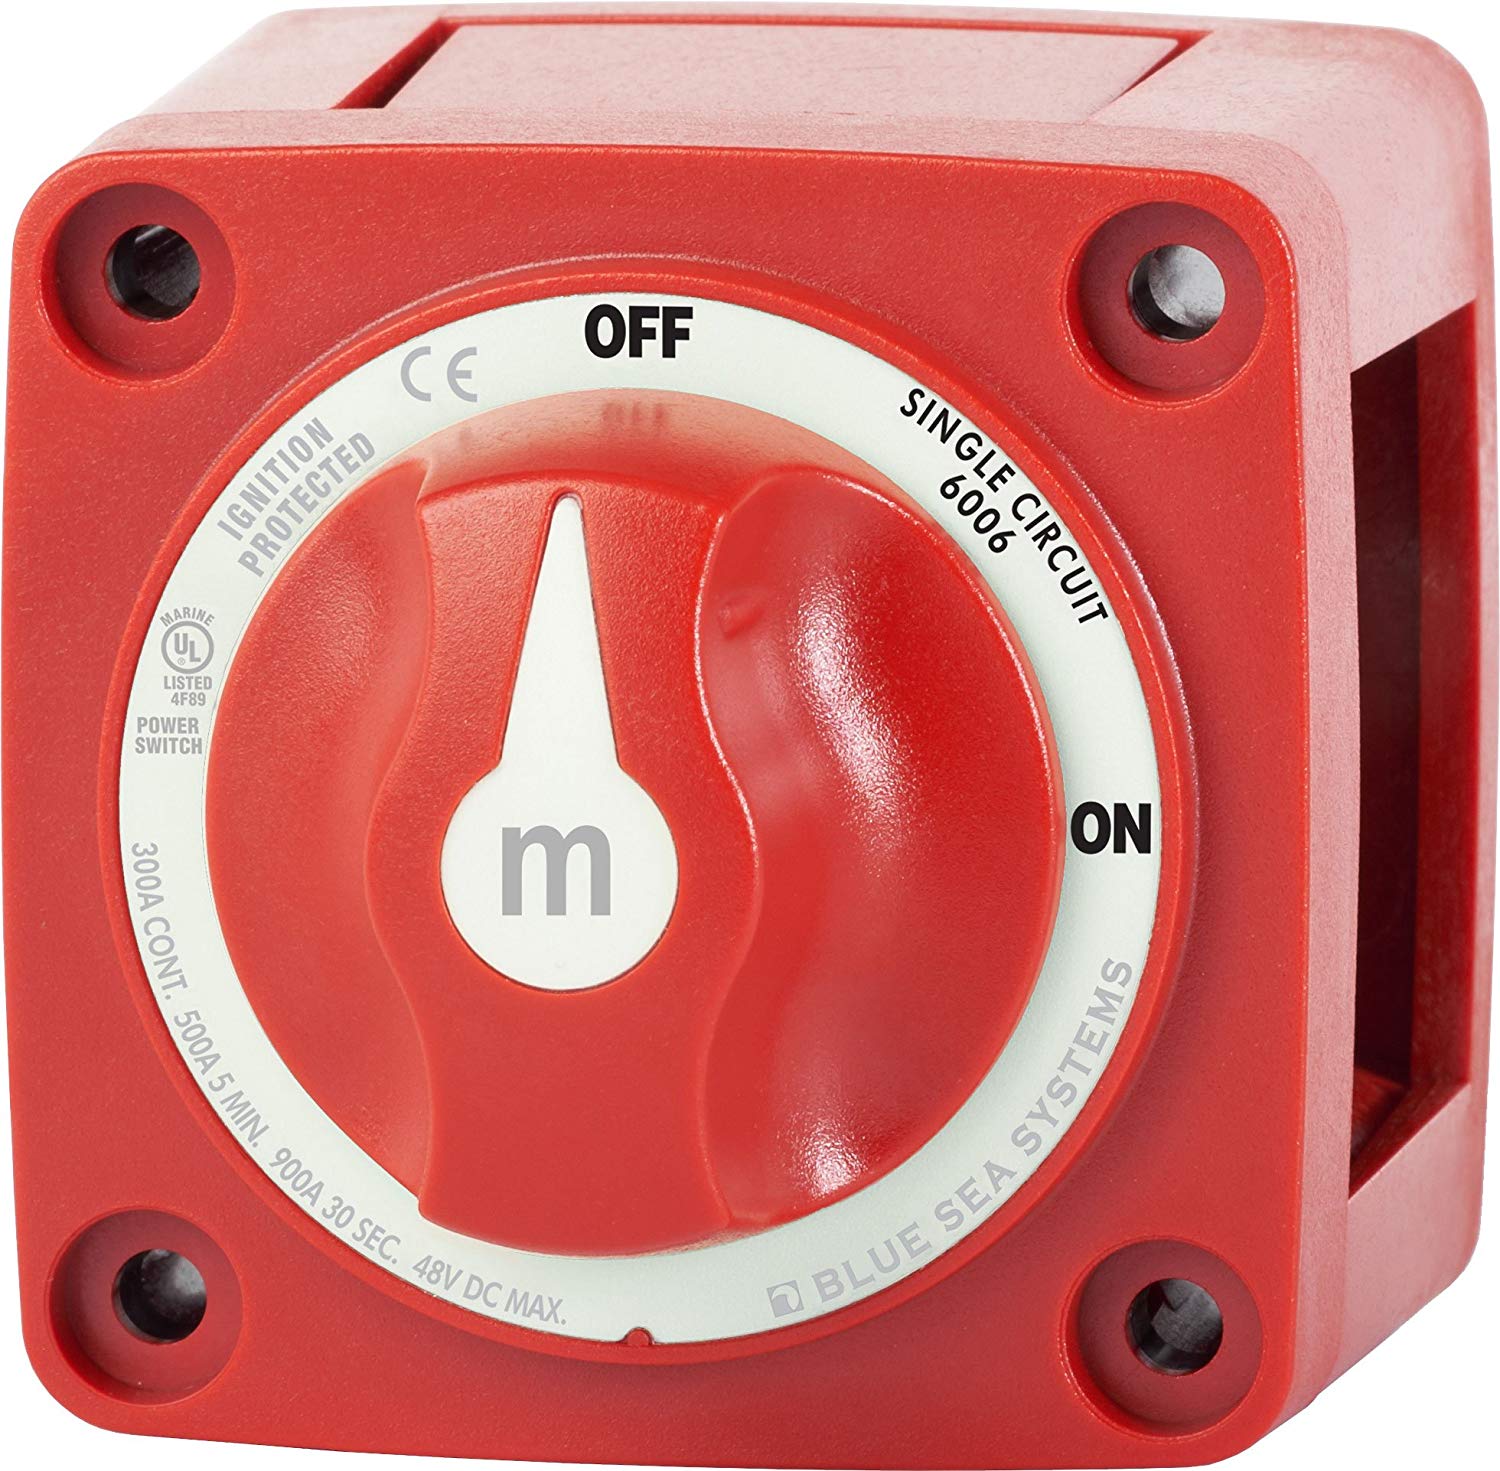
Disconnect switch
A disconnect switch should be installed between the solar panels and solar charger controller. Having a disconnect switch installed will essentially allow you to “Turn Off” the power your solar panels are producing from the rest of the system.
This switch should be sized larger enough to carry the maximum amount of amps and voltage your particular solar array can produce. Having the ability to disconnect power from the panels is important in order to be able to service the system if needed.
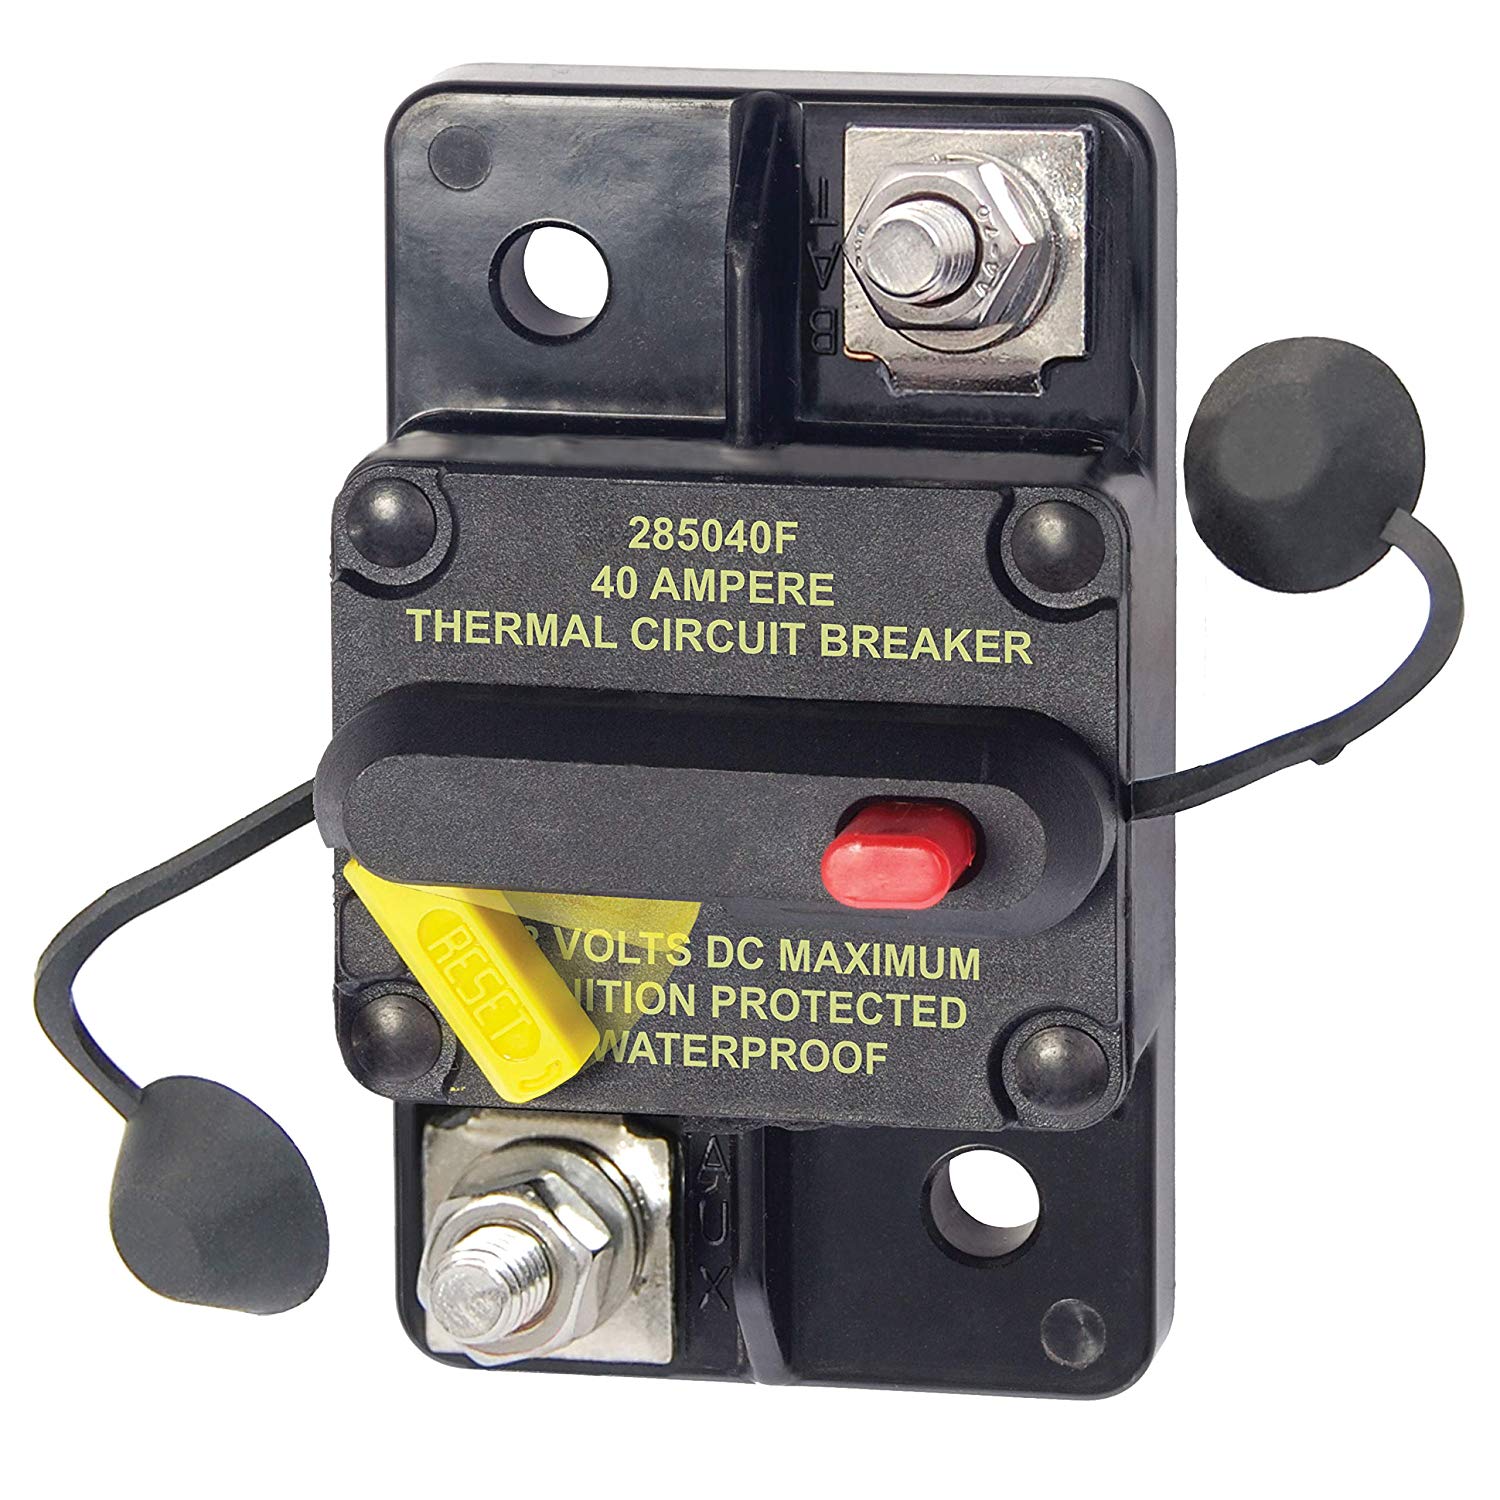
DC Breaker or Fuse
Having a properly sized DC breaker or fuse between the solar charge controller and battery is also important. Installing a breaker or fuse will help prevent damage to your solar system components and battery in the event there is a problem.
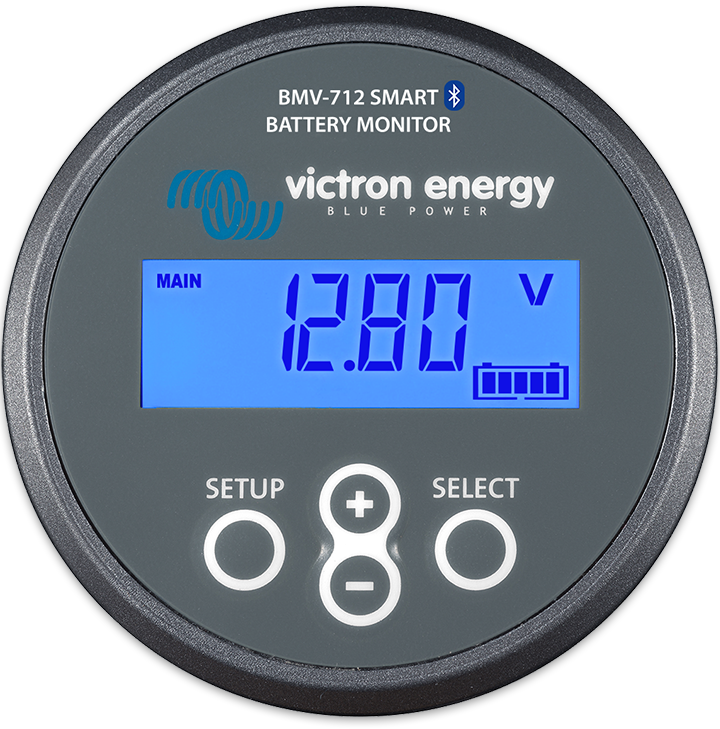
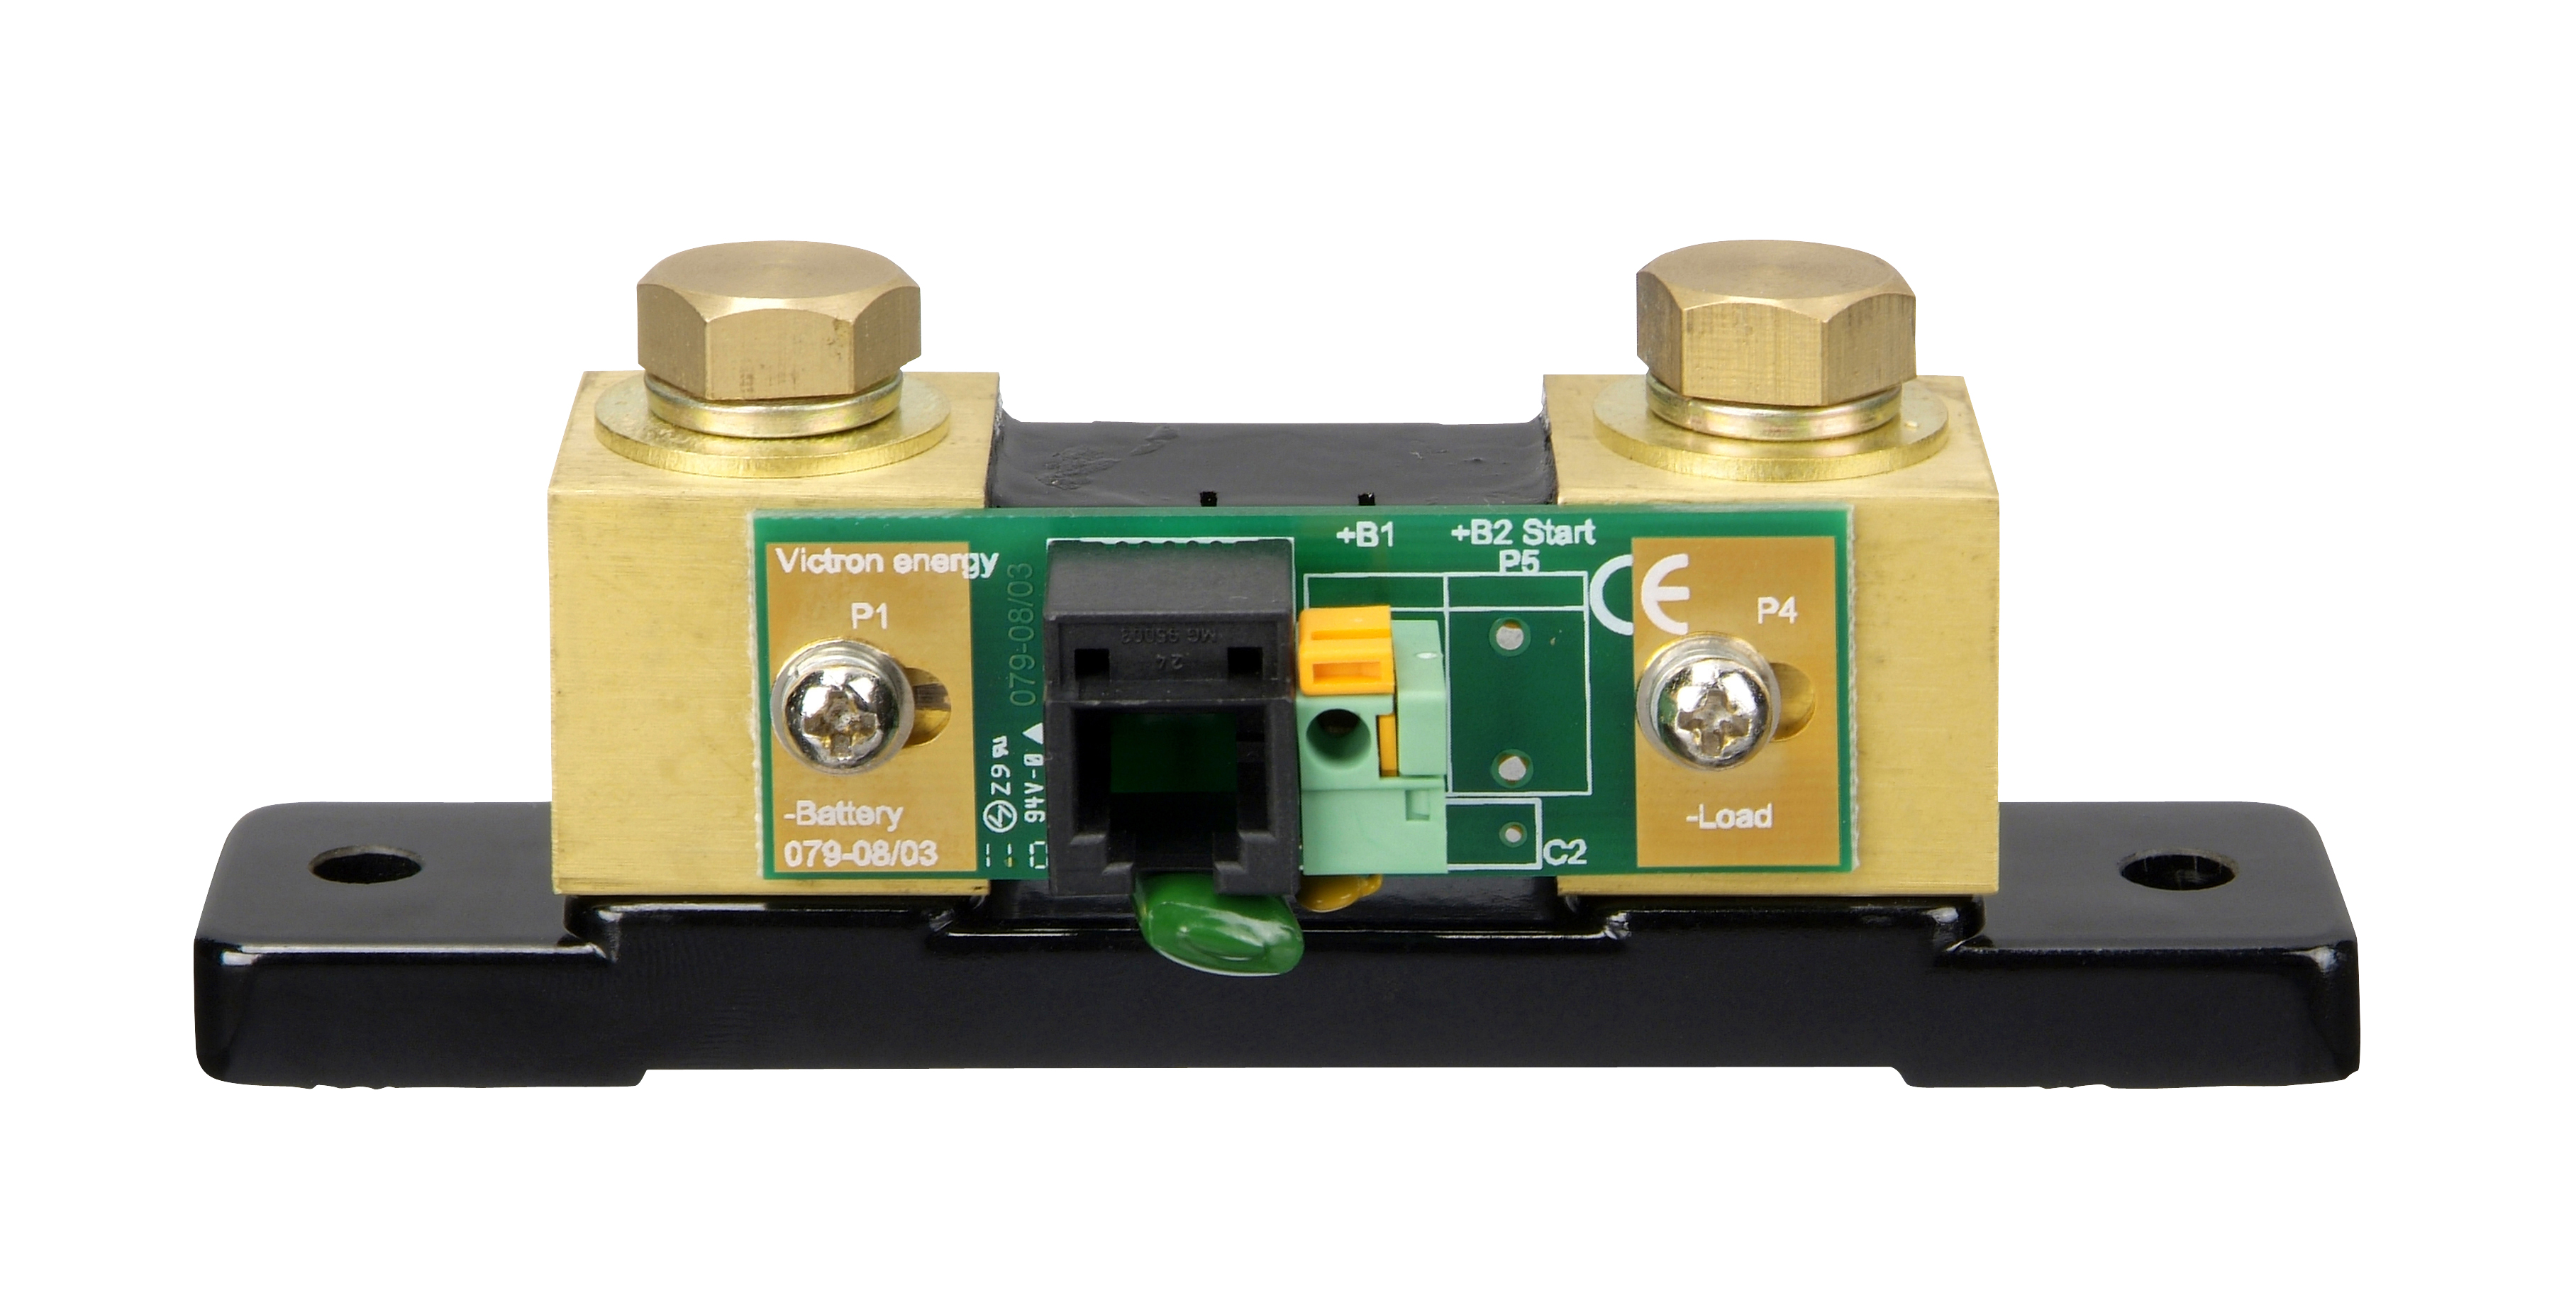
Battery monitor and shunt
A battery monitor and shunt is not mandatory but is a great addition to a solar install. The battery monitor acts as a fuel gauge measuring the amount of Amp added and removed from the battery bank. You can program the battery monitor with the total number of aH your battery bank has and it will then be able to provide you with a percentage of battery life remaining.
Some battery monitors even have the ability to tell you how much power or how much time you have remaining based on your current power usage at the time. This information can be very helpful when monitoring your power usage.
This covers the major components of a basic solar charging system. Of course, there are always additions and upgrades that can be made, but for the purpose of this setup, we will stick with these.
I hope that if you are thinking of solar you will continue to follow along with the other articles in this series. In the next section, we will discuss the question, How much solar do I need? Stay tuned!