
I’m excited to show you this remarkable Sprinter van conversion by a couple in Australia.
Although Mark and his partner recently purchased a new home near Melbourne, they lived in the van for about two years.
You can read all about their adventures and see some cool pictures of the Australian countryside here.
Related: This Man Converted a Plain Looking Volkswagen Work Van Into a Stylish and Functional Home on Wheels
The total build took them about six months of full-time work. But Mark said that you don’t have to spend that much time if you’re just looking to make something that’s ‘liveable’.
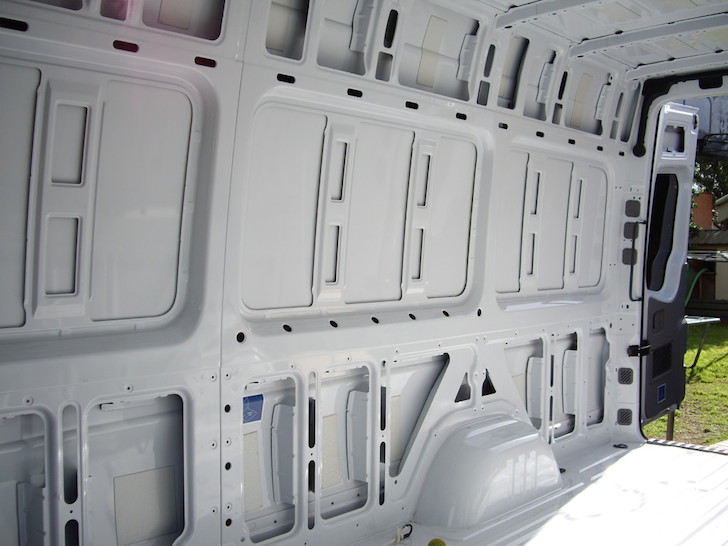
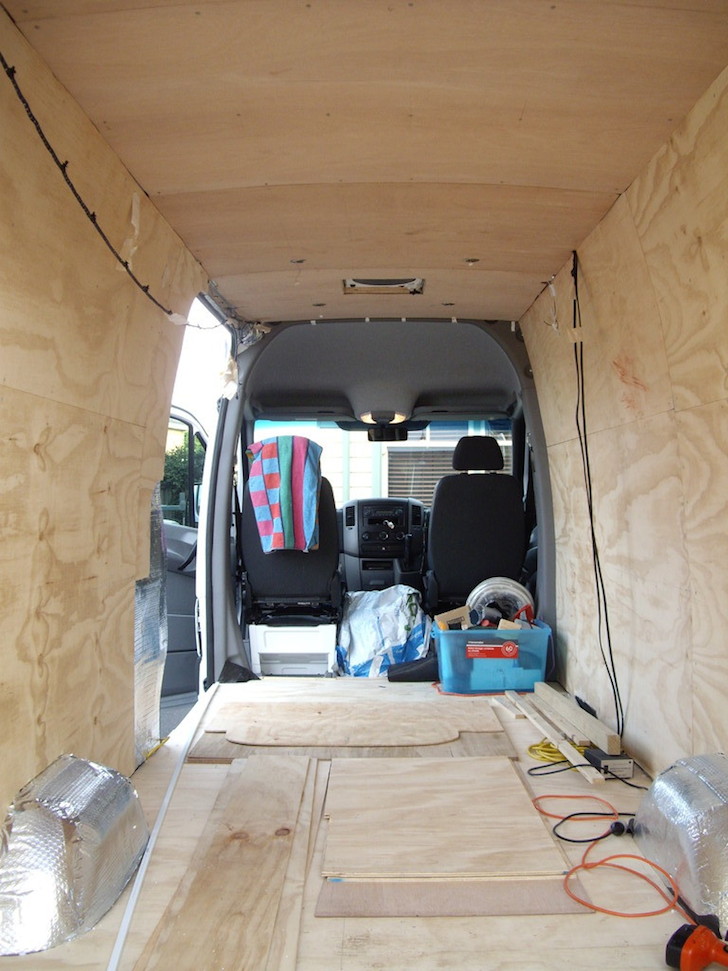
Here’s the inside of the van before they started. The interior walls aren’t smooth, so adding insulation and paneling takes a bit of work.
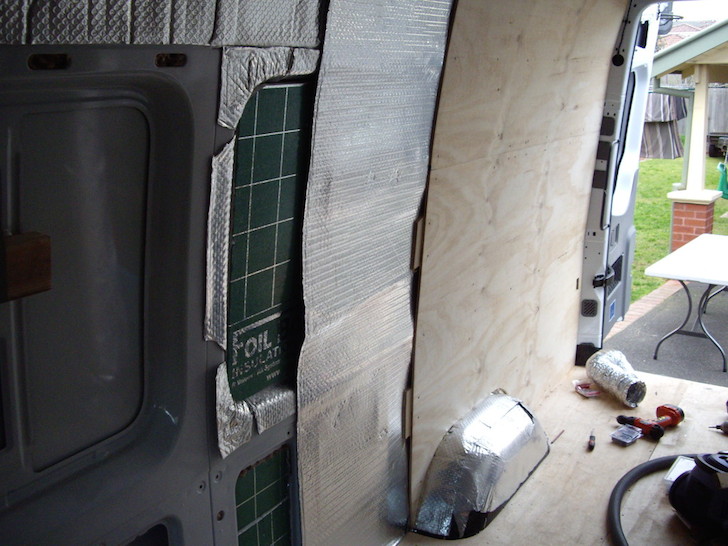
Mark used a lot of high-quality insulation in the build. He started by gluing foil-backed bubble wrap directly to the interior metal walls. This made a vapor barrier and prevented condensation from forming beneath the insulation.
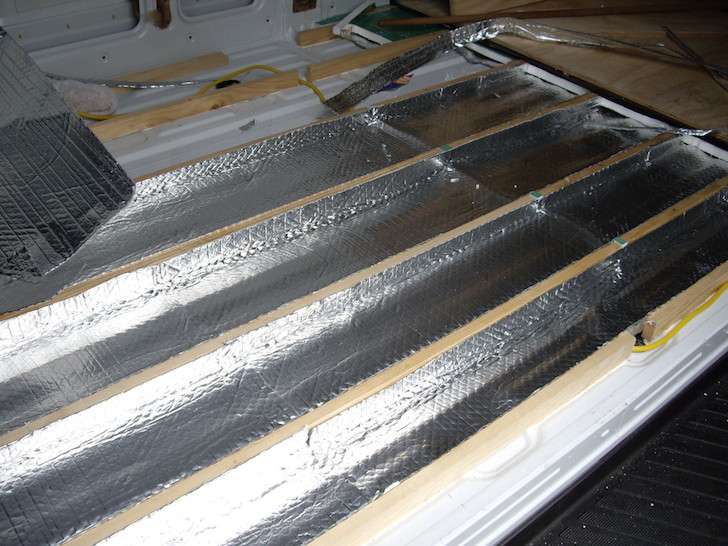
He placed polystyrene foam board over the first layer of bubble wrap, and then added a second layer of bubble wrap on top of the polystyrene. Mark used lamb’s wool insulation to fill in any gaps in the ‘insulation sandwich.’
The walls, ceiling, and floor all got the same treatment.
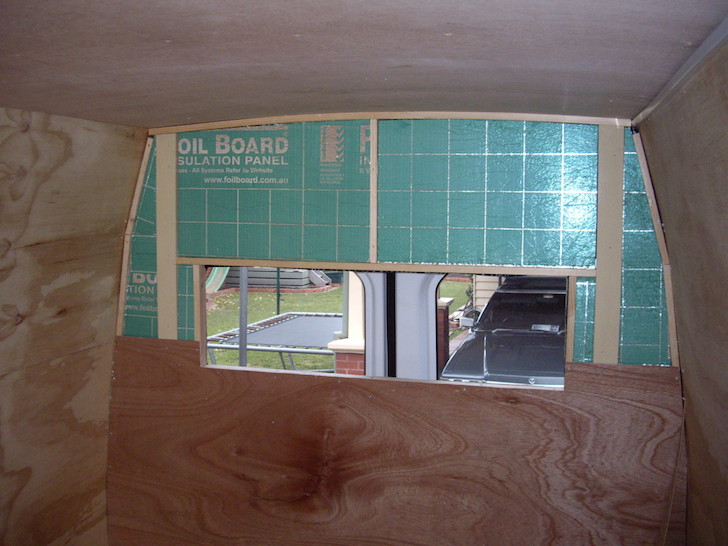
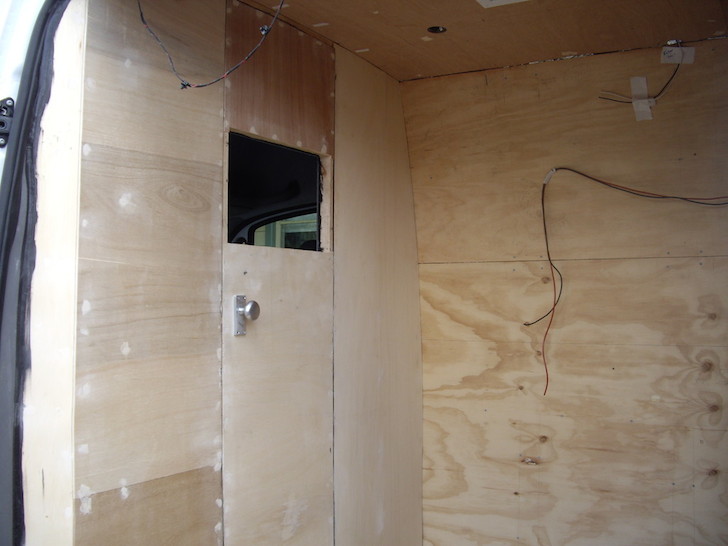
Mark completed the insulation and paneling after a few weeks of work.
This door partitions off the sleeping area and kitchen from the cab.
 Sleeping arrangements can be tight in a van. You might remember how Curtis tried several different bed setups in his camper van.
Mark wanted to eliminate the daily setup and take down of his bed, and he came up with a solution that’s pure genius: an electric bed hoist.
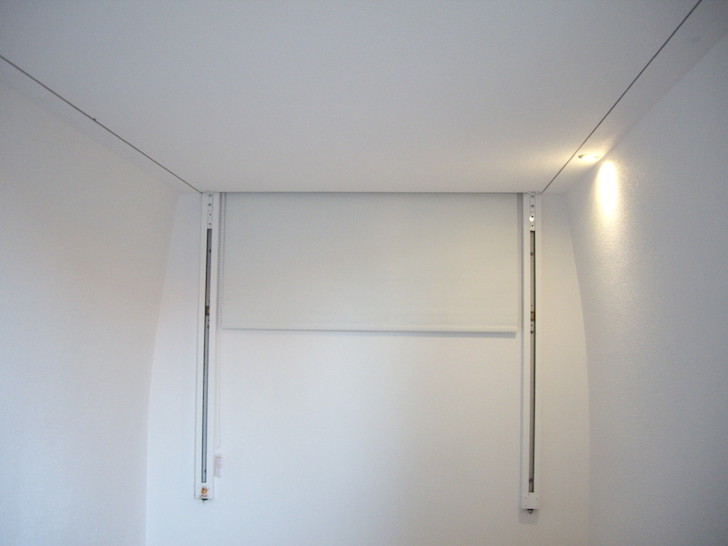
One of the things we decided we wanted was a permanently made up bed. Living in the van fulltime makes for a lot of bed making if you’re moving sofa cushions etc. In a small van, a permanent bed can take up over half the floor space, so we opted for an electric bed hoist made by Happijac. This lifts the bed up into the ceiling when not in use. The motor uses up to 12 amps but only for a short period of time. The hoist is chain driven and can be stopped at any height but we used the trip switches provided to set the maximum and lowest heights.
Mark welded together a metal frame and installed slats from an IKEA bed.
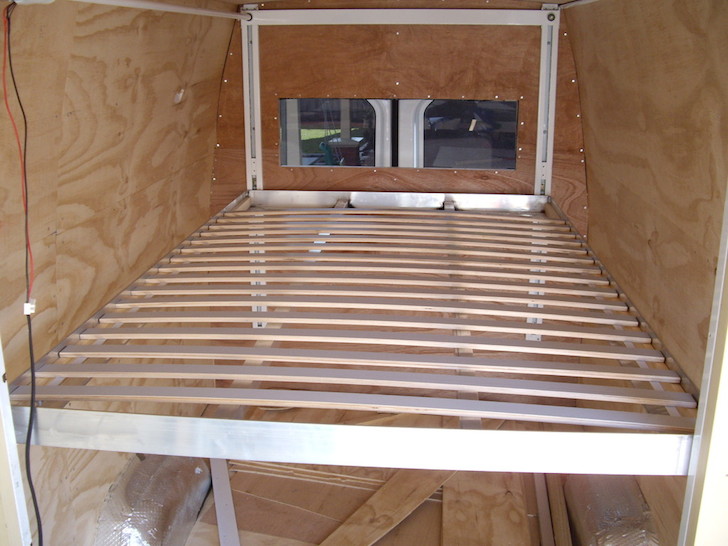
The bed in the ‘up’ position.
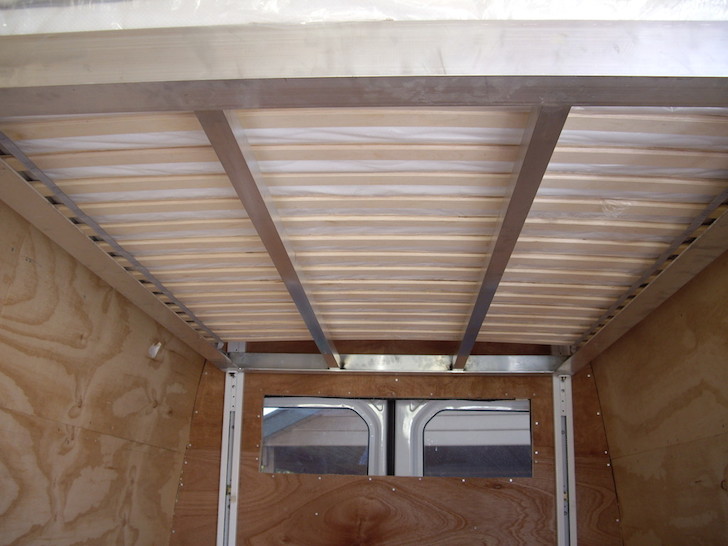
When the bed goes up it disappears into the ceiling!
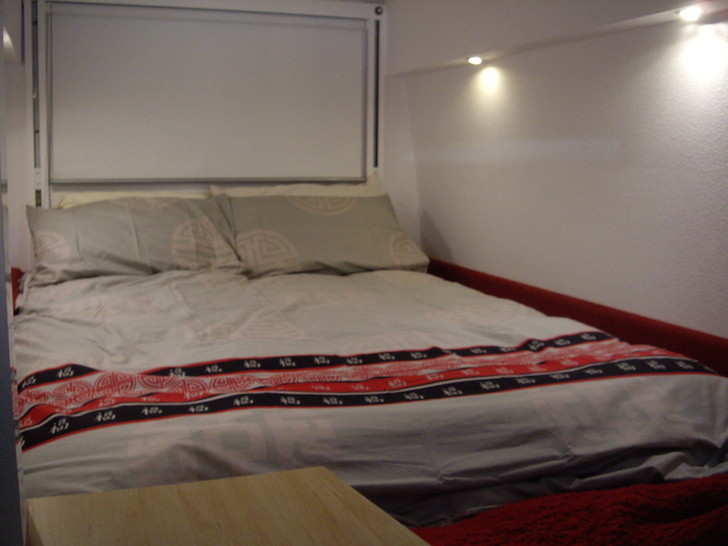
But it looks so comfy when in ‘sleeping mode’. Mark installed a simple IKEA latex mattress, and later added a memory foam topper.
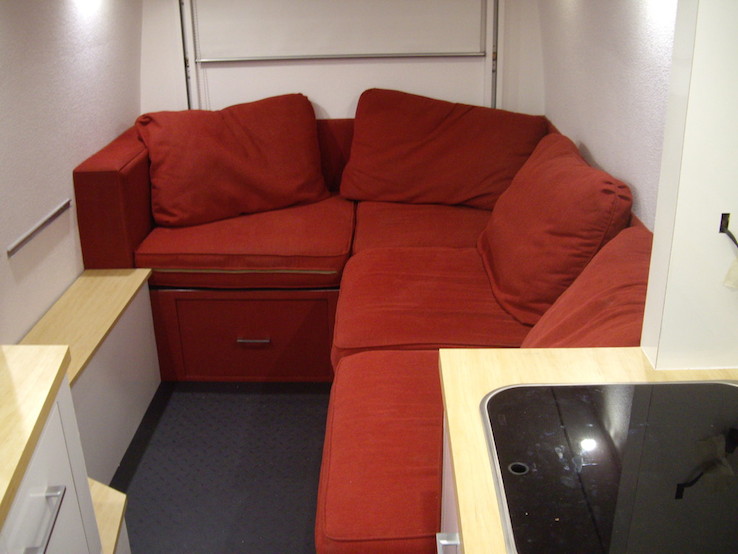
He made cabinets out of thin pine and plywood and designed them around plastic storage baskets. These cabinets form the foundation of a sofa.
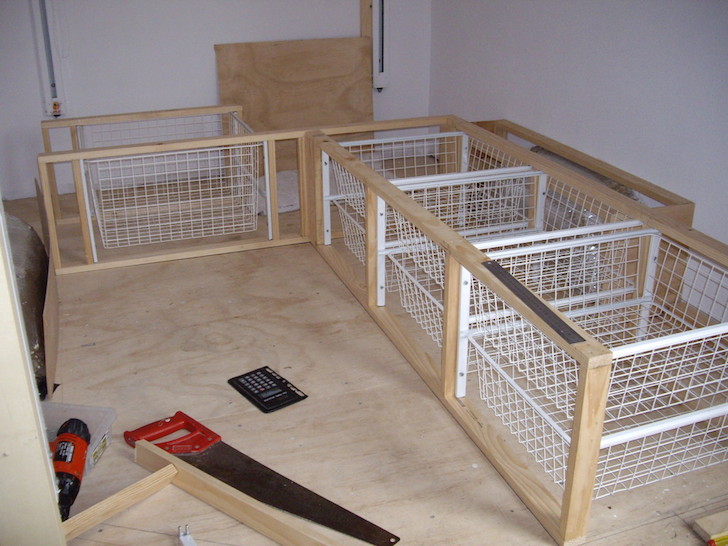
Magnets hold the doors in place – saves on weight and fiddling with the hardware!
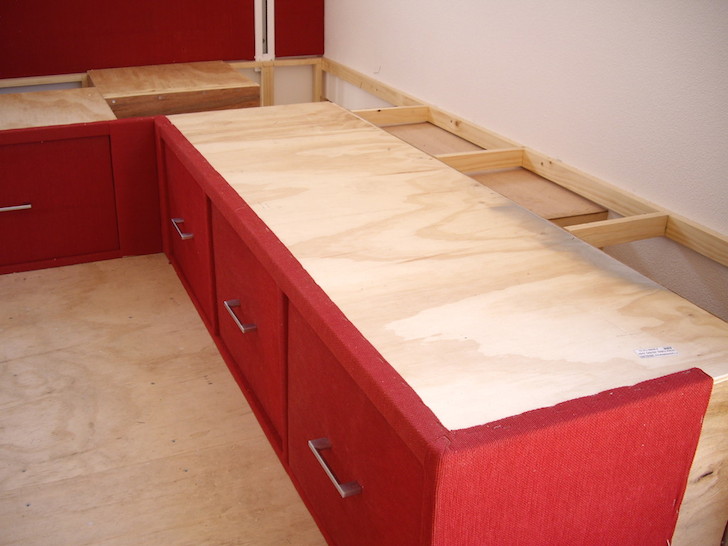
The finished sofa.


Wonderful conversion! How do you stay cool though? There doesn’t seem to be much in the way of opening windows and unless running an air con or leaving the main door open (security risk?), I’m wondering how you survive the summer? It’s a question I’ve often wondered with van conversions. I’m looking for a home on wheels and love the Sprinter but just worry about the heat. Would appreciate your insights 🙂
My hat is off to you because of the great work that you put into this project. You paid great attention to detail and I know that you put in many hours of hard work. Thanks for sharing your ideas.
Bob, thanks for taking the time to make a comment. We agree, Mark definitely did a great job!
Australian Sprinter Van Conversion
I was searching for information unrelated to a van conversion but these photos caught my eye. I was so impressed that I had to make a comment. The project took six months of full time work, but look at the results. The design ability and craftsmanship that Mark displays in these photos are awe inspiring.
Sincerely,
Bob Francis
Hendersonville, Tennessee