Imagine if Bilbo Baggins from The Hobbit and the Lord of the Rings trilogy had been able to take his hobbit hole with him on his journey to Mordor. It might not be strictly “shire” material, but when Imgur user Samm1t sets his mind to something he gets it done. I think you’ll agree that he spent a couple of months of spare time well.
The basis of this magical little camper is a four by eight foot trailer kit from discount tool seller, Harbor Freight. You can pick them up cheap if you wait for a sale, or you might get lucky and find one already assembled on craigslist for even less.
The trailer kit requires no cutting, welding or special tools to assemble.
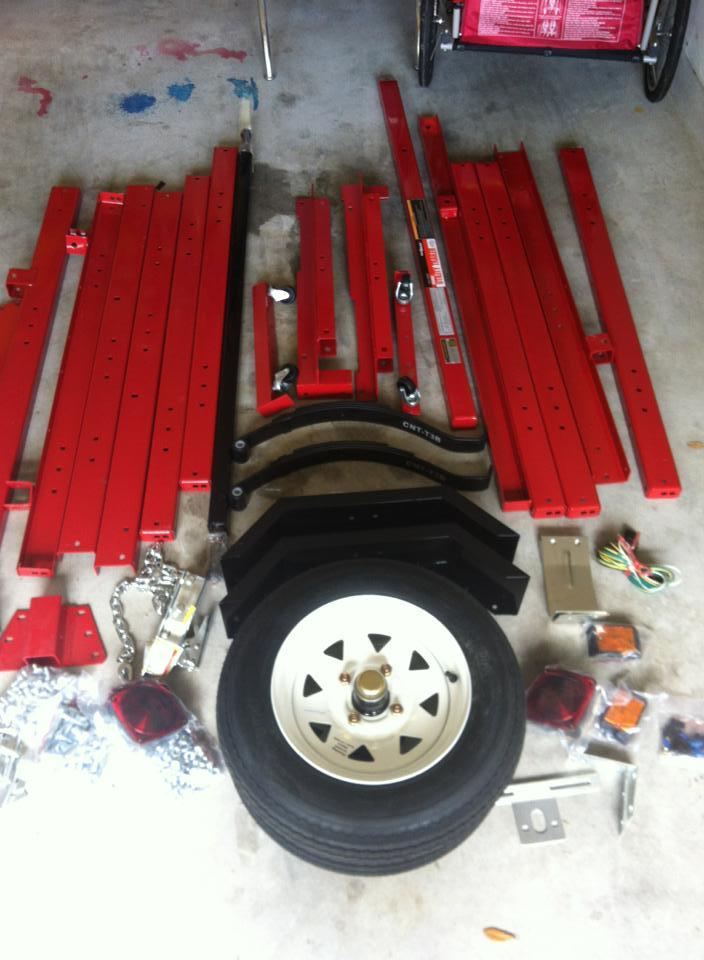
The Harbor Freight trailer is lightweight, and one big advantage is its almost “snap together” assembly that requires no cutting, no welding and no special tools. The frame is made from square steel tubing, which serves as a good base for the camper’s wooden frame.
2″x2″ wood framing in position on top of the metal girders.
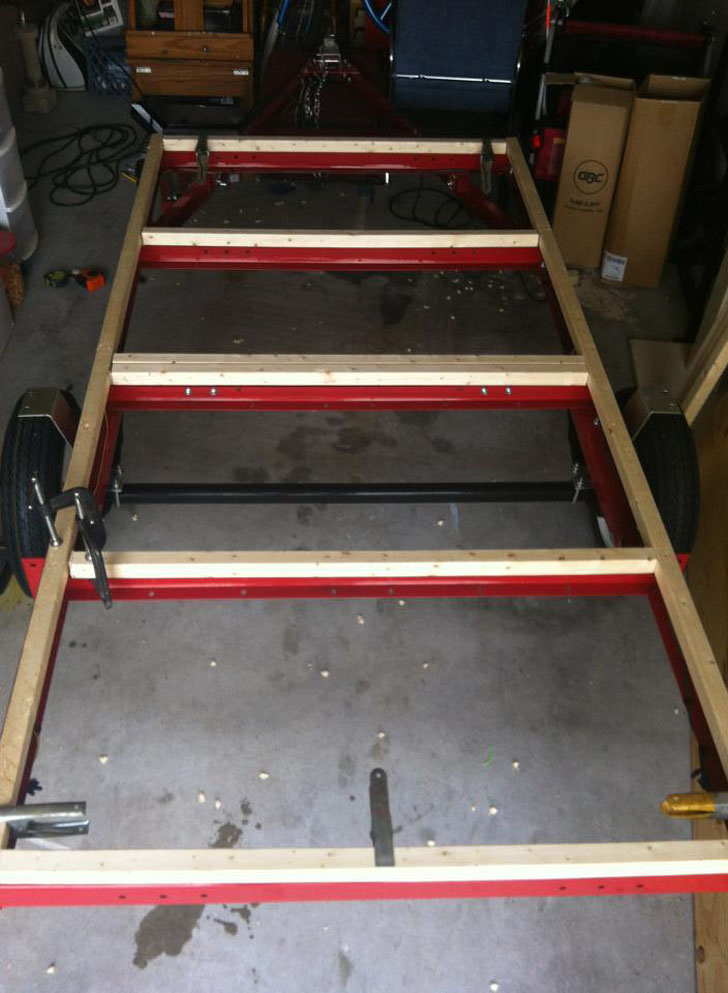
The trailer bed is covered with ¾” plywood with a coat of roofing tar on the bottom side for waterproofing. A 2″x2″ lumber frame rests atop the plywood. The floor was sized to position the trailer’s walls directly above the steel frame for extra strength.
Cutoff corner pieces stabilize the wall during construction.
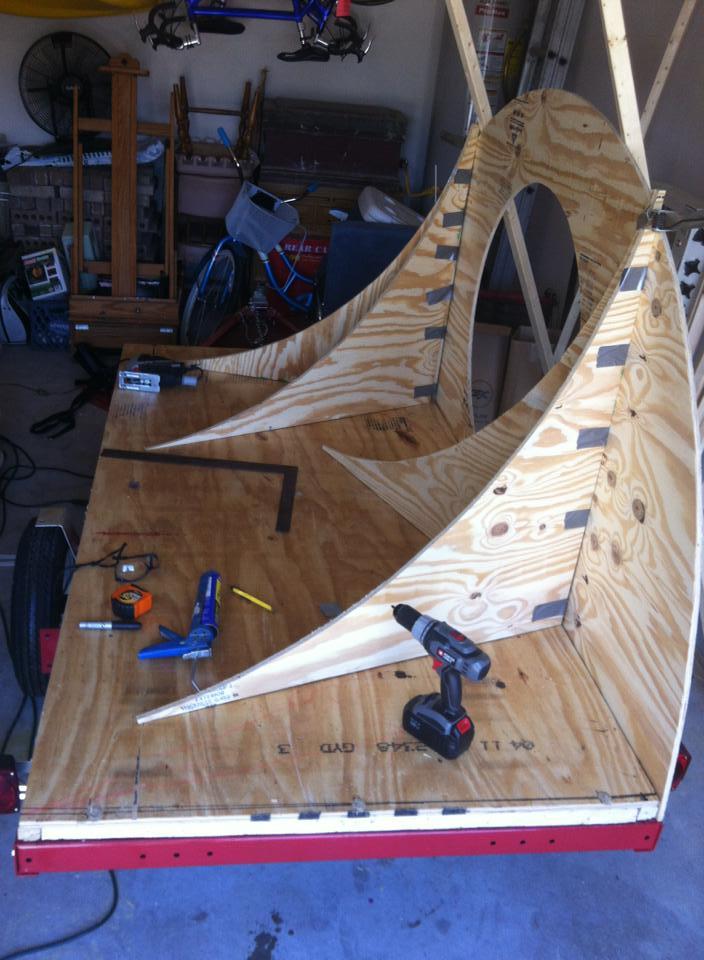
Half inch plywood serves as the two side walls. The actual hole of the “hobbit hole” and the curved outline was cut with a jigsaw. The resulting corner pieces were then used to brace the walls temporarily during construction.
To keep the structure light, 1″x2″ and 2″x2″ lumber serve as the cross bracing between the two side walls. These lightweight “rafters” are spaced to support the roof skin, galley hatch and a wall between the galley and sleeping area.
Exposed framing and hardwood floors are visible in this shot.
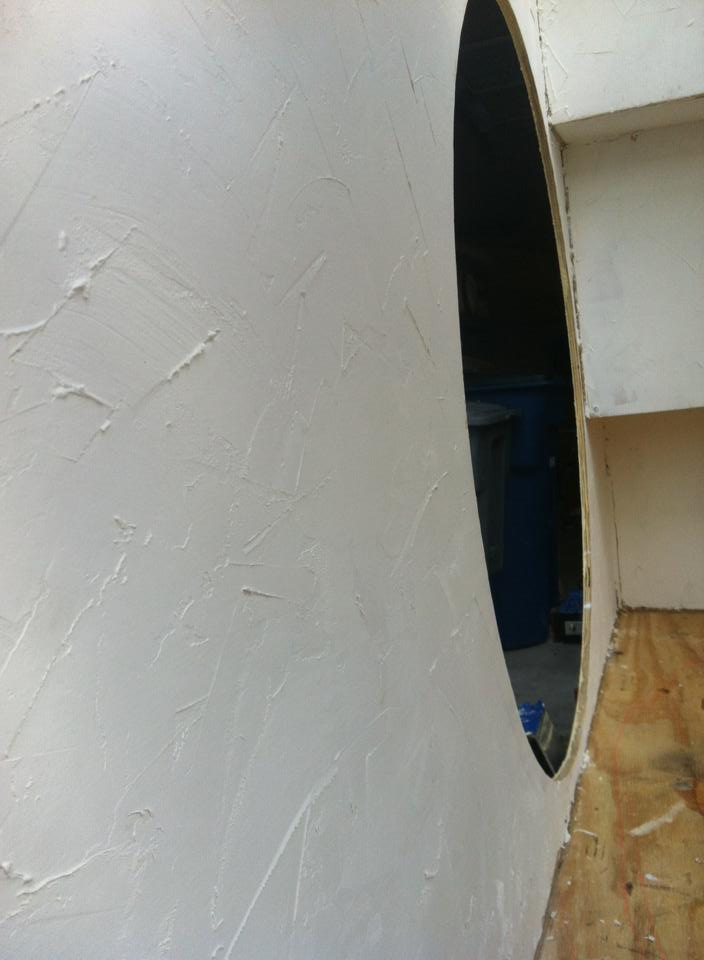
The interior walls are customized with lightweight vinyl repair putty to give them a plaster-like feel. The exterior walls are coated with a deck restoring stain to repel rain and keep out water.
Lightweight vinyl patching mud used to give a “stucco” feel.
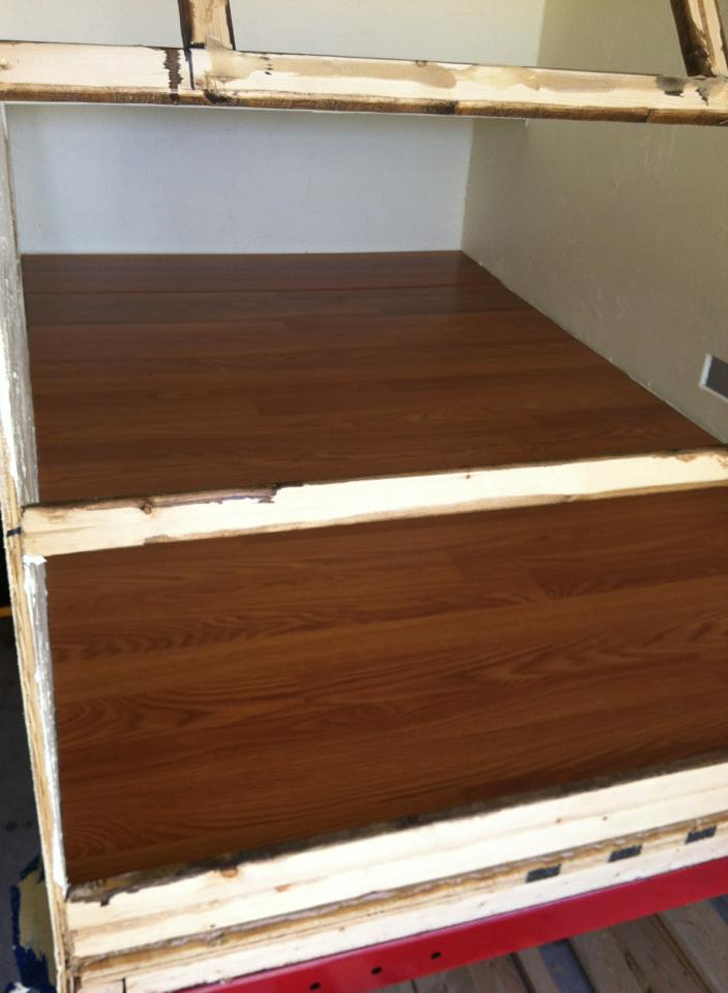
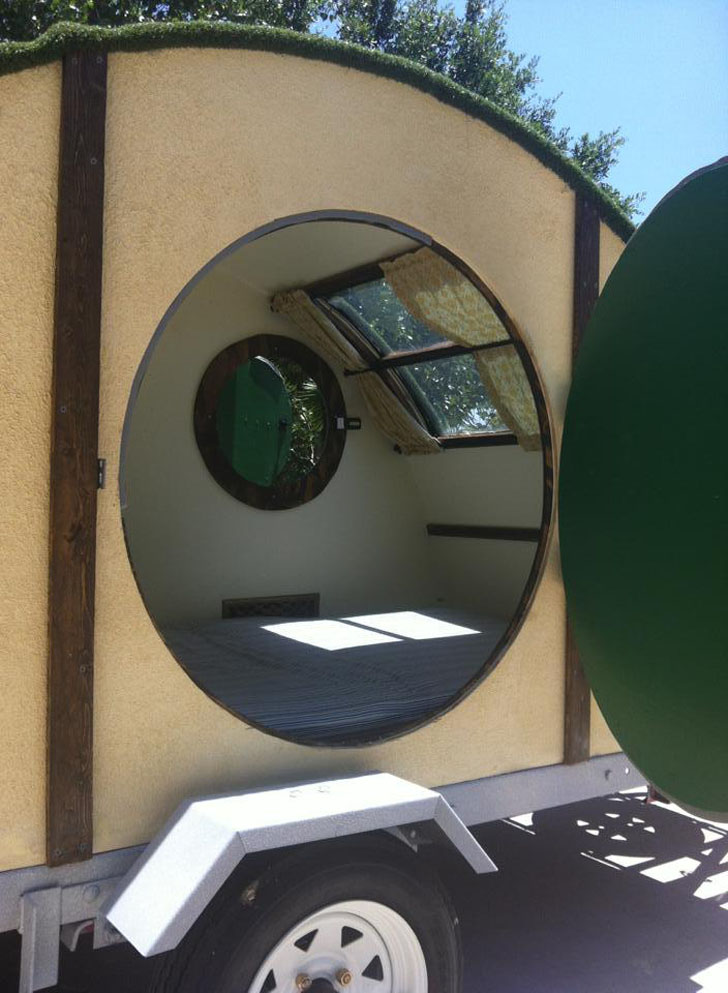
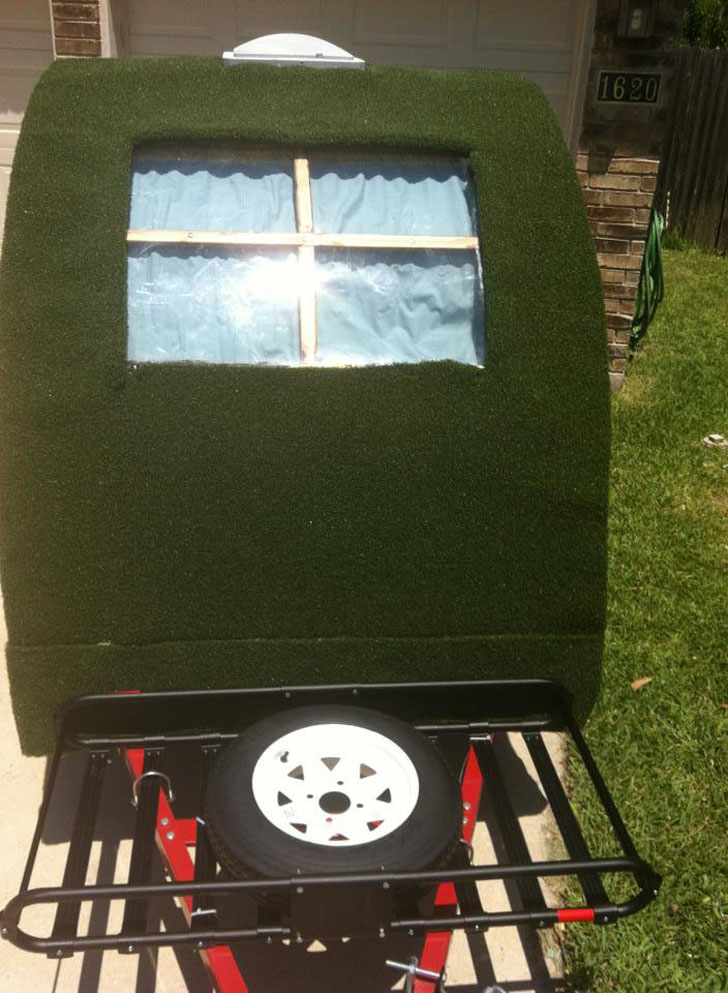
Inside, the floor of the trailer is covered with a manufactured wood floor, while a large window framed into the rear of the roof provides plenty of light.
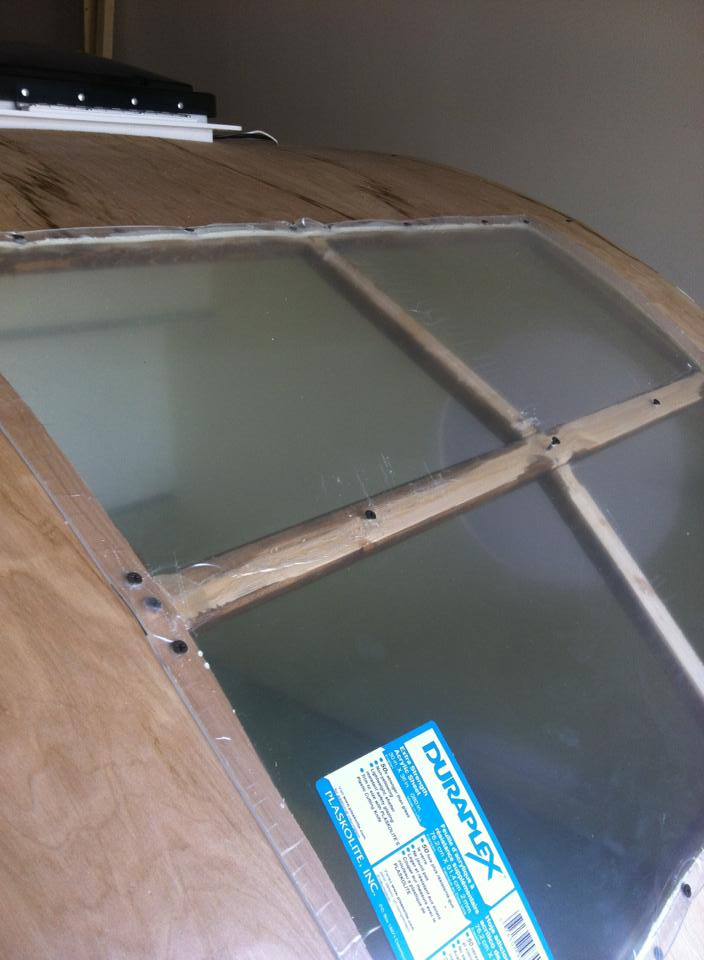
Rather than installing a traditional window with glass, he used a shatter-proof Duraplex acrylic sheet cut to size. This sheet fit the windows and is held in place with silicon caulk and deck screws. It’s rugged enough to survive the elements while still being light and flexible.
The front Duraplex window bends to match the curvature of the trailer.
In the rear, the galley gets a two tiered shelf system. The smaller, upper shelf is primarily for storage, while the lower shelf serves as counter and prep space. Below the counter there is ample storage for a large cooler and a couple of sizable water jugs.
Galley under construction showing large storage area.
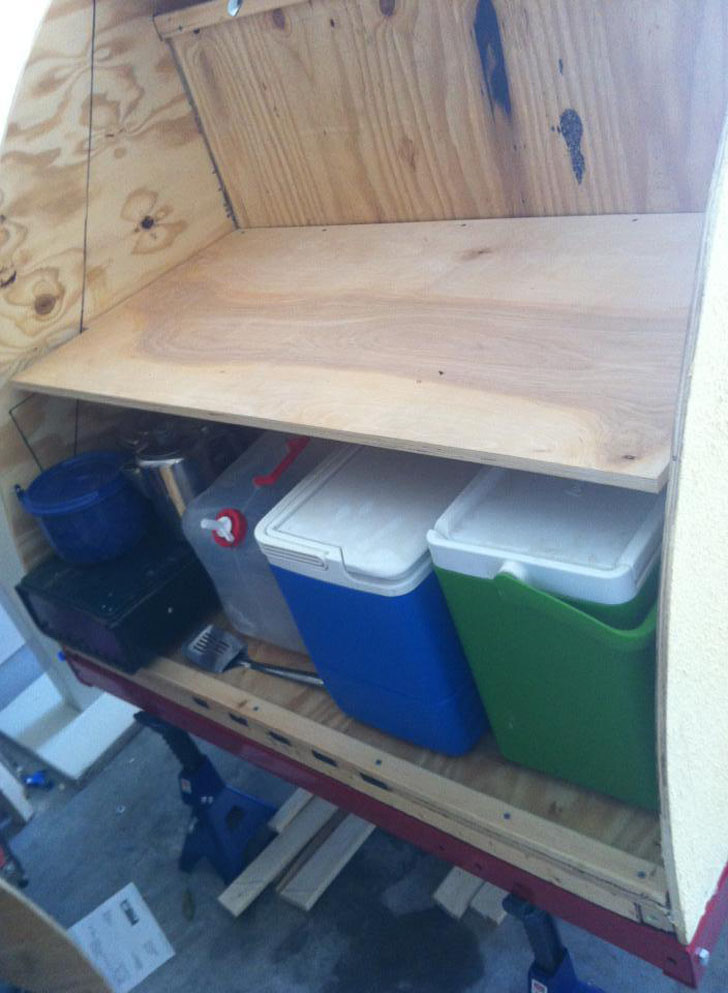
A small electrical system was also installed in the lower part of the galley, capable of supplying 2 to 3 days power from a fully charged battery.
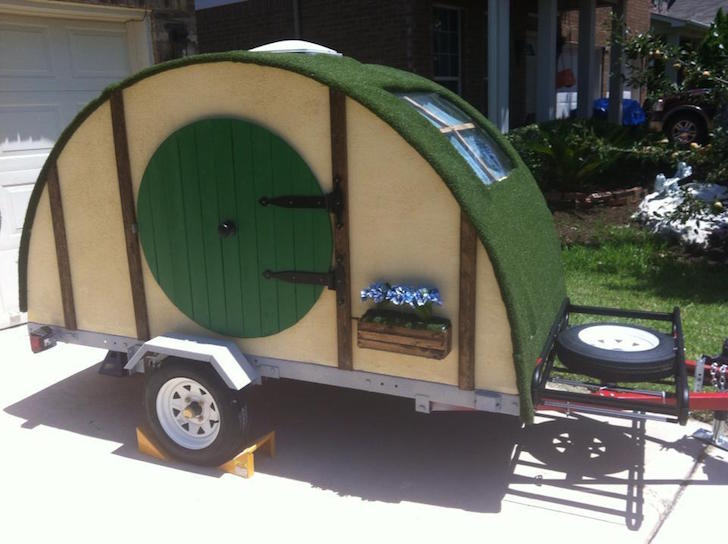
A second round duraplex window and a round entry door give the trailer its hobbit-esque appeal. The inside seams are neatly trimmed out with lumber strips.
Finished hobbit hole with windows and curtains.
A vent fan, curtains, some stain, paint and a covering of indoor-outdoor “astroturf” carpeting for that underground feel give this cozy little trailer it’s finishing touches.
Astroturf covering and a vent on top.
Fit for a hobbit!
To see more photos of the construction, visit Samm1t’s build log on imgur.