Nearly 6,000 years ago a young warrior climbed to the top of a peak in the land now known as Norway.
At a believed 6’8” in height and a weight of nearly 300 pounds he was a behemoth of a man. Legend has it his voice was like that of thunder and his temper like a pack of hungry wolves.
Upon that peak he summoned the power of the Gods,
Sky above me. Earth below me. Fire within me.
And as he said these words his fist met the stoney ground, turning the rock into an explosion of fire.
A Fire Makes Us Feel Good
None of the above is true of course. Except for the quote, and I can’t honestly remember if I read it in a Conan comic or on a Pinterest board.
But it still makes you think of the feeling you get whenever you’ve gone camping and started a fire for yourself.
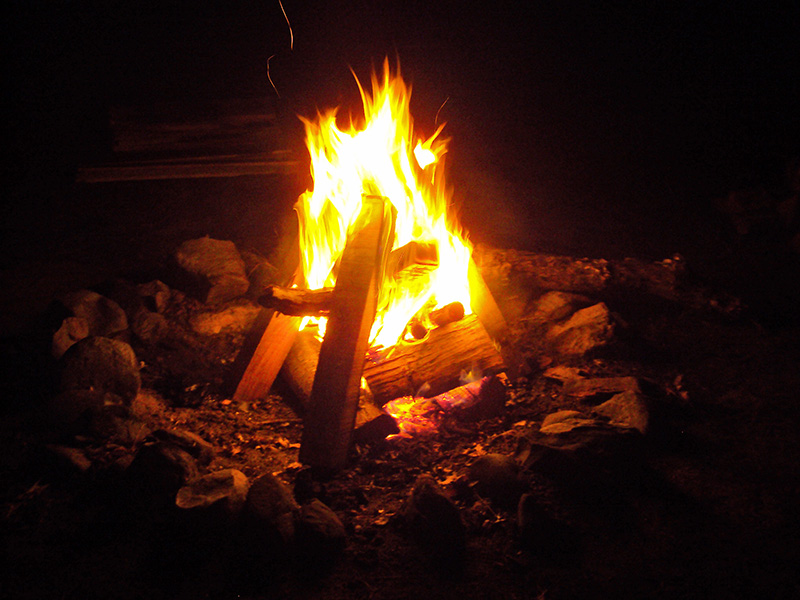
There is something real and raw that connects you and me to fire. For ancient man, fire provided warmth, protection, light, and a way to cook and purify water.
And while starting a fire is no longer vital for our survival – most campers would even choose propane and alcohol cooking methods over the open pit – the orange glow of burning wood still has an attractive power over us that draws us in like moths.
Keep This Feeling Alive
It’s around the campfire that grandfathers have shared wisdom in less words than a fortune cookie, where fathers have entertained families with stories and tales, and where college buddies have shared legendary exploits and “war stories,” as it were.
And might I add there is nothing more romantic than huddling close and whispering sweet nothings into the ear of your beloved against the backdrop of fresh timber crackling and popping under a starlit sky.
Just because a larger number of motorhomes, campers, and travel trailers offer electric fireplaces and propane ranges, a man shouldn’t have to give up the Art of the Campfire.
You should know how to start, tend, and then safely extinguish a campfire the right way.
Bedding Down
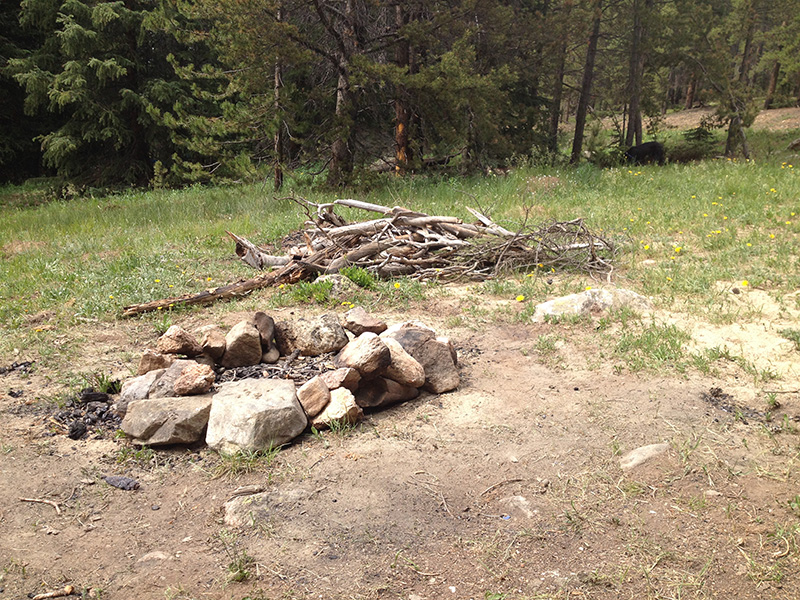
A fire is only as good as its foundation.
A proper fire should begin on firm ground. If you’re site has a fire pit or a designated fire area, use this spot only. If you’re doing more pioneer camping or “leave no trace” trail camping you’ll need to make your own.
Find a spot away from trees, bushes, brush, and other plant material. The fire bed should be on bare earth with no signs of grass, especially dead grass.
If you can’t find such a spot, use your tools or hands to clear a fire pit by raking away plant matter, dry grass, branches, and underbrush.
Gather together a bit of dirt and place it in the center of your pit making a nice sort of platform about 3” high. If river rock or stones are handy use those to create a perimeter.
Wood You Mind?
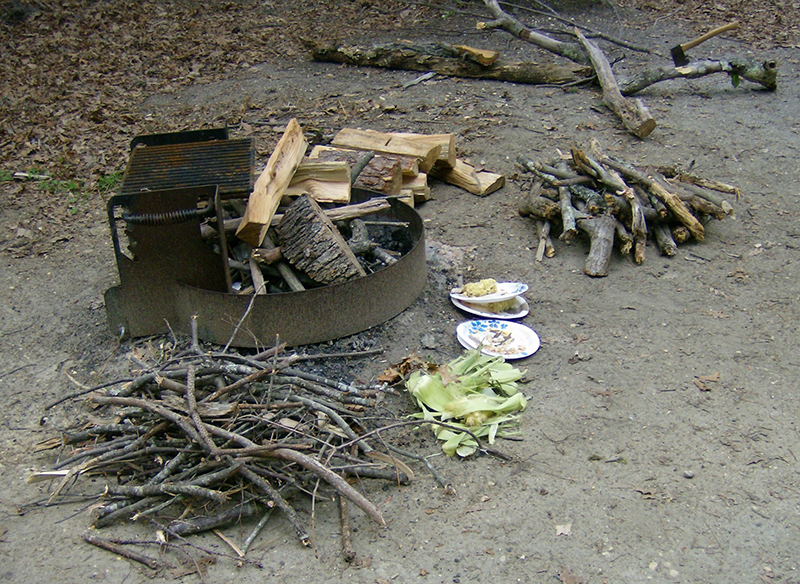
A successful fire calls for three types of material: tinder, kindling, and fuel.
Tinder
Tinder is the stuff that burns fast and hot. It catches easily and the drier the material the better.
I like to gather up dry leaves, bark, wood shavings (obviously gathered from your whittling done earlier in the day), straw, moss, etc.
At times I have even picked some wool pellets off my sweater, dug for lint in my pockets, and uses gauze from my first aid kit.
Remember though: Wet tinder does not catch fire.
Kindling
You can’t just go from tinder to logs. There has to be a transition layer. Kindling is probably the easiest to find since it is nothing more than twigs and small branches.
You are looking for something about the diameter and length of a pencil, pen, or drinking straw.
If you find yourself on the beach you can use reeds, driftwood, or even dried sea grass.
Fuel wood
This layer allows your campfire to stay hot and burn at length.
You don’t need to use hulking logs gathered from the last lumberjack competition in your state. You can use branches snapped into pieces.
If you want to make your own logs, quarter round stumps that are no more than about 16” in length. Dry them and season for at least 6 months. Splay out the edges and they’ll work perfectly.
When gathering your wood remember a few points:
- Dry wood burns best
- Fuel wood can have some moisture to it as the fire will dry it sufficiently
- Tinder and kindling burn exceptionally fast, collect twice as much as you think you’ll need
Build Your Gift to the World
There are a number of ways to assemble your fire once you’ve gathered your materials.
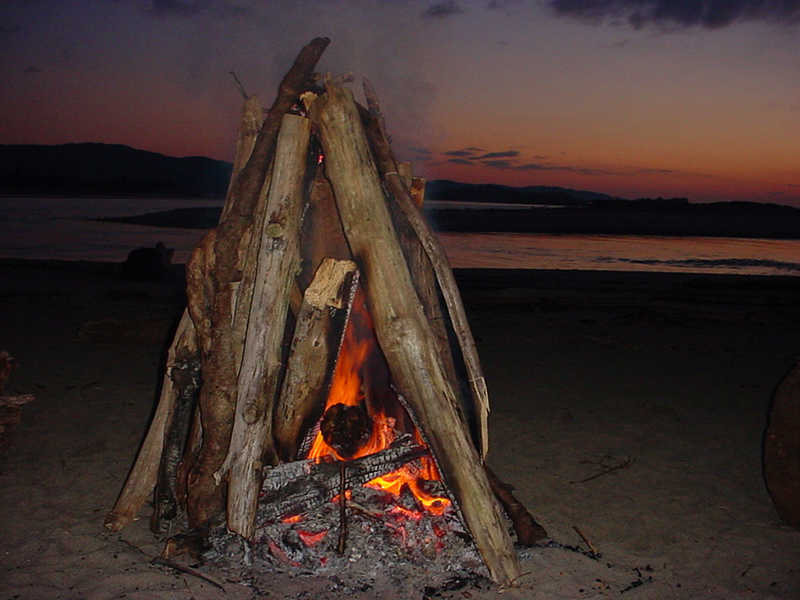
One type of setup that looks great, is easy to make, and will self-extinguish is called the Teepee Fire.
- Set your tinder bundle in the middle of your fire pit.
- Above your tinder bundle create a small teepee with some kindling. Be sure to leave an opening in your teepee on the side the breeze is blowing against. Fire needs air to survive and this opening will allow for that.
- Add more kindling to the teepee, working your way up to the largest size kindling you have gathered.
- Create a larger teepee around your kindling teepee with your split fuel wood.
- Place your flame (be it match, lighter, torch, etc) under your tinder. Because this method causes the flame to draft upward, the flame should also rise up to the kindling and then to the fuel wood.
- After some time burning the teepee will eventually fall, leaving you with a nice, roaring fire on which to continue adding fuel logs as needed.
Preparing for the Next One
The logs have burned down to mere ashes. The eyelids of your grandchildren have given up the fight with midnight slumber. The S’mores have long since been eaten.
It’s time to extinguish the fire and create a safe space for the next camper. It’s a good idea to start this process 20-30 minutes prior to leaving the spot or going to sleep.
Don’t just pour water on the fire because you’ll create a mud puddle and make it unusable for several days.
Sprinkle some water on the embers and stir, ensuring the ashes get saturated.
At the beginning of the process the ashes will hiss and snort and produce steam. When those noises cease it means the fire is close to being fully out. Use the back of your hand to see if there is heat still coming from the ashes.
If you feel heat, it’s too hot to leave.
Once the pit is cool, scoop up the ashes into a bag and then deposit them around the whole site, being careful not to dump in any one place.
Lastly you should level the area and rake it some so it appears as it did when you first broke ground. After that you can leave your spot with the satisfaction of knowing you continued a centuries’ old tradition of man and fire.