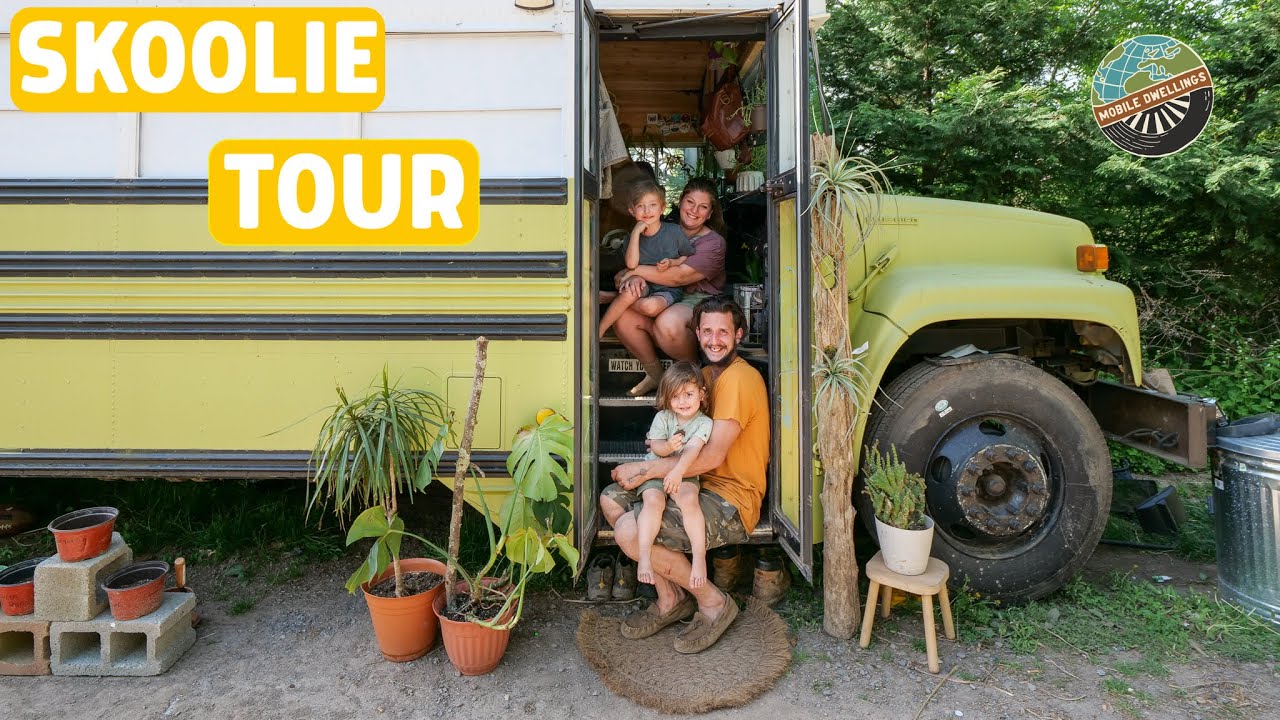
Converting an old school bus into a camper? This is an awesome idea! That said, there are quite a few things you should know before customizing your very own skoolie.
In this article, we will discuss the most important things to consider when you start working on converting your school bus into an RV or camper.
Research
Before you even purchase a decommissioned school bus with the hopes of turning it into a camper, you need to do some research. I cannot stress this enough. Watch a ton of skoolie videos, talk to people with firsthand experience, and tour a bus conversion. The more you know, the better and easier your experience is going to be.
While you’re learning how to convert your bus into a camper, do some research on basic electrical, plumbing, automotive, and external power skills. You’re going to need them as you get further along in the project, and it is so much cheaper if you know how to do it and do the work yourself.
Some of the best YouTube channels to watch to learn about bus conversions include:
Buying a Bus
You may be able to buy a used school bus for around $6,000 at auctions or on platforms like Facebook Marketplace. On the site Northwest Bus Sales, they can go for around $15,000. The cost really depends on if you are getting a short bus or a long bus and how new the bus is. The conversion of the bus to the camper can cost up to $10,000 or more, so be sure to budget for that.
Designing Your Bus Conversion Layout
Before you do anything to your bus, draw up a blueprint for what you want your bus conversion camper to look like. Consider where the beds, bathroom, and furniture will go. Plan for storage, and figure out how you will get power, water, and heat. Make sure to keep the total weight of the rig in mind.
Here are some tips and things to consider when designing your bus build.
Designing Around Space Restrictions
When designing and building your camper, you will need to consider living space restrictions. The ceiling of your bus is curved, so that puts a restriction on what you can build on your walls. Additionally, a bus is not very wide, and it is shorter than a lot of RVs, so everything will have to be adjusted accordingly.
Beds
Most people will put their bed sideways against the back wall. You can really only fit a queen-size mattress in that fashion, but it is generally the best solution. If you need more than one bed in your bus conversion, consider building narrow single bunks on one side of the bus or investing in a good sofa bed that can fold away during the day.
Bathroom
You don’t want your bathroom to stick too far into the walking space of the bus. But you also don’t want to constantly knock your knees in the bathroom. A longer, skinnier bathroom is usually what ends up getting built, as it allows for enough space in the bathroom while still keeping the walls out of the way of other things. You could also choose to build a bathroom across the width of the bus, dividing the sleeping area and the living area.
Storage
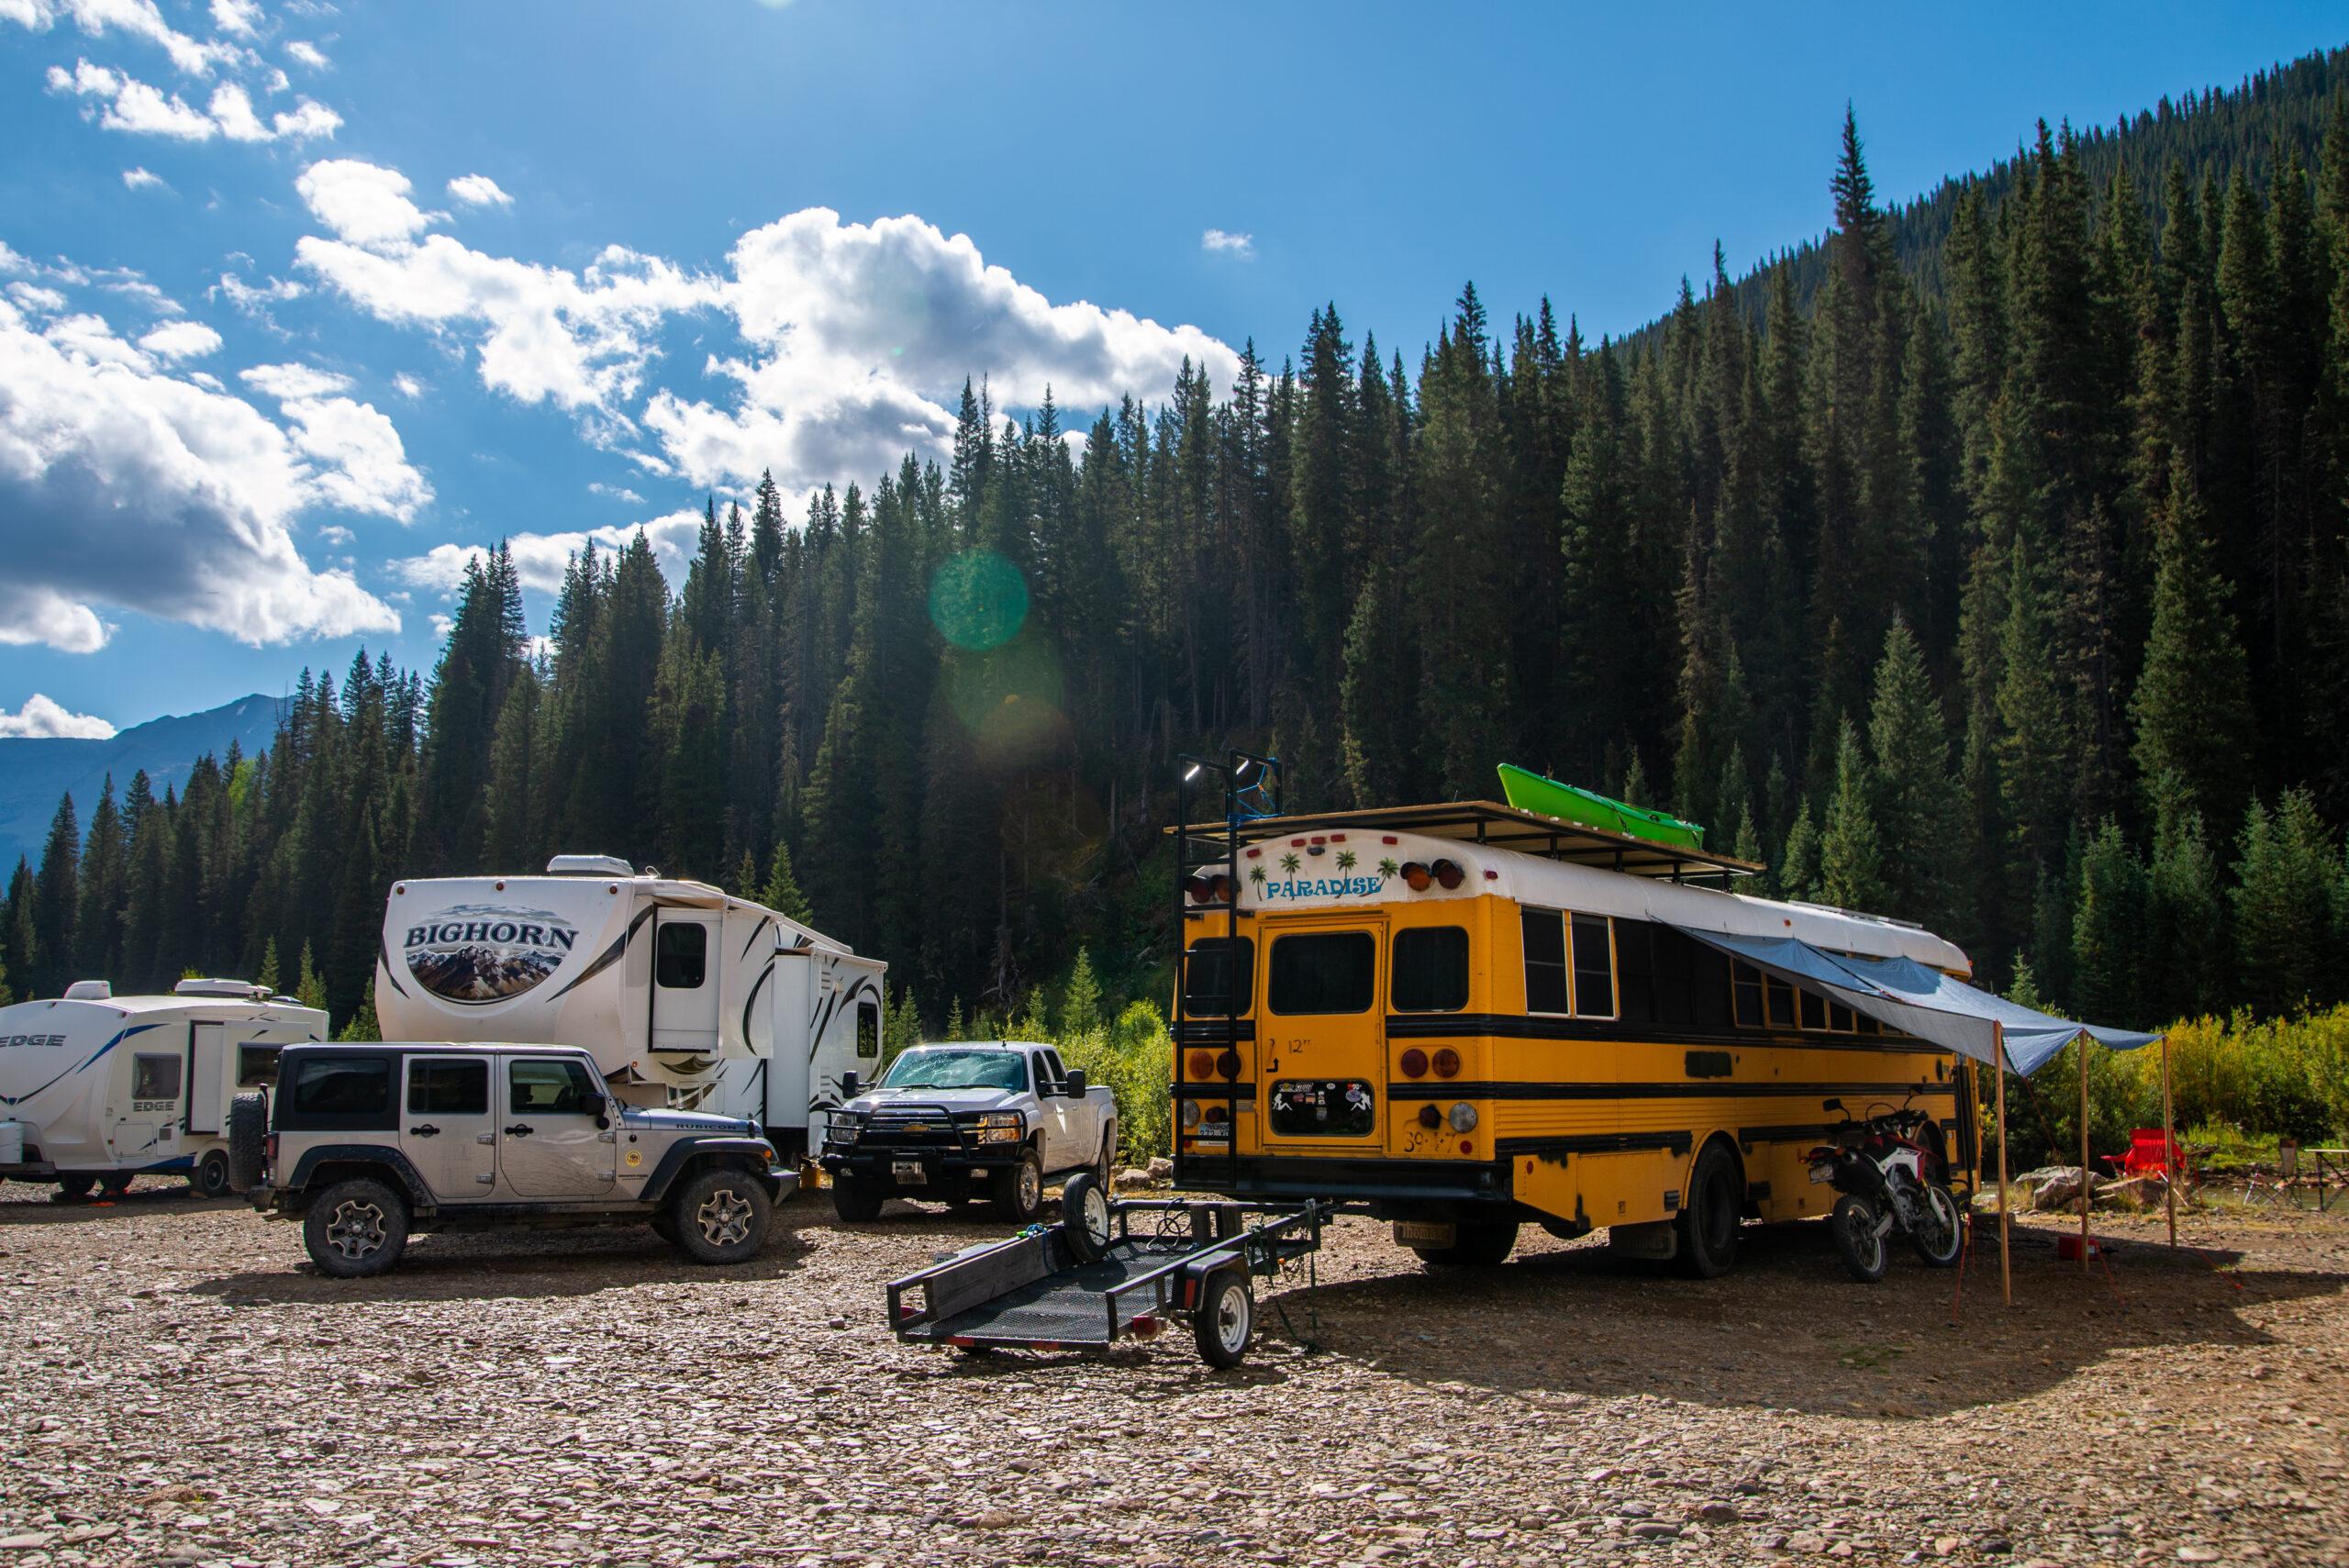
One big difference between school bus conversions and traditional RVs is the height. RVs and campers have a ton of room up above and they can put lots and lots of overhead cabinets in. Buses do not have that luxury. So when you build your bus, you’re going to have to figure out a way to store your items without installing top cabinets.
A lot of people put storage space underneath their mattresses, inside of steps, built into the wall, under couch cushions, in the floor, and everywhere and anywhere in the kitchen. It’s important to build your storage so items won’t slide around, fall, or spill out while you are driving. Get drawer and cabinet latches to make sure they stay shut.
Double Usage
Because a bus doesn’t have the same kind of room as an RV, everything in your bus needs to have as many double uses as possible.
The most common solutions are:
- An ottoman seat that doubles as a storage bin
- A chest freezer that has a countertop mounted on the lid
- Shelves and a mirror mounted on the inside of the bathroom door
- Access to the roof through the emergency exits on the roof
- Emergency exits as extra exits
- The space under tables and workstations can be re-purposed
- Steps open up for more storage
Planning for Power, Water, and Heat
You’ll need to find a way to power your home on wheels. Additionally, you’ll want running water, a way to cook food, and a way to heat the rig.
Here are some suggestions for taking care of all of the above.
- For power, most people will get a generator. Generators can be powered by battery, gas, or solar power. A battery-powered generator is the most common and can be recharged while you are driving your bus. They are also quieter.
- A lot of people will also install solar power panels on the top of their roofs because there is a lot of space up there.
- For cooking, invest in a propane stove cooktop and keep a few propane tanks on hand.
- Most people choose to have a freshwater tank installed for cooking, cleaning, and drinking. This means that you will also need a gray water tank.
- You could also opt to use a large jug of fresh water with a battery operated pump and a small, under sink tank to catch gray water if you don’t need running water for a shower or a toilet.
- A lot of people like to forgo a black water tank and instead get a composting toilet or cassette toilet. This also removes the need to plumb a toilet into the RV water lines.
- A solar shower allows you to shower outside of the bus, removing the need to build a dedicated shower in the rig.
- When it comes to heat, you have options. Propane is cheap. Wood furnaces will heat a small space really well (and wood is cheap) but you’ll have to figure out how to funnel out the smoke. Electric is cheap but not as available (you won’t always be plugged in). Diesel is expensive but effective (you’re tapping your driving fuel).
- If you don’t feel comfortable working with wiring, consider bringing in a professional just to install the electricity.
Consider Weight When Converting a Bus
There are weight restrictions on all vehicles. When you are building your bus camper conversion, you need to be aware of the weight of everything that you are adding. Make sure that you are well under the limit for your vehicle so that you don’t go over once you start adding people, food, and supplies.
Demolition and Building
With your plans set and your bus bought, it’s time to get to work. First demolition and then actually making your plans come to life.
Demolition
Once you buy your bus and are set on converting it, the first step is demolition. This can actually be the most fun part. After all, who doesn’t like tearing things apart or smashing them with a hammer?
That said, you will want to be careful about what you demolish when converting a bus. Write up a plan before you pull out the tools. Determine exactly what you need to get rid of and why. The more you think about it, the better it will turn out. Take an in-depth tour of your bus to determine what is connected to what so you don’t accidentally hurt something you didn’t want to.
Try and remove things with as little damage as possible. You might end up replacing or reusing some of the things you pull out, so you want to remove them in one piece as much as possible and try not to damage them too much.
Nipping Rust in the Bud
After demolition, be sure to paint the metal floor with rust-stopping base paint. This will ensure your bus floor doesn’t rot out from under you. This is a super simple step in the process of converting a bus that could save you thousands down the line.
Installing Walls and Floors
Adding walls and floors to the interior of the bus is what makes it feel like a tiny home. You’ll use plywood to build the walls, creating a frame first, adding insulation and wiring in the framing, and building the actual walls, ceiling, and floor off of that. Build the ceiling first, then the walls. Finally, you can add the subfloor and then the flooring on top of that.
This video is a good example of how to frame these things:
And this video will help you understand how to install a ceiling:
And here’s one for installing the walls:
Make sure you account for the bed frame, cabinets, and bathroom walls during this process. Build them in as needed.
Dealing with Leaking
If you’ve ever taken a ride on a school bus during your school years, then you’ve probably been dripped on. The condensation gathers on the windows and runs down the walls. If it’s raining, it starts to leak through the emergency exits on the roof or through the windows and drips onto the seats below.
You don’t want this when you are living in your bus camper conversion, so seal everything well to get rid of the possibility of water damage or leaking.
Covering Windows
Buses have a ton of windows, which is nice because it lets a lot of natural light in, making a small space seem much bigger. However, when you are trying to use the bathroom, all of that window space may not seem so nice.
Consider getting two types of curtains. Get thin white curtains you can pull across the windows to still let in light but block the view. Then get thick curtains you can pull over the whole window for when you need to completely block the sun and the view, or for when you need to keep the heat or cold out of your bus. This will help with the internal temperature of your bus and completely block the view into places like your bedroom or bathroom.
Registering the Bus as an RV
Once the build is complete you will need to register the skoolie conversion as a private RV. This means your build will need to meet some requirements.
Typically, there are six requirements for a vehicle to be considered an RV:
- Cooking Ability (with onboard fuel source)
- Gas or Electric fridge
- Toilet
- Heat/AC (powered by external power source)
- Potable Water Supply
- External Power Supply
Each state has slightly different registration requirements, but these are the basics that you are going to run into when converting a bus into a camper. That said, you don’t always have to have all six of the requirements in order to register your RV conversion as an RV. You often only need four. Find out the rules for your state and stick to them.
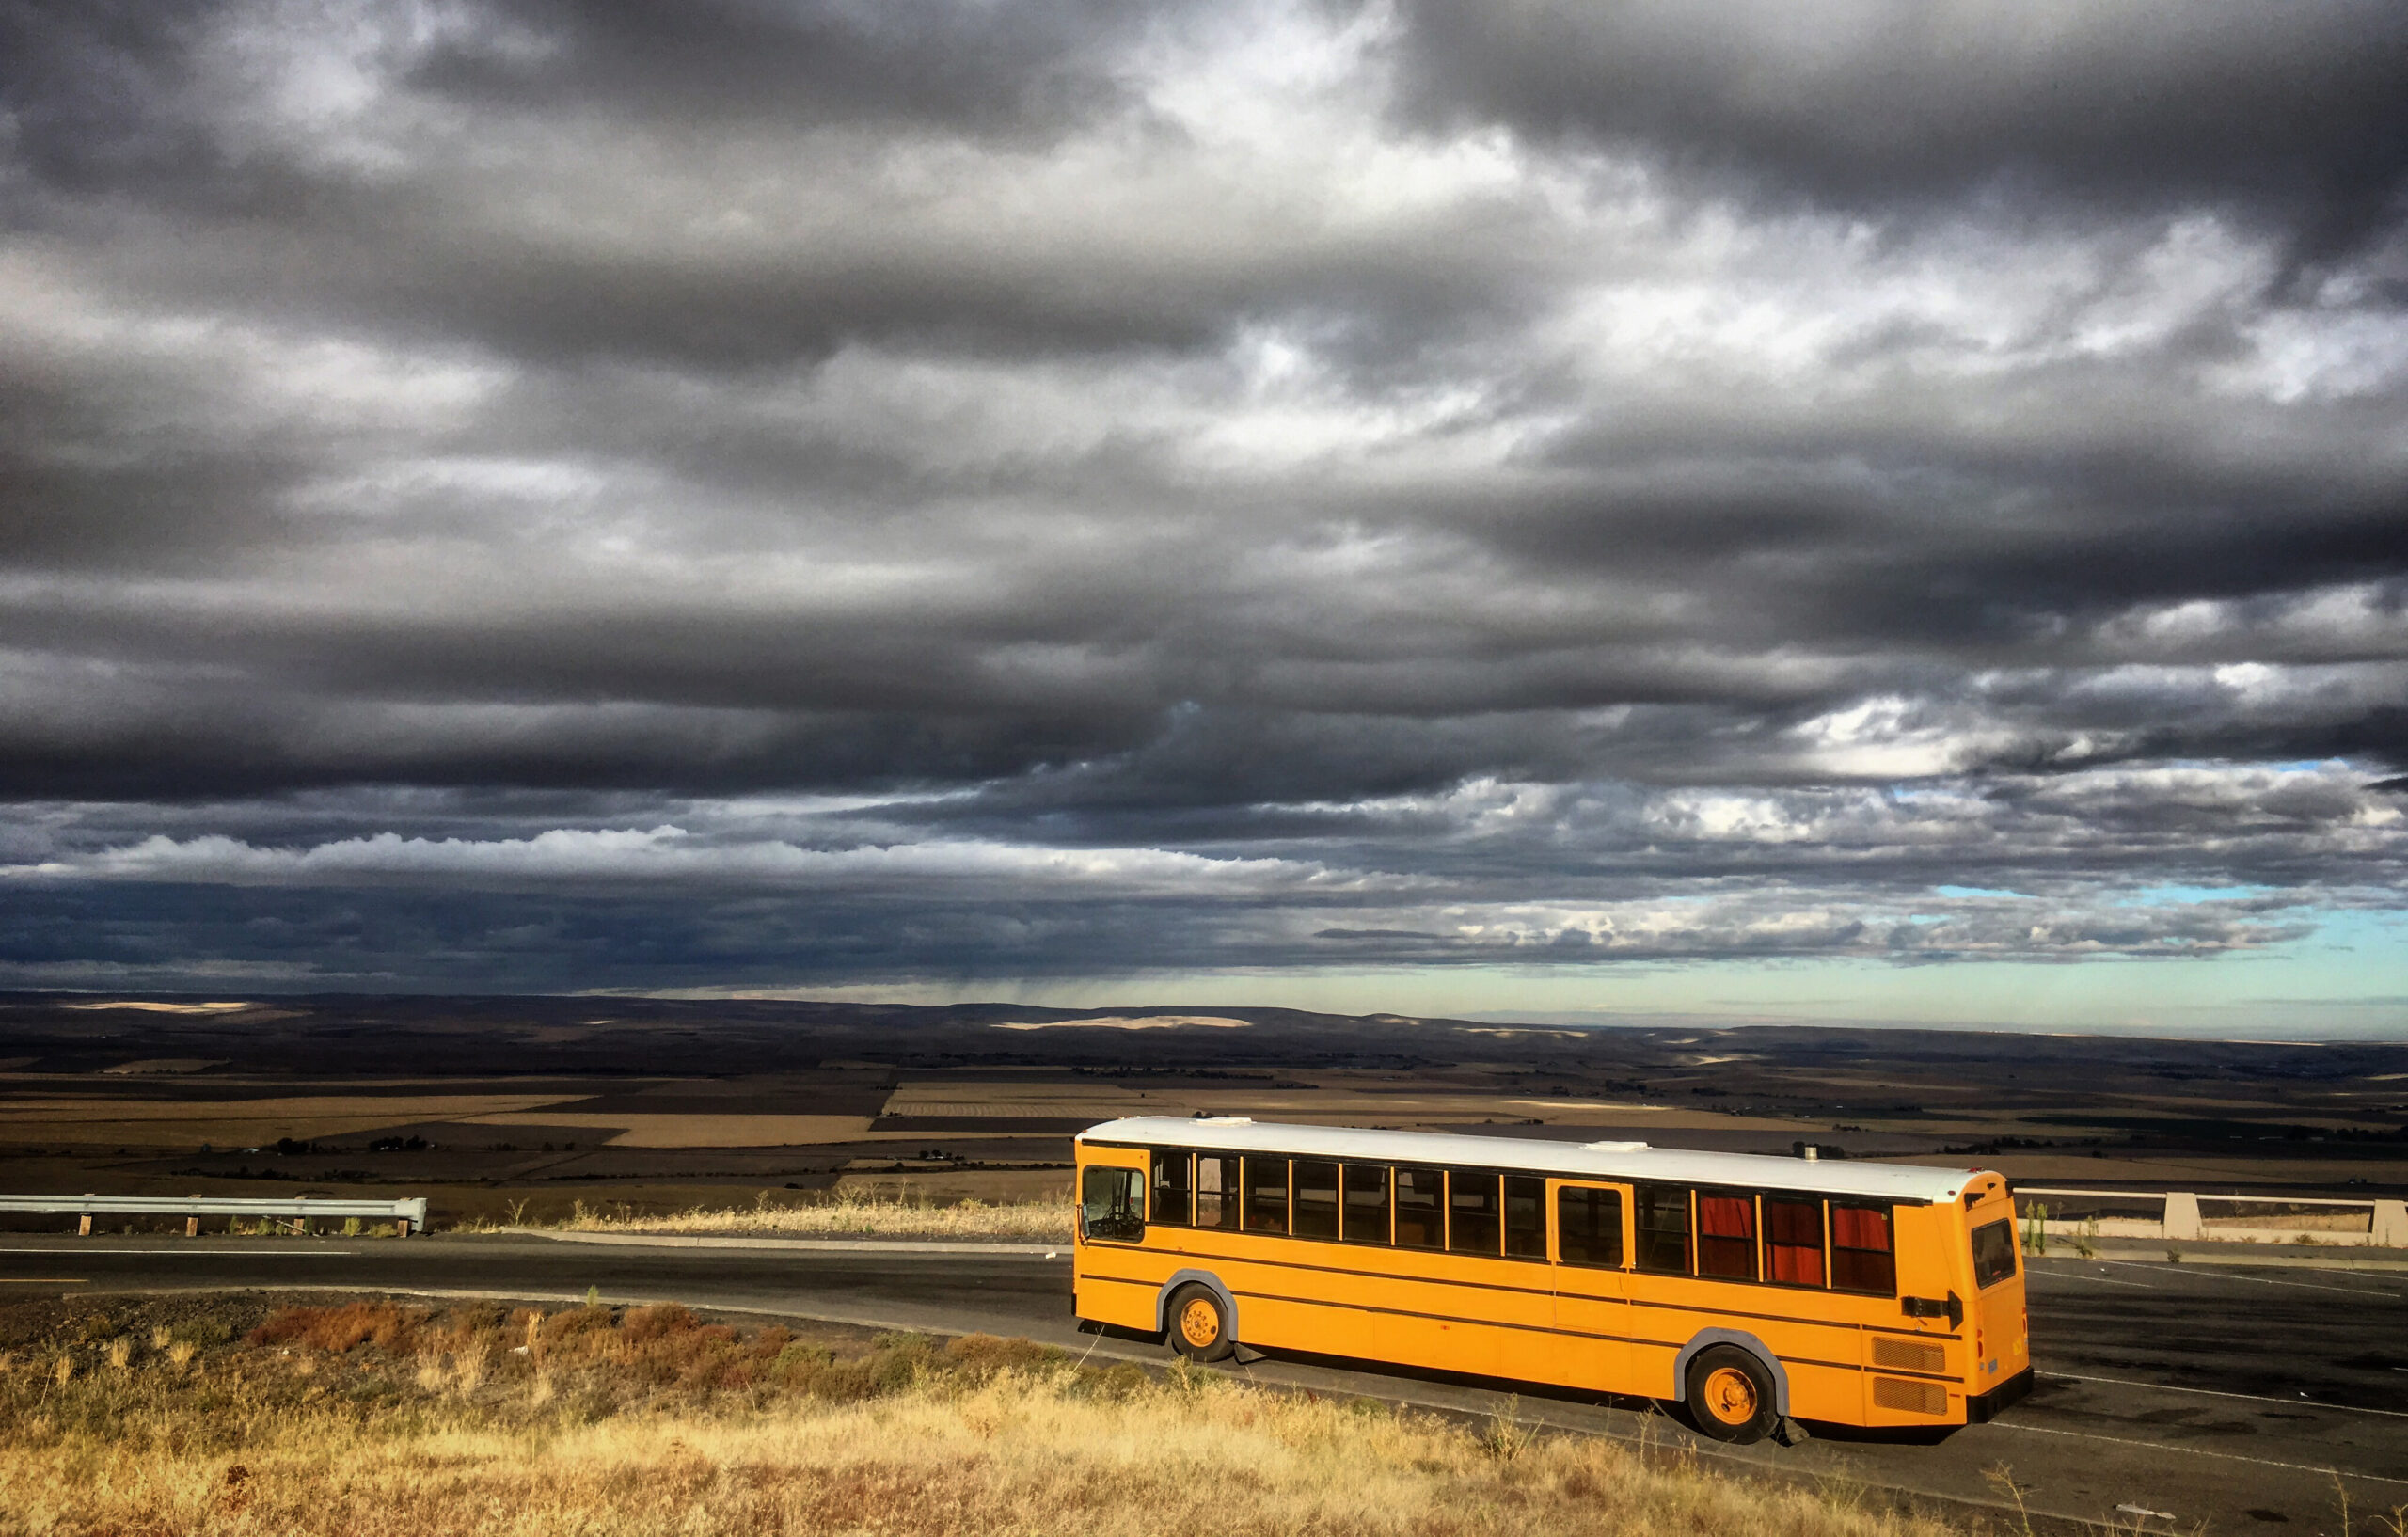
Besides the things listed above, it’s also a requirement that the bus doesn’t look like a school bus anymore. This means that you have to paint the bus a different color. No more sporting that classic school bus yellow color. You need to get rid of the flashing lights, the swinging stop signs, and anything else that makes a bus safe to haul hundreds of kids around a day. Along with that, you’ll need to remove the name of the school district, the bus number, and route it originally had.
Insurance Considerations
Insuring a bus conversion into an RV involves several unique considerations compared to standard vehicle insurance. Given the customized nature of bus conversions, insurance companies often require an appraisal to determine the vehicle’s value, differentiating between professional and DIY projects.
You may need to seek out specialty RV insurance policies that offer “agreed value” coverage, which is crucial for custom conversions, as opposed to “actual cash value” policies. The cost and availability of insurance can vary widely, influenced by the conversion’s extent, usage, and the owner’s details.
Finding the right insurance requires research, as not all companies cover bus conversions. It’s advisable to obtain multiple quotes, providing detailed documentation of your conversion to ensure accurate coverage.
Driving Your Bus Conversion
Operating a bus differs significantly from driving a standard car or truck due to its larger size. This requires mastering skills such as executing wide turns and accurately assessing whether the vehicle can fit into specific parking spots or navigate narrow alleyways.
Additionally, depending on your state’s regulations, obtaining a Commercial Driver’s License (CDL) may be necessary to legally drive a bus. It’s crucial to investigate these requirements thoroughly before embarking on any journeys with your bus.
Converting a bus into a camper is a big project, but it’s worth the effort for future adventures on the road. The finished camper will bring you the freedom you’re looking for. Armed with the insights shared, you’re one your way to revving up your conversion project confidently.