An RV Toilet Replacement Is Easier Than You Might Think
You don’t need to be a rocket scientist or even an RV technician to perform an RV toilet replacement. If you can make a lasagna from scratch, you can replace an RV toilet. It isn’t nearly as complex as making that special pasta dish for dinner, and I’m speaking from my first-hand experience in both the kitchen and bathroom challenges.
How Do You Replace An RV Toilet?
Finding the right RV toilet replacement
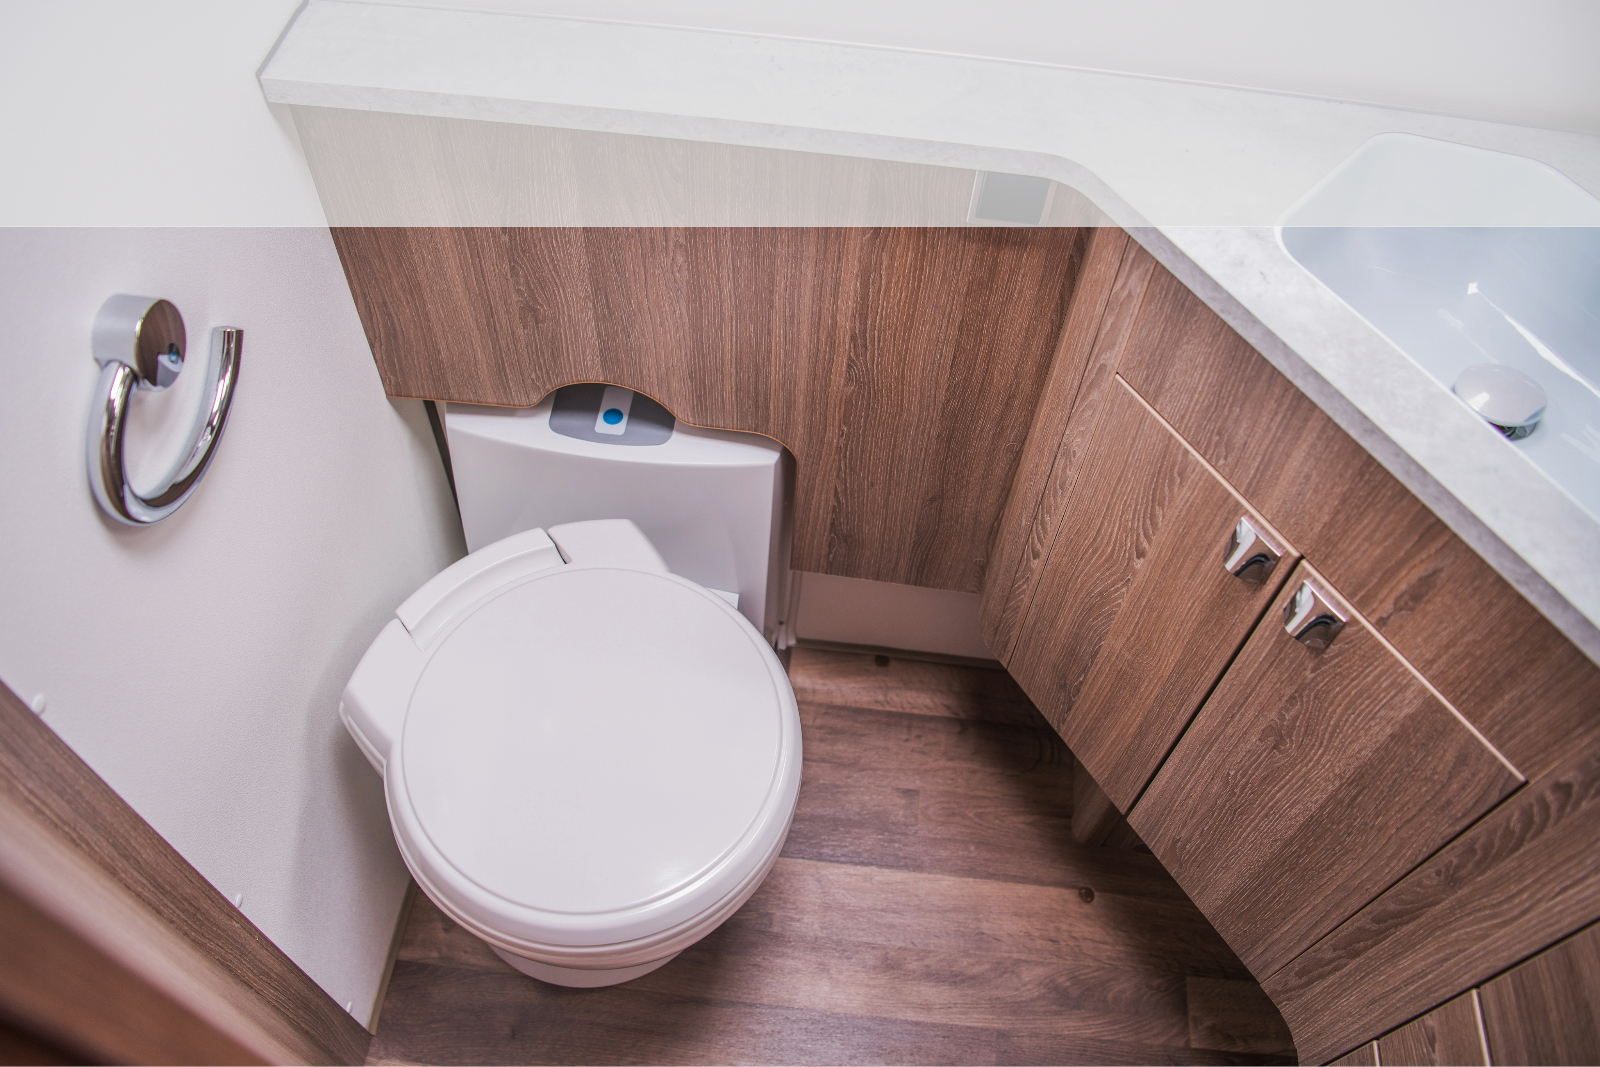
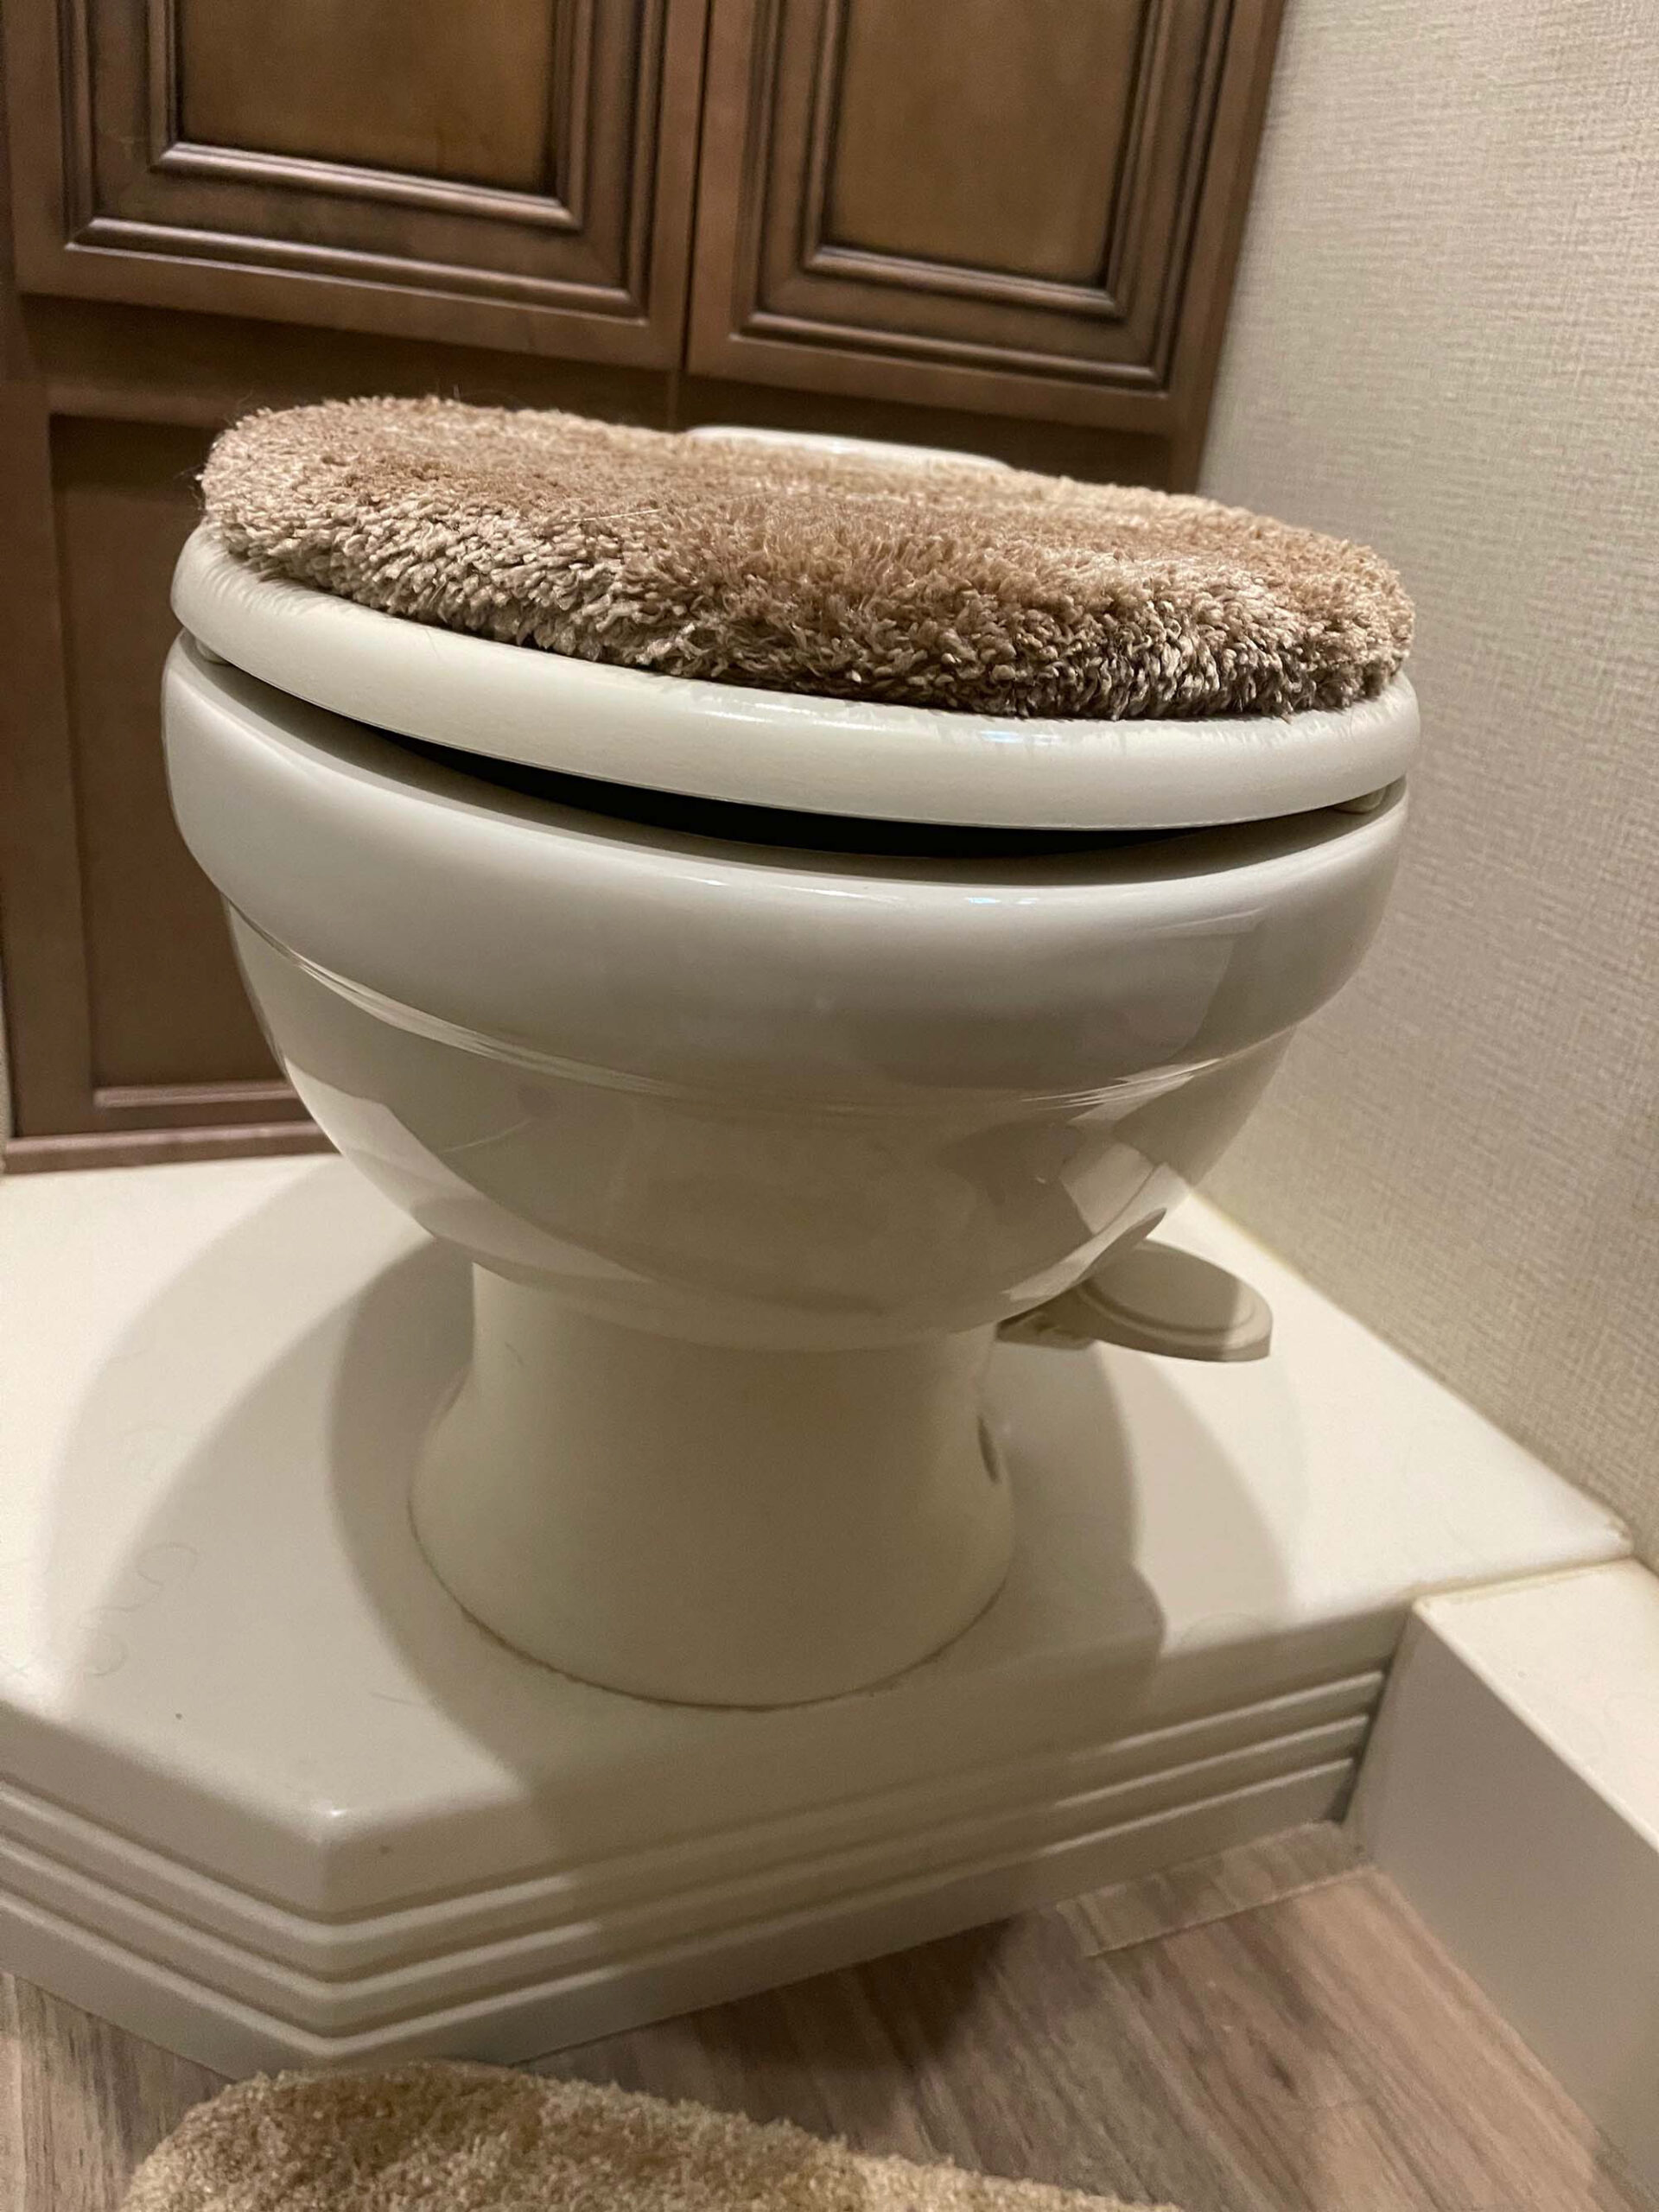
The hardest part of replacing the toilet was finding the right one to fit correctly into the space. I wanted to replace the defective toilet with a new one of the same brand, height, style, color, and the one that would fit the setback from the wall like the one being replaced.
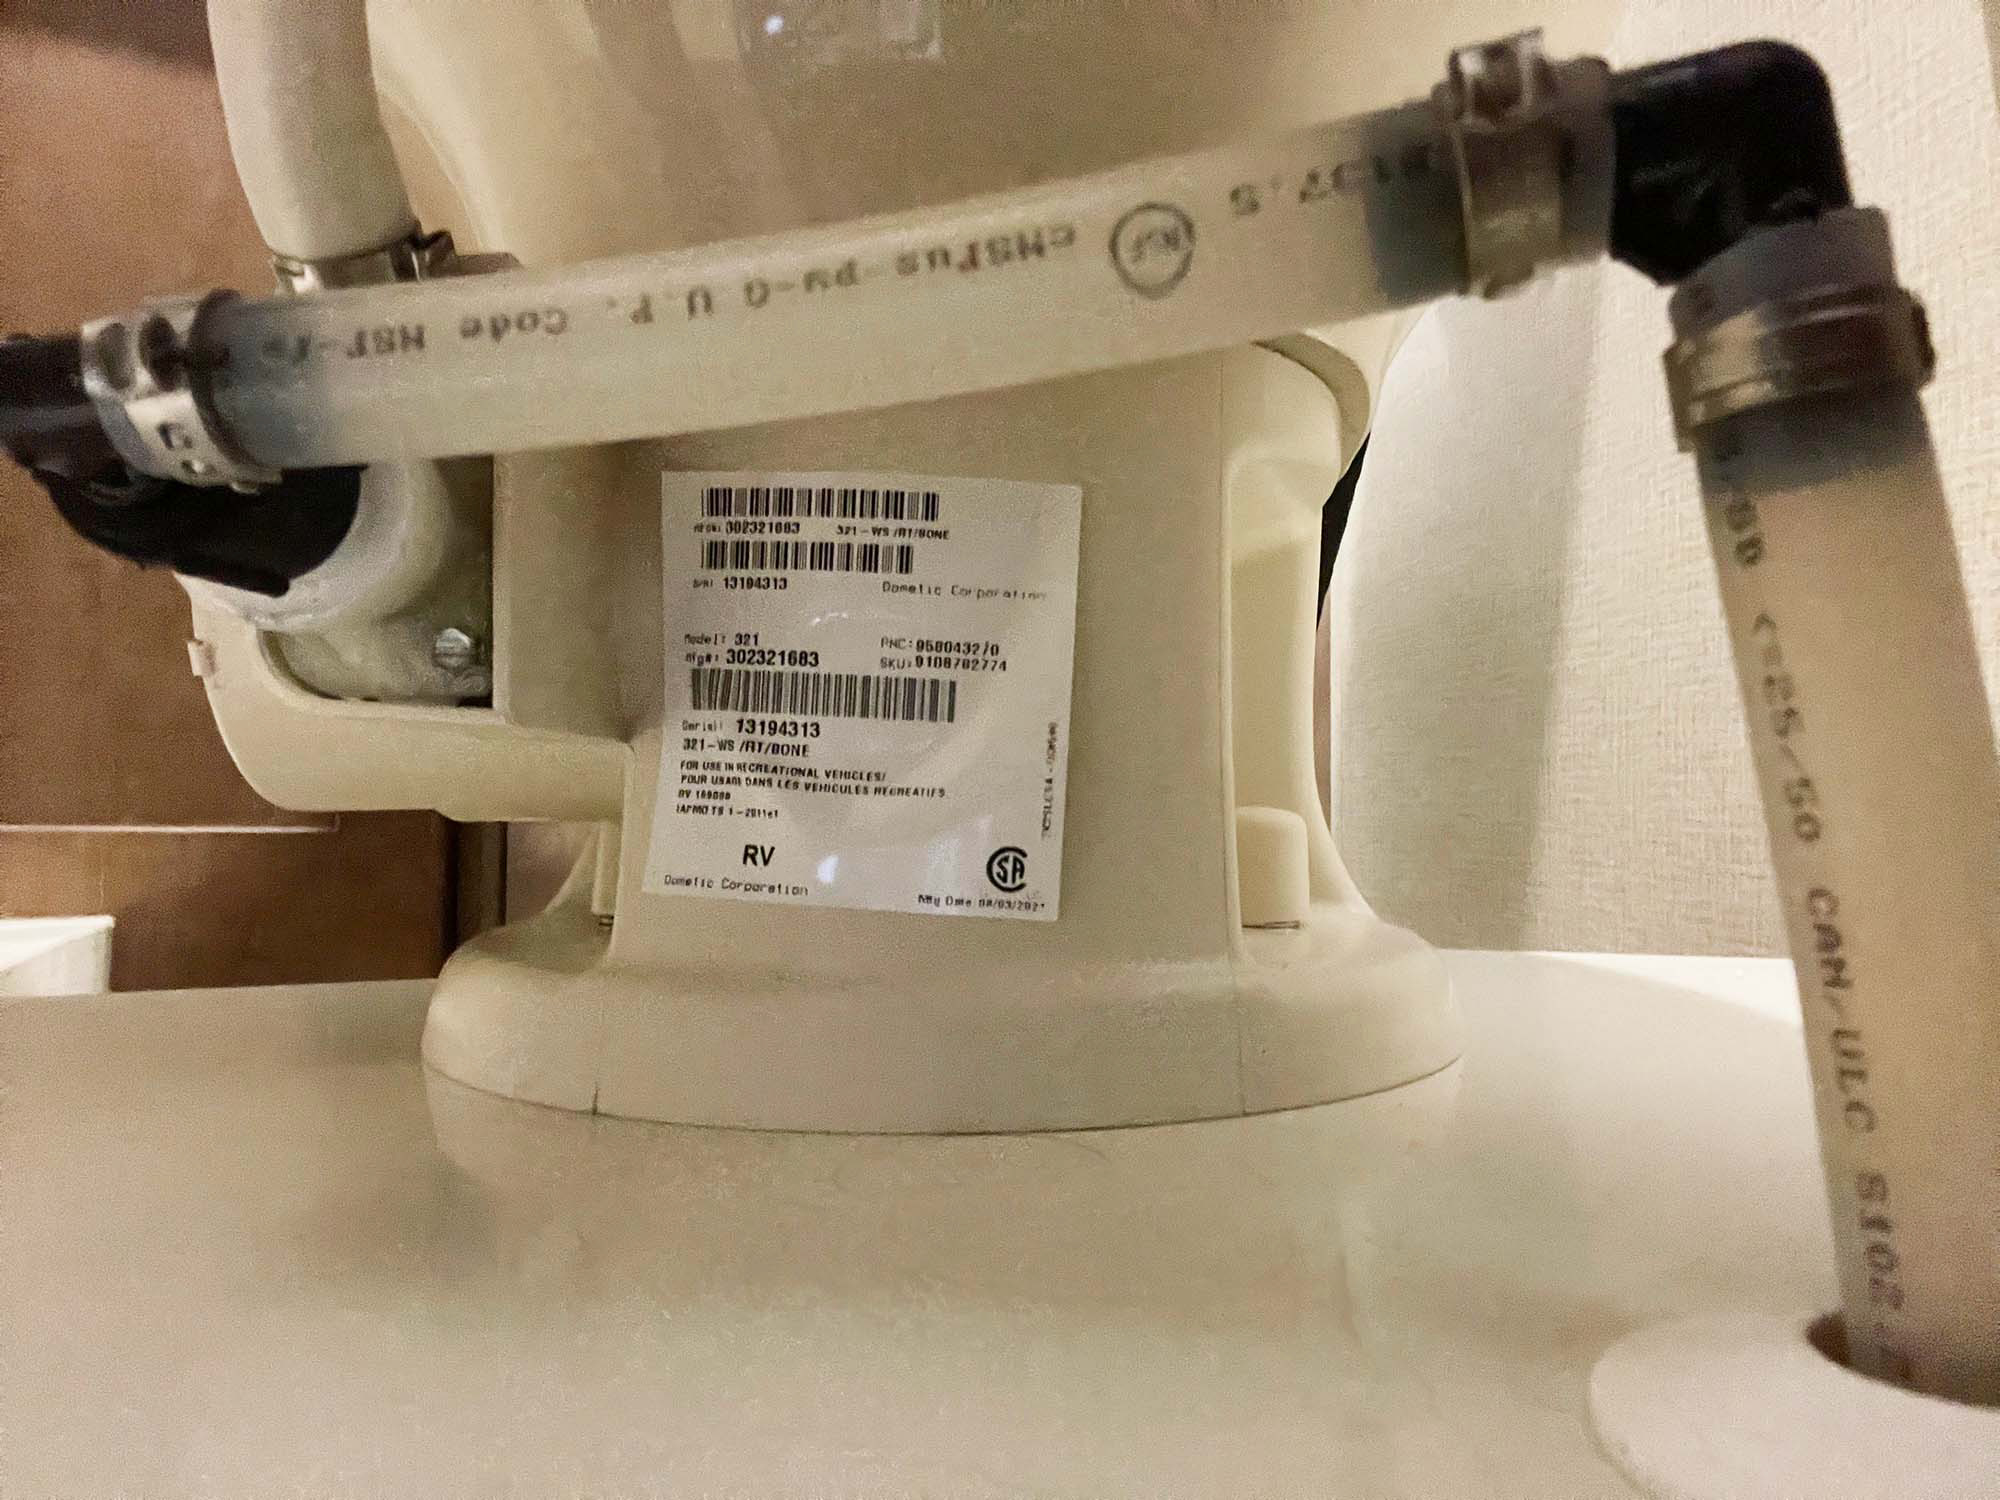
That took some time to go online and do some shopping. I also needed to call Dometic, the manufacturer of the current toilet, and talk to them about which model would be the appropriate replacement for the discontinued model. Then I needed to search for in-stock toilets that could be shipped to our remote location in upstate New Hampshire.
Installing the new RV toilet
After doing careful research into the right RV toilet replacement (which only cost about $300), and arranging for the timely shipment to our location, I just kept telling myself, “You can do this. You CAN do this! You can do this.”
When it was delivered, I checked it carefully for shipping damage and having found none, I had no valid reason to return it (and further delay the inevitable), so I unpacked it and got to work.
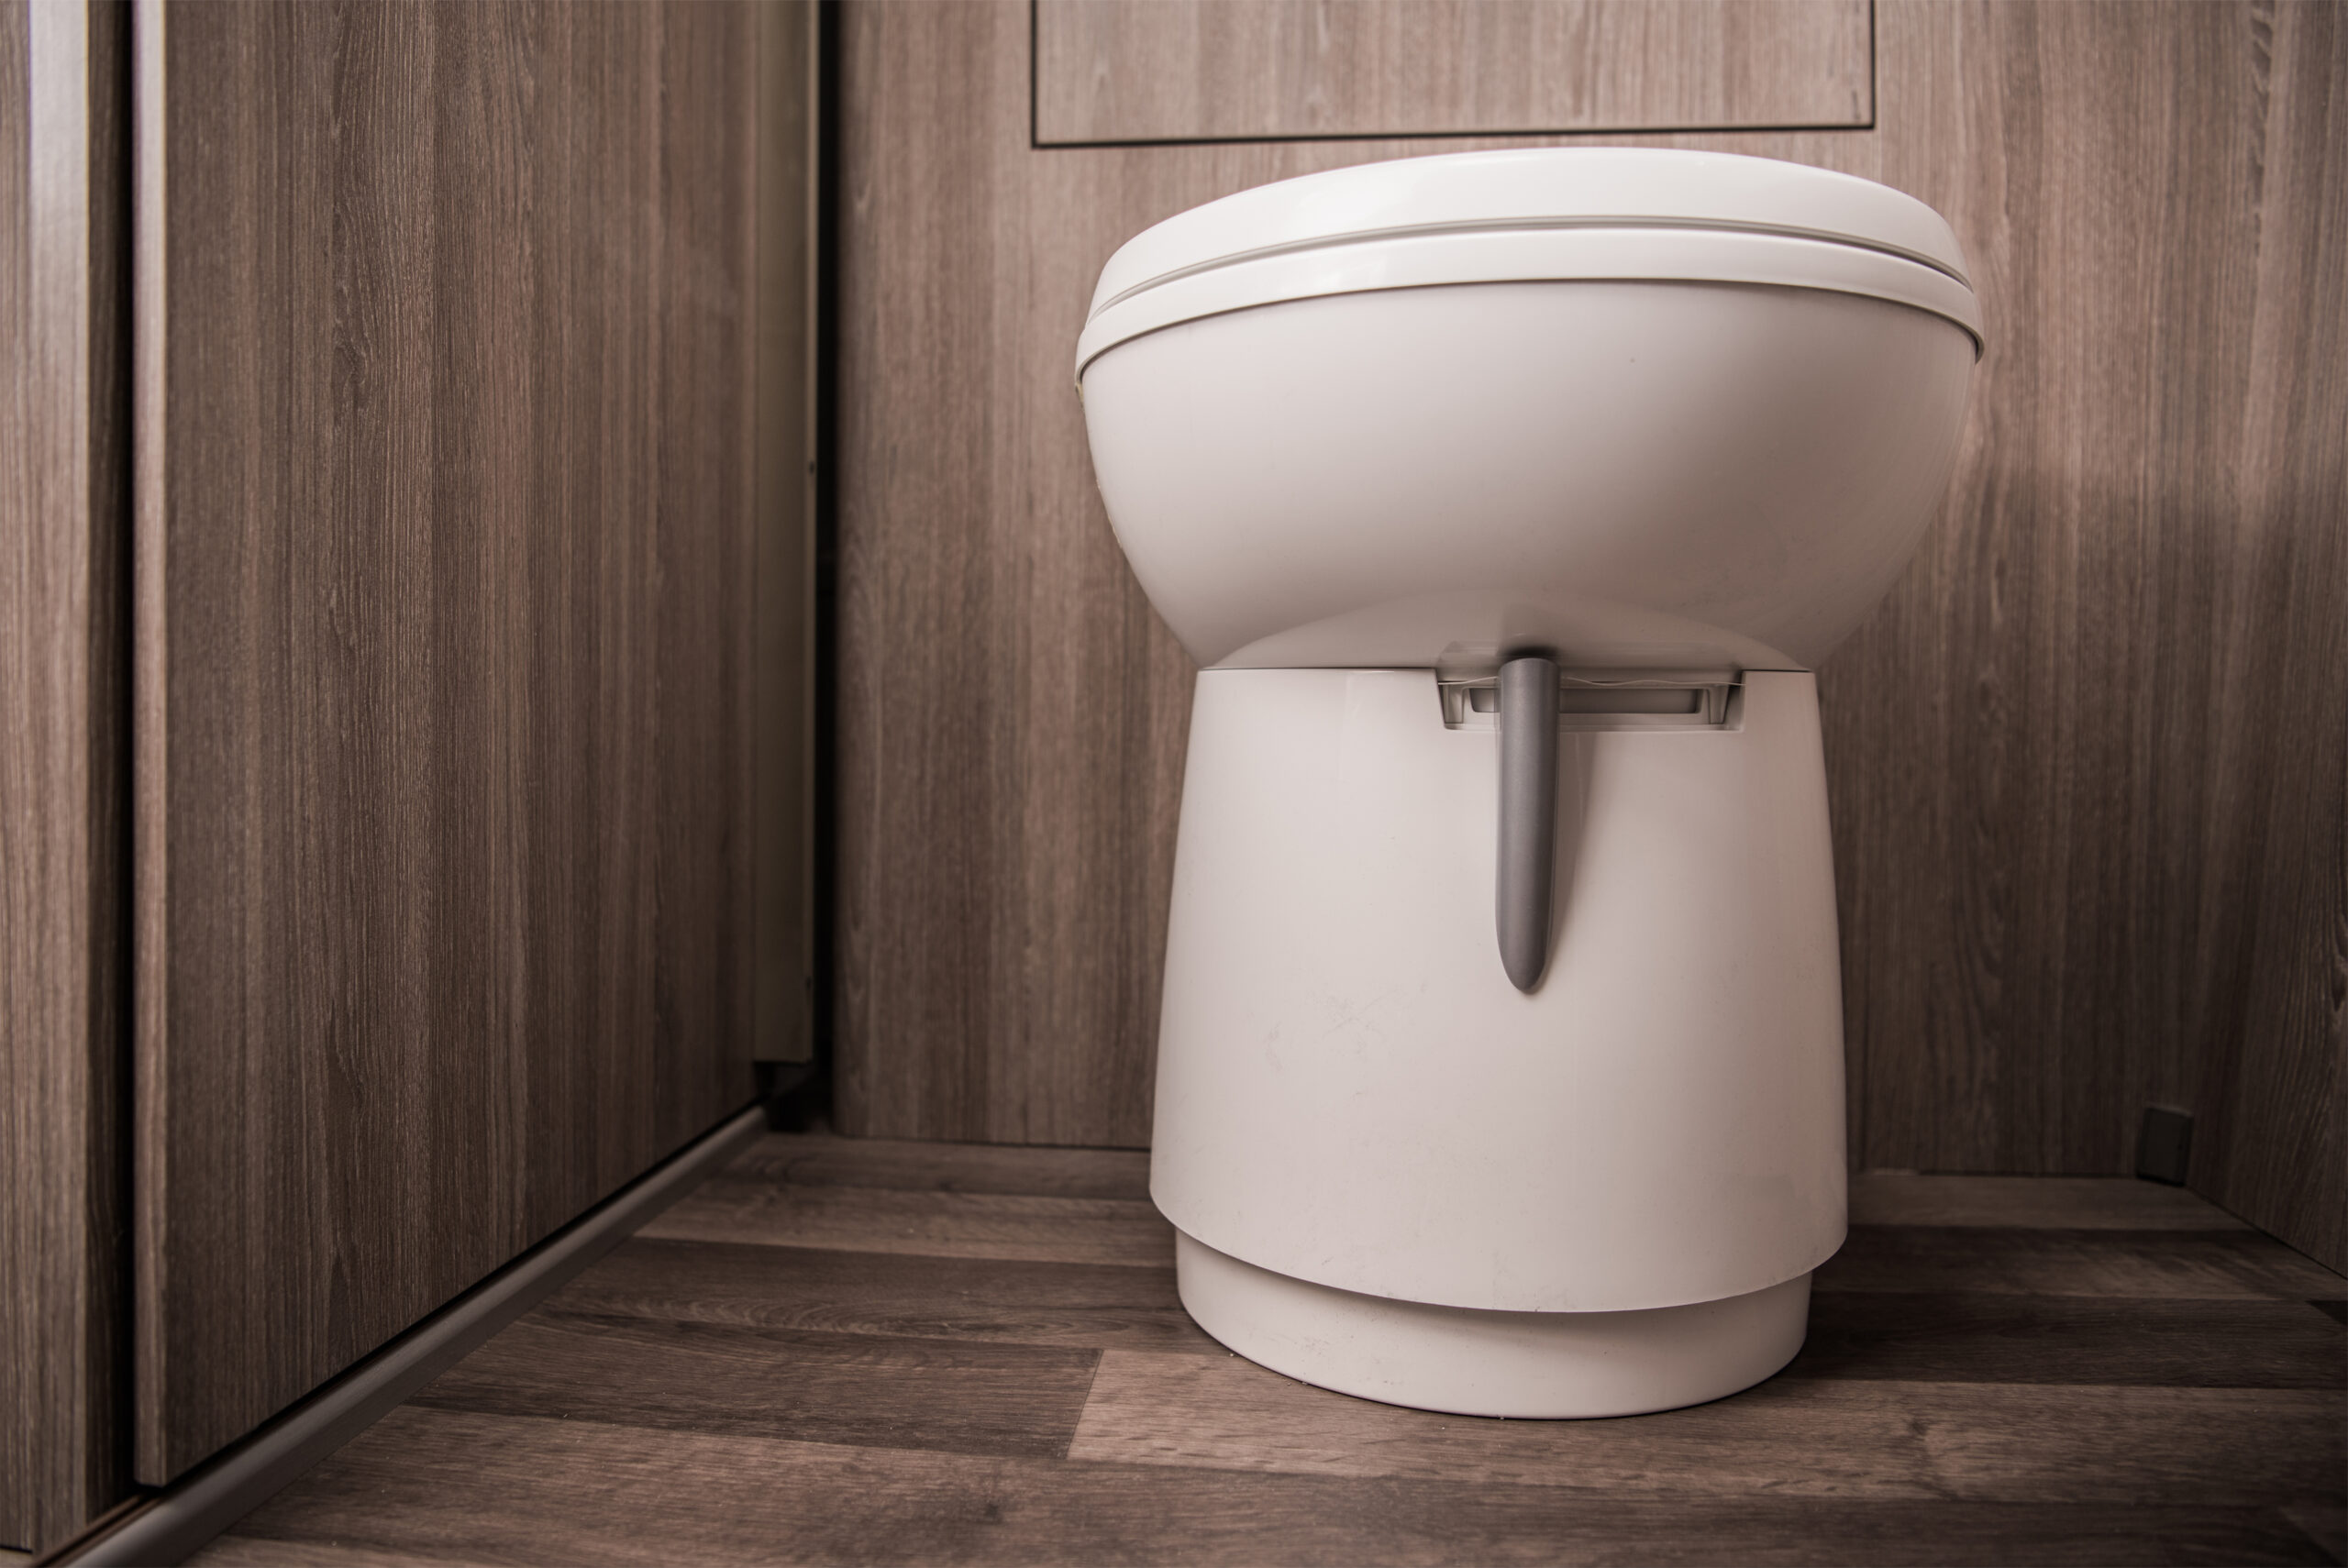
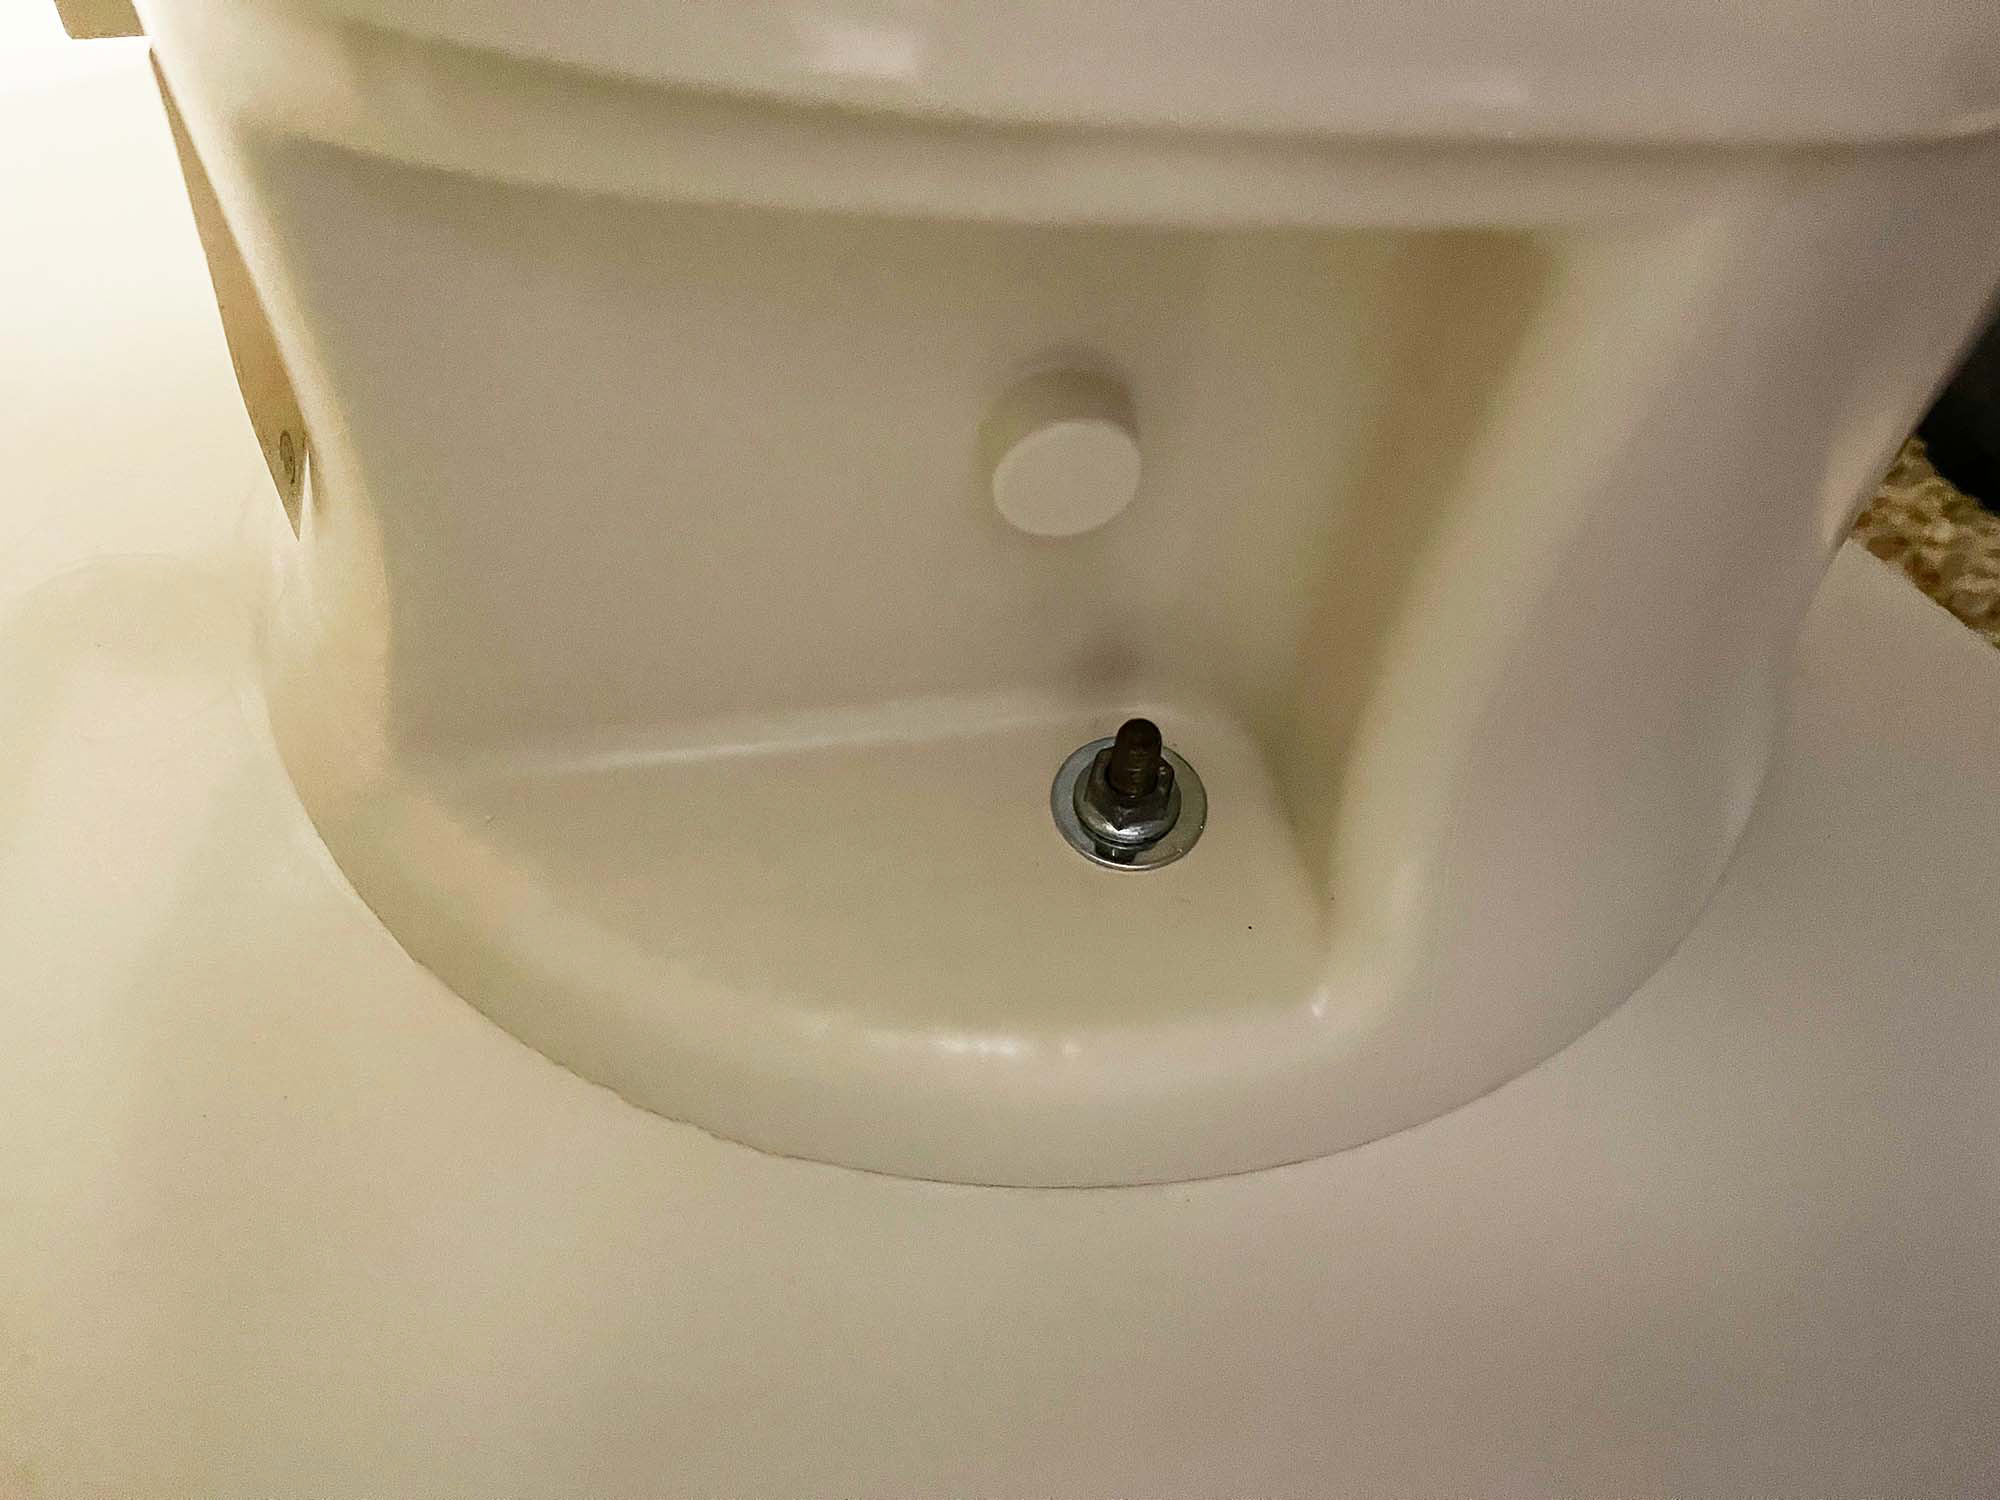
The first step was to remove the old toilet by turning off the water. Then I needed to unscrew the water hose attachment and the two nuts on the floor bolts using a box end wrench. That’s it! Taking a toilet out of your RV requires those three disconnects, and an old towel to soak up the water that drains out of the hose. This wasn’t even toilet water that escaped onto the floor. Just some clean water residue that was in the water tube.
Of course, I had to have the whole righty tighty, lefty loosy argument in my head.
“Am I loosening the nut, by going clockwise… no, dang it, I think I’m tightening it…. Stop, go the other way… No, Now I AM tightening it…. Dang, be careful, you could be tightening the nut so tight you’ll never be able to loosen it… Dang! Worse, am I stripping the threads…. Which way is leftie? Which way, which way, clockwise, counterclockwise…”
I struggle with this head trip every time I do a plumbing repair, and it drives me crazy. This time, I had the bolts and nuts that came with the new toilet, so I got them out and replicated the attachment of the existing installation. From the new hardware, I could see which way I needed to turn the nut to loosen it, and I was saved from my mental torment.
Final steps
Once I removed the old toilet, all that was left was to check the rubber gasket on the new one to be sure it was in the proper place, then set the new one over the existing bolts, put the nuts on the bolts, and tighten the nuts alternately to make sure the toilet was snug to the floor with even tension.
Finally, I screwed on the water line, turned the water back on, and tested the toilet to be sure it flushed correctly and nothing leaked.
That’s it! That was all that was needed to replace the toilet in our RV. No demolition, no extra tools, or missing parts, or other repair nightmares. As a side benefit, after I was done with the replacement, I took the time to completely dismantle the old toilet so I could understand how it worked.
I removed and inspected the water valve which allows water to enter the toilet when the foot pedal is depressed. I made a mental note that the water valve was very hard to depress, but it was installed in the back of the toilet with two large tension clips and two screws.
I removed and saved the screws, as well as a couple of other parts like the spring that causes the flush ball to return to its closed position when the foot pedal is released.
I dismantled the old toilet (and no, I did not do that work on the picnic table as I’ve seen other people do). I did this work on the flattened cardboard box in which the toilet was packaged to create a clean and disposable work surface. I dismantled the old toilet to better understand it, and to make it as small as possible. I placed the parts in a heavy plastic bag to keep it from being a bio-hazard and disposed of it in the trash.
I am thankful I dismantled the old toilet, because shortly after we got the new one installed, it stopped dispensing water during the flush cycle, and I knew immediately that the problem was caused by not enough pressure on the water valve to open it and let water flow through the tube. Upon closer inspection, I could see that the water valve on the newly installed toilet was only held in place by the tension clips on the top and bottom of the valve, and that both screws, which should have been installed to add additional tension, were missing. I have no idea why they shipped the toilet without having those screws in place, but I had kept the two screws from the old toilet, so I added those to the new toilet, and it worked perfectly.
Mission accomplished. See, you don’t have to be a technician to perform an RV toilet replacement! Now back to a real challenge, I need to finish that lasagna.
Make sure you keep track of all your RV maintenance and repairs with an online tool such as RV LIFE Maintenance. Not only can you keep all of your documents in one place, but you’ll also receive timely reminders when maintenance is due to help you avoid costly repairs and potentially serious accidents.
Related articles: