How To Fumigate An RV And Get Rid Of Pests
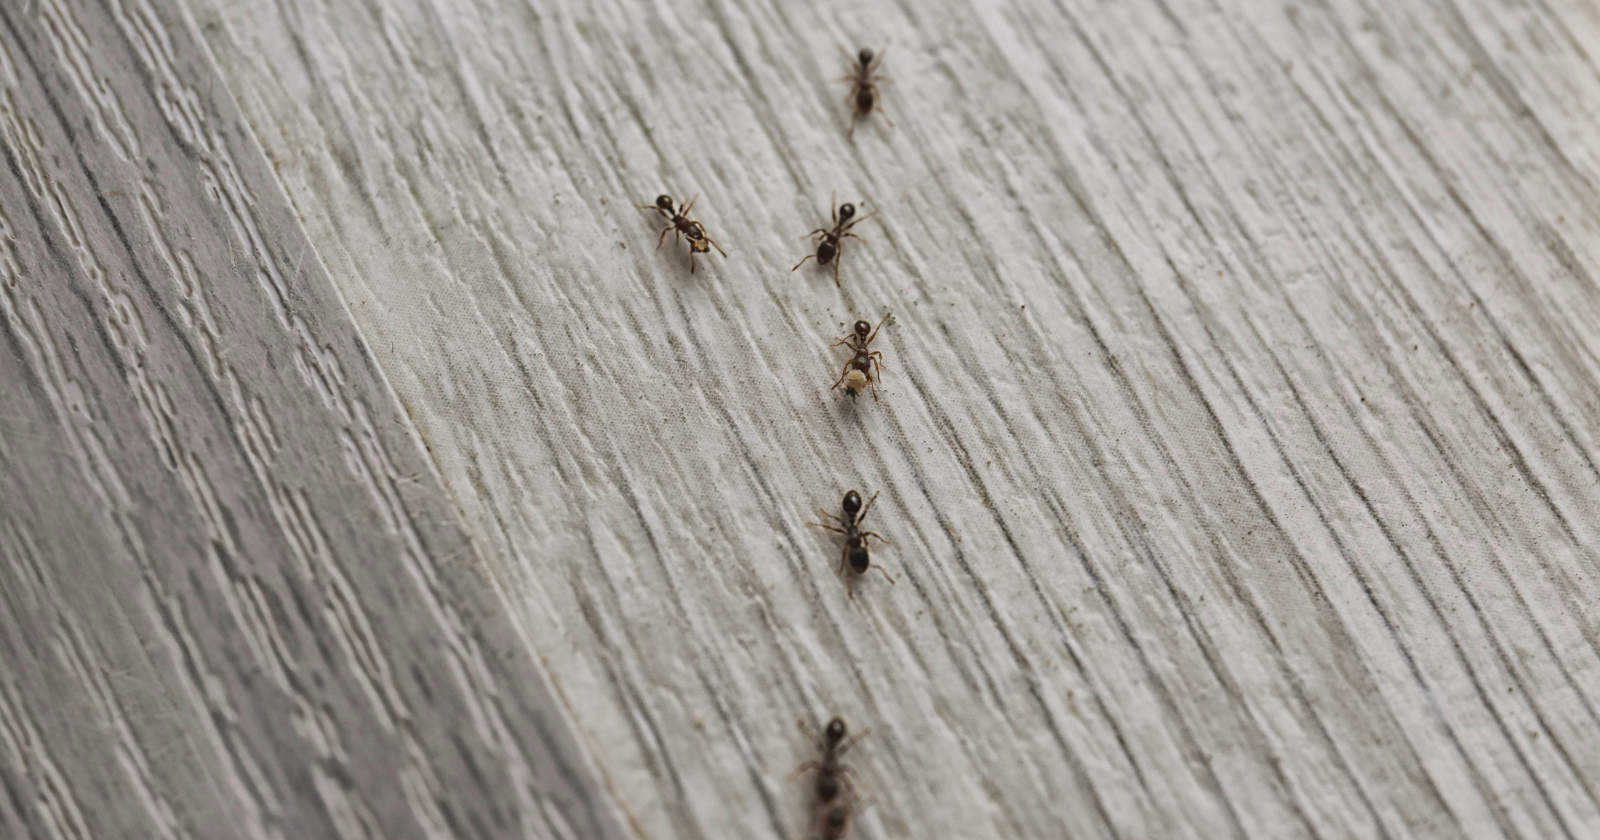
One of the most challenging things about owning an RV is keeping the pests away. After all, you’re likely taking your rig out into nature where the bugs and rodents live, and you might even be leaving it in storage for weeks or months at a time during the off-season.
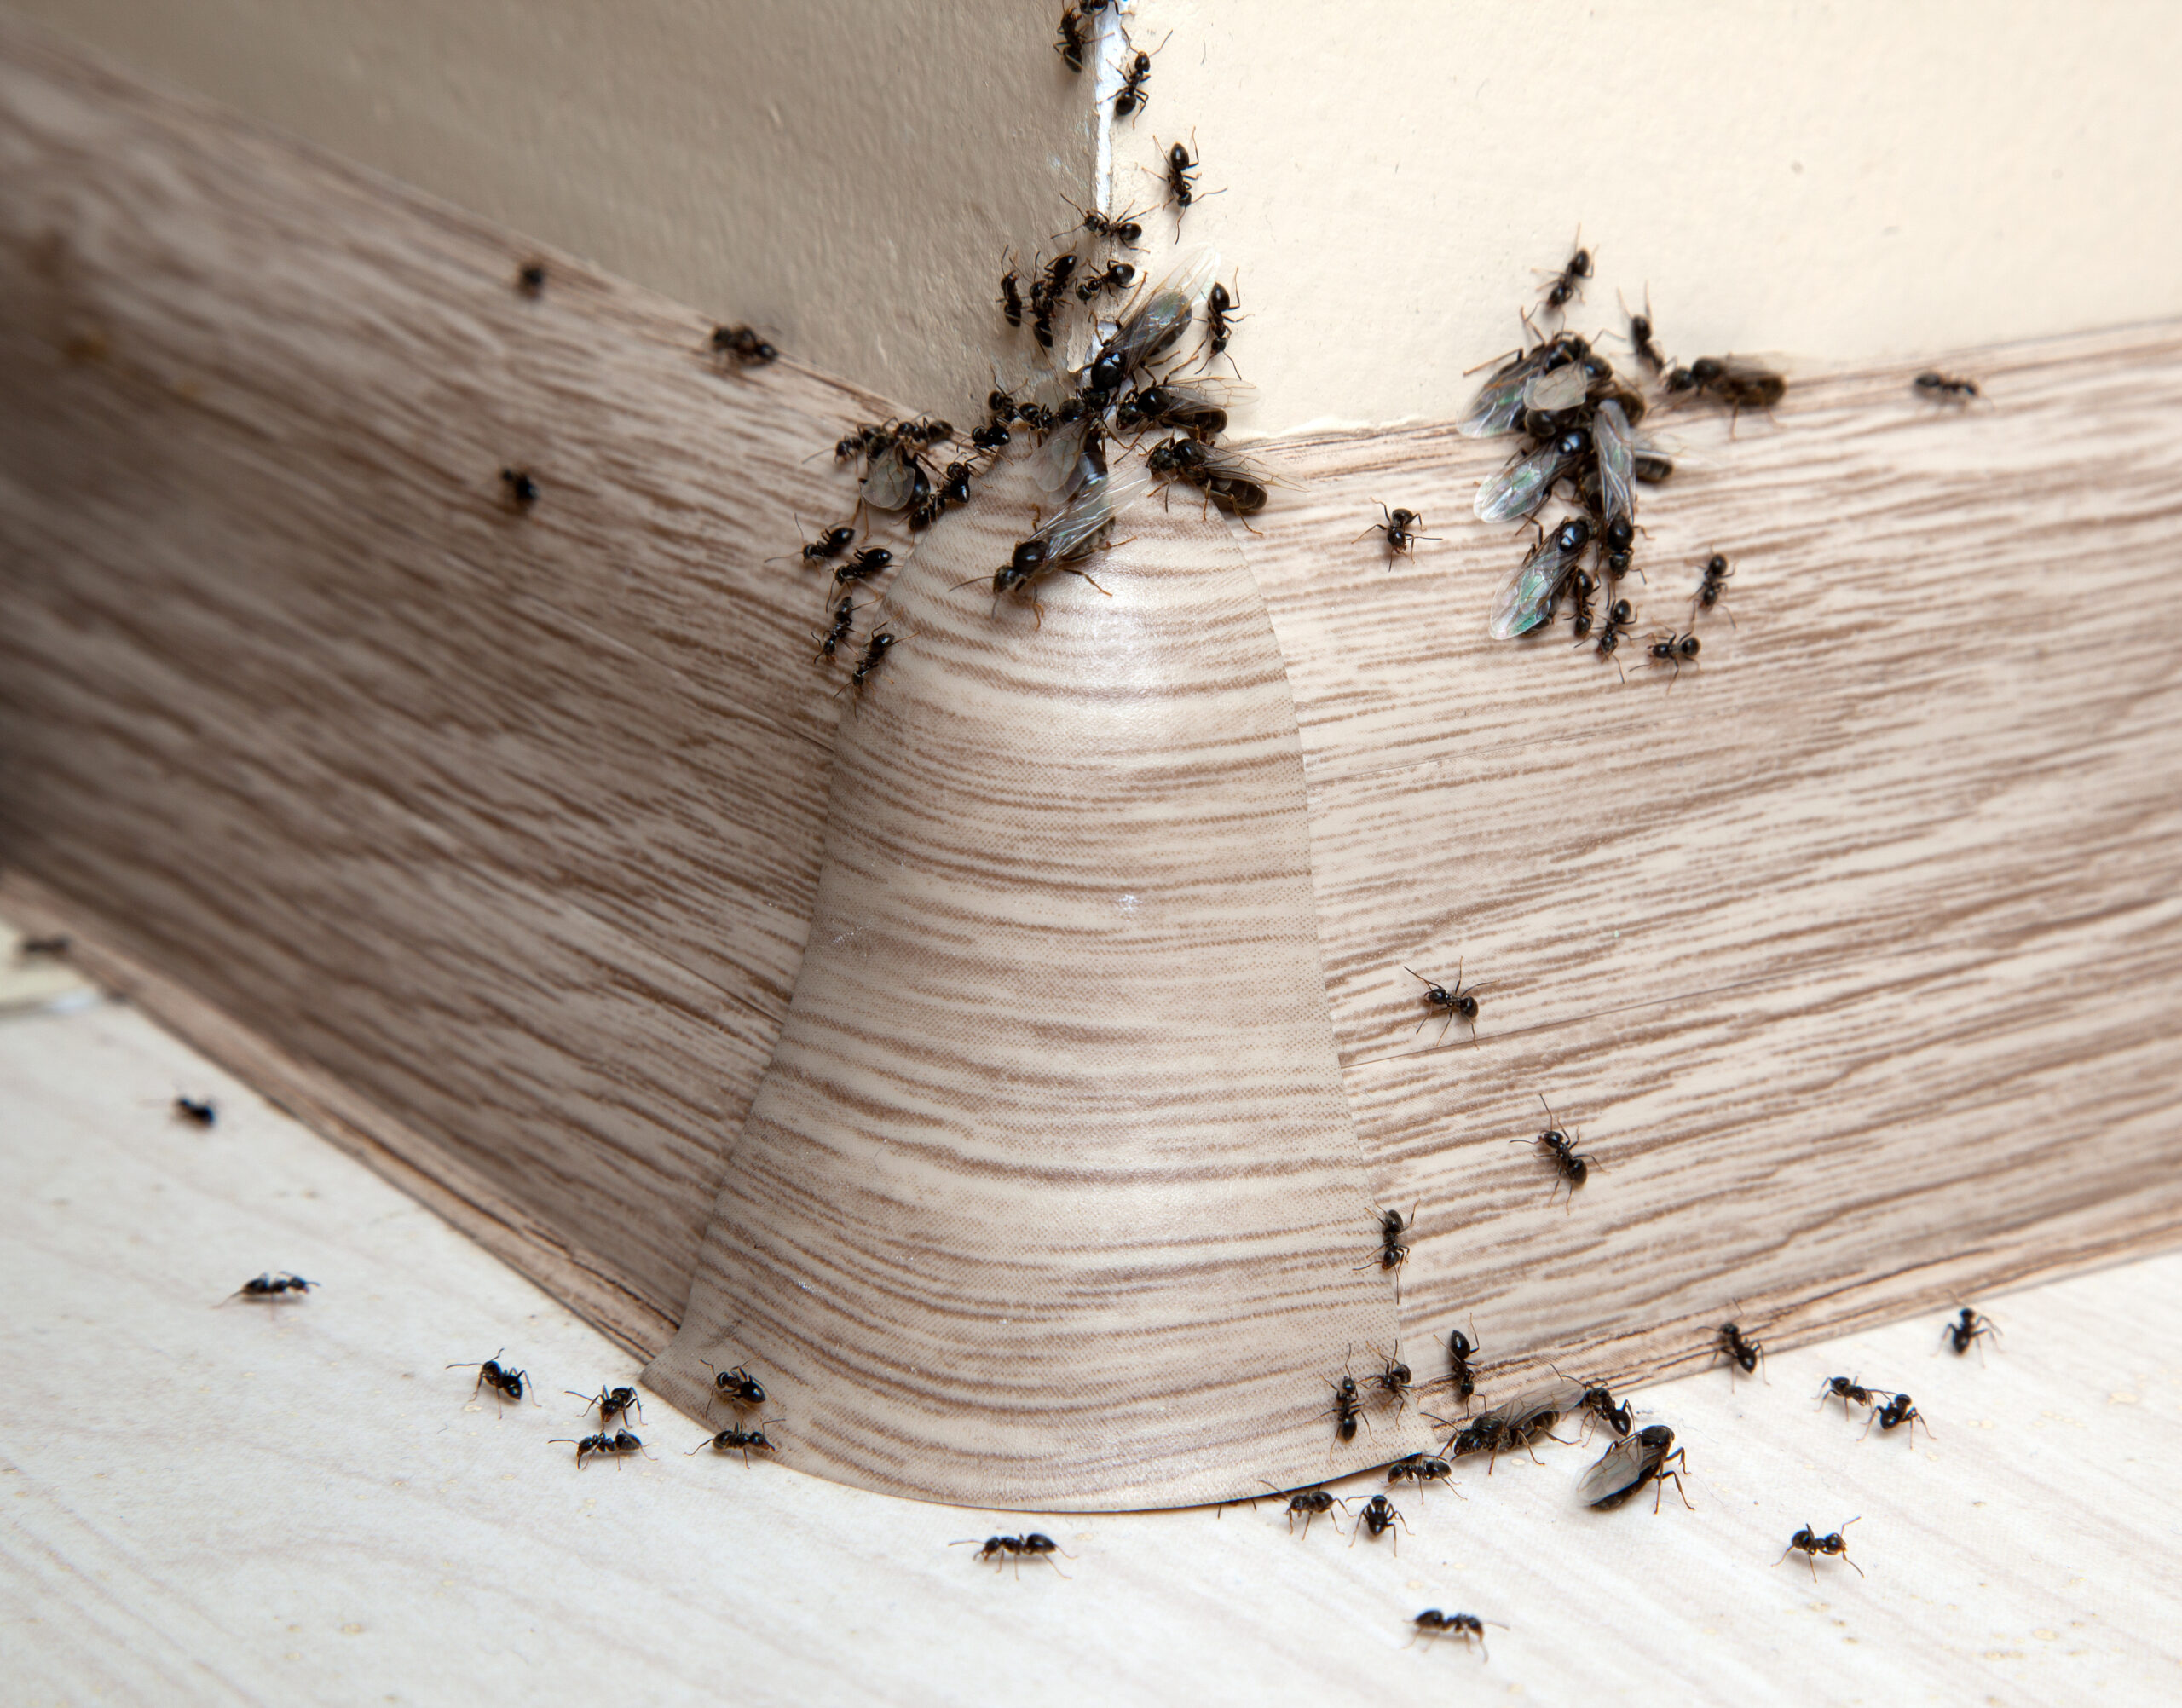
In fact, sometimes it’s simply impossible to keep bugs out of your home-on-wheels. So, how do you get rid of them once they do invade your camper? Fortunately, there are ways to kick out the pests.
Some of the more common options include the usual bug sprays, repellents, and even poisons. Unfortunately, these options don’t always get the job done. If you’ve tried everything you can think of and still can’t get rid of your unwelcome guests, it might be time to turn to fumigation.
Yes, it is possible to fumigate a camper. The trick is to do so safely. Read on to learn how to fumigate an RV and how to do it without hurting yourself or someone else.
Before you bug bomb the RV
Disconnect from propane, power, batteries, and solar panels
First, it’s incredibly important to understand that bug bombs are incredibly flammable. This means you will want to remove every possible source of fire. The best way to go about this is to disconnect your RV propane, unplug from electricity, and disconnect solar panels and batteries. By doing this, you can rest assured you won’t end up with a camper in flames.
Disable smoke and CO2 alarms
After all of the propane and power sources are disconnected, the next step in fumigating an RV is to disable your alarms because the chemicals used during the fumigation process are very likely to set them off otherwise.
Normally, you could just shut the alarms off, but that isn’t possible when the bug bomb is in use and you aren’t allowed inside the rig. Therefore, you will want to disable the alarms entirely in order to avoid listening to the annoying loud sound of an alarm for hours on end.
Remove food and dishes from the RV
Clearly, you don’t want to eat any of the chemicals found in a bug bomb. For this reason, you will want to make sure you remove all food from the rig before you fumigate.
Additionally, you will want to remove dishes in order to avoid a coating of chemicals on your dinnerware and a potential fire hazard.
Empty and open cabinets and open interior doors
While the food and dishes are the most important things to remove, it’s probably best to empty your RV cabinets of most things. After doing so, leave all cabinet doors open.
You’ll also want to open all interior doors, propping them open if necessary. This ensures the chemicals in the bug bomb can reach into the cracks and crevices of the RV where bugs may hide.
Close exterior doors, windows, and vents
Of course, you will want the chemicals used during fumigation to remain in the RV in order to ensure they do their job. While many fumigation companies will cover the entire structure in a tent, this isn’t usually necessary for a DIY bug bomb. That said, you will definitely want to close all windows, exterior doors, and vents. This ensures the harmful ingredients in the bug bomb stay where they belong.
Pay Attention to the Square Footage!
Don’t assume more is better. RVs are small. Too much poison on surfaces and in crevices won’t be good for you or your pets.
During the fumigation
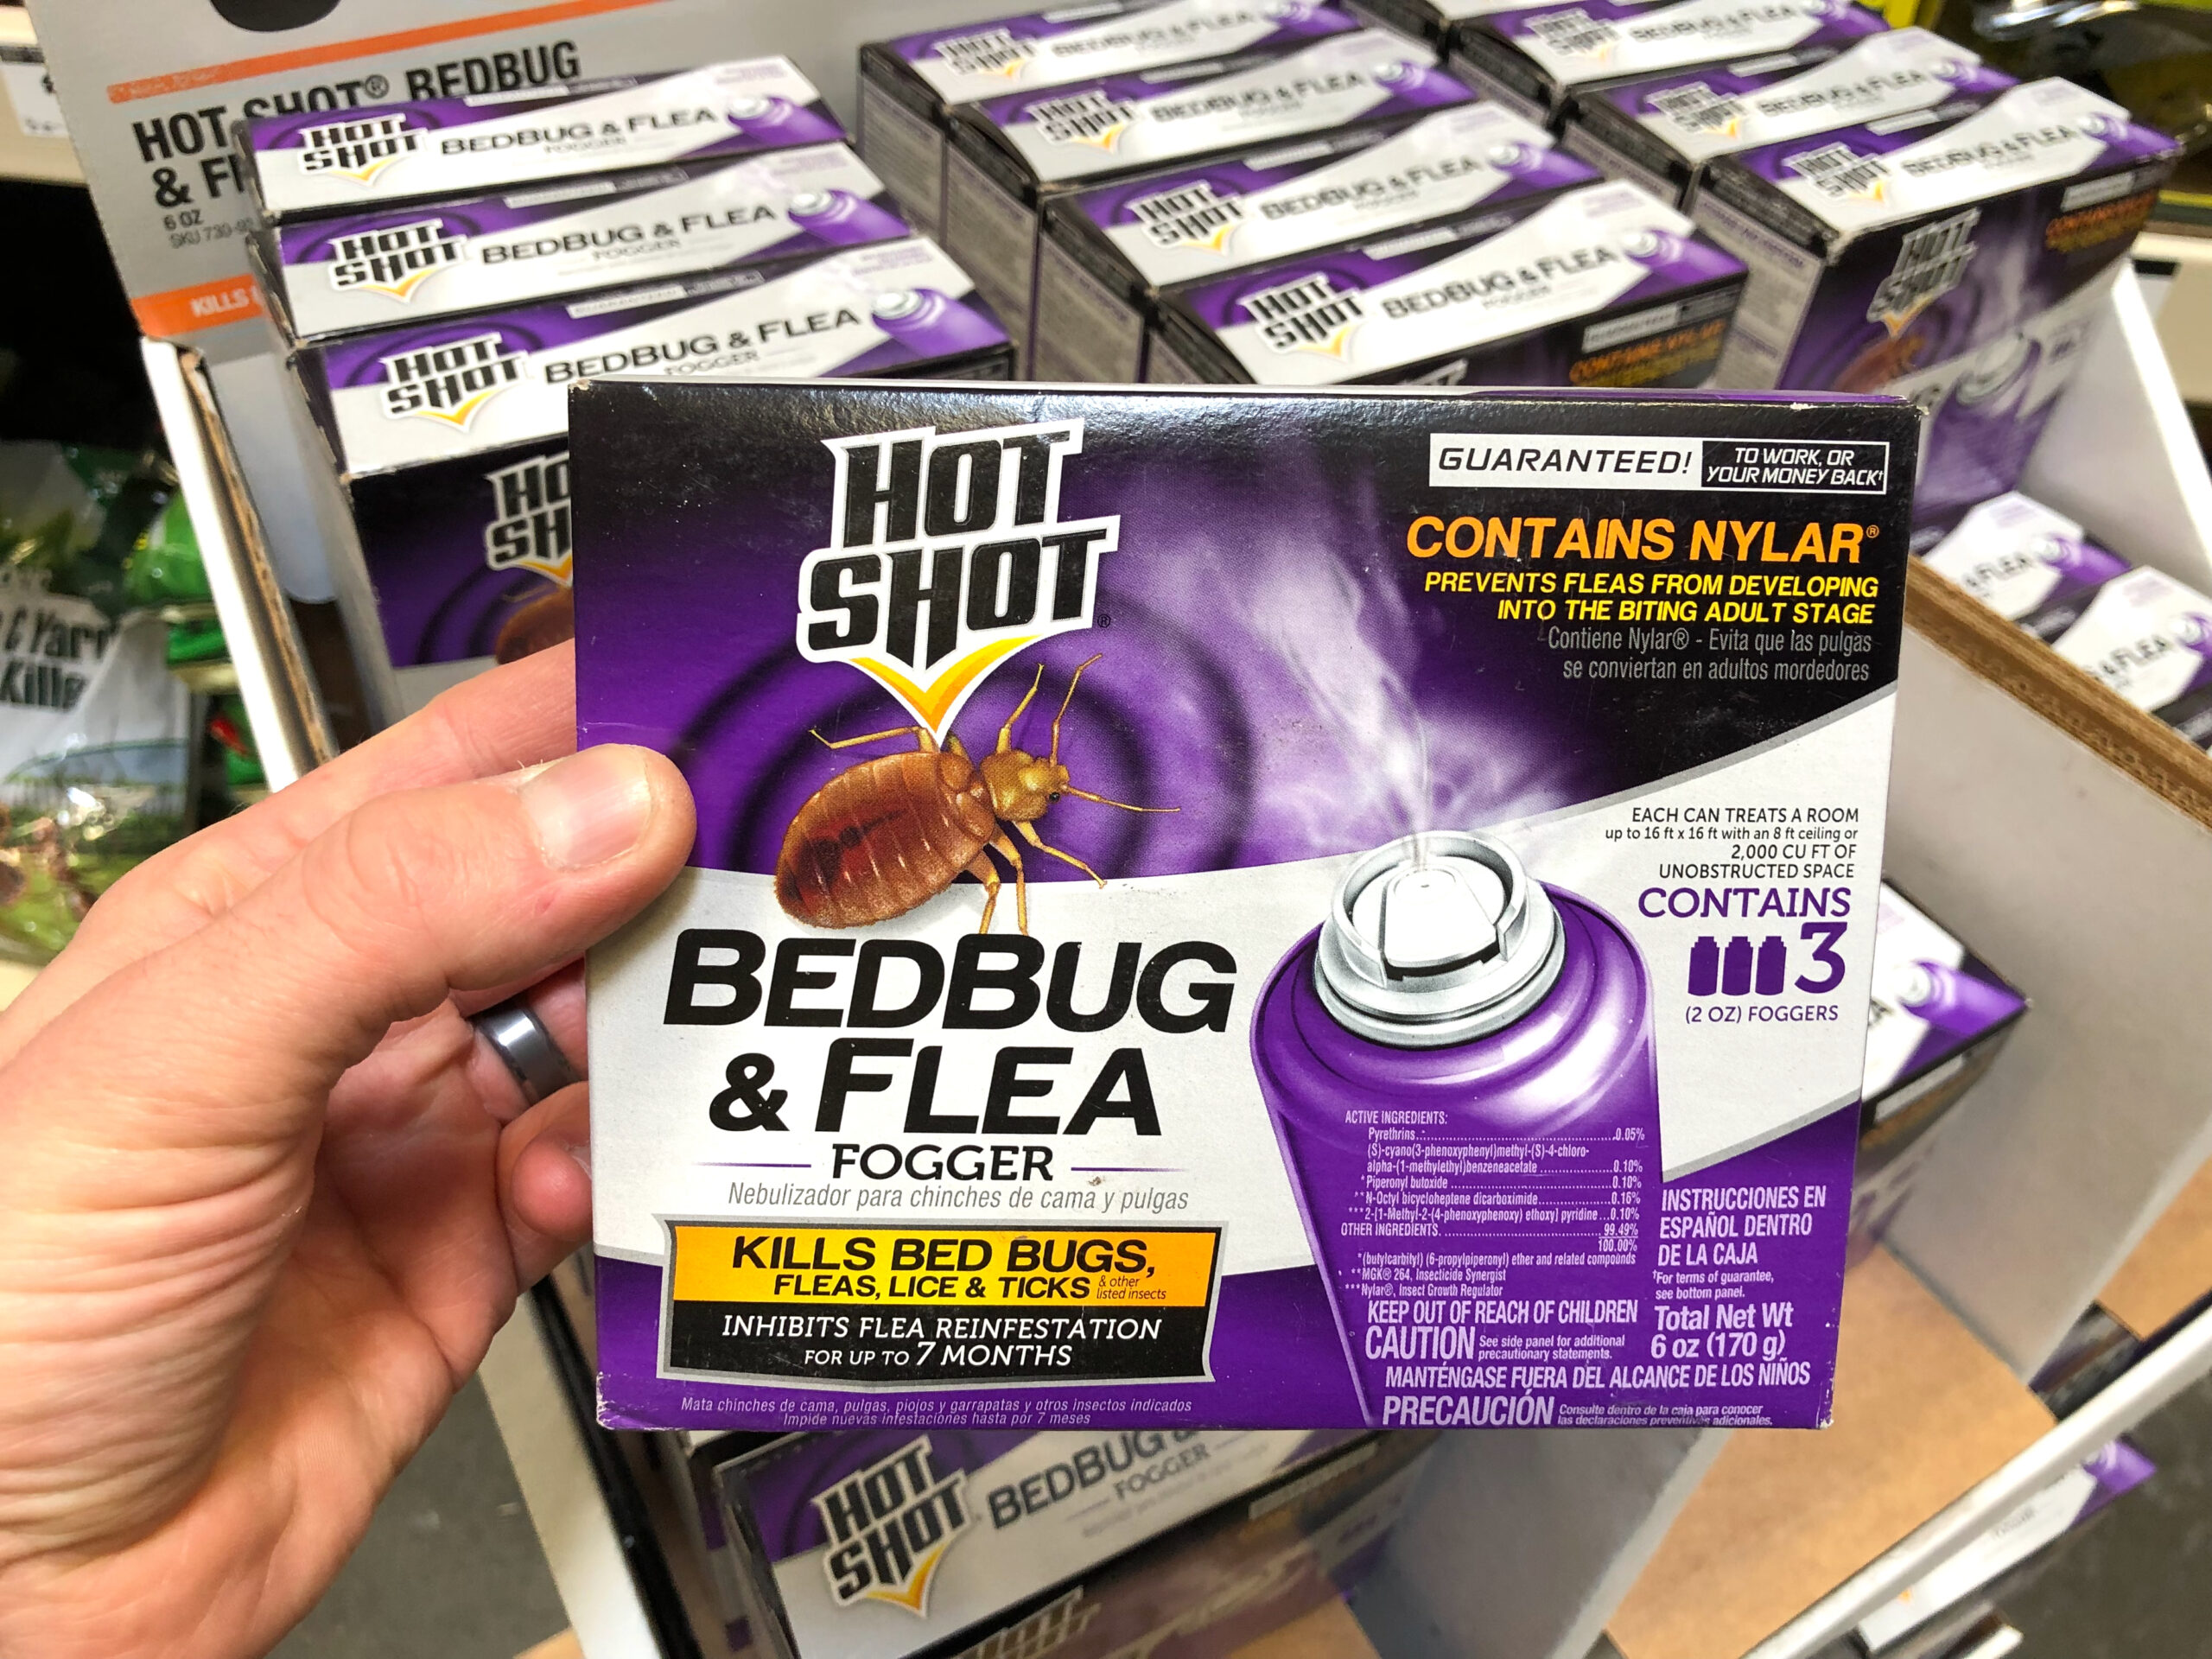
Follow the instructions on the bug bomb
The next steps are the instructions you’ll find on the packaging of whatever bug bomb you buy. Be sure to follow these instructions carefully in order to ensure the fumigation is as safe and effective as possible.
We recommend reading the instructions all the way through before jumping in so you don’t miss anything or get caught by surprise by a step in the middle of the process.
Get out of the rig
Obviously, you don’t want to be in the rig when the fumigation is happening. Make sure you leave the RV as soon as you’ve followed all of the steps in order to avoid being hurt by the bug bomb.
Wait the appropriate amount of time
Part of what the bug bomb packaging will tell you is how long to wait after setting it off. Make sure you wait the correct amount of time. Not waiting long enough could be dangerous and will likely result in a less effective fumigation.

After the fumigation
Open all windows, vents, and doors after the fumigation
Once you’ve waited the right amount of time, head into the RV, leaving the door open behind you. Open all windows and the roof vents and turn on roof fans if you have them.
Turning on other fans to get air moving can also be helpful. The goal is to air out the RV as much as possible. We recommend leaving the rig while it airs out.
Clean up afterward
After letting the RV air out for a bit, head back inside and clean up.
Start by turning the CO2 and smoke alarms back on. Clean any fabrics that were exposed during the fumigation, clean up any dead bugs, and wipe down all surfaces to remove harmful chemicals.
Be sure to reconnect the propane, batteries, and solar panels, and go ahead and plug back into power if needed. Finally, replace items you removed from the rig, closing cabinet doors as you go.
Now you know how to fumigate an RV! Fumigation is definitely the way to go if you’ve been dealing with stubborn pests that just won’t leave your RV. That said, it is important that you know these tips on how to fumigate an RV safely before you dive in. Follow these instructions and you should be able to fumigate without a problem and have your RV to yourself once again in no time.
Make sure you keep track of all your RV maintenance and repairs with an online tool such as RV LIFE Maintenance. Not only can you keep all of your documents in one place, but you’ll also receive timely reminders when maintenance is due to help you avoid costly repairs and potentially serious accidents.
Related articles: