A Complete Guide To Repairing Your RV AC Unit
Your RV AC unit is easy to overlook since it is mounted on the roof and out of sight. It is important for reliable use, however, to perform maintenance and repair any issues with your AC to avoid a major breakdown or complete replacement.
The easiest way to determine what is wrong with an AC unit so that you can repair it is to understand how it operates. First, let’s look at the order of operation and what pieces do what so you have a solid understanding of what you are working with.
How does your RV AC unit work?
On the surface it’s very simple, you turn the thermostat down to a certain temperature and the AC starts and blows cold air. Once your RV cools down, it shuts off and the process repeats without any further action needed.
There are in actuality, many things happening in order for your AC to operate and cool your RV.
The AC unit has three main components. There are lots of wires, switches, and accessory items, but the main components are the evaporator, condenser, and compressor.
The intake vent draws warm air from inside your RV into the rooftop unit. Here, the refrigerant or gas that is flowing through the system is compressed by the compressor. It then flows through the condenser which is similar to the radiator in your car. It is a series of metal lines winding through cooling fins with a fan blowing across them. This cooling of the gas turns it into a liquid.
The liquid then flows to the evaporator. It is similar in appearance to the condenser with fins on the outside. The warm air that is being drawn out of your RV blows across the evaporator. The cold refrigerant in a liquid state attracts the heat in the warm air effectively removing it and returning only cool air to the RV.
Possible RV AC Unit Problems
These are some of the most common things that your RV AC unit may be doing that require repair. In addition to these suggestions, you can utilize the RV community through forums like iRV2 for help with troubleshooting.
If you are having a problem with your RV, you’re likely not the first to have that problem. Most RVs are very similar in build and all of the common problems have been dealt with and repaired by others.
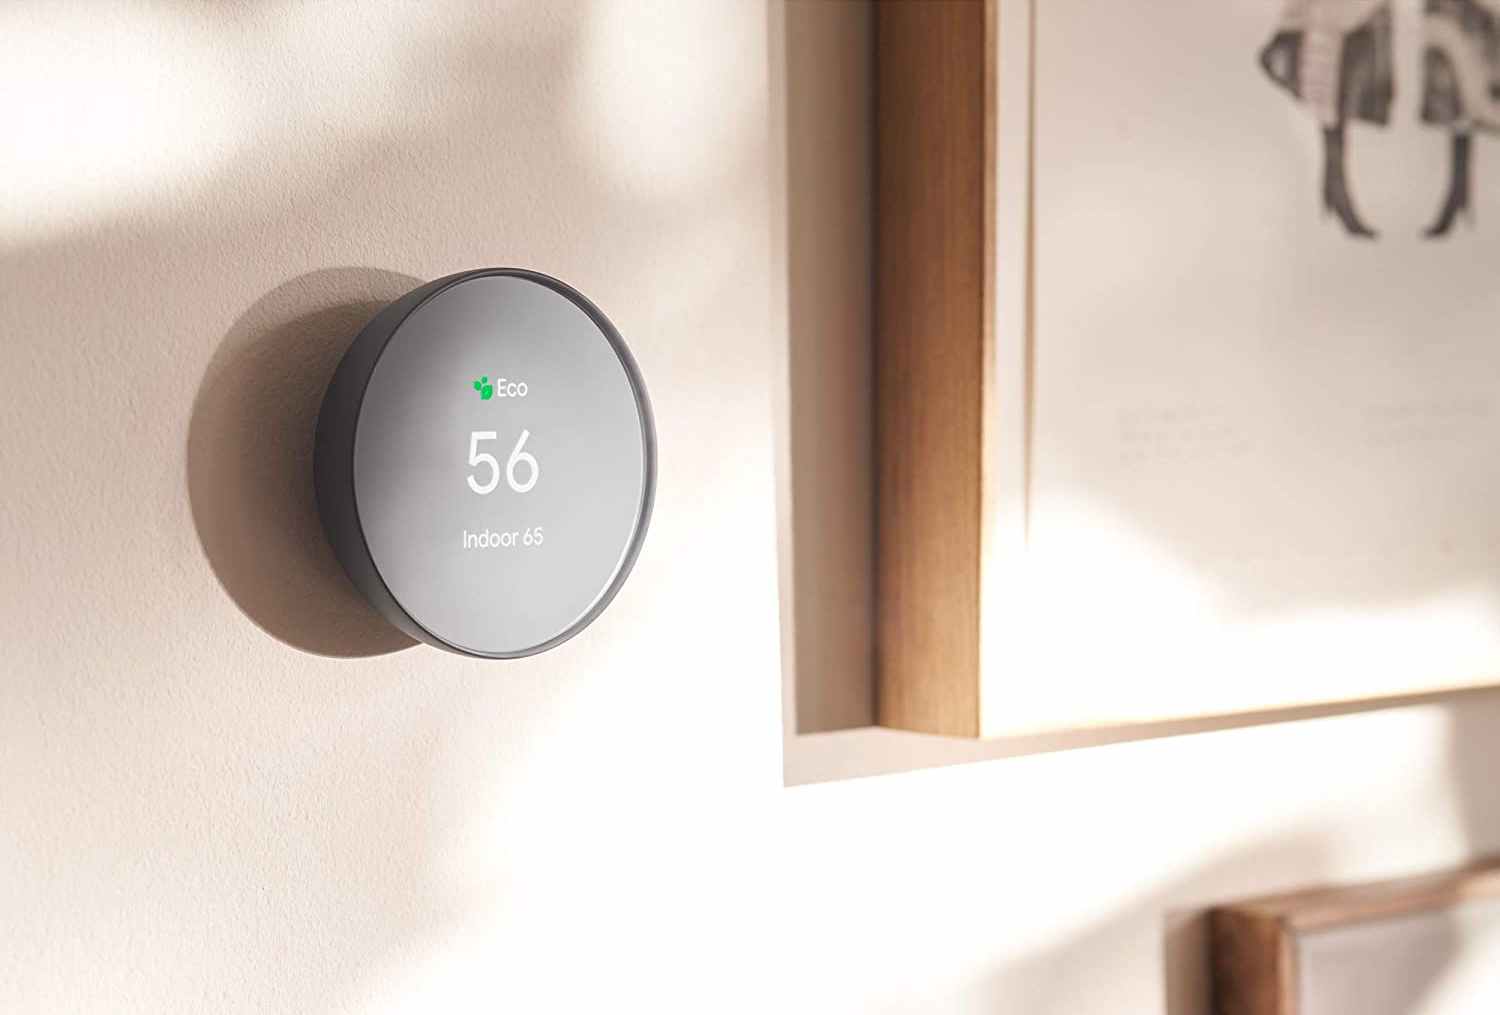
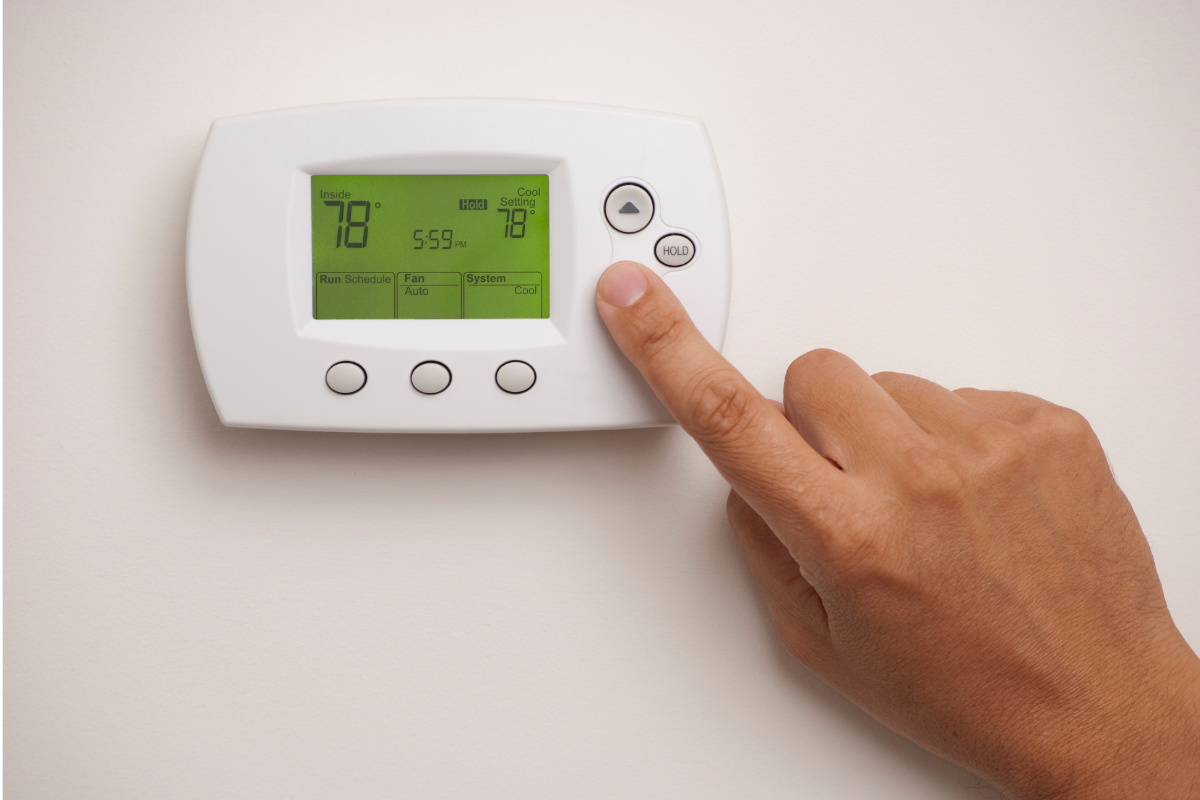
You set the thermostat and nothing happens
The first thing to check is your power source. RV AC units require 120-volt power. It must be running on shore power or a generator. Your AC won’t work on 12-volt power. If you are plugged in, there is a possibility you have tripped a breaker. Your RV AC unit draws a lot of power on startup, and if other items such as a microwave or a coffee maker are running, it may be too much of a draw.
The fix: Make sure you are plugged into and receiving 120-volt power and not on 12-volt power. Check to make sure you have not tripped a breaker or blown a fuse.
This situation could also mean you have thermostat issues. Checking the thermostat is easy with a multimeter and they are easily removed from the wall to do so. Before your AC can start, it must receive the signal to do so by the thermostat. If working properly, you should hear a click; if not, there is likely a problem with the thermostat.
The fix: Some thermostats have batteries and this is the first thing to check followed by fuses. With a multimeter, the connections on the back of the thermostat can be tested for power. In most cases, the red wire will be positive and the black wire negative. Your manual or decals on the thermostat will confirm the wiring colors.
With a multimeter set to DC, touch the red lead to the positive wire and the black lead to the negative wire. There should be a reading of approximately 12-volts. If the thermostat is receiving power but not working, it likely needs replacing.
RV AC unit runs and blows but it isn’t cold
The idea of the AC is of course to cool. If you have an AC unit blowing warm air, there are a couple of reasons why. You may have an issue with the refrigerant, unmaintained AC components, or it just may be too warm.
The fix: Most RV AC units are sealed units. This means they don’t get recharged like your car AC. If there is a leak it will be up to a professional to repair the leak if possible. In some cases, an RV AC unit that is leaking will have to be replaced.
As part of your general AC maintenance, cleaning the filters on the inside of your RV is important for proper airflow and function. For maximum performance, check and clean all filters.
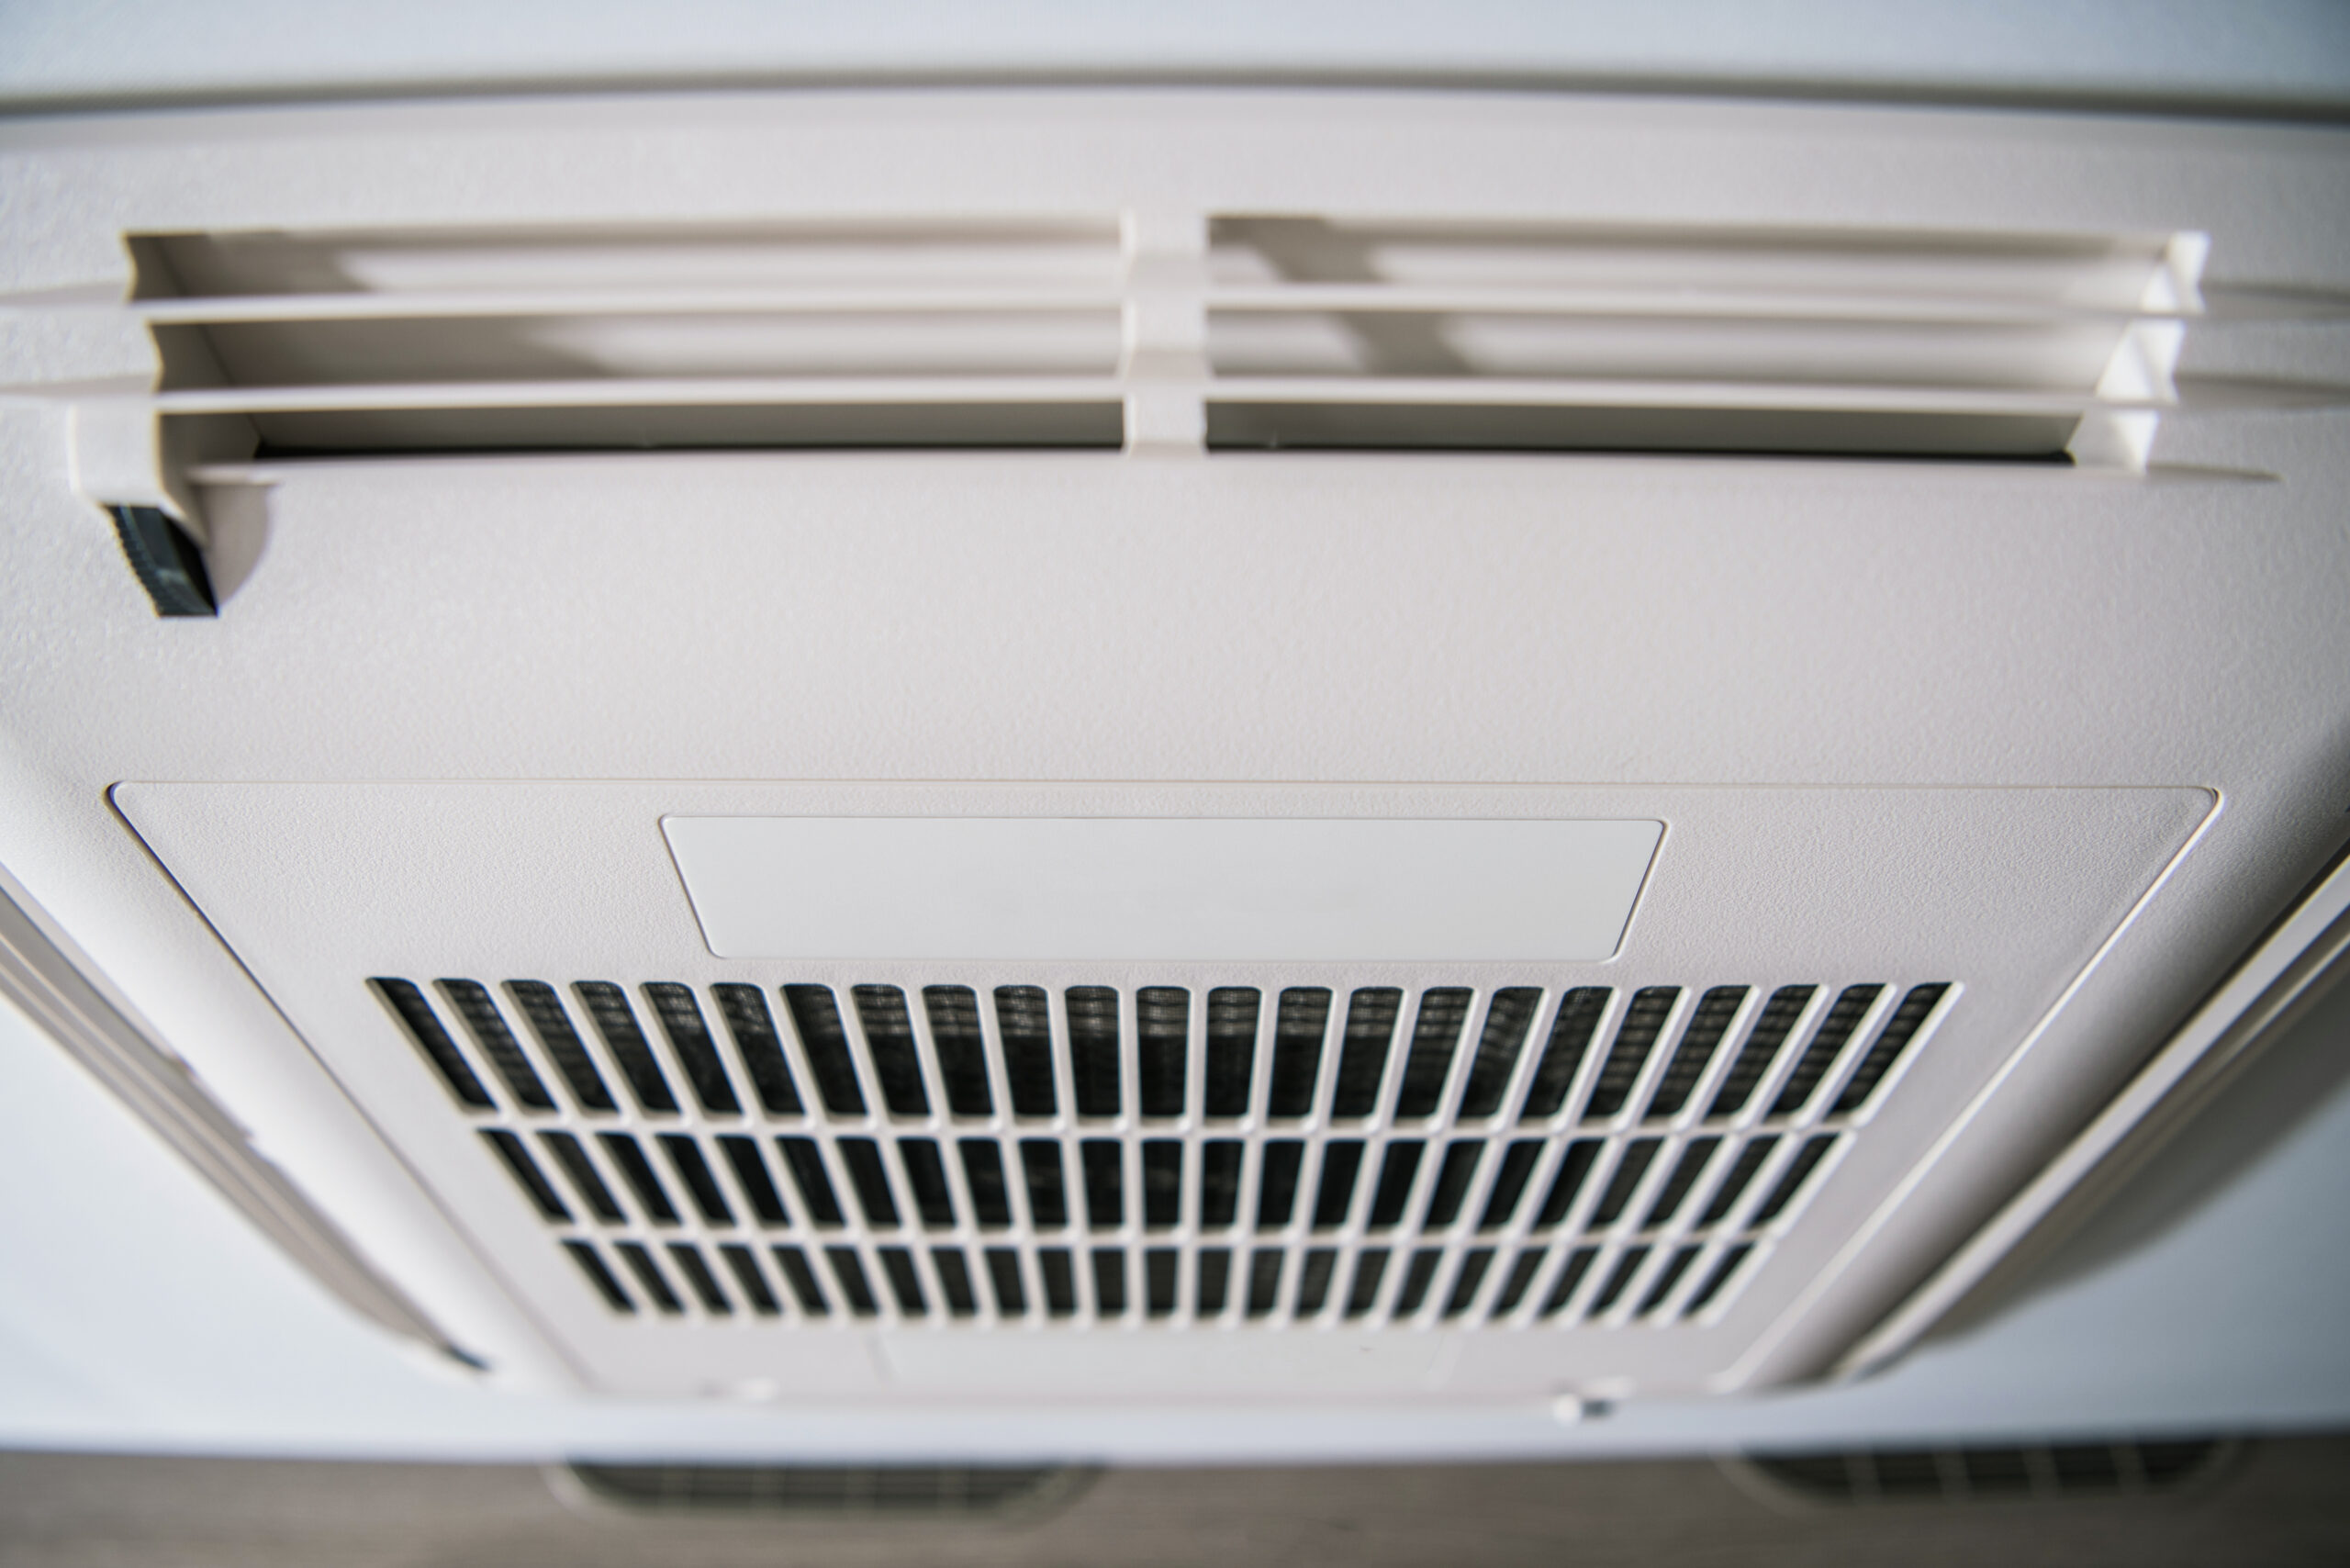
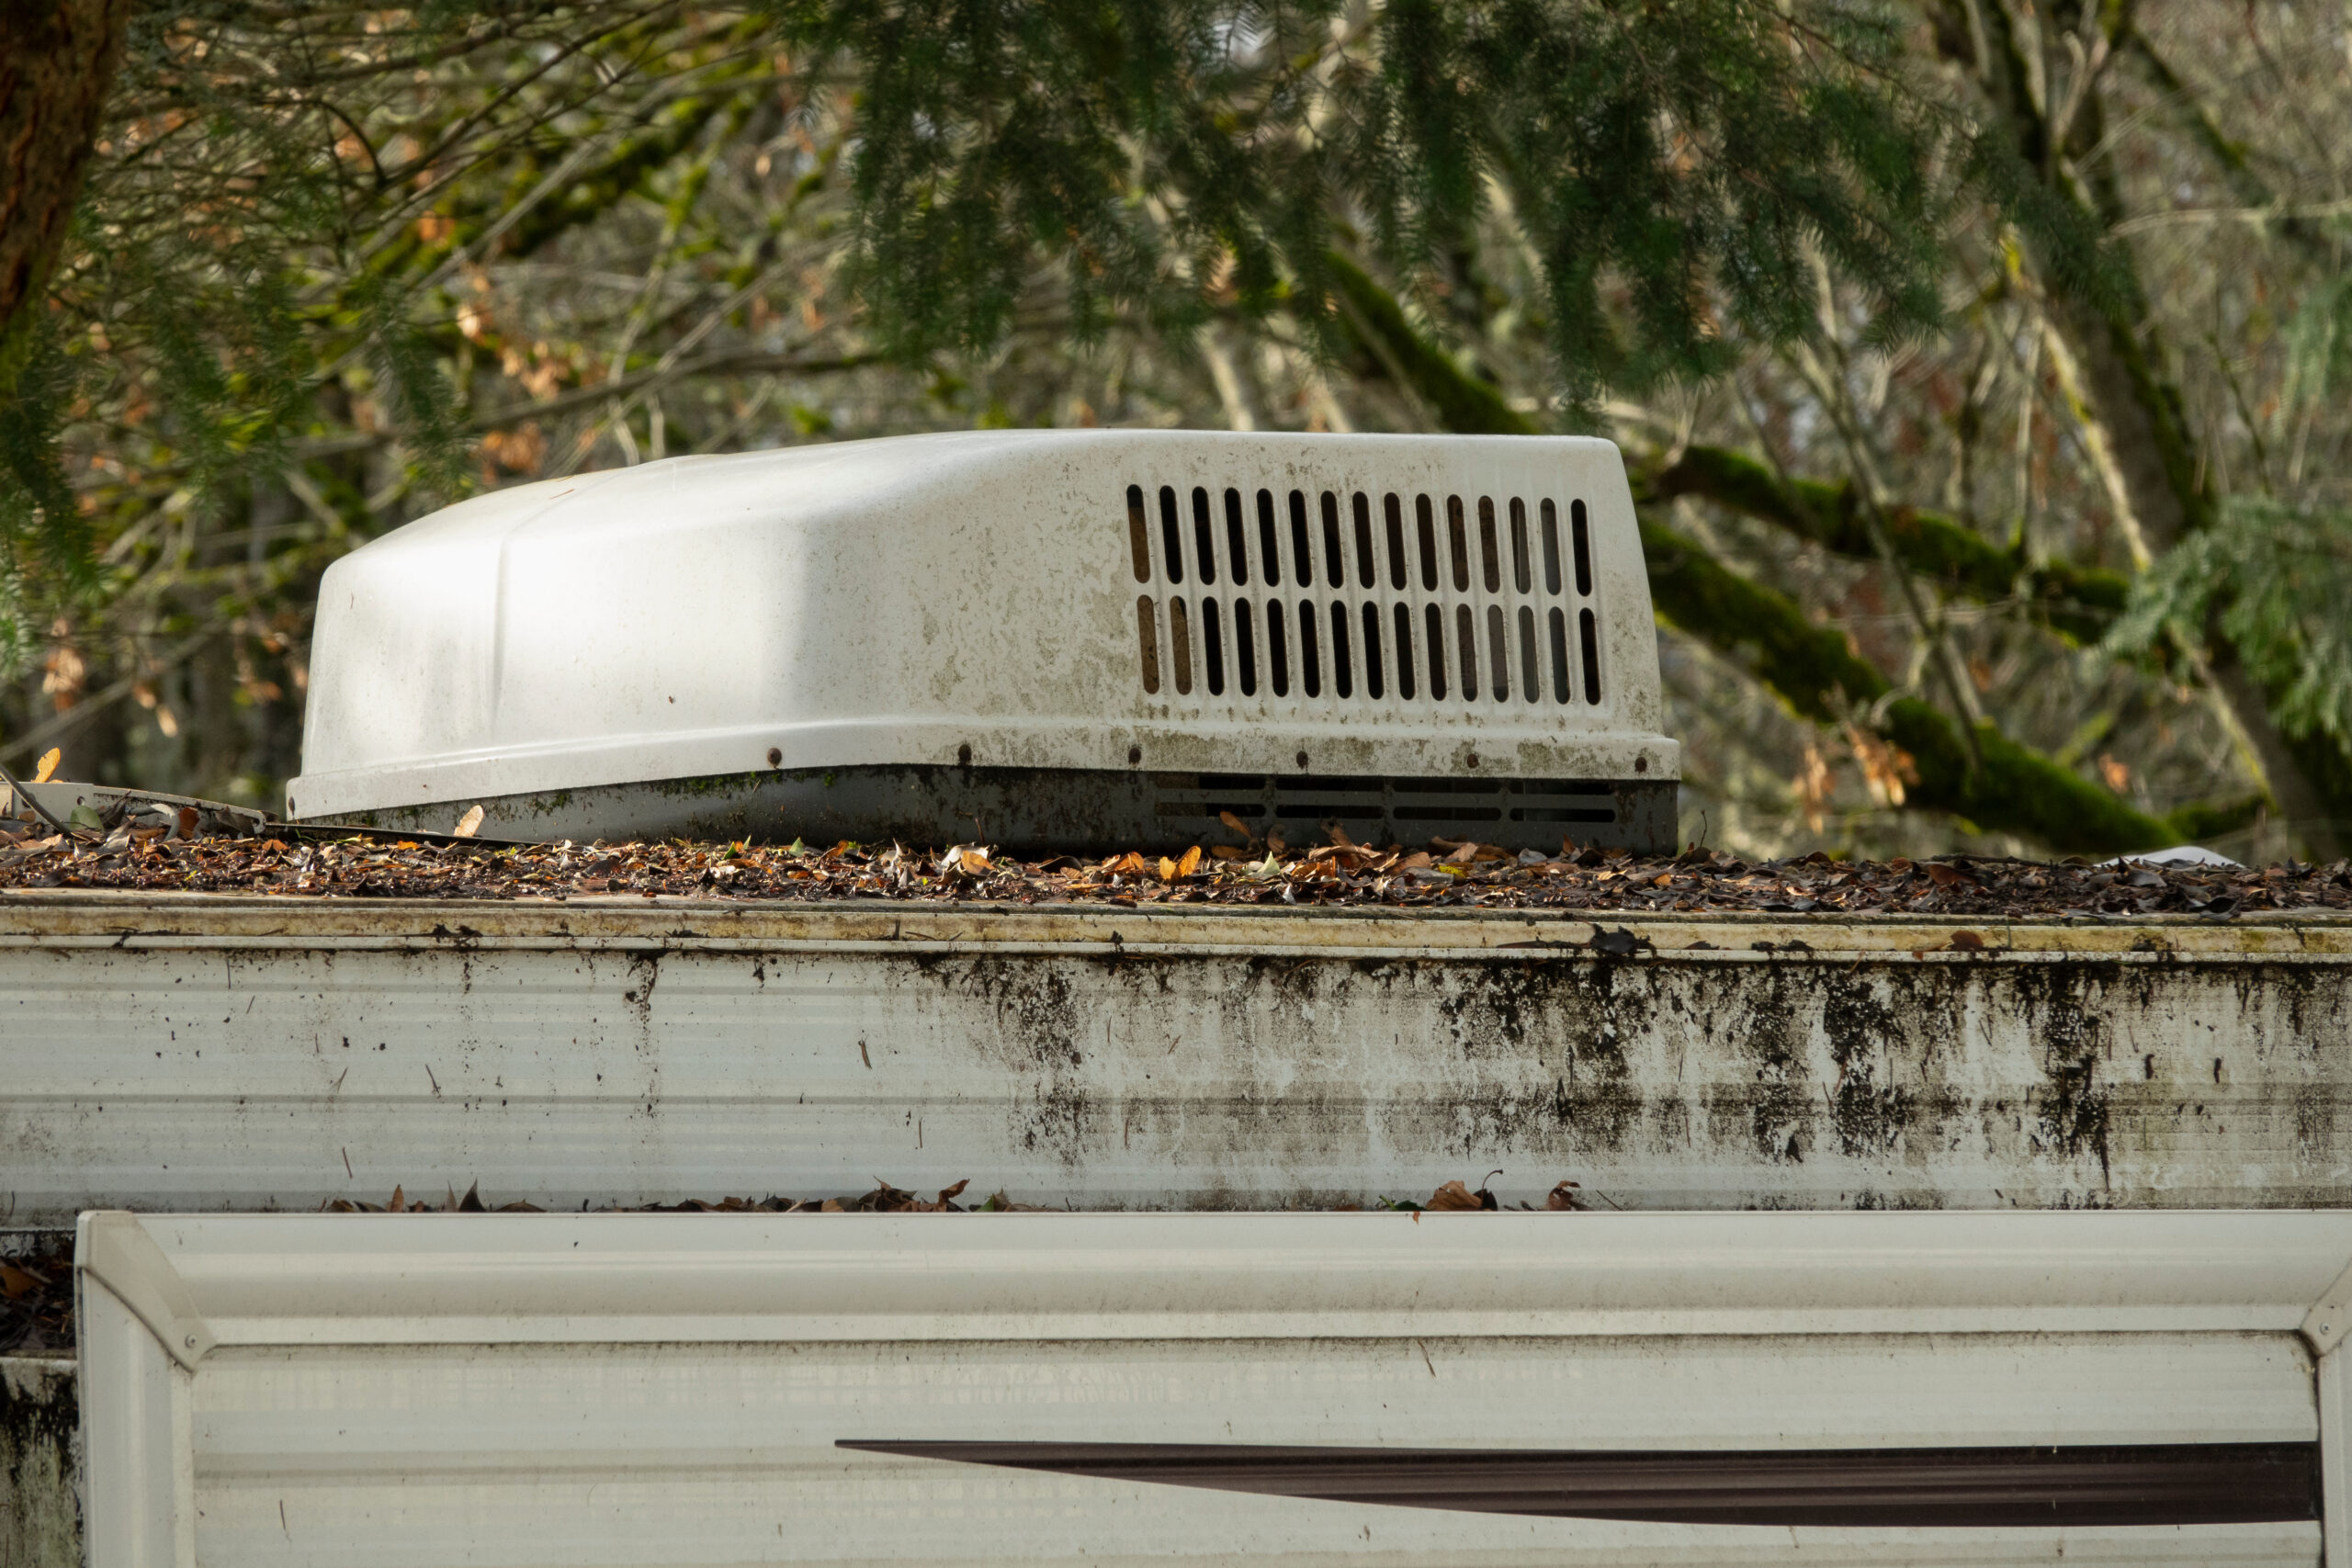
The rooftop unit has a plastic cover that is removable. With it removed you will see the evaporator and condenser fins. They should be free of debris and ice and the fins should be straightened using a fin straightening tool.
An RV AC unit is designed to cool air in the range of 20 degrees Fahrenheit from the outside ambient temperature. If the outside temperature is 105 with no sun protection, the 20 degrees cooled air inside will still be 85-90 degrees. This will obviously not feel refreshing.
It is important to check that the intake and return sides of the ceiling unit are separated. If not, the warm intake and cool return air will be mixing. This increases the temperature of the returning cool air.
AC unit is running but not blowing any air
Inside the RV, at the ceiling AC unit, there is a fan to blow the returning cool air throughout your RV AC vents. Without this fan, you will have no air blowing through your vents.
If you can hear the fan running but have no airflow, it is most likely an issue with the venting lines and ducting. The ceiling-mounted unit will be sealed with HVAC-style tape to direct air to the ducting running to your vents. If this seal is compromised, the air will leak before making it to the vents.
The fix: If the fan is not running, it can be checked using a multimeter for power. If there is power at the fan and it is not turning on, the fan will need to be replaced.
HVAC tapes are available in a few forms. Duct tape is well known and can be used along with Tuct tape or HVAC tape. The idea is to ensure the ducting is completely sealed forcing air to the vents.
As with all things on your RV, regular maintenance is the key to having trouble-free RVing. Even with maintenance, things will break, but you can be confident in finding and repairing the issue yourself! Make sure you keep track of all your RV maintenance and repairs with an online tool such as RV LIFE Maintenance. Not only can you keep all of your documents in one place, but you’ll also receive timely reminders when maintenance is due to help you avoid costly repairs and potentially serious accidents.
Continue reading: