Here’s All You Need to Know About RV Skirting
In this article we’ll talk about RV skirting – what it is, why you need it, and what your options are. We’ll also talk about the unique approach AirSkirts offers for RV skirting and why it may be a good fit for your RV year-round.
What is RV skirting?
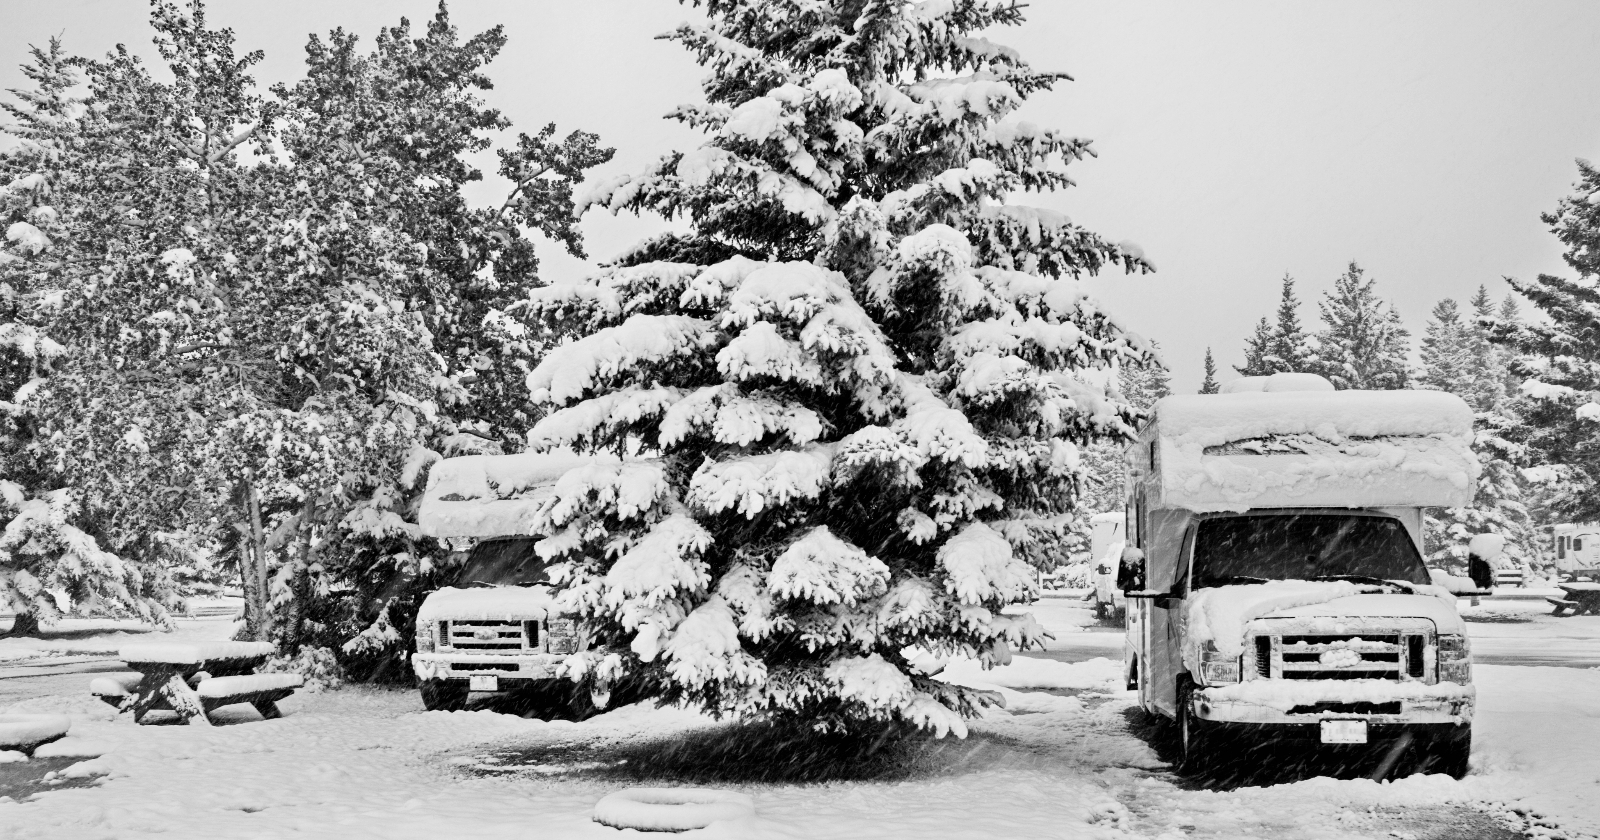
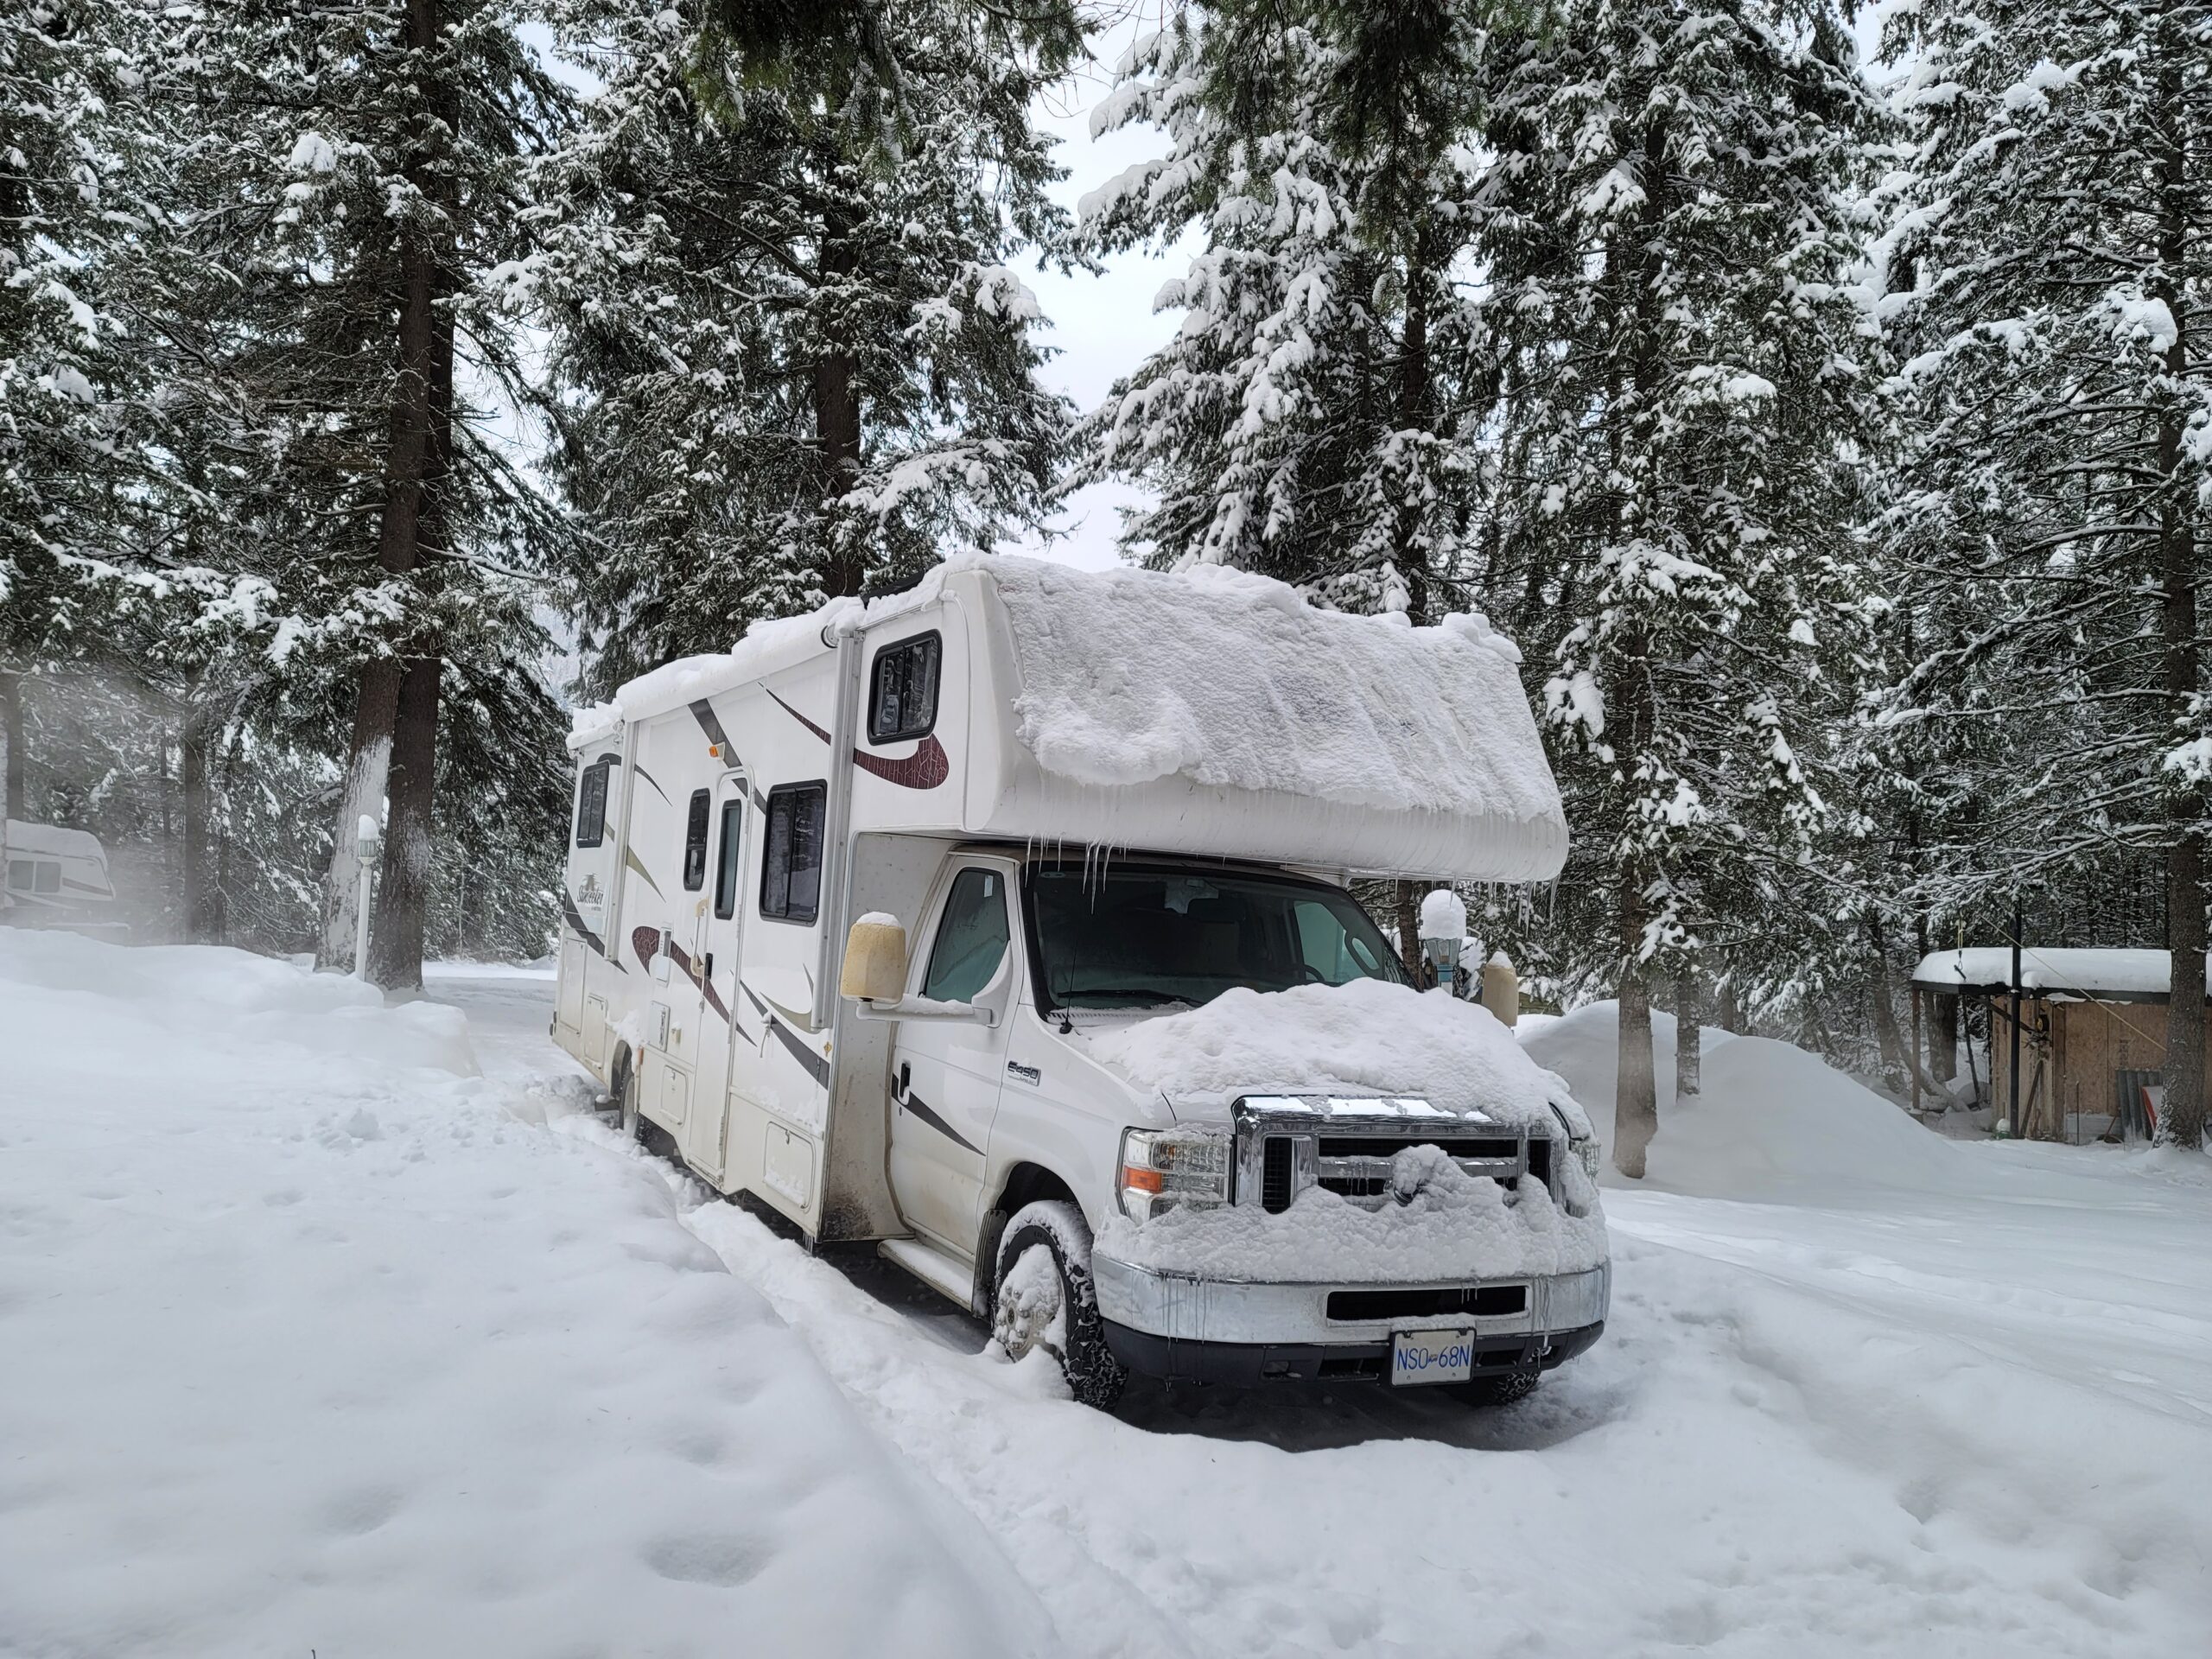
RV skirts are an essential part of cold weather camping. If you’ve visited an RV park or campground during the winter months, you’ve likely seen RV skirts in action. Many RVs will have some sort of vinyl or Styrofoam barrier running around the underside perimeter of the RV.
Protecting the RV’s undercarriage during cold weather provides a number of benefits. First, and perhaps most importantly, it blocks wind. As heat dissipates through your RV’s floor, it is whisked away by wind, causing the underside of your RV to be cold.
This often leads to freezing pipes; at the minimum this means a lack of running water, and in the worst case scenario can lead to cracked pipes or valves causing damage to your RV. Since this sort of damage is costly and unlikely to be covered by your RV insurance, we at AirSkirts like to call an RV skirt your ‘second insurance policy’ on your RV.
Another huge benefit to RV skirts, particularly those with a high insulation factor, is that they prevent energy loss. So, as heat leaves your RV through the floor, the skirt maintains a pocket of warmth under your RV, meaning you’ll burn less propane or use less electricity. This also has the benefit of preventing a cold floor on your RV and improves your overall comfort.
Factors to consider when choosing your RV skirting
The are six important factors to consider when you choose your RV skirting:
1. Ease of installation or setup
How much time will it take to set up your RV skirting? Do you have the necessary tools and skillset to set it up? How long will it take to set up, and how much time does this add up to year over year?
2. Portability
Will you need to move your RV at all? If so, is repeating the setup or installation process each time you move feasible? Can you easily stow and transport the skirting material?
3. Insulating value
Does the RV skirting provide any insulation to the undercarriage of your RV, or simply stop the wind? What does you heating or cooling cost look like with and without a skirt?
4. Durability and resistance to the elements
What material is your skirt made of? Will your skirt budge, rip off, or fly away in high winds? Will snow packed up against the skirt cause it to rip off or collapse?
5. Longevity and usable lifespan
Is your RV skirting temporary, or can you re-use it year after year? Is the material it’s made of rugged and meant to last for many years? Will you need to discard your skirt each year and create a new one? If you upgrade to a new RV, can your skirt come with you, or will you need an entirely new skirt? What’s the cost associated with this?
6. Appearance
The appearance of a skirt can either add to or detract from the appearance of your trailer. It’s important to bear in mind that many RV campgrounds have regulations about what type of skirts can be used – the most common of which is prohibiting the use of Styrofoam skirts, as they tend to be an eyesore.
Types of RV skirting
Let’s investigate the four types of RV skirts available today and their pros and cons.
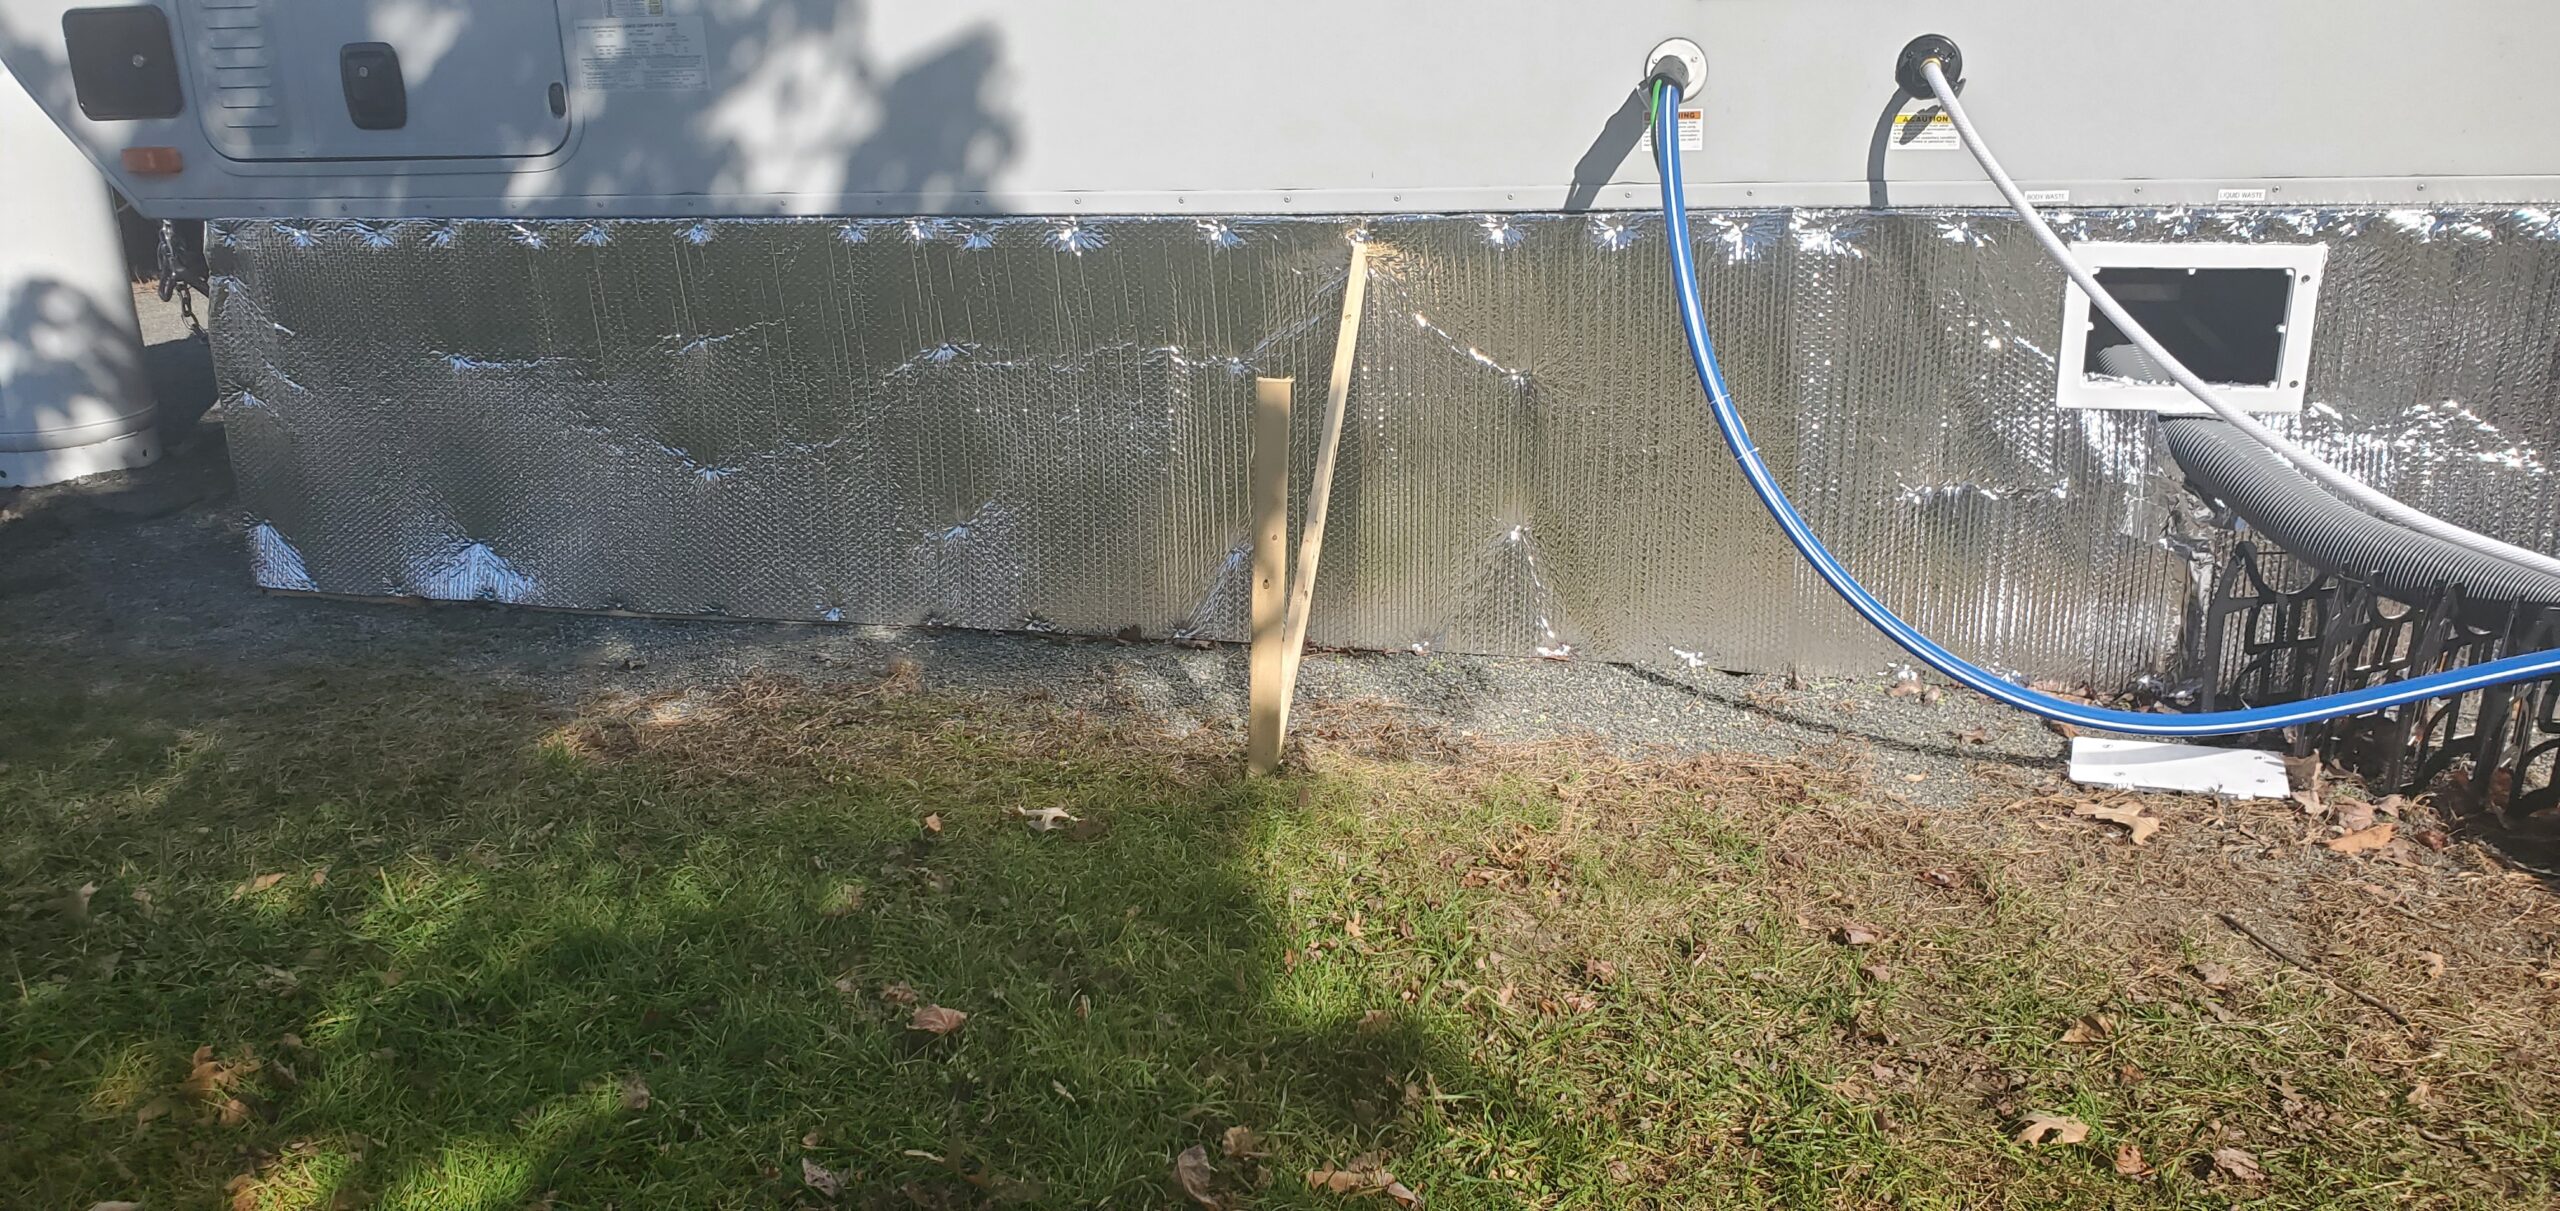
1. DIY Styrofoam or Wood Reinforced Skirts
One of the least expensive options to skirt your RV is to build the skirt yourself out of ‘throwaway’ material. Many people use Styrofoam or other insulating material commonly used in home construction.
By meticulously cutting insulating material to size, positioning it around the RV, and securing it (generally with heavy duty tape) you create a somewhat effective barrier to the elements.
Cost and Time
Cost: $200-$700 plus your time and labor
Time: 8 hours to 3 days
Most people report that a Styrofoam skirt costs them $200-$300 in materials. For more permanent skirts, some RVers with a construction background will choose to create a wood frame around the base of their RV prior to applying insulation – for this approach, expect the cost to increase up to $700-$700 in material.
How long does this take? Between acquiring the materials, cutting it to size, positioning, taping, and troubleshooting, most handy RVers will be able to accomplish a basic DIY skirt in 8-10 hours of labor, or 1-2 days. A first-time skirter may find this process requires a bit more trial and error and could expect a longer installation time. Wood frame skirts are a much more substantial time investment, with some RVers reporting to us a total construction time of 2-3 days.
Reusability and Permanence
This type of skirt should be considered semi-permanent and disposable. Most people will not have the means or desire to transport the large, bulky materials when moving their RV, so these skirts are meant for stationary RVs and are generally thrown away when their usefulness has gone.
Insulation and Performance
Unlike vinyl skirts, Styrofoam skirts do offer some insulation since the material used is the same as often used in home installation.
Resistance to the Elements
A Styrofoam skirt’s ability to withstand the elements varies drastically based on the quality of its construction. In general, Styrofoam skirts that are not reinforced with a wood backing do not perform well against high wind or snow build up. At an RV park, it is not uncommon to see a large piece of Styrofoam blown hundreds of feet away from where it belongs.
Appearance
Let’s face it, most Styrofoam skirts are usually an eyesore. With a lot of attention to detail and craftsmanship they can be made to look good, but on average they tend to look quite ugly against the backdrop of an otherwise beautiful RV. Many campgrounds do not allow the use of Styrofoam skirts for this reason – if you are considering a Styrofoam skirt, make sure to check with your campground first.
2. Hay, straw, or other material skirts
Some RVers choose to use hay or straw around the perimeter of their RV as a method of skirting. This article will not delve into this method because we can’t recommend it for any application. Aside from the risk of fire, this method tends to attract rodents and is unpleasant to look at.
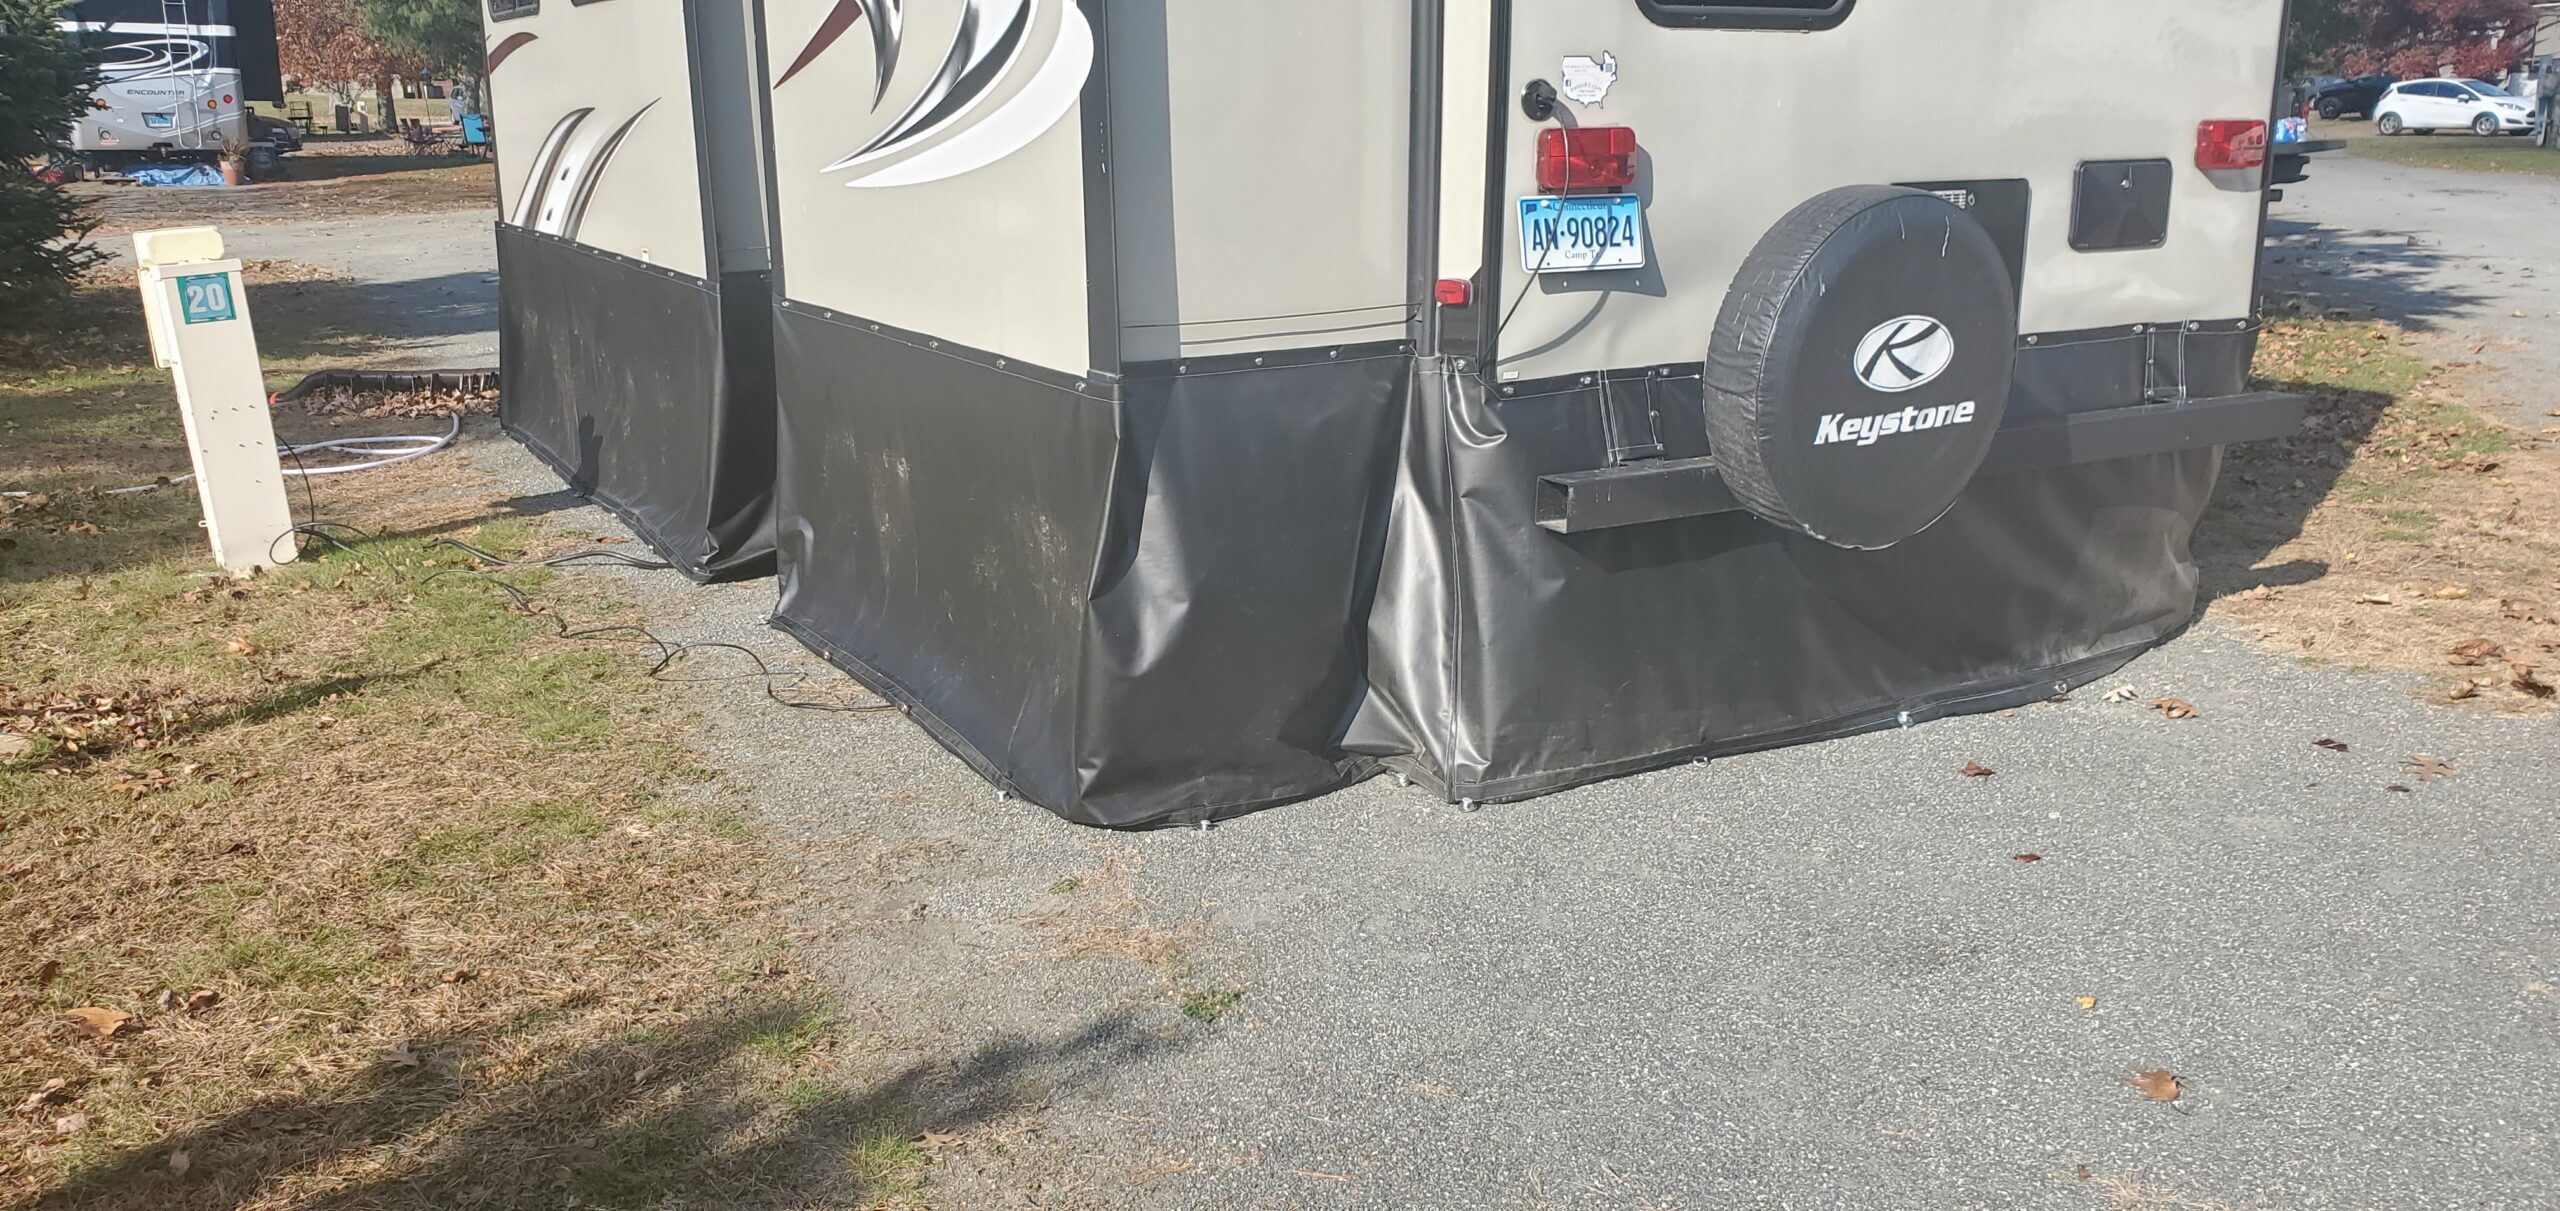
3. Vinyl ‘Snap On’ Skirts
Vinyl skirts, affixed to the RV by metal snaps, are perhaps the most prevalent form of RV skirting. Snaps are drilled into the RV chassis (sometimes up to 400 holes) .
Many RVers choose to have these systems professionally installed. Local shops often offer this custom service – they will come onsite, measure your RV, and return with the cut materials and drill holes into your RV for the snaps. You can then snap the skirt material on and off as needed.
Another option is the DIY option for vinyl skirts offered by some companies. With this approach you will need to perform all of the measuring, drilling, cutting, and other installation steps yourself. This is not for the faint of heart, but is a lot less costly than professional ‘hands-off’ installation.
Word of caution: some companies offer glue-on 3M snaps that stick directly to your trailer body at 5-inch intervals without drilling. At AirSkirts we have had numerous customers tell us that their glue-on snaps ripped or fell off requiring constant reapplication or maintenance. For this reason, if you go with a vinyl skirt we recommend drilling the snaps into your RV.
Cost and Time
Professional Installation
Cost: $1,500 – $3,500 depending on the RV and installer
Time: You just need to be present for measurement and installation. Reinstalling the system each time takes a few hours, since each snap needs to affixed and the skirt weighted or staked down.
DIY Installation
Cost: $700-$1500 plus your time and labor
Time: This is the most involved skirting option available. You will need to accurately measure your RV, procure material, and drill up to 400 holes in your RV in precise locations. Customers report this process taking 1-3 days depending on the RV and their level of experience.
Reusability and Permanence
This type of skirt lives and dies with the RV it is built for, but unlike Styrofoam skirts can be (with some effort) removed, stowed, and reapplied between uses. Bear in mind, when you go to sell your RV your skirt may have a negative impact on your resale value as you have several hundred holes drilled into the body of your RV.
These skirts can be stowed and travel with you. They tend to be a bit difficult to fold up and store but with effort will fit into your tow vehicle or coach.
Insulation and Performance
Out of all the options provided in the article, vinyl skirts tend perform the poorest overall. Although they block wind successfully, they offer little insulating value.
Resistance to the elements
These skirts are prone to coming undone from snaps in high wind or when snow packs up against them. Additionally, they must be staked or weighted to the ground – staking is better, but not possible if your RV is on a concrete slab, so for versatility it’s advisable to go with a weighted option.
Appearance
When professionally installed and maintained vinyl skirts tend to look good, so campground owners do not tend to find them objectionable.
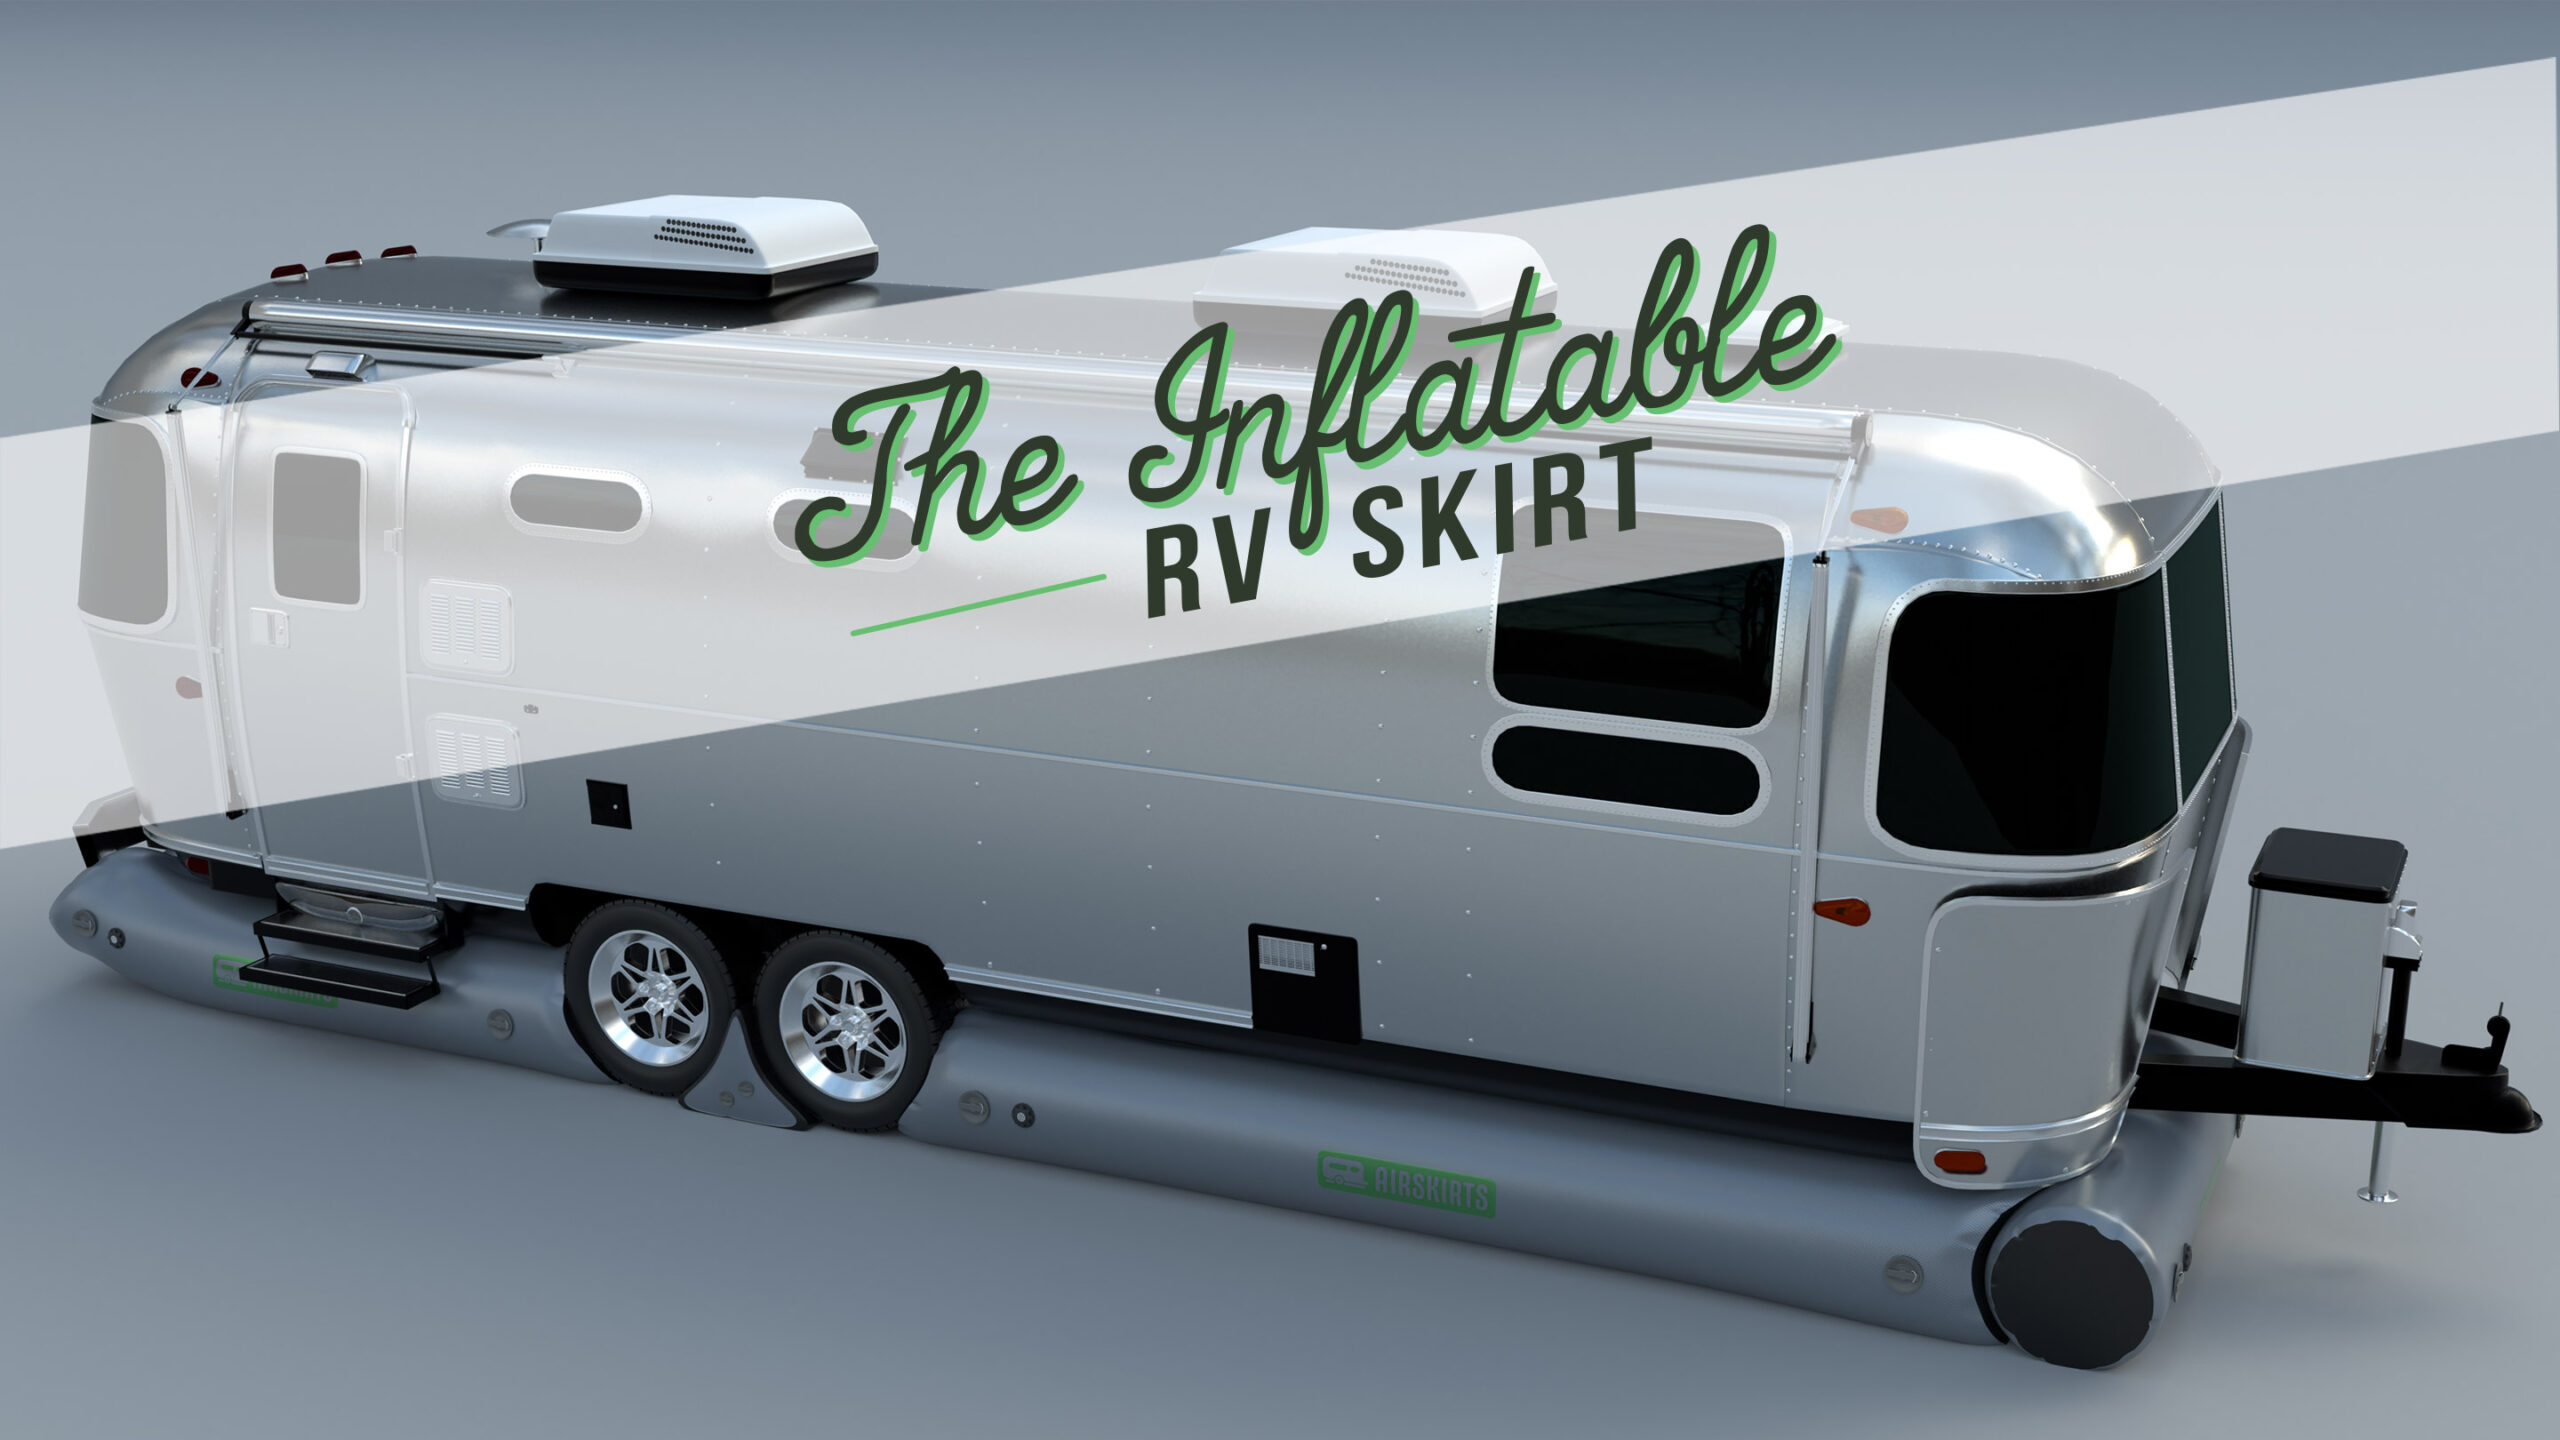
4. AirSkirts – The Patent-Pending Inflatable RV Skirt
AirSkirts is the newest and most innovative contender in RV skirting. The product was invented out of a frustration with the alternatives – Styrofoam, drilling holes into the RV, poor insulation, poor portability, and other concerns were the genesis for this idea.
Because of their unique design, AirSkirts require no installation on your RV – no messy tape, no drilling holes – they simply inflate underneath the RV and are held in place with air pressure.
AirSkirts are sold in kits based on two factors only – the RV’s overall manufacturer stated length and its ground clearance (how high it sits off the ground). The system comes as a series of tubes and other accessories (such as tire wedges) that form an inflatable perimeter around the underside of the RV. The system is simply inflated, and a skirt is born. Breakdown is similarly easy – just reverse the included electric air pump and the skirt deflates to its original size.
Cost and Time
Cost: At the time of this writing, AirSkirts vary in cost from $1199 to $2899 (plus accessories) depending on the size of the RV. This makes them substantially less expensive than a custom vinyl skirt, but more costly than an involved DIY effort.
Time: Typical time to set up AirSkirts is one area where the system really shines – an average setup time is under 30 minutes, compared to many hours or even days for other skirting options.
Reusability and Permanence
AirSkirts’ super rugged construction will last for decades, and likely outlive your RV. Good news – your AirSkirts kit, unlike any other type of skirt, can move with you to your next RV. And, because you haven’t drilled holes into your RV or modified it in any way, you haven’t detracted from the resale value of your RV in the process.
AirSkirts boasts an industry beating five-year warranty on material and craftsmanship and offers a satisfaction guarantee, including free returns, phone and video support, and people who actually pick up the phone.
If you move around a lot, AirSkirts has an additional benefit – because of its design, it is simply the fastest skirt to deploy and break down, making it ideal even for a weekend of skiing. Of course, the system works equally well for longer term use.
Insulation and Performance
AirSkirts offers more insulation than any other skirting method because air makes an excellent insulator, and AirSkirts tubes offer 22”-34” of an air barrier. Aside from the insulating properties of air, AirSkirts is made from a heavy-duty PVC material which provides additional protection.
Resistance to the Elements
AirSkirts is the clear winner in this category as well. While other skirting methods hold up poorly in high wind conditions, AirSkirts are pinned between the ground and the RV, meaning you can kick an AirSkirts tube and it wont budge. Unless the wind is causing your RV to flip over, your AirSkirts aren’t going anywhere. AirSkirts deal equally well with pressure from accumulating snow.
Appearance
AirSkirts unique appearance make them an attractive addition to any RV. Many customers report other campers coming over to investigate the product, so either put up a no trespassing sign or be prepared for some attention.
AirSkirts are a welcome addition to any RV campground – many campground owners even recommend the product to their campers.
Conclusion
Although we’re admittedly biased, we believe AirSkirts is the best investment for RV skirting. Your RV is an investment, and a skirt is your second insurance policy.
AirSkirt’s major benefits:
- No specialized, DIY knowledge required
- No drilling holes into your RV
- Superior insulation and comfort
- More affordable than a professional vinyl skirt installation
- The only skirt that can move with you to your next RV
- No year after year, prolonged installation time
- No material waste and disposal
- Five-year warranty
- Satisfaction guarantee with free returns
- Attractive and allowed where DIY Styrofoam skirts are not
- Very resistant to wind and snow
- Works well in extreme climates
To learn more about AirSkirts or to purchase now, visit www.airskirts.com or call 833-4-SKIRTS (833-475-4787)
About the Author
Jim Phelan is the Founder and Managing Director of AirSkirts. After selling his home in Brooklyn, NY and most of his possessions, Jim began living and traveling full-time in his 2016 Airstream trailer. AirSkirts was an invention of necessity for Jim after several seasons of frustration with traditional skirting methods.