Fixing dry rot in your RV floor begins with a thorough investigation. After all, there’s no sense in starting if you have no idea what the underlying cause of the dry rot is. After that, you have some interesting choices to make. Ultimately, we’re dealing with one of the greatest fears of RV ownership: water damage.
Why is water damage so terrifying? Because it’s not always immediately detectable. Water is a subtle thing, capable of wearing down, penetrating, and cracking giant stones, while also quietly snaking its way between the subflooring and the top layer, like a ninja. You may not realize that anything is wrong, especially after some time in storage, until it’s too late.
No matter the cause of the dry rot, whether you are working on an RV renovation or repairing your own, it’s not a simple job. There are a lot of labor hours involved and significant expenses. But there’s a right way and a wrong way of doing things, and if you’re not prepared to sell a kidney on the black market to afford a professional job, this guide is for you.
What Causes Dry Rot and How Do You Identify It?
Ironically, water is generally the cause of dry rot. If it’s dry, how can water be the cause? To keep things simple and short, fungi love water, and water provides fungi with the moisture and warmth necessary for growth. Once the fungus is in place, it feeds on the wood fibers on a microscopic but endlessly growing scale. Returning moisture enables the growth cycle of the fungi as well, expediting the process.
Without diving into the life cycle of fungi, it spreads fairly quickly, consuming the wood to the point where it will eventually turn into crumbles and dust. It doesn’t have to be a major water leak, and most of the time, it’s not. The predominant water leak issue in most RVs is through the skin, rather than a plumbing issue. That doesn’t mean you shouldn’t check everything, however.
- Start by checking the roof and walls, where leaks are the most common
- Check your windows
- Check anywhere the skin is compromised, such as doors, hatches, and storage compartments
- Check all of your lower cabinets
- Check all of your seals every ingress and egress point
- Inspect all of your water appliances, pipes, and drain lines
- Pay attention to your sense of smell, focusing on moldy, mildewy smells throughout
If you fail to identify the leak and its source, you’ll spend an awful lot of time, effort, and expense, only to have the same problem return with a vengeance. Once you discover the water source and pull up the top flooring, the early stage of dry rot is typically an orange-to-brown discoloration on the wood surface. You’ll know if it’s beyond the early stage because you can probably put your fist or boot through it surprisingly easily.
Options for Fixing Dry Rot in Your RV
This is where the “interesting” choices part comes into play. Fixing dry rot is not a simple affair, even if the extent of the damage is minimal. Sections of flooring have to come up and be replaced in a quality manner that maximizes safety while mitigating the potential for recurrence.
This guide is for the DIY repair folks out there, but you can always pay for a professional to do the job instead. However, you’re looking at $75/hour for labor, and that’s for the journeymen. The supervisor on the project will take in around $100 to $120/hour. This is all before the cost of materials comes into play.
If you decide to do it yourself, you’ll save a ton of money, but the importance of doing it right is paramount. Your last option is to sell the RV as a project. That’s not always the most palatable answer, but if the damage is extensive and repair costs are outside of your capability, you’ll be surprised at how much you can get for a fun RV repair project.
Tools and Materials for Fixing Dry Rot
The tools and materials you need for fixing dry rot are basic, at least for the most part. If you spend a lot of time in your RV, the odds are good that you have some of this stuff already. If not, it’s important to remember that life on the road comes with its own levels of maintenance and preventative maintenance, and you should stock up on tools when you can.
- 3′ and 1′ levels
- A square
- A good pair of pliers
- A prybar for wood flooring removal
- Reciprocating saw
- Oscillating saw
- Carpenter’s Pencil
- Table or circular saw
- Jigsaw
- Awl
- Screwdrivers (varying)
- Measuring tape
- Epoxy resin
- Resealing caulk and putty
- Drill
- Pressure-treated plywood
- Protective Equipment (PPE), including safety goggles, dust masks or respirators, and gloves
Of course, some of these tools are subject to change, depending on where the flooring replacement project takes place. For instance, if you’re fixing dry rot damage around the toilet, you need the tools necessary to remove it. It’s mostly common-sense stuff.
A Step-By-Step Guide to Fixing Dry Rot in an RV
Again, fixing dry rot in your RV begins with identifying the cause and eliminating it immediately and forever. You achieve “forever” through preventative maintenance, which is something that new RVers need to embrace with a full heart. Preventative maintenance will save you thousands of dollars over the lifespan of your RV.
1. Identify the Scope of the Dry Rot
Before you begin tearing into your floor, you need to be meticulous and explore every last inch of the surrounding area. This is true even if you’ve pulled up your top flooring layer. Use an awl and work your way out from the visual damage. You don’t want to go poking holes throughout your entire RV, but you need to at least poke holes in the area around the damage.
2. Start Pulling Up Wood
If it’s so rotten that parts of it are falling off under its own weight, simply use your hands, with a good pair of thick gloves, to pull the mess apart and discard it. After that, a crowbar or prybar of some sort will sufficiently remove most of the rotten areas. Once most of the worst damage is gone, it’s time to step things up with a circle saw or jigsaw.
Use the awl to make sure you are into the good plywood, and remember, you will have to cut the good wood, just a hair beyond the bad wood to accurately remove the rotten edges. You’ll notice a series of 2 x 4’s running perpendicular to the length of the camper. These are your joists—the framework that holds up the entire floor. To ensure you are identifying and fixing all of the dry rot, it’s a good idea to carefully inspect these joists as well.
Remove any screws left behind from removing the plywood, and make sure you cut far enough into the good plywood to leave enough frame for fitting your fresh replacements.
3. Walk Away
This may sound counterintuitive. However, you need to make sure the remaining good wood, both the joists and the plywood, is completely dry. This can take up to a week, so give it a week. Make sure everything is cleaned up, there are no sources of water around the area, and the floor is not exposed to moisture from the outside air or elements.
If you need to wrap the area in a tarp or seal the entire camper in a dry garage or storage unit, do so. The last thing you want to do is replace the old wood and trap moist wood beneath it, inviting in the same spores that initiated the rot in the first place. Fixing dry rot requires a bit of patience.
4. Treatment and Protection After Dry Rot Removal
Now that everything is nice and dry, it’s time to apply a wood preservative. Borate-based wood preservatives, such as Bora-Care or Tim-Bor, are effective options for treating and protecting wood against dry rot. These products are known for their ability to penetrate deep into wood, killing existing fungi and preventing future infestations.
Fill a spray bottle with your chosen borate solution and lightly apply it to the wood surrounding the removed damaged area. There’s no need to saturate the wood but ensure you achieve thorough coverage. Borate solutions not only target any remaining spores but are also non-toxic and safe for use in residential settings.
Now, it’s time to wait another week. Exciting stuff!
If you want to fill the time with something productive, head out and acquire a small amount of one of the following: varnish, epoxy, waterproofing oil, latex, PVA, or waterproof paint. Your best bet is to stick with epoxy, at least for this specific application. Apply a light coat, especially against the freshly cut areas and all over the exposed plywood.
Now, your remaining, good plywood is both free of moisture and thoroughly waterproof.
Disclaimer: Follow all manufacturer guidelines for application and safety. Always ensure pets and people are kept away from treated areas until the product has fully dried. As with any chemical treatment, wearing appropriate personal protective equipment (PPE) during application is crucial to prevent skin and respiratory exposure. Proper ventilation is also important to ensure safety during and after application.
5. Measure and Cut
Now the real work of fixing the dry rot begins. Bust out your square, your tape measure, your long and short levels, your carpenter pencil, and your patience. Make sure you are very careful with your measurements and that everything is squared off before you cut. Make sure your new plywood is the exact width of your old plywood as well.
Stick with flooring screws, which you can pick up at any local hardware store. Also, try to match the gauge of the original screw with your new screws. Carefully fit your freshly cut plywood sections into the open portions you cut out. Use your shiny new screws to fasten the pieces to the frame/joists.
Replace or add any insulation before laying down the new plywood, if necessary. Not all subflooring is constructed the same, depending on the type of RV you have.
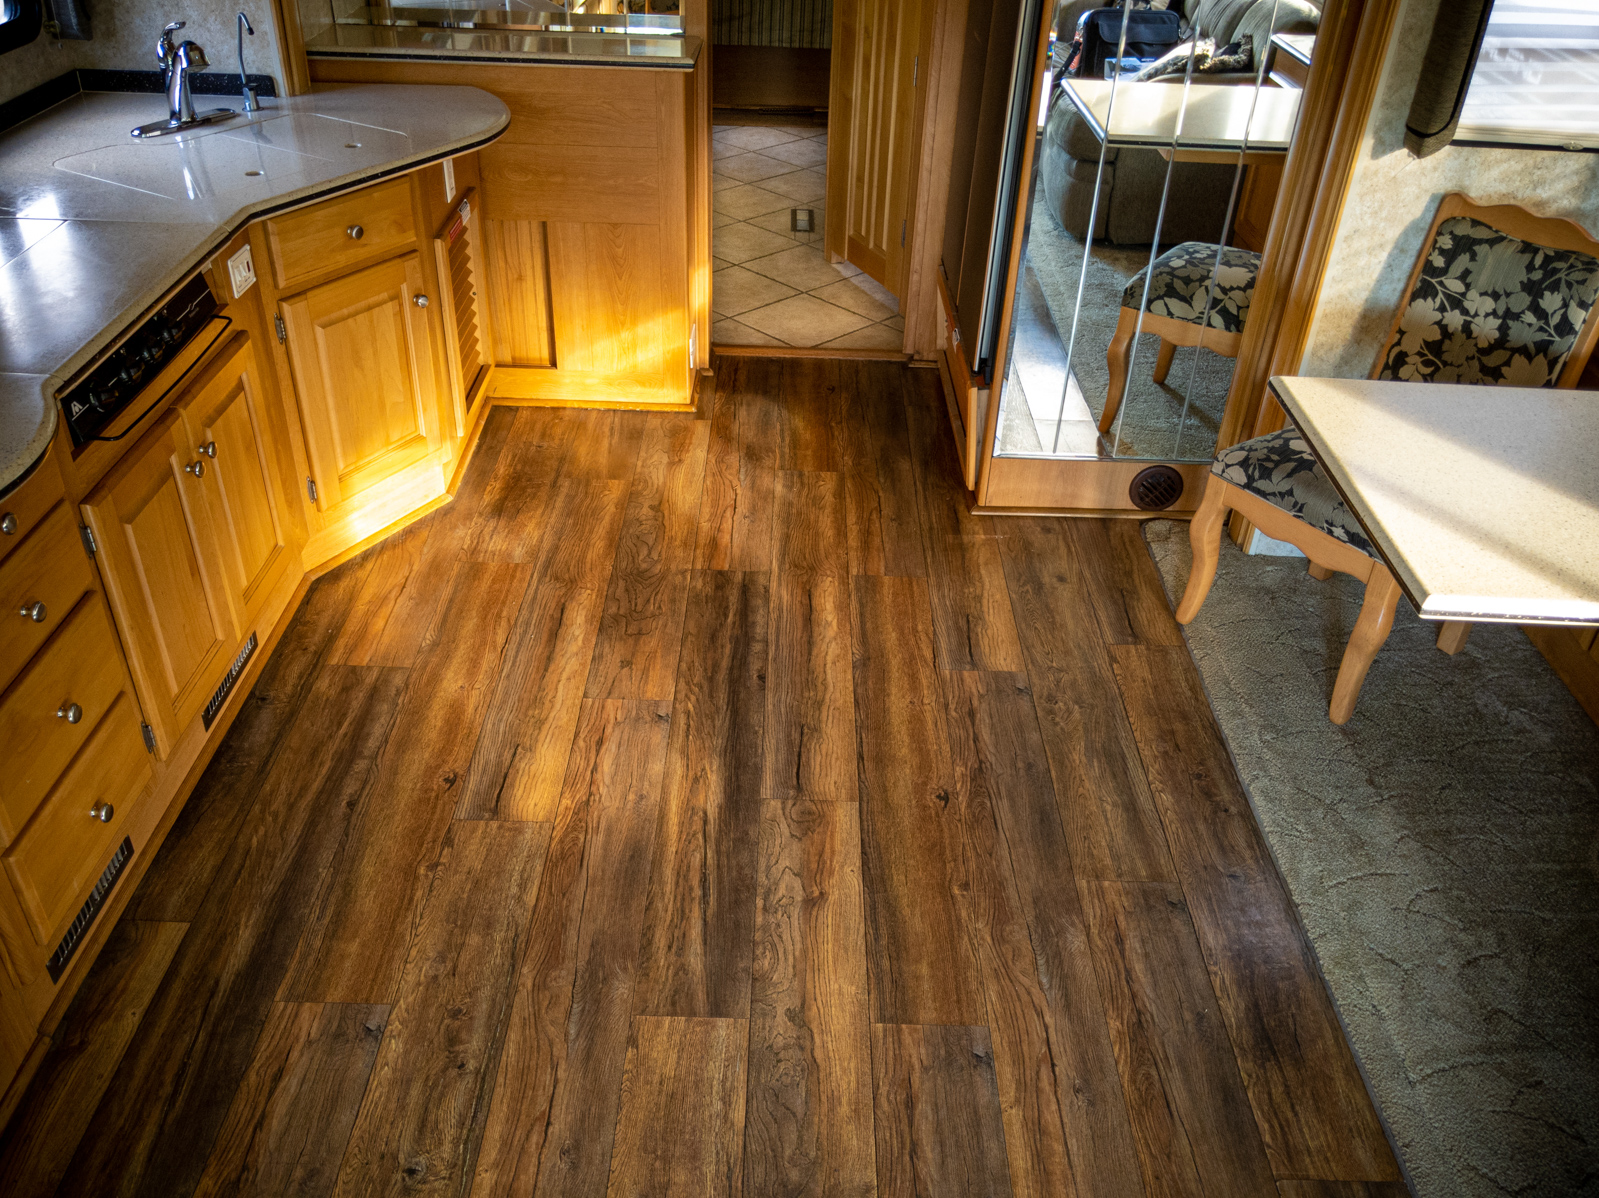
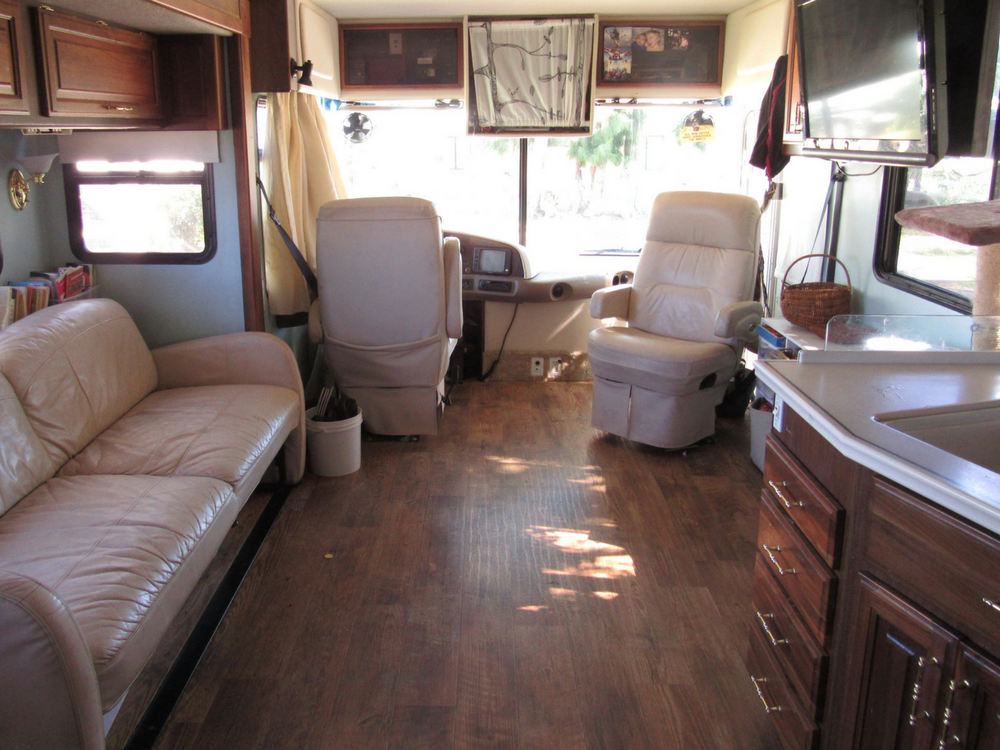
6. Replace Your Top Flooring
In the process of fixing dry rot, it’s easy to forget that you have to replace the top floor as well unless you are somehow able to salvage the top material. It’s easier to do so when dealing with carpet since you can roll it back. However, you have to make sure that the carpet isn’t moist underneath before you roll it back.
If you’re dealing with vinyl, take a section up to your local hardware store and see if they can match it with new vinyl material. Then, all you have to do is cut it to size and replace it. Of course, you may have to use a binding agent if the pieces don’t snap together.
Also, if you have a carpet slide and you are fixing the dry rot in that general area, it may be a good time to replace the carpet with a hard surface. Carpet isn’t known for being slide-friendly, and slides are a frequent source of leaks.
Final Thoughts
There you have it—fixing dry rot in an RV in six steps. Of course, nothing ever goes off without a hitch. It was Helmuth von Moltke who coined the prescient term “no plan survives contact with the enemy.” The enemy, in this case, is your RV flooring. There are bound to be some surprises here and there.
Just remember that a methodical, patient approach is usually the safest bet. Fixing dry rot in an RV floor is not what anyone considers a good time, but it is necessary, especially if you want to save your RV. Time is also your enemy. The longer the moisture and rot remain, the more extensive the eventual damage.