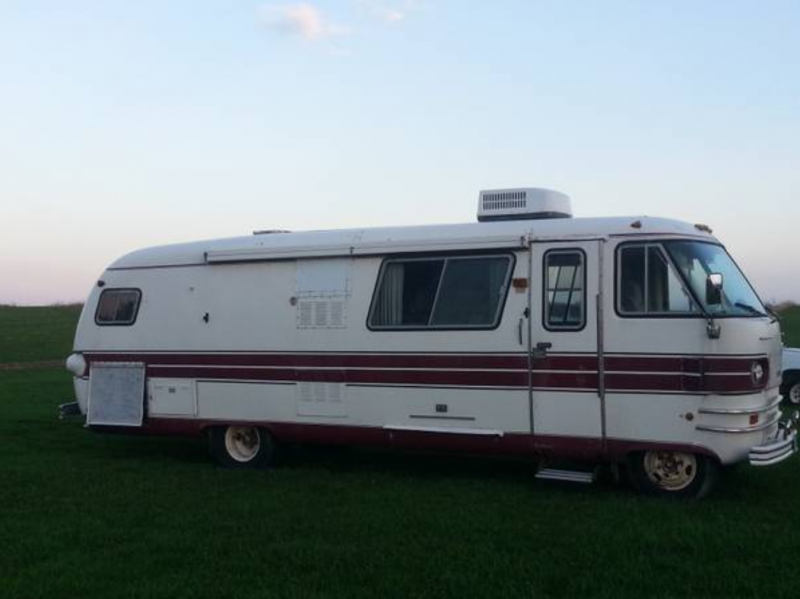
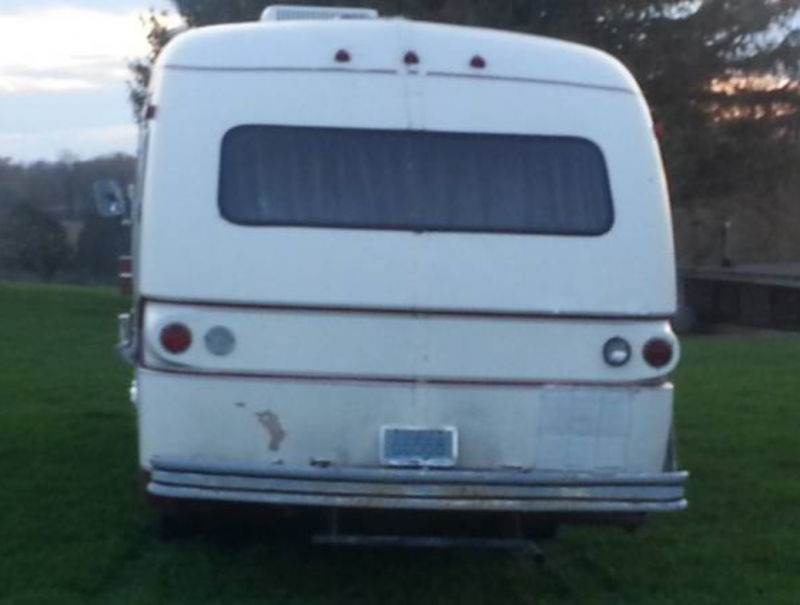
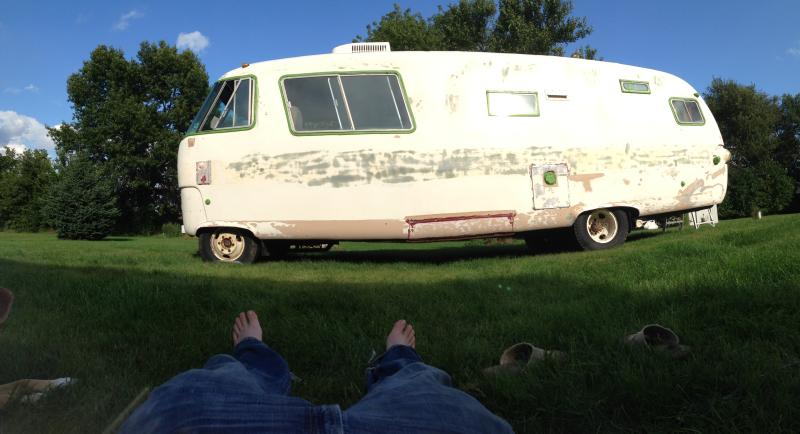
Old RVs can be very deceptive at first glance. Take this ’67 Dodge Travco for example.
The paint job, which has a clear 80s vibe, looks pretty decent and you might be tempted to believe that the work had been done right and a simple sand and repaint, with a little filler, would suffice.
Here’s the Dodge with its original paintjob.
When Gostaverling from Imgur started digging into this beauty, it became obvious fairly quickly that he had his work cut out for him.
While other RVers might have left it well enough alone (having a perfectly serviceable motorhome already) he was determined to restore it to its full glory.
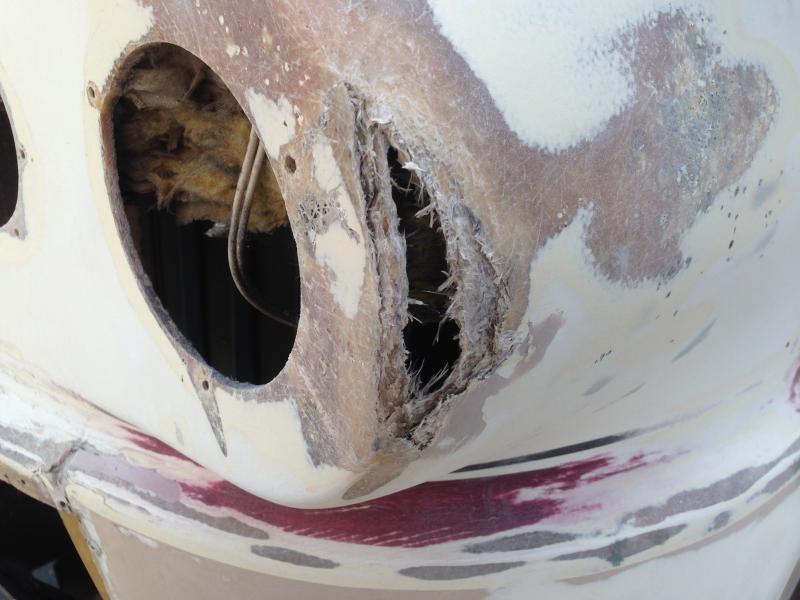
The rear, which is hiding some issues.
Here’s five tips I gathered from reading and studying the pictures:
- Bondo is meant for filling small areas, not huge patches without any support, especially on fiberglass
- Sandpaper is a painter’s best friend, and makes the final paint job look much more smooth
- When you start stripping down any vehicle, you never know what you are going to deal with
- Use the more expensive automotive paint tape. You’ll see why. Trust me, it is not that much more expensive and can save you money by not having to repaint – again
- Almost anything can be fixed right. In fact, it is often easier and cheaper to do so (note: the door handle situation)
Two door handles?
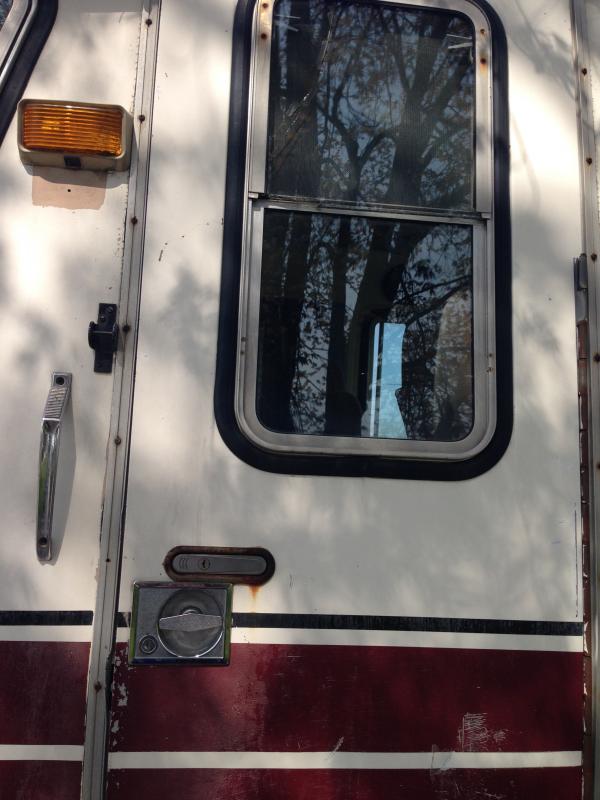
Some time ago, the original door handle (the one on top) stopped working.
Instead of replacing it with a stock part, the previous owner cut a gigantic hole in the door and installed a completely different lock!
As you’ll see, it would have been much cheaper to install the proper replacement instead of hacking up a door in this way.
Improper Bondo Repairs Prove Costly
The body seemed in solid condition as well as most of its fiberglass. But as Gostaverling started sanding, issues cropped up.
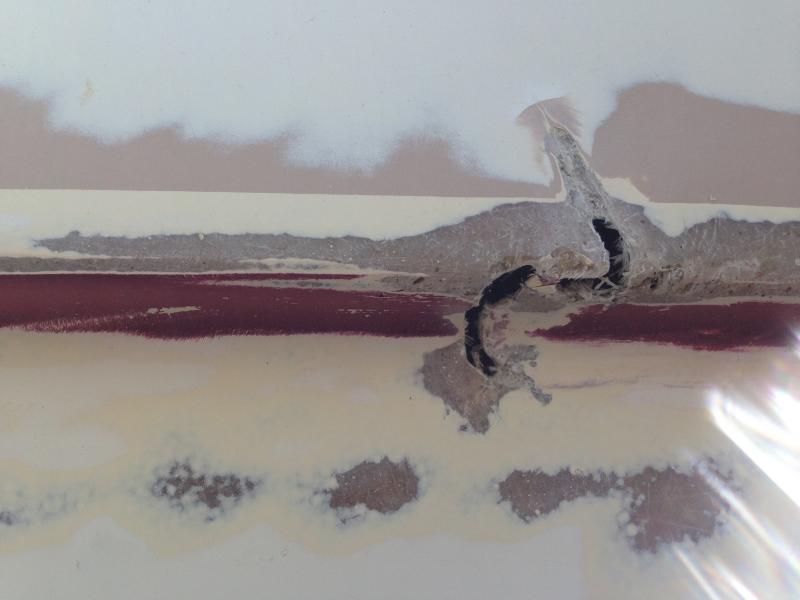
The tail section has a lot of curves and several of them had hidden fiberglass damage that had been filled with way too much bondo.
Bondo is hard – and fiberglass flexes – eventually the bondo will break away and fall out.
Old bondo repairs had to be removed and patched with fiberglass.
It’s a common misconception that fiberglass repairs are impossibly complex and should be left to the pros. The truth is the resin is about as easy to mix as bondo and the procedure just takes some practice and a little common sense.
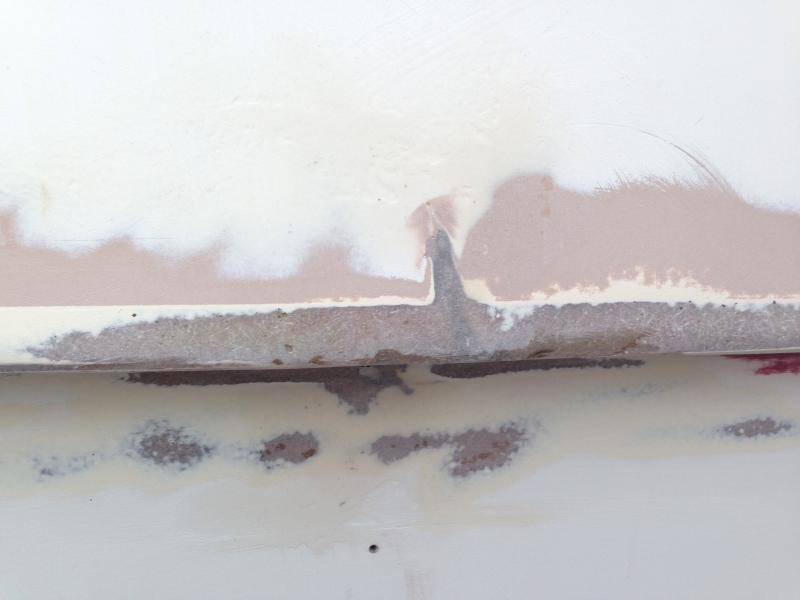
All of this empty area was originally repaired with bondo auto body filler, a no-no.
Once you get the foundation fiberglass fixed, bondo for fiberglass is used to fill in small voids and fix unevenness. Nothing larger than a pencil eraser, or thicker than than the body of a pencil should ever be filled with bondo if you want it to last.
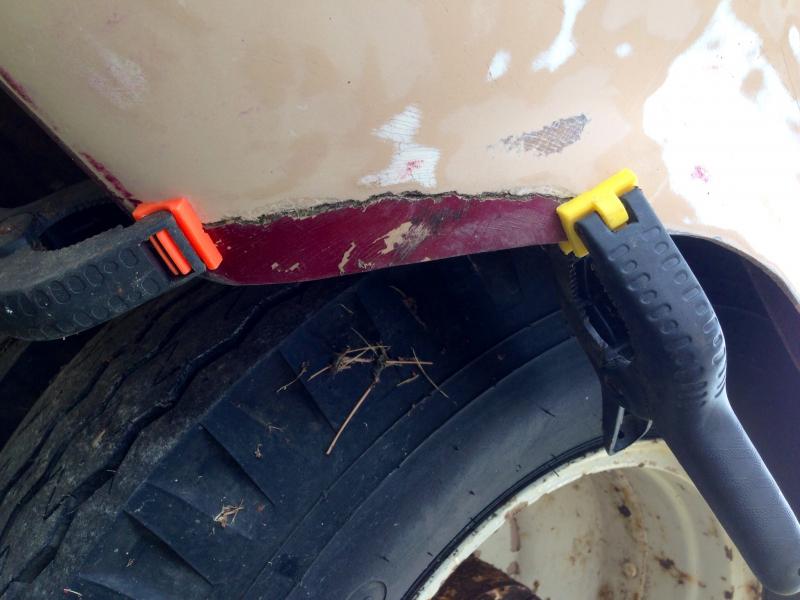
Fender patched with mesh and resin, almost ready for the filler.
The sanding process provides a proper surface for paint to adhere to, and a lot of sanding is usually required for a good quality finish. This is especially true on automotive body work, where the surface is smooth and large and the paint is typically high gloss.
Here’s the motorhome, bondo-ed and sanded, ready for primer.
This Dodge Travco motorhome got the kid glove treatment with hand sanding down to 400 grit. The bigger the number, the finer the sand paper, and the smoother the finished surface.
Hand sanding sounds like a lot of work, but it doesn’t take as long as you would think. Unless you are a pro with power tools, a power sander will likely do a lot more damage than good.
The smooth, wet primer tells you this vehicle’s exterior was well sanded.
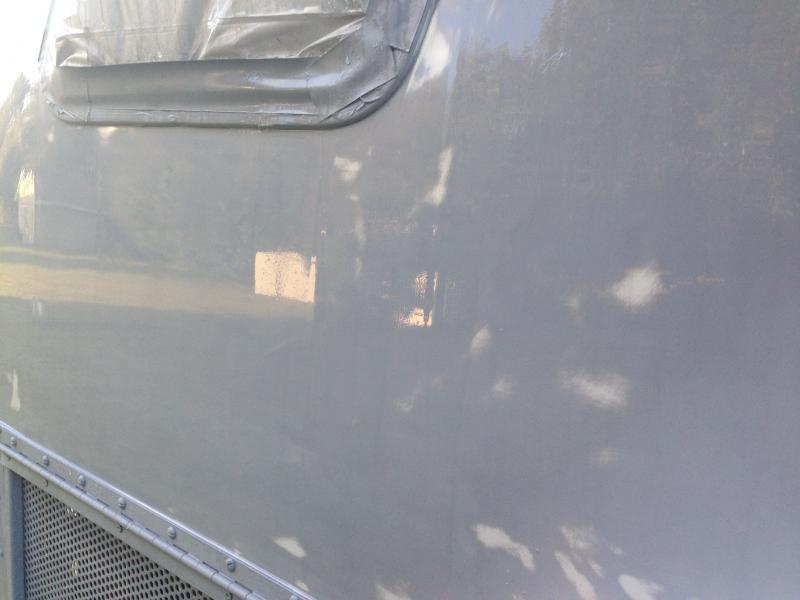
Start with a coarse paper and work your way up to the fine stuff in multiple passes for the best results. As you can see in the picture, the wet primer will reveal how well you’ve done. Gostaverling did a great job.