Why buy a teardrop brand new when you can build your own for half the price?
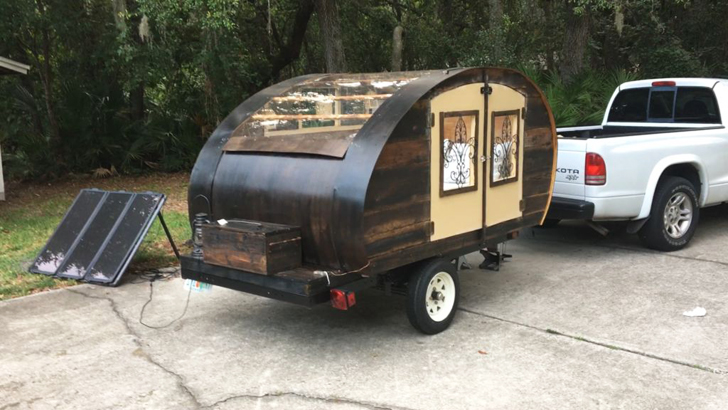
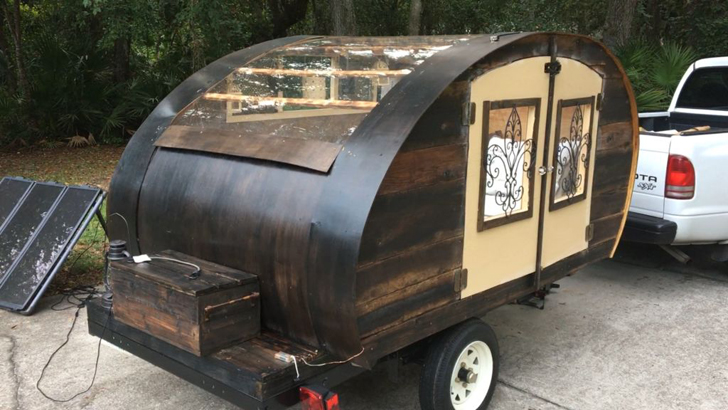
That was the genius thinking behind Doc Wyoming from Instructables. He built this marvelous home-on-wheels that looks like something of a fairy tale.
The best part? He recorded every step along the way, and a rough estimate of the cost, to show us how to make our own. Take a look!
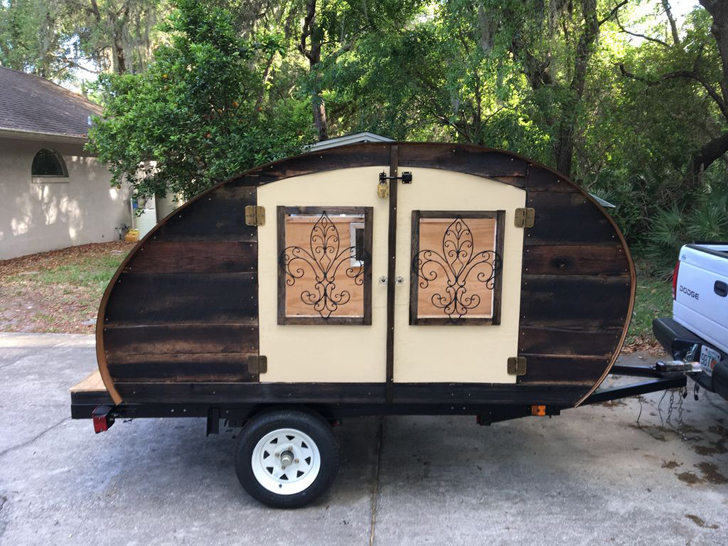
It’s a micro-trailer, measuring only about 5×8 feet (and 7 feet at the base). When Doc was building the foundation, he only used light woods like 2x3s and 2x2s to keep the weight as low as possible.
The total cost of construction ran Doc roughly $1,500, but it can be more or less, depending on what you choose. In this one, he just included a regular queen size mattress, which went for about $500. But even still, a brand new teardrop can cost anywhere from three to five grand, so the savings is worth the work.
1. Building your Harbor Freight Trailer
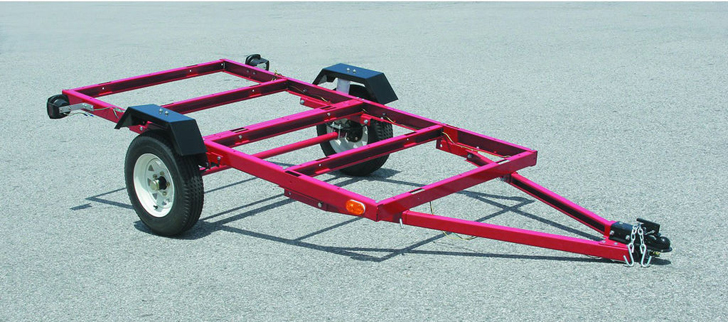
Harbor Freight sells 4×8 trailers (or 48in x 96in) for about $300-400. They’re a relatively inexpensive, reliable foundation to start with.
It can be assembled according to the instructions provided, but leave off the extras (like the side guards or wheel guards). This is because the platform will end up extending past the wheels.
If you want, you can always just cut your platform to fit around the wheel guards, but it might be kind of a pain having to make 45-degree angle cuts. It’s easier to just leave them off now and not have to worry about them later.
2. Build a Trailer Riser and foundation
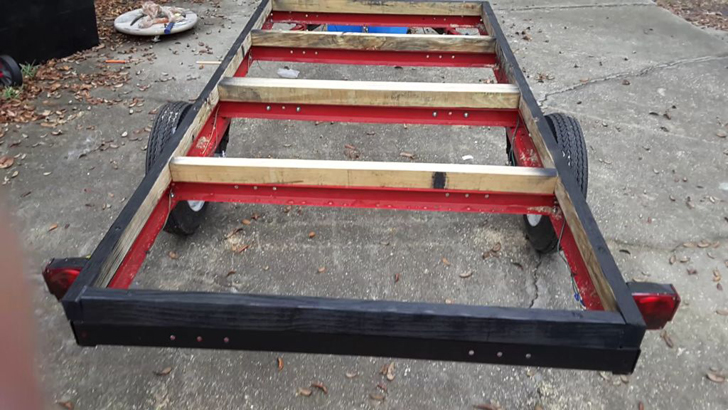
Doc started building a 5×7 base instead of one that’s 5×8 because the teardrop profile he uses in the next step tapers down, but the middle still measures a full 8-feet.
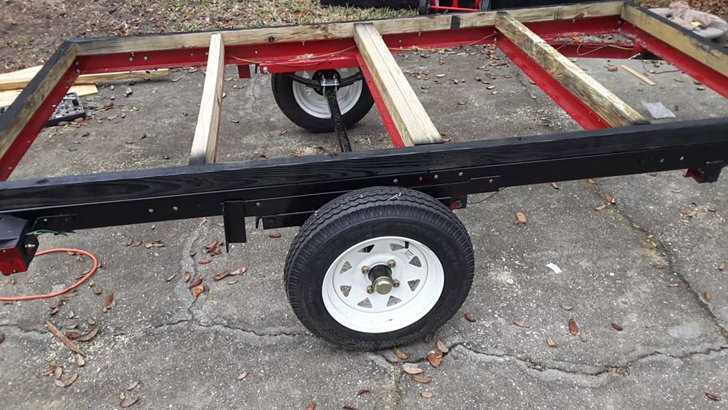
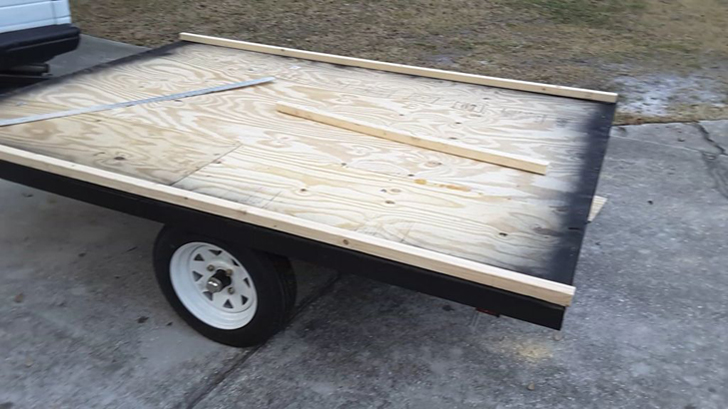
But, placing a 5-foot-wide foundation right onto the trailer will cause it to be too close to the tires. So first, he needed to raise the height of his rails by building a Trailer Riser (painted black in the photo below).
You can make one by placing 2x3s on top of the trailer, and nailing/screwing them together just like you would with any frame.
On the Trailer Riser, mark where the screw holes meet up with the trailer and drill holes through them. Then you can secure it in place and embed the screws.
Now it’s time to build your foundation. To start, you can make a 5×7 frame by placing 2x2s on top of the raised trailer beams and attach them with screws or nails at 90-degree angles.
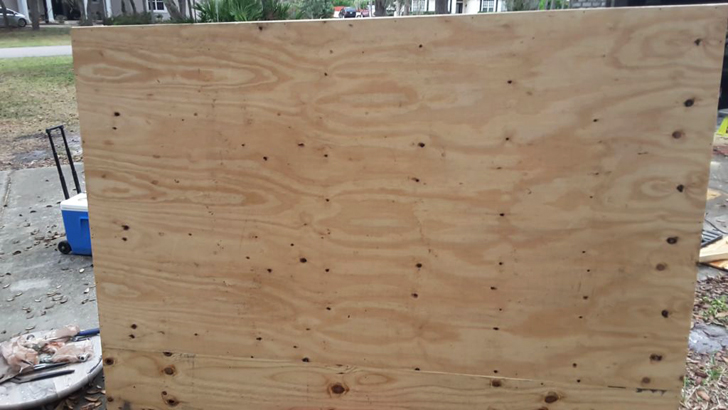
Doc then added three sheets of 1/4-inch 4×8 sheet plywood on top, flipped the foundation over, and installed some foam insulation. He finished the other side with plywood, coated the bottom with a sticky roofing asphalt (available at most hardware stores), and let it dry overnight.
3. Attach the foundation to your trailer
The foundation’s now ready to be added onto your trailer. For this step, 12-16 4-inch pointed screws are needed, rather than bolts, to attach it onto the Trailer Riser that was just installed.
4. Mark out your teardrop profiles
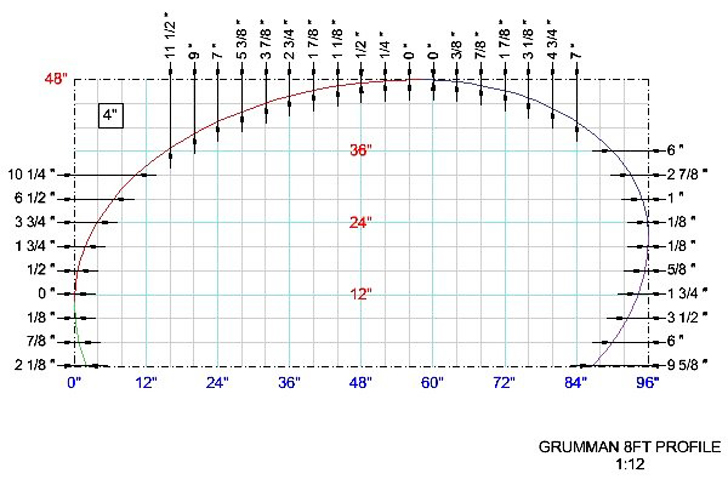
For this step, two 3/4 inch 4×8 sheets of plywood are needed, as well as a jigsaw. Doc used Grumman 2 profile blueprints, which taper inward on each side, and a grid system, as pictured in the design above.
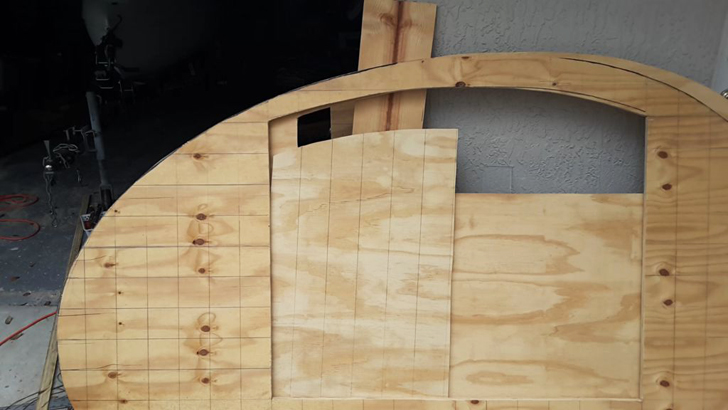
To create this, draw lines about 4 inches apart, and mark the points on your plywood. Then cut away! After using your jigsaw, make sure to sand both of your profiles before you begin cutting out your windows.
5. Cut out your window and door
With your profiles underway, it’s time to measure where the windows and door are going to be. Cut a doorway on one profile, and at least one window on the other. Save all of the extra wood you cut out—you’ll be needing it later on!
6. Put your new profiles on your foundation
With the window and doorway cut, it’s time to place these two profiles on your built foundation. First and foremost, it’s important to make sure that they’re facing in the right direction. Then line them up with your foundation, and screw them each in securely with at least 3-inch wood screws along the bottom.
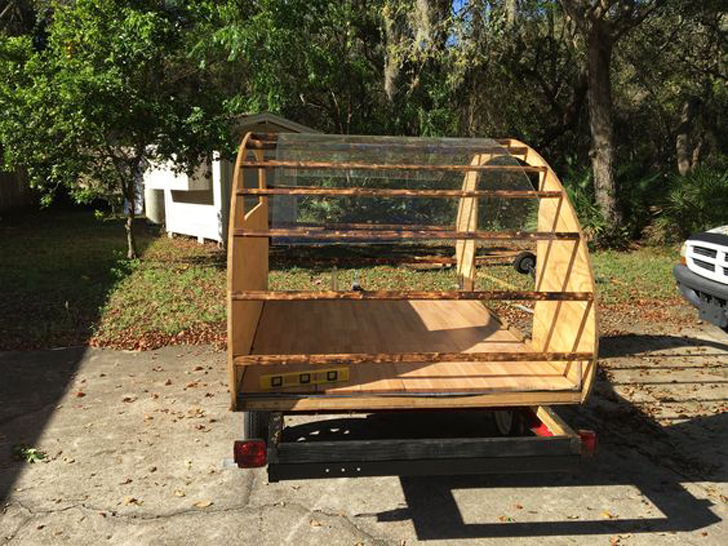
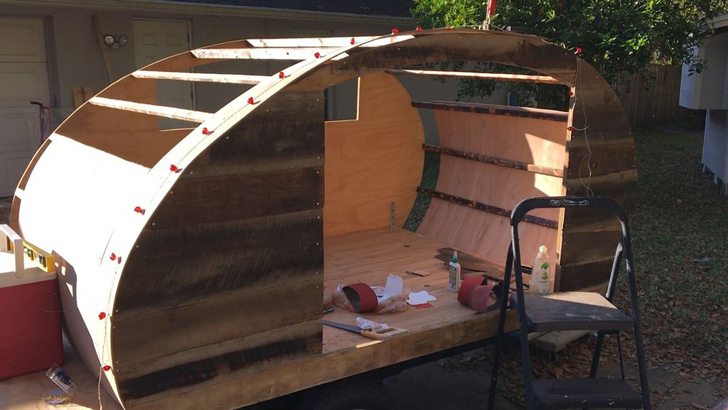
Once both of the profiles are installed, you can connect the two by using “spars” (as seen in the photo above). Doc suggests screwing in some straight 2x2s as spars, about 8-10 inches apart, as they’ll provide sturdiness.
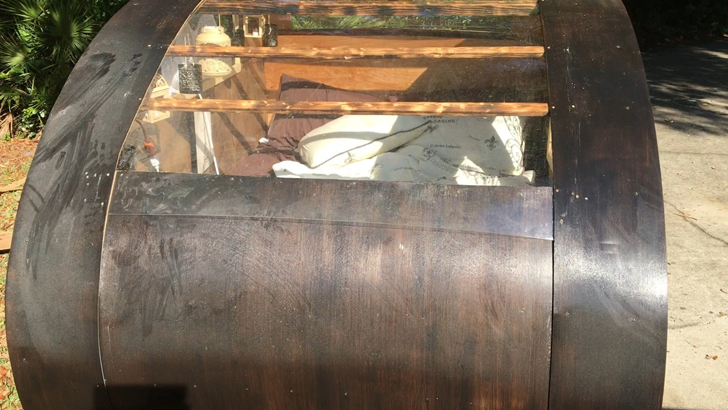
7. Attach your plywood and plexiglass skylight roof
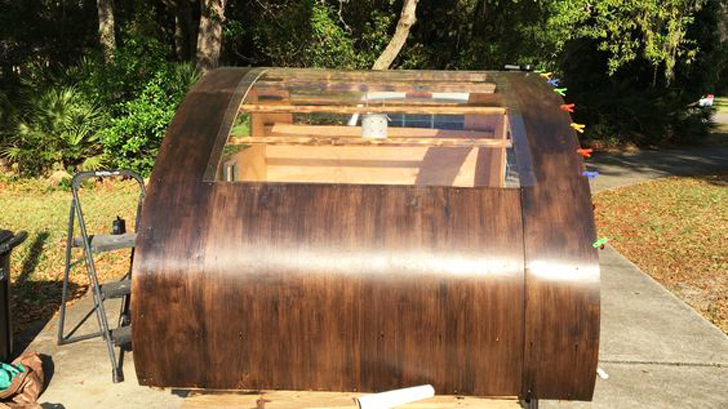
For this stage, three 1/4-inch 4×8 sheets of birchwood are needed, along with a 1/4-inch 4×8 sheet of plexiglass (for your roof), clamps, and some wood glue.
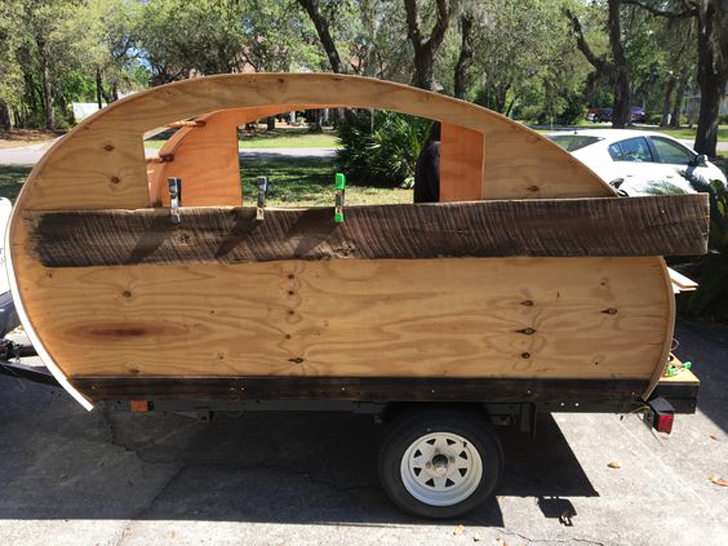
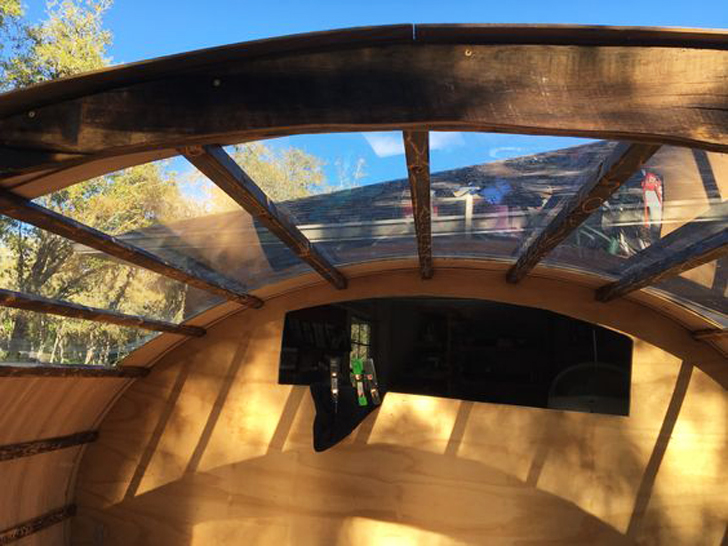
Begin by lining up the plexiglass on the top of your teardrop, and cut plywood so it meets just underneath the glass (as you can see above). Once your four-foot-wide pieces of wood are lined up, and you’ve worked out the height, you can remove the plexiglass and attach your plywood.
This step can be challenging, especially since you are bending the wood. To keep it from breaking, make sure to soak any wood you’re using overnight ahead of time.
Duplicate the process on the other side, and install your plexiglass roof, allowing it to hang just over the pieces of plywood. This will allow any excess water to run off when it rains.
8. Add reclaimed wood siding on your profiles
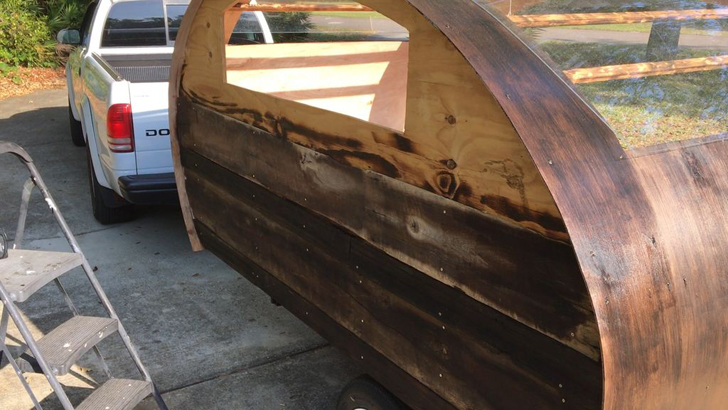
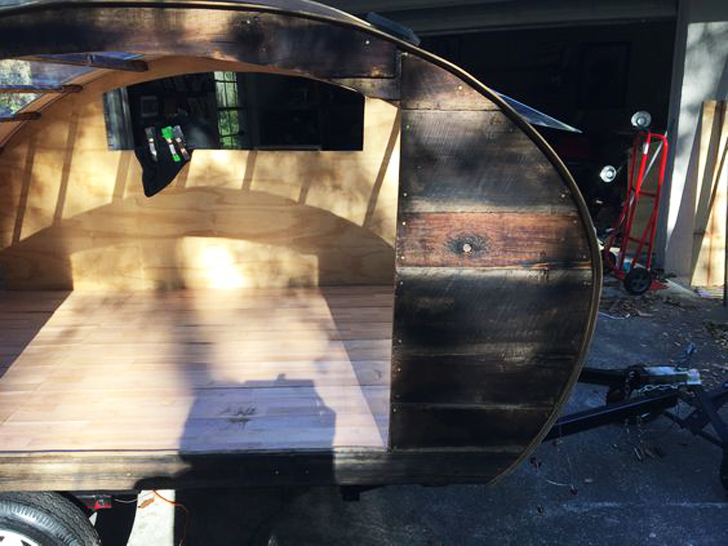
Doc gathered reclaimed wood everywhere from an old fence to local wood stores and then used special “Shou sugi ban” techniques to burn it, give it color, and protect the wood from insects. For this, he used a simple propane torch, which goes for about $30, and a propane can (about $4 or $5).
Adding the reclaimed wood siding to your teardrop profiles is pretty easy and straight-forward. It may take multiple cuts and measures, but with some glue and brass screws, they should be all put in place in no time.
9. Double-coat your reclaimed wood siding with a water seal/protector
Instead of staining this wood, protect it and enhance its gorgeous natural color by double-coating it with a quality water seal. For this part, you’ll need two cans of polyurethane. He used General Finishes Gloss, but it’s up to you. Gloss can really add a nice touch though!
10. Stain the top of your teardrop
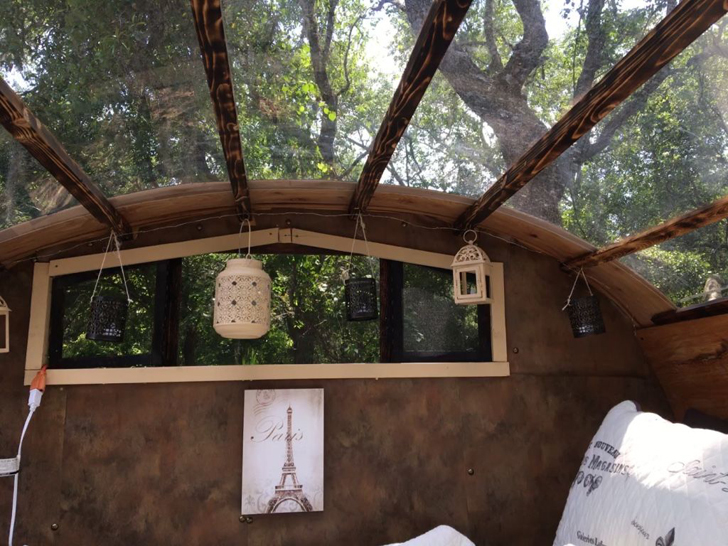
On the other hand, you will want to stain the top of your teardrop. Doc added two solid coats and got a beautiful deep color to match the darker shade of his reclaimed wood. He just slid out the plexiglass for this step, but you can also tape it up with painter’s tape.
11. Add your doors
Here’s where the extra wood from cutting out the door comes in. Sand it down, and if you want, get cheap rubber door strips from an auto store to get the doors to close with a nice seal.
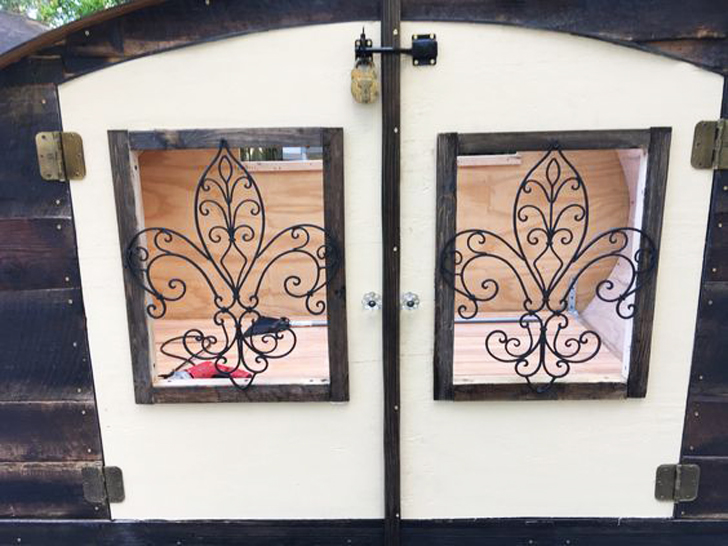
You can also cut out windows in your doors for extra beauty. Doc made doors that measured 48 inches across in total, with each door just under 24 inches wide after sanding. He then cut out 16 by 24 squares from each, cut four pieces of 1-inch wood (with half of each piece cut) so they came together like a picture frame, and nailed them around the cut hole. He then slid in the pieces of plexiglass and stained the frames to match the beautiful color of the reclaimed wood siding.
For extra charm, he attached a fleur de lis on each window, found at Hobby Lobby, using multiple screws and metal ‘staples’ from Home Depot.
Finally, you’ll want to attach door hinges and add in a lock and bolt to make sure the doors will stay shut while it’s on the road.
12. Install your windows
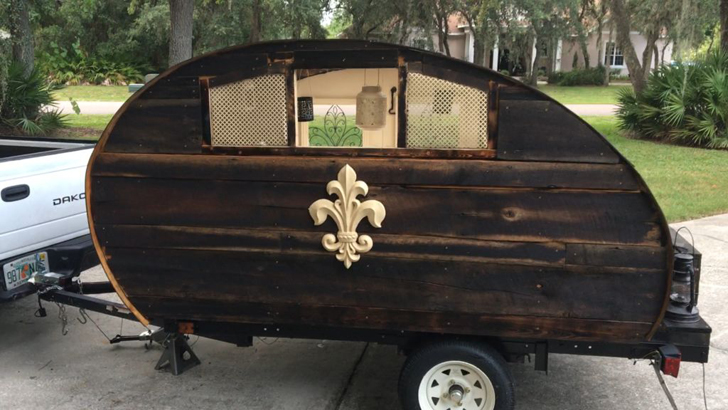
On the other side, it’s time to start planning out your vital air circulation. You may want to add in a small fan and an air conditioner for when you stop at parks with electricity.
He also added screens, and a larger fleur de lis on this side as well.
13. Start planning your storage space
If you used the Grumman 2 profile shapes, you should have about a foot of space left in the back. This can be dedicated to storage or as a cooking area. It’s totally up to you!
14. Add your plexiglass back to your roof, if you haven’t already
If your plexiglass skylight isn’t already on your teardrop, after staining your birchwood, you will want to add it back in now. The plexi can slide underneath both of the side pieces of plywood, and sit on top of the other underlying four-foot-wide pieces of birchwood.
Once it’s in place, caulk around the sides of the plexiglass to keep water from getting in.
To finish it off, you’ll want to cover any front and back exposed pieces of glass with strips of stained birchwood. Then it should be road ready!
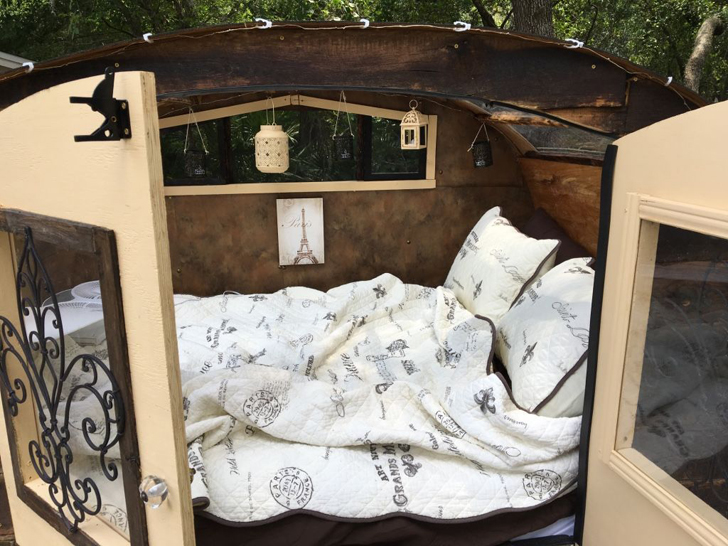
15. Design the inside
Designing the inside is up to your own personal taste and preferences, so there’s really no rough estimate on the cost for this step. But you will want to pick a quality bed to sleep on. You’ll be more comfortable and get a much better night’s sleep.
Final step: Take it for a spin!
After all that hard work, there’s nothing like taking it out for a test run. Tow your new trailer around the block a few times. Make sure it’s durable and able to withstand leaving your driveway.
Once you’re assured it’s capable of holding up in the real world, you’ll be more than ready to start planning your next trip in your newly-custom built camper!
For the complete instructions, read Doc Wyoming’s post on Instructables here. And take a look at this other Tiny Traveling Tea House he made here!

