
Table of Contents
show
I usually prefer using my roadside assistance if our rig is in trouble, because I paid for it so I might as well use it. But there are times when it makes more sense to change a flat tire on your own rather than waiting for roadside assistance to show up:
- You don’t want to wait a long time.
- You’re somewhere without any cell service.
- You’re not on a publicly maintained road (where roadside assistance won’t respond).
Why change your own flat tire?
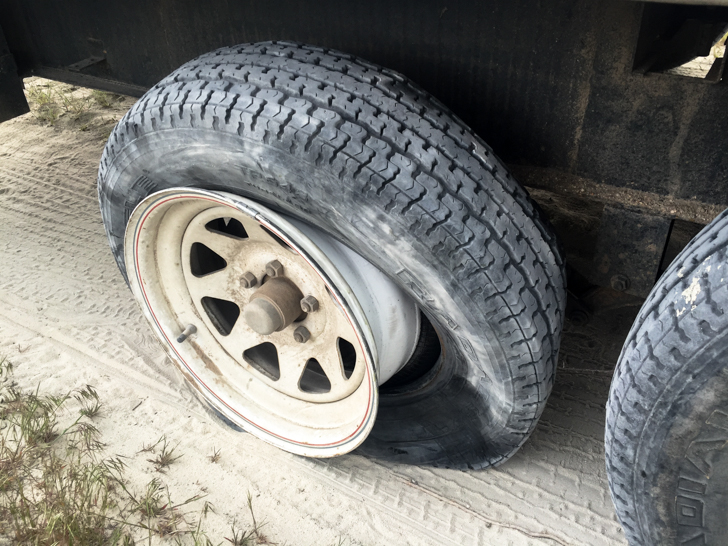
Here’s a technique for using a ramp to change a flat tire on a trailer with 2 or more axles.

You’ll need the following tools:
- Spare tire: Make sure it’s in good condition and holds air – no point changing a flat with another flat.
- Lug wrench: Be sure it fits the lug nuts on your RV’s wheels. A breaker bar is a convenient alternative to the typical cross-shaped lug wrench.
- Socket: If you’re using a breaker bar, make sure you also have a socket that fits both the bar and the lugs on your RV’s wheels.
- Tire pressure gauge
- Portable air compressor with air chuck
- Chocks
- Ramps: only one is needed
- Wrench: A wrench may be needed to remove your spare tire depending on how it’s attached to your RV.
- Lubrication: Any light machine oil. WD-40 would work.
Why use ramps versus a bottle jack?

I prefer ramps to a jack because the space between the ground and the bottom of an RV frame rail (where the bottle jack should be placed to lift a trailer) is around two feet. It would take a very large bottle jack to even reach the frame rail, and it’s not very safe or stable to have an RV lifted that high on a bottle jack.
Ramps are better because:
- RVs remain very stable on them, even if it’s windy.
- Ramps won’t sink into soft (sandy) ground.
- Ramps can be used for other vehicle maintenance.
- In a pinch, ramps could be used for traction if driving in deep sand.
The steps to changing a flat RV tire.

- Pull over to a safe place, away from traffic.
- Gather all the tools you’ll need.
- Use the lug wrench to break loose (about ½ turn) the lug nuts on the wheel to be changed. (Easier to break them loose when the wheel can’t spin freely.)
- Drive your good tire that’s on the same side as the flat tire onto the ramp (may require backing onto the ramp).
- Make sure the wheel that needs to be changed can spin freely. If not, increase the height of the ramp by adding blocks under the ramp – or you can dig out from beneath the flat tire).
- Chock your tires on the side that you won’t be working on, and set the tow vehicle’s parking brake.
- Use your lug wrench to remove the lug nuts on the flat tire.
- Remove the flat tire from the hub.
- Install the spare tire onto the hub.
- Lubricate the studs before placing lug nuts back on. Lubrication will let you torque the lug nuts all the way.
- Tighten the lug nuts in a “star” pattern
- Reinstall your flat tire where your spare tire was.
- Drive off the ramp.
- Now that the tire can’t spin (because it’s on the ground), torque the lug nuts until tight.
- Check the air pressure in your other tires.
Now you’re all set to get back on the road quickly if you happen to get a flat tire on your trailer.


